How To Inspect Used Car With Basic Tools
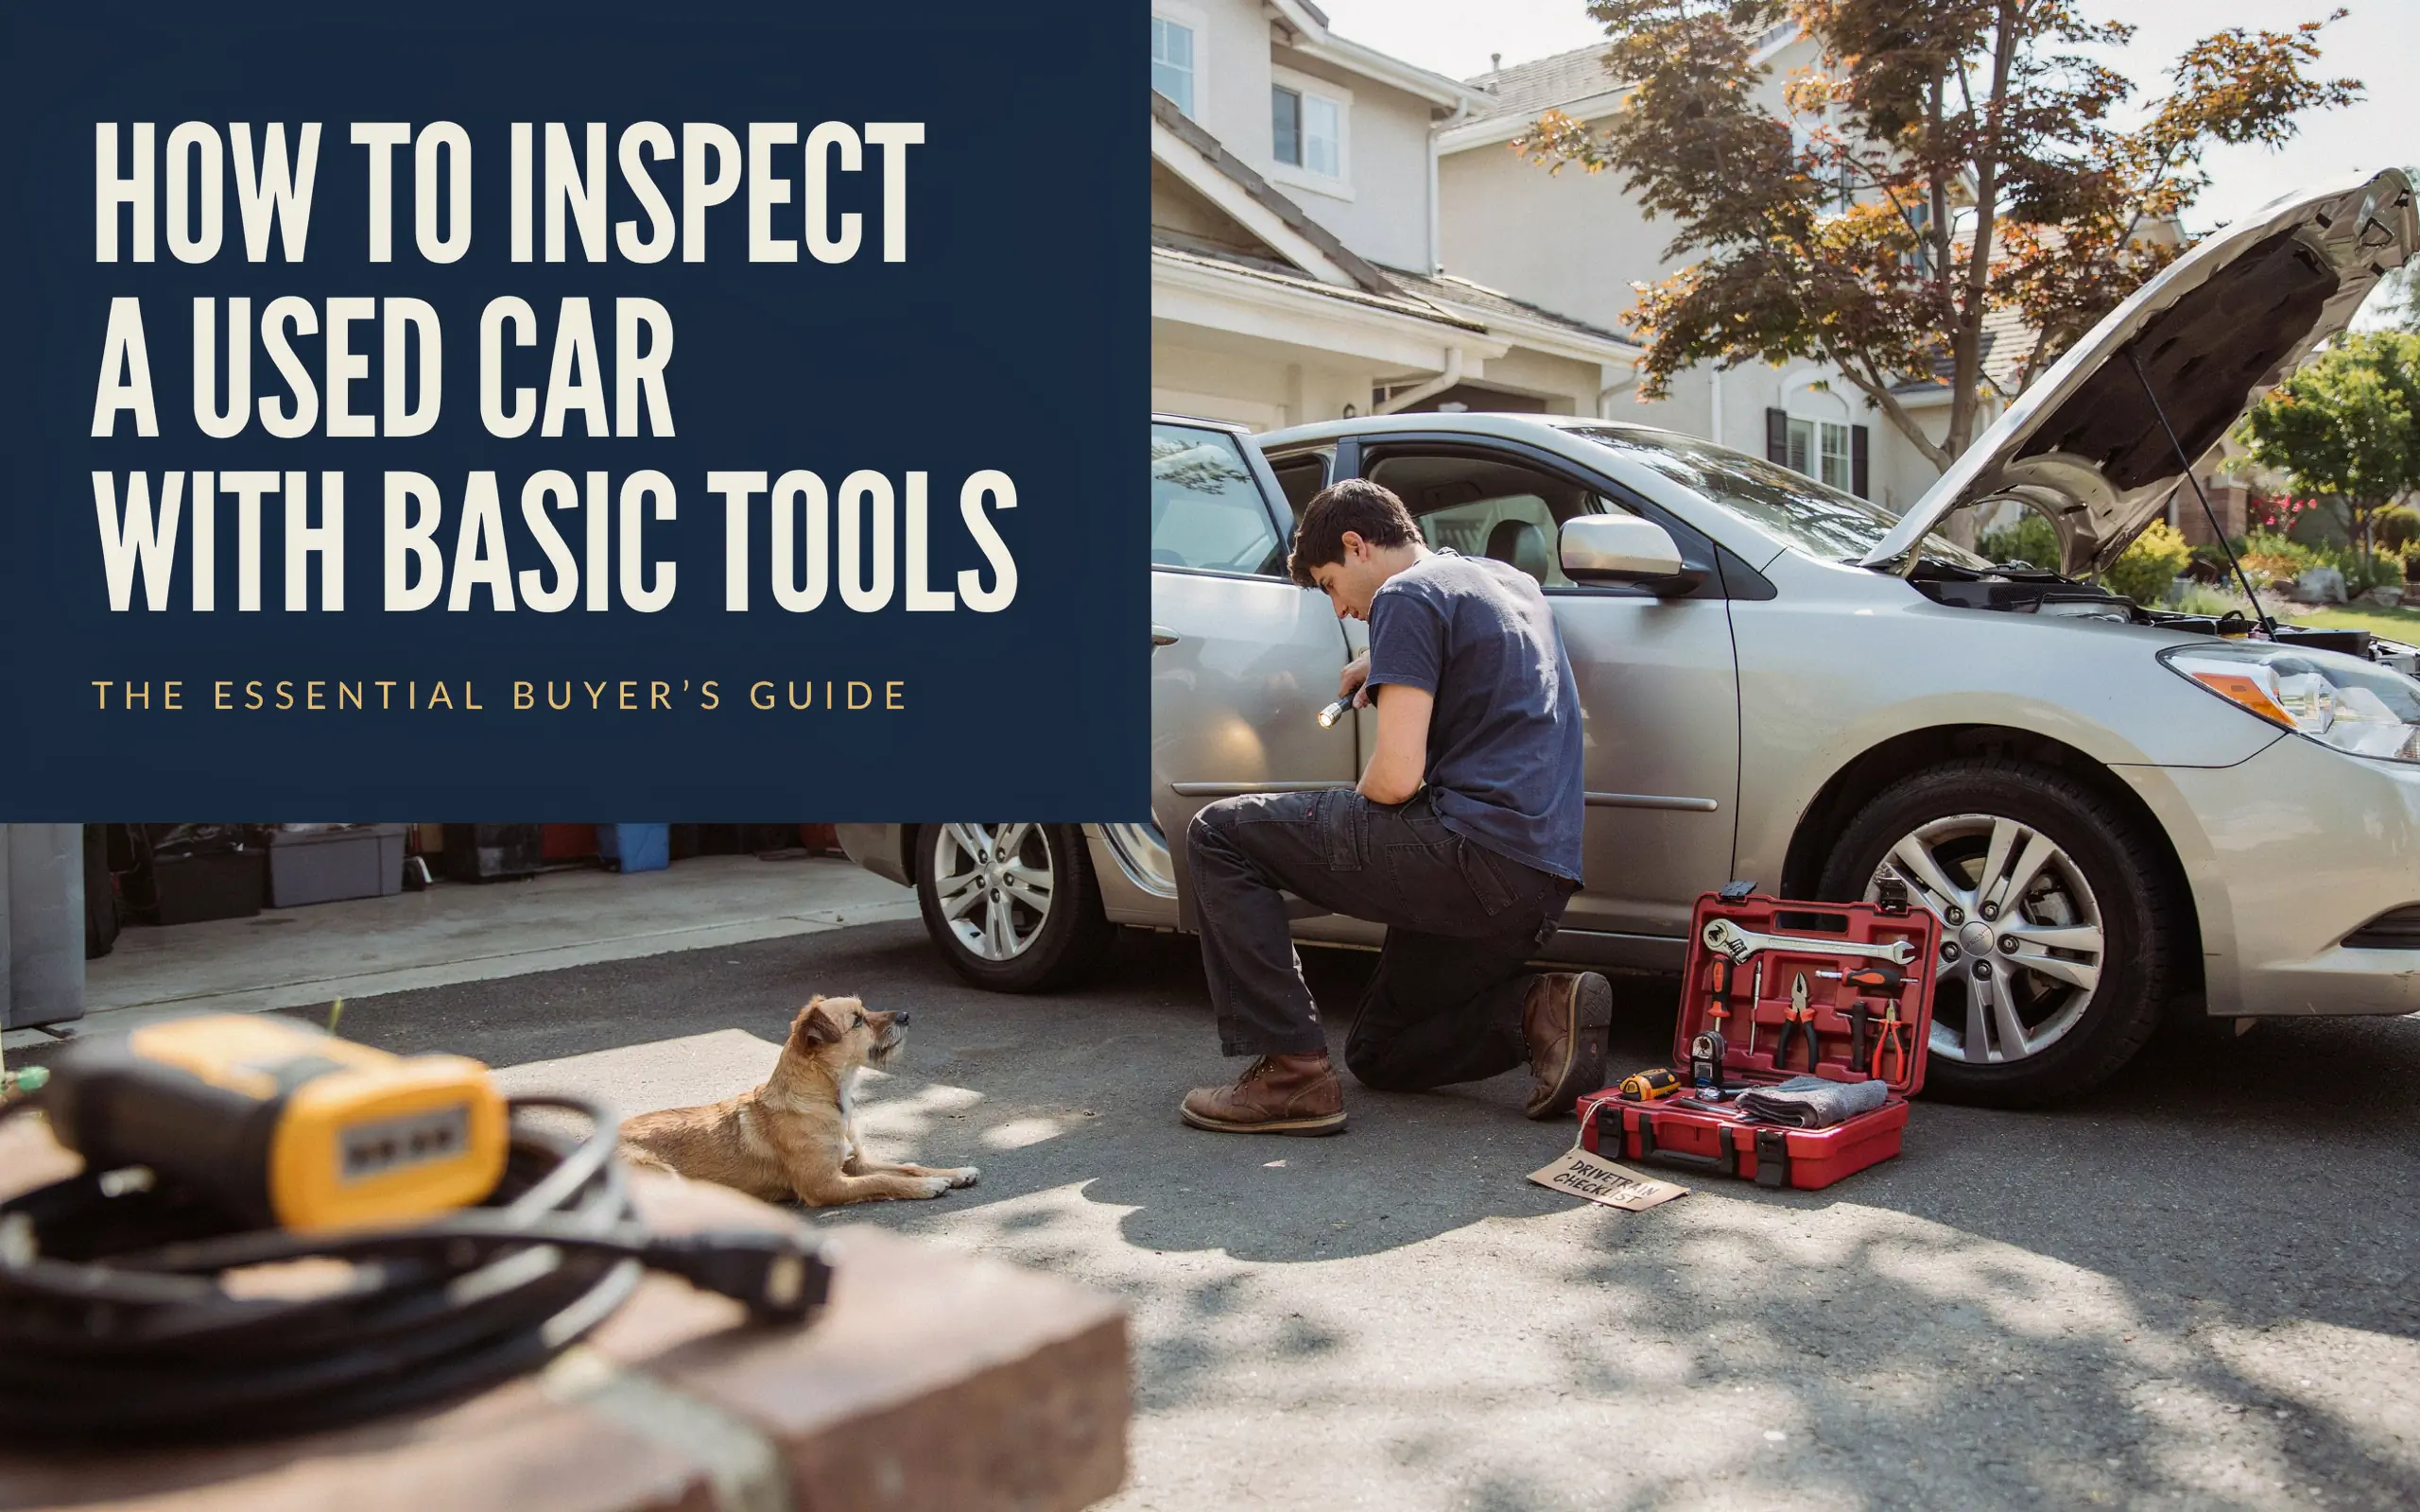
Learn how to inspect used car with basic tools before you buy. This guide shows you step-by-step methods to check a used vehicle using simple equipment found in any garage. Save money and avoid costly mistakes with these practical inspection tips.
Buying a used car can save you a lot of money. But it can also cost you a fortune if you pick the wrong one. Many people worry about hidden problems. They think they need expensive diagnostic equipment to check a vehicle properly. This is not true. You can inspect used car with basic tools that most people already own. A flashlight, a magnet, a tire pressure gauge, and some common sense go a long way. You do not need to be a mechanic to spot major issues.
This guide will help you look at a used car like a pro. We will use simple items that fit in your pocket. You will learn what to check and how to check it. By the end, you will feel confident walking around any used car. You will know which ones are worth your time and money.
Why You Should Inspect Used Car With Basic Tools
Many buyers skip a proper inspection. They get excited and rush the process. This leads to bad decisions. A basic inspection takes about 30 minutes. It can save you thousands in repair bills. The tools you need cost almost nothing. Let us look at what you can catch with simple checks.
When you inspect used car with basic tools, you spot problems early. You avoid vehicles that have been in accidents. You find rust before it becomes a structural issue. You check engine health without any special scanners. These checks give you power during price negotiations. Sellers respect buyers who know what they are looking at.
Quote 1: “Trust your own eyes and hands more than a seller’s promises. A thorough visual and tactile inspection reveals about 80% of a car’s true condition.” – Ralph Thompson, Master Automotive Technician with 40 years of experience
The basic tools you need include:
| Tool | What It Checks |
|---|---|
| Flashlight | Engine bay, undercarriage, dark corners |
| Tire pressure gauge | Tire condition and proper inflation |
| Magnet (small) | Body filler and accident repairs |
| Thick cloth (old towel) | Fluid leaks and condition |
| Notepad and pen | Notes for later reference |
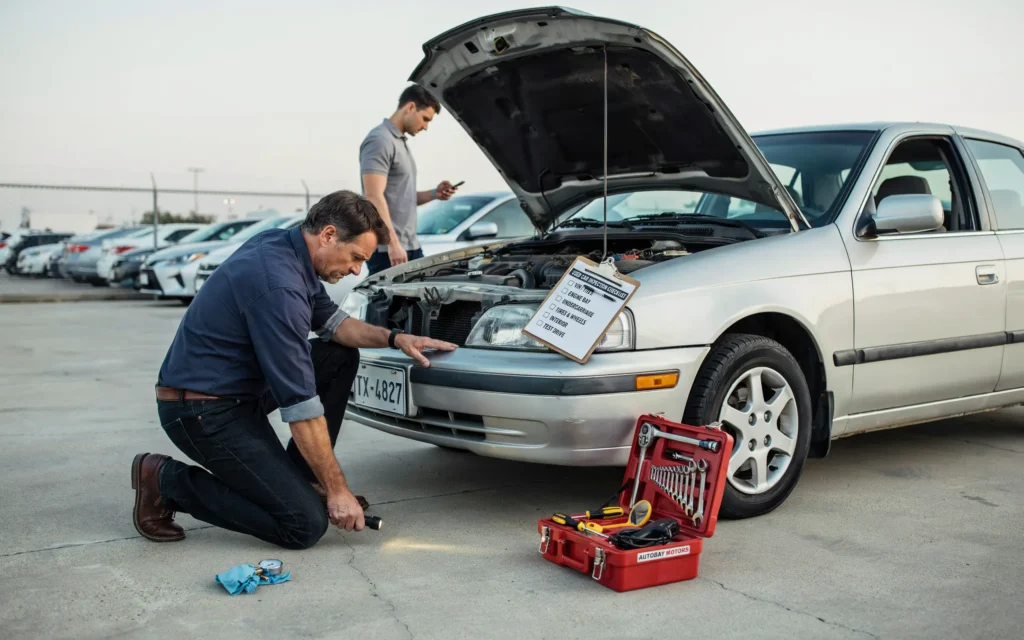
Step 1: Start With The Exterior Walk-Around
The first step to inspect used car with basic tools is to walk around the entire vehicle. Do not rush this. Take your time. Look at the car from all angles. Stand back about ten feet. Look at the overall shape. Does the car sit level? Are there any visible dents or scratches?
Walk closer now. Look at the paint. Are there color differences between panels? This suggests bodywork. Look at the gaps between doors and panels. Are they even? Uneven gaps point to accident damage. Use your magnet on different body panels. A weak pull or no pull at all means body filler underneath. This is a red flag. Body filler hides accident repairs.
Quote 2: “Paint and panel gaps tell a car’s history better than any paperwork. I have caught dozens of rebuilt salvage cars just by watching the reflections and checking with a simple magnet.” – Maria Sanchez, Independent Vehicle Inspector
Let your eyes follow the car’s body lines. Are they straight? Check the roof. Check the trunk. Check around the windshield. Look for chips or cracks. A cracked windshield needs replacement. That costs money. Check the lights. Are they all there? Are they cracked? Broken lights are a negotiation point.
Step 2: Check The Tires And Wheels Thoroughly
Tires tell you a lot about a used car. They show how the previous owner cared for the vehicle. Start with the tire tread. Use a penny. Insert it into the tread. If you can see the top of Lincoln’s head, the tread is worn out. New tires cost money. Use this in your negotiation.
Check tire wear patterns. Uneven wear means alignment issues. Worn edges mean the car was driven hard. Check the tire sidewalls. Look for cracks or bulges. These are dangerous. They mean the tire will fail soon. Check the tire manufacture date. It is on the sidewall. Four numbers after the DOT mark. The first two numbers are the week. The last two are the year. Tires older than six years need replacement.
Look at the wheels themselves. Are they scratched? Bent? Check the wheel bolts. Are they all there? Any rust on the bolts? Check the spare tire in the trunk. Is it there? Is it inflated? Does it have tools? These small details matter.
When you inspect used car with basic tools, the tire pressure gauge is your friend. Check all four tires. Proper pressure is in the driver’s door jamb. Low pressure means neglect or a leak.
Step 3: The Interior Inspection
Get inside the car. Take a deep breath. Do you smell mold? Do you smell gas? These are bad signs. Sit in the driver seat. Adjust it. Does it move smoothly? Check the seat tracks. Rust there means water damage. Check all the seats. Are they torn? Stained? The condition of the interior reflects how the owner treated the car.
Turn on the ignition. Do not start the engine yet. Look at the dashboard. All lights should come on briefly. This is the bulb check. Look for any warning lights that stay on. The check engine light is a major one. Sometimes sellers unplug bulbs. Watch carefully as the lights go through their sequence. All lights should turn off after a few seconds.
Test all the controls. Turn on the headlights. High beams. Turn signals. Hazard lights. Check the wipers. Do they work? Are the wiper blades torn? Check the heater. Does it blow hot air? Check the AC. Does it blow cold? These seem like small things. They cost big money to fix.
Open and close each door. Do they close easily? Check the door seals. Are they ripped? Check the trunk. Open it. Look at the spare tire well. Any rust? Any signs of water? This is a common place for leaks. Use your flashlight to look in dark corners.
Quote 3: “A car’s interior is a direct window into its care history. If the interior is neglected, you can bet the mechanical parts are too.” – David Chen, Automotive Engineering Instructor
Step 4: The Engine Bay Examination
Open the hood. This is where you really learn about the car. Use your flashlight. Look at everything. Start with the obvious. Is the engine clean? A very clean engine might be suspicious. Sellers sometimes steam clean to hide leaks. Look for a normal amount of dust. That is a good sign.
Check the oil. Pull the dipstick. Wipe it clean. Put it back in. Pull it out again. What color is the oil? New oil is amber. Old oil is dark brown or black. If it is black, the car needs an oil change. If it is milky white, that is bad. That means coolant mixing with oil. Walk away from milky oil.
Check the coolant. Look in the reservoir. Is the fluid clear and bright? Or is it dirty and rusty? Rusty coolant means the cooling system has not been maintained. Check the transmission fluid if the car has a dipstick for it. It should be red and clear. Brown or burnt smelling fluid means trouble.
Use your thick cloth. Wipe the engine with it. Are there leaks? Check around the valve cover. Check around the oil pan. Check the radiator. Look at the hoses. Are they cracked? Soft? Squeeze them gently. They should feel firm. Look at the belts. Are they cracked? Frayed? A broken belt leaves you stranded.
| Sign | What It Means |
|---|---|
| Milky oil | Coolant leak into engine |
| Dark black oil | Neglected oil changes |
| Rusty coolant | Poor maintenance |
| Soft hoses | Hoses need replacement |
Step 5: Crawl Under The Car
This step is important. Many people skip it. Do not be one of them. Crawl under the car. Use your flashlight. Look at the underside. You are looking for rust. Surface rust is okay. Flaking rust is not. Flaking rust means structural problems. Check the frame rails. Are they solid? Check the floor pans. Look for holes. Holes in the floor are dangerous.
Check the exhaust system. Is it hanging properly? Are there holes? Rusty holes cause noise and fumes. Check the CV boots. These are the rubber boots on the drive axles. Are they torn? A torn boot means the joint will fail. That costs money. Check the brake lines. Are they rusty? Are they leaking? Brake problems are serious.
Check for fluid leaks. Look at the ground under the car. Do you see spots? Put your cloth under the engine. Let it sit for a minute. Does it catch any drips? Oil leaks mean seals need replacement. Coolant leaks mean the cooling system is failing. Transmission leaks mean expensive problems.
When you inspect used car with basic tools, do not forget the exhaust. Start the car. Look at the exhaust pipe. Is the smoke white? Black? Blue? White smoke means burning coolant. Blue smoke means burning oil. Both are costly problems.
Step 6: The Test Drive
Now you get to drive the car. This is where you feel the car’s condition. Start the car. Listen to it. Does it start easily? Any strange noises on startup? Let the engine idle. Does it idle smoothly? Any shaking? Any odd sounds?
Drive the car on different roads. Start slow. Feel the steering. Does it pull to one side? That means alignment issues. Does the steering wheel vibrate? That means wheel balance issues. Both are fixable. But use them to negotiate price.
Accelerate smoothly. Does the car respond well? Any hesitation? Slipping? That points to transmission problems. Brake smoothly. Does the car stop straight? Any pulling? Any grinding noises? Grinding means brake pads are worn out. Squealing also means worn brakes.
Turn the wheel fully each way. Listen for clicking sounds. Clicking when turning usually means worn CV joints. This is common on front-wheel drive cars. It is not cheap to fix. Test the suspension. Drive over a speed bump. Does the car bounce? If it bounces, shock absorbers are bad.
Check the gear shifts. If it is an automatic, does it shift smoothly? Any jerks? If it is a manual, does the clutch engage smoothly? Any grinding? The test drive reveals many problems. Do not rush this step.
Step 7: Check The Under Hood After The Test Drive
After the drive, open the hood again. This is a final check. This is when problems often show up. Look at the engine. Is it smoking? Any new leaks? Any smells? Look at the exhaust. Is it producing unusual smoke now?
Feel the radiator hoses. Are they hard? That means the cooling system is working. Are they very soft? That means it is not. Check the fan. Does it come on? Some fans only come on when the car is hot. Let the car idle for a minute. Watch the temperature gauge. Does it stay normal? Or does it climb quickly?
Check the oil again. A quick check after driving can show problems. Look at the brake pedal feel. Does it feel firm? Spongy? A soft pedal means air in the brake lines or worn components. Look at the steering fluid. Is it at the right level? Looking at fluid levels is a good habit.
When you inspect used car with basic tools, the end of the drive is as important as the start. Many problems only show up when the car is at operating temperature.
Step 8: Review Your Notes And Make A Decision
Now you have gathered a lot of information. This is where your notebook helps. Look at your notes. What problems did you find? What are the costs to fix them? Compare this to the asking price. This helps you decide if the car is worth it.
List all the issues you found. Group them by seriousness. Safety issues are the most important. Mechanical issues come next. Cosmetic issues are minor. Use this list to negotiate. Every issue you found is a reason to lower the price.
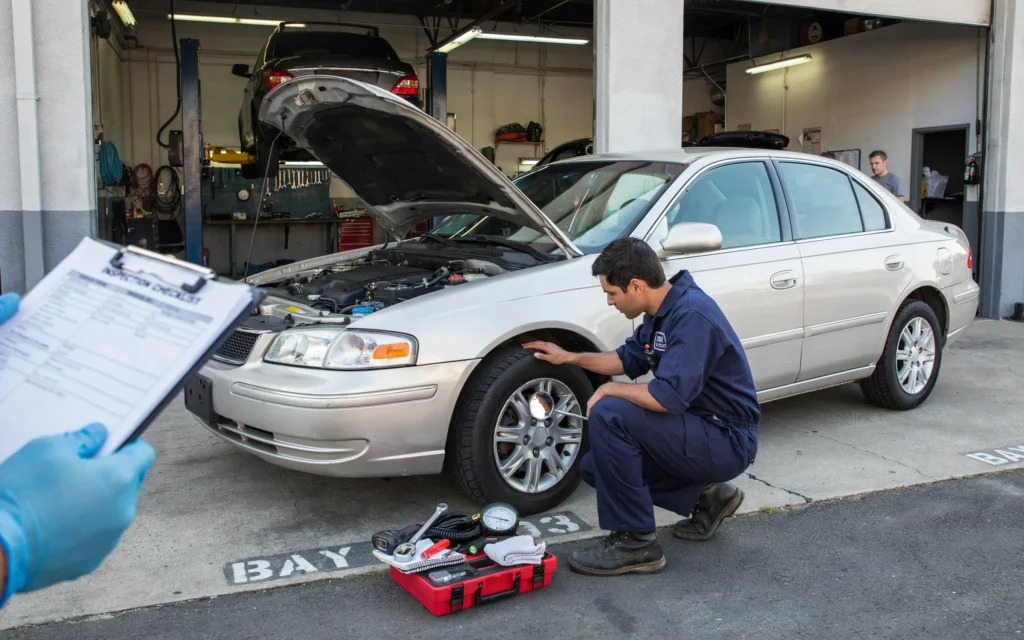
Consider getting a professional pre-purchase inspection. This is not an admission that you failed. It is a smart move. Professionals have scanners and experience. They can find things you missed. The cost is worth it for expensive vehicles.
Common Problems You Can Spot With Basic Tools
Let us review some common issues. These are the things you will find most often. Use your basic tools to check for them. Here are some examples:
- Coolant leaks: Look under the engine for green, orange, or pink fluid.
- Oil leaks: Black fluid under the engine. You can see it on the undercarriage.
- Transmission issues: Slipping, hard shifts, or delays when shifting.
- Brake problems: Grinding, pulling, or a soft pedal.
- Electrical issues: Warning lights, flickering lights, or dead battery.
- Tire wear: Uneven tread wear, cracking, or low pressure.
| Part To Check | Simple Method |
|---|---|
| Brake pads | Look through the wheel spokes. Thick pads are good. Thin pads are bad. |
| CV joints | Turn the wheel full lock each way. Clicking is a bad sign. |
| Shocks | Push down hard on each corner. More than 1-2 bounces means bad shocks. |
| Exhaust | Look for holes. Listen for any loud rumbling. |
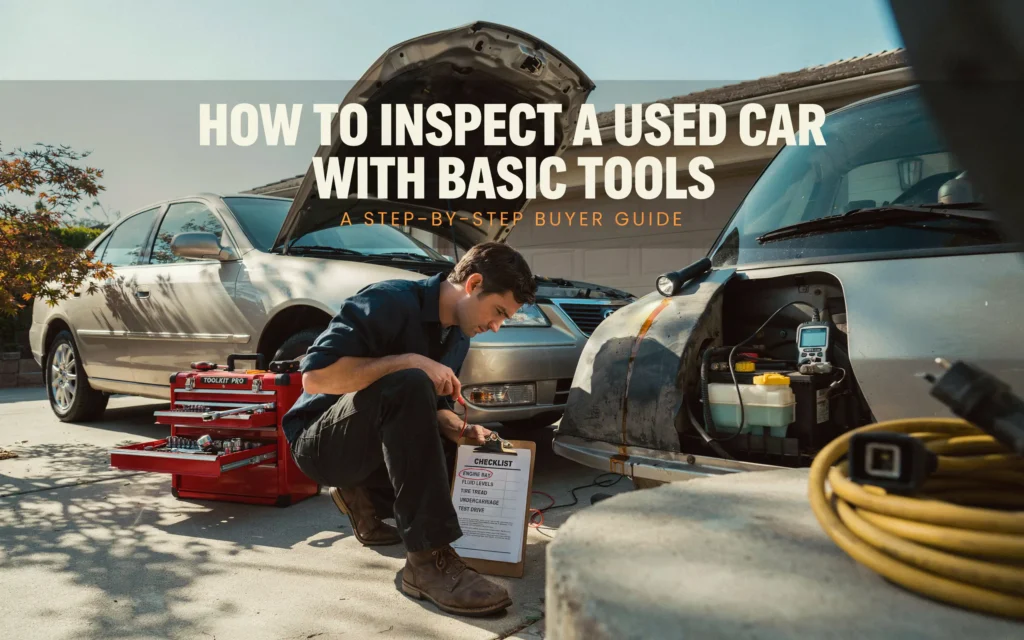
Summary Checklist For Your Used Car Inspection
Use this as your guide. Print it out or save it on your phone. Take it with you to every car viewing.
- Walk around the car. Check paint and panel gaps.
- Test all lights. Headlights, turn signals, brakes.
- Check the tires. Tread, wear, pressure, and date.
- Inspect the interior. Seats, dashboard, controls, smell.
- Check the engine bay. Fluids, hoses, belts, leaks.
- Crawl under the car. Rust, exhaust, CV boots, brake lines.
- Start the engine. Listen for noises. Check warning lights.
- Test drive the car. Feel the steering, brakes, and transmission.
- Inspect again after the test drive. Check for new issues.
- Review your notes. List problems. Make your decision.
Frequently Asked Questions
What basic tools do I need to inspect a used car?
You need a flashlight, a small magnet, a tire pressure gauge, a thick cloth, and a notepad with a pen. These tools cost very little. They help you check body panels, tire health, fluid leaks, and more.
Can I inspect used car with basic tools and no mechanical knowledge?
Yes, you can. This guide explains what to look for. Your eyes and hands can spot many problems. You are looking for obvious issues like rust, leaks, uneven tire wear, and poor paint. This finds many common problems.
How long does it take to inspect used car with basic tools?
A good inspection takes about 30 to 45 minutes. Take your time. Do not rush. The extra time can save you from a bad purchase.
What is the most important thing to check on a used car?
The engine and transmission are the most expensive parts to repair. Check for leaks, strange noises, and smooth operation during a test drive. The car’s overall condition also matters a lot.
Should I get a professional inspection after my own?
Yes, especially for cars priced over $5,000. A mechanic can find issues you may miss. They have tools to check engine codes, brake health, and more. This gives you peace of mind.
What problems should make me walk away from a used car?
Walk away from cars with milky oil, heavy rust on the frame, damage to the frame, a transmission that is slipping, or any sign of flood damage. These are big problems that cost a lot to fix.
Conclusion
You do not need fancy equipment to inspect used car with basic tools. The items you have at home are enough to find most problems. A good flashlight shows you hidden rust and leaks. A small magnet finds body filler from accidents. A tire pressure gauge checks tire health. A cloth catches fluid drips. Your eyes and ears are the best tools you have.
This process gives you confidence. You become a smarter buyer. You avoid cars that will cost you money. You find cars that are worth what the seller is asking. If you find problems, you can negotiate a fair price. Or you can walk away. That is the best part of being an informed buyer.
When you know how to inspect used car with basic tools, you protect yourself. You buy with your head, not just your heart. You get a car that serves you well without constant repairs.
Take your time with the inspection. Follow the steps in order. Write down your findings. Compare them to the price. This approach works every time. It has worked for thousands of car buyers before you. It will work for you too.
The used car market has many good deals. It also has many bad ones. Your inspection separates the two. You can spot a diamond in the rough. You can also spot a shiny piece of coal. Good luck with your car search. Happy driving.
Related posts
 Best Tool Chest for Automotive Garage: Storage Solutions Compared
Find the best tool chest for automotive garage. Compare rolling cabinets, tool sets, and organizers for efficient and organized workspace solutions. Keeping your automotive garage organized…
 Top Mechanic Tools for Home Garage
Top Mechanic Tools for Home Garage. Setting up a home garage for vehicle maintenance and repairs requires the right tools. Whether you are a seasoned DIY…
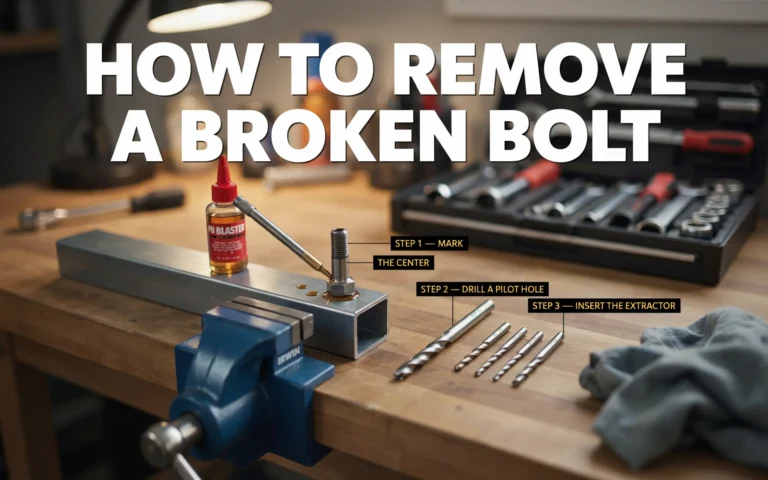 How To Remove A Broken Bolt
To remove a broken bolt, you need patience and the right tools. This guide covers extractors, drilling, and welding tricks to remove a broken bolt from…