How Do You Replace Brake Pads At Home
Learn how to replace brake pads at home safely. This guide covers tools, steps, and tips to save money on car maintenance.
Brake pads wear out over time. You hear a squeal when stopping. Or your car takes longer to slow down. A mechanic might charge $150 to $300 per axle. But you can replace brake pads at home for just the cost of parts (often $30 to $70). This job is simpler than most people think. With basic tools and one hour of time, you can do it yourself.
I remember my first time. I was nervous. What if I broke something? What if the brakes failed later? But after watching a few videos and reading a good guide, I tried it. It worked perfectly. That was six years ago. Now I change brake pads on all my family’s cars. You can learn this too.
This guide shows you exactly how to replace brake pads at home. No fancy garage required. Just a safe flat spot, a few tools, and some patience.
Is It Safe to Replace Brake Pads Yourself?
Yes, it is safe if you follow correct steps. Millions of people do this every weekend. Car brakes are mechanical parts. You are not changing complex electronics. You are simply removing old friction material and sliding in new pads.
But you must be careful. Never work on a car supported only by a jack. Always use jack stands. Pump the brake pedal before driving. Test brakes at low speed first.
“Working on your own brakes teaches you how your car works. Start with one wheel. Learn slowly. Safety is always step one.”
— Chris Fix, automotive DIY educator
If you feel unsure at any point, stop and ask a friend who has done this before. Many auto parts stores also offer free tool loans and advice.
What Tools and Parts Do You Need?
Before you start, gather everything. Nothing is worse than having a wheel off and missing a tool.
Tools Required
| Tool | Purpose |
|---|---|
| Car jack | Lift the car |
| Two jack stands | Hold the car safely |
| Lug wrench | Remove wheel nuts |
| C-clamp or brake piston tool | Push piston back |
| Combination wrench (usually 10mm to 14mm) | Remove caliper bolts |
| Flathead screwdriver | Pry old pads |
| Wire brush | Clean rust |
| Rubber mallet (optional) | Tap stuck parts |
Parts and Supplies
| Part / Supply | Why You Need It |
|---|---|
| New brake pads (correct for your car model) | Main replacement part |
| Brake grease (anti-seize or silicone) | Stop squeaks |
| Brake cleaner spray | Clean dust and grime |
| Latex or nitrile gloves | Keep hands clean |
| Rags or paper towels | Wipe parts |
You can find your correct brake pads by entering your car’s make, model, and year at any auto parts store website. Write down the part number before you go.
How Do You Replace Brake Pads at Home? The Simple 10 Step Process
Now let’s get to the main question. Follow each step in order. Do not skip safety checks.
Step 1: Prepare Your Car and Workspace
Park on a flat concrete driveway or street. Not gravel. Not mud. Turn on hazard lights. Put the car in Park (automatic) or first gear (manual). Set the parking brake. Place wheel chocks or large bricks behind the rear wheels if you are working on the front brakes.
Step 2: Loosen the Wheel Nuts Before Lifting
Use your lug wrench to turn each nut half a turn counterclockwise. Do not remove them yet. Just break them loose. This stops the wheel from spinning while you apply force.
Step 3: Jack Up the Car and Place Jack Stands
Find the jacking point behind the front wheel or near the rear axle. Your car manual shows exact spots. Raise the car until the wheel is off the ground. Then place a jack stand under the frame or suspension mounting point. Slowly lower the car onto the jack stand. Shake the car gently. It should feel solid.
Never crawl under a car held only by a jack. Jack stands are non negotiable.
Step 4: Remove the Wheel
Take off the loosened lug nuts. Pull the wheel straight toward you. Set it aside with the outer side facing up. This keeps dirt off your back when you put it back on.
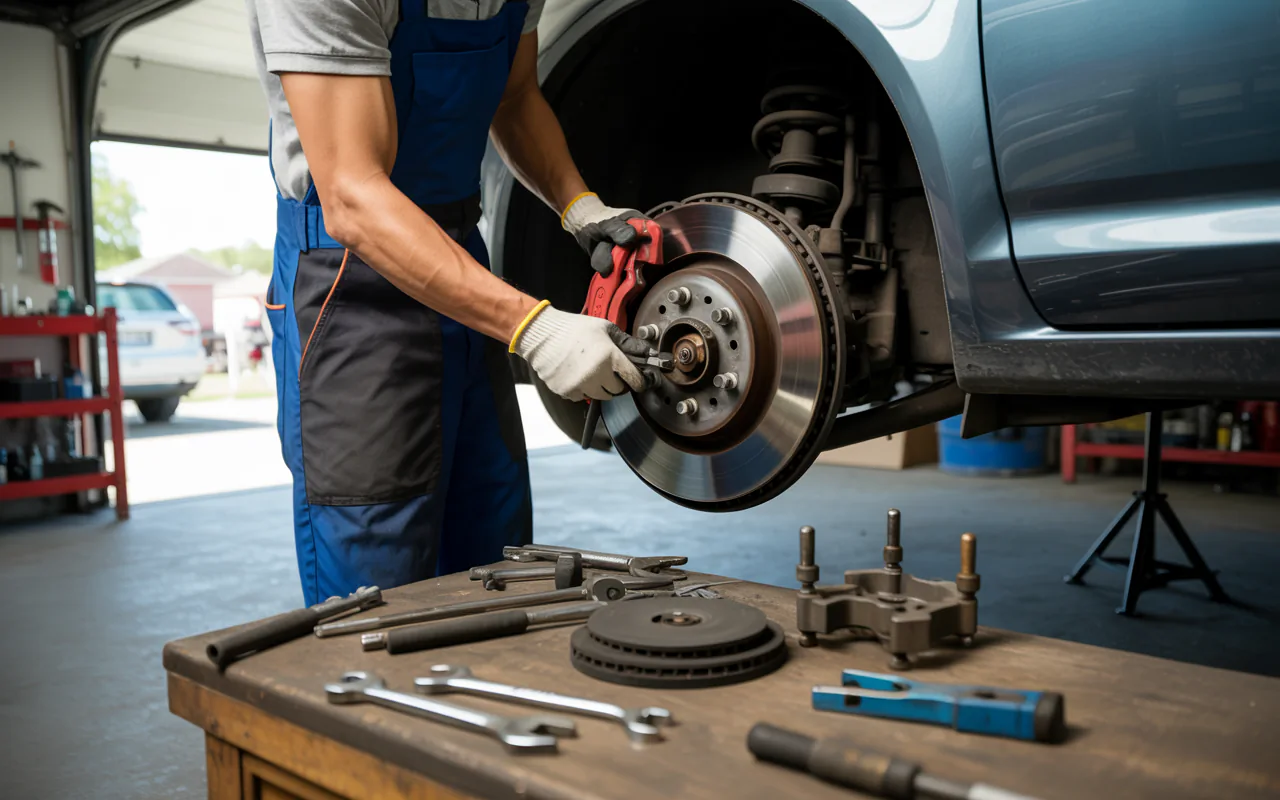
Step 5: Locate the Brake Caliper and Pads
Look at the metal disc (rotor). The caliper is the clamp like part that sits over the rotor. Inside it, you see two brake pads. One on the outside, one on the inside.
Step 6: Remove the Caliper Bolts
Use your wrench to remove the two bolts holding the caliper. Usually they are 12mm or 14mm. Keep these bolts safe. Do not lose them. Slide the caliper off the rotor. Hang it from the suspension spring using a wire or bungee cord. Do not let it dangle by the rubber brake hose. That can damage the hose.
Step 7: Take Out Old Brake Pads
The old pads will slide out or lift out. Some have metal clips. Keep the clips if they are not rusty. Use a flathead screwdriver to pry gently if they are stuck.
“Most brake pad problems come from rust and dirt, not the pad itself. Clean everything before you put new pads in.”
— Eric the Car Guy, mechanic and YouTuber
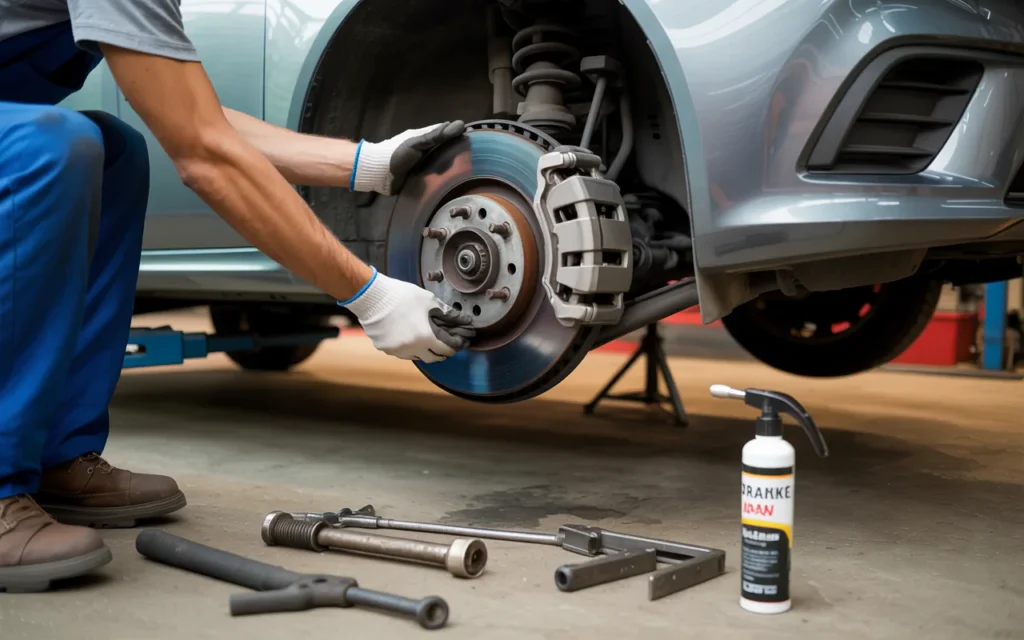
Step 8: Push Back the Brake Caliper Piston
Look inside the empty caliper. You see a round metal piston. When you pressed the brake pedal before, this piston pushed the pads against the rotor. Now the new pads are thicker. You must push the piston back into its housing.
Place the old outer brake pad against the piston. Put a C clamp over the pad and the back of the caliper. Tighten slowly. The piston moves inward. Stop when it is flush with the caliper body. Check your brake fluid reservoir under the hood. Fluid may rise. Remove some with a turkey baster if needed.
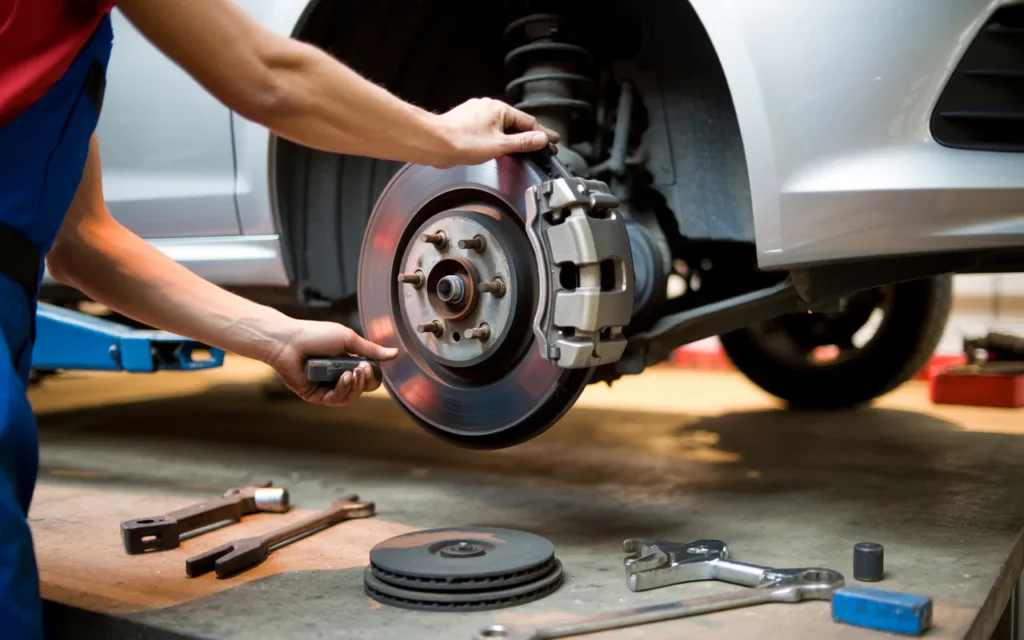
Step 9: Install New Brake Pads
Apply a thin layer of brake grease on the metal back of each new pad. Do not put grease on the friction side (the rough black part). Also grease the metal sliding points where the pads touch the caliper bracket. Slide the new pads into place. They should fit snug but not tight.
Step 10: Reattach Caliper, Wheel, and Lower Car
Put the caliper back over the new pads. Replace the two bolts. Tighten them firmly but not too tight. Use a torque wrench if you have one (typical spec is 25 to 35 foot pounds for caliper bolts). Put the wheel back. Hand tighten the lug nuts. Lower the car off the jack stand. Then fully tighten lug nuts in a star pattern.
How to Finish the Job Correctly
Once the car is back on the ground, pump the brake pedal 10 to 15 times before driving. The pedal will feel soft at first. Then it becomes firm. This pushes the piston back against the new pads. If the pedal stays soft, check for leaks or air in the system.
Start the car. Drive slowly in a parking lot at 5 mph. Brake gently a few times. Then drive a little faster and brake again. Listen for grinding or scraping. A slight squeak is normal for the first 50 miles as pads seat in.
“After any brake job, take 10 minutes to bed in the pads. Five firm stops from 30 mph to 5 mph. Then drive easy for a few miles to cool them down.”
— Sarah Nelson, ASE certified master technician
Common Mistakes When You Replace Brake Pads at Home (And How to Avoid Them)
Many first timers make these errors. Read this list before you start.
- Not using jack stands – The car falls. You get hurt. Always use stands.
- Forgetting to pump the brakes – First push of the pedal goes to the floor. That is scary. Pump until hard.
- Mixing up left and right pads – Some pads are shaped for inside or outside. Look at the old ones before removal.
- Skipping brake grease – Dry metal causes loud squealing. A $5 tube of grease stops this.
- Over tightening caliper bolts – You can strip the threads. Snug plus a quarter turn is enough.
- Letting caliper hang by the hose – This cracks the rubber hose. Always hang it with wire.
Front vs Rear Brake Pads: Is There a Difference?
Front brakes do 70% of the stopping. They wear out faster. Most cars have larger front rotors and calipers. Rear brakes are smaller. The replacement steps are identical. But some rear calipers have a twist in piston. You cannot just push them straight back. You need a special tool that rotates while pressing. Check your car manual. If you have rear drum brakes (not disc), that is a different and harder job. This guide is for disc brakes only.
How Often Should You Replace Brake Pads?
Most brake pads last 30,000 to 70,000 miles. It depends on your driving. City driving with many stops wears pads faster. Highway driving is easier on brakes. Check your pads every 10,000 miles. Look through the wheel spokes. If the pad material is thinner than 3mm (about the thickness of two pennies stacked), replace them.
Replace brake pads at home every time you hear a metal on metal grinding noise. That noise means the pads are gone. You are damaging the rotor. That adds rotor replacement cost.
Frequently Asked Questions
Can I replace just two brake pads instead of all four?
Yes. You can replace only front pads or only rear pads. But always replace both wheels on the same axle. Never change only one side. That causes uneven braking.
How long does it take to replace brake pads at home?
The first time, plan for 2 hours. After you learn, 45 minutes per axle. Give yourself extra time so you do not rush.
Do I need to replace rotors too?
Not always. If rotors are smooth and not warped, you can reuse them. If you feel pulsing in the brake pedal when stopping, rotors are warped. Replace them. If rotors have deep grooves, replace them.
What happens if I install brake pads backwards?
The metal backing plate touches the rotor. You hear a horrible grinding noise immediately. You lose stopping power. Remove and flip them right away.
Can I drive immediately after changing brake pads?
Yes, but gently. Brake softly for the first 50 miles. Avoid hard stops. New pads need time to match the rotor surface.
Why does my brake pedal feel spongy after I replace brake pads at home?
You did not pump the pedal enough. Pump 15 to 20 times with the engine off. Then start the car. The pedal should be firm. If still spongy, you may have air in the brake lines. That needs bleeding.
Do I need special tools for European cars like BMW or Mercedes?
Sometimes. Many European cars use retraction tools or computer reset procedures. Check a forum for your specific model. For most Japanese and American cars, a C clamp works fine.
Cost Savings: DIY vs Mechanic
Let’s compare. A typical shop charges $150 to $300 per axle for brake pad replacement. That includes $50 to $80 for parts and $100 to $220 for labor. When you replace brake pads at home, you pay only for parts. A good set of ceramic brake pads costs $40 to $70. You also buy a $15 C clamp if you do not own one. That clamp lasts for years.
After one DIY brake job, you save $100 to $200. After two jobs, you save $300 or more. Plus you learn a skill that stays with you.
Final Safety Checklist Before Driving
Go through this list after you finish:
- Wheel lug nuts tightened in star pattern
- Brake pedal firm after pumping (not soft)
- No leaks around caliper or brake hose
- Brake fluid at correct level (between min and max)
- Test brakes at 5 mph in empty lot
- No unusual noises when stopping
If all boxes are checked, you are ready to drive normally.

Conclusion
Learning how to replace brake pads at home is one of the most useful car repairs you can master. It saves money. It builds confidence. And it keeps your family safe because you know the job was done right. Start with one wheel. Follow each step. Use jack stands. Clean everything. Add grease to quiet parts. Pump the pedal before moving. Then enjoy the satisfaction of fixing your own car.
You do not need a mechanic for every little thing. Your driveway and a simple tool set are enough. The first time might feel slow. That is okay. By the second or third time, you will finish faster than driving to a shop. Give it a try this weekend. Your wallet will thank you.
Related posts
 Best Jump Starters for Cars: UltraSafe & Powerful Options 2026
Don’t get stranded! Find the best jump starters for cars. Our guide reviews top portable battery boosters for all engine sizes, helping you pick the right…
 Best Upholstery Cleaners for Cars: Deep Clean & Stain Removal
Best Upholstery Cleaners for Cars. Car interiors take a beating. Spills, mud, pet hair, and everyday grime can make your car’s upholstery look worn. Keeping it…
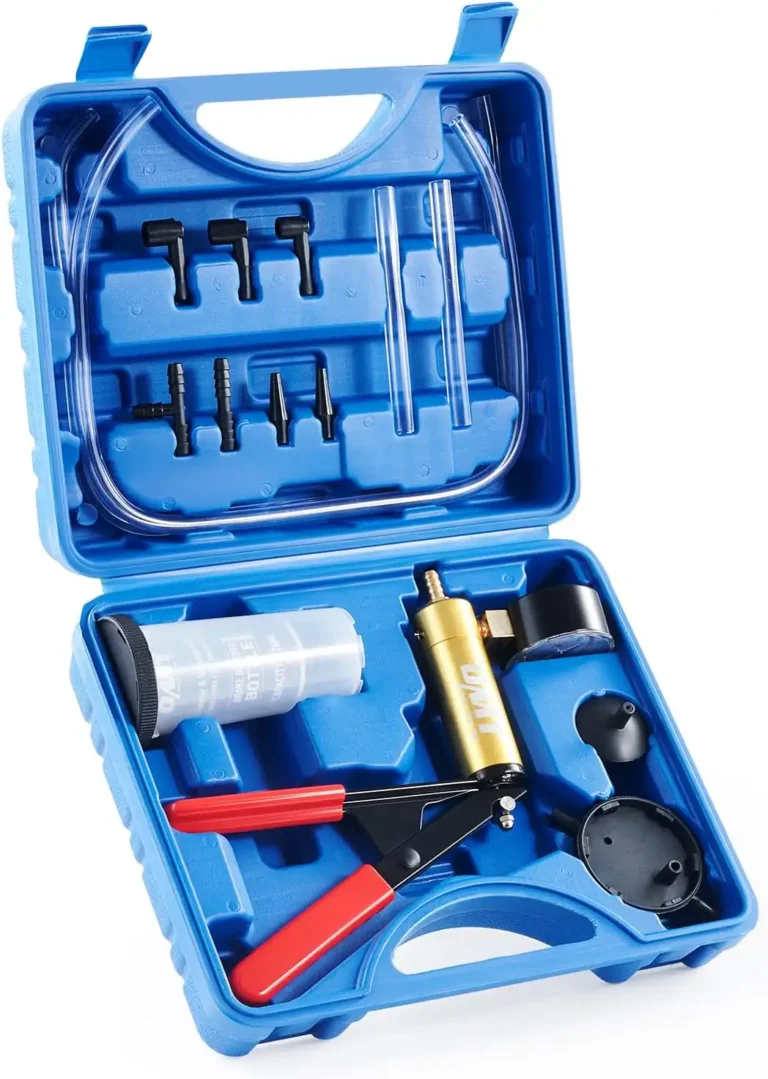 Best Brake Bleeding Kit
Find the best brake bleeding kit for your car or bike. Compare 5 top models, features, and real user feedback in this helpful guide. Bleeding brakes…