
How To Clean Kitchen Cabinets Properly
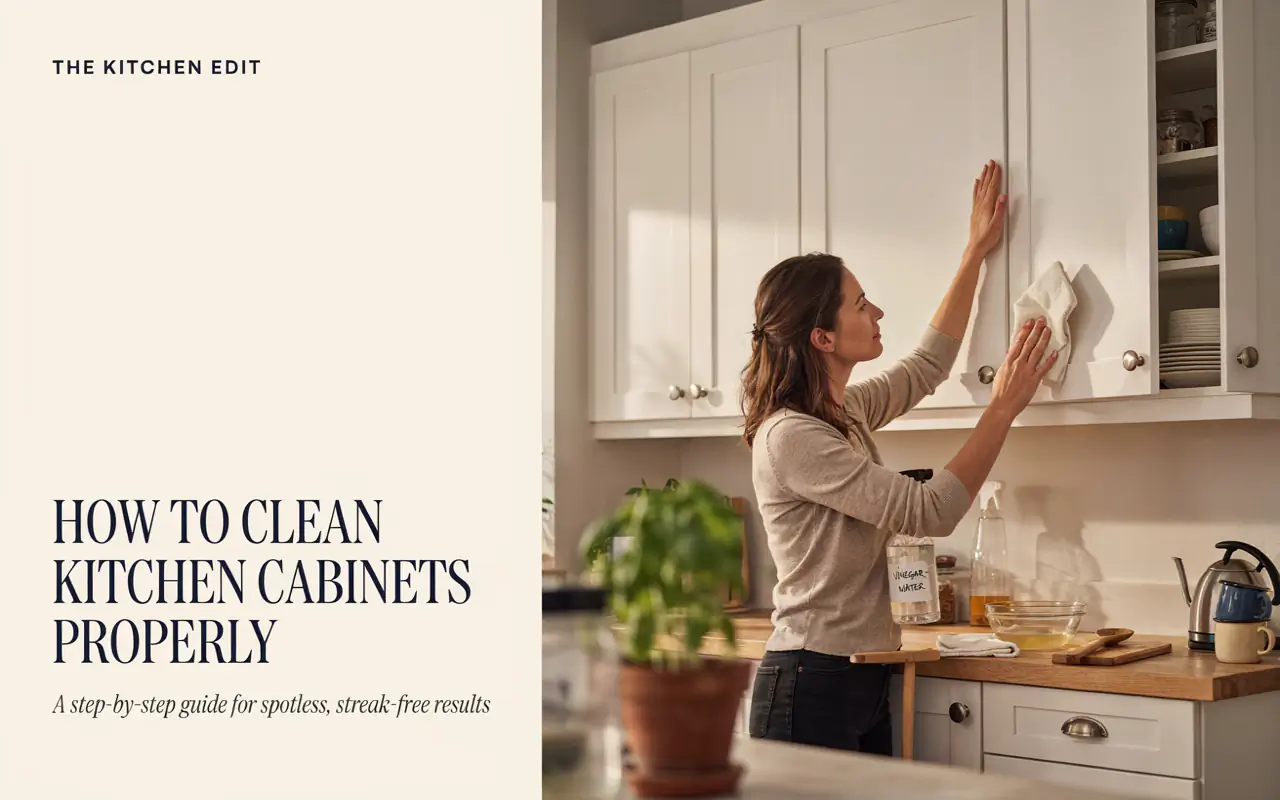
Learn how to clean kitchen cabinets properly with our simple guide. Get expert tips for wood, painted, laminate, and glass cabinets without damage. Safe methods for every finish.
Your kitchen cabinets work hard every day. They hold your plates, cups, and food items. They also catch grease, dust, and sticky fingerprints. Over time, this buildup makes them look dull and dirty. Many people wipe the outside but forget the tops and inside spaces. This leads to grime that is hard to remove later.
The good news is that you can fix this. You just need to know the right way to clean kitchen cabinets properly. This guide will show you simple steps that work for any cabinet type. You will learn which cleaners are safe and which ones to avoid. We will also cover how often you should clean them and what tools make the job easier.
Whether you have wood, painted, or laminate cabinets, these methods will help. You do not need expensive products or special skills. With a little time and the right supplies, your cabinets can look fresh again.
So let us get started. Your kitchen deserves a good clean. And you deserve to feel proud of how your cabinets look.
Why You Need to Clean Kitchen Cabinets Properly
Many homeowners clean their countertops and floors often. But cabinets get less attention. This is a mistake. Cabinet surfaces collect many types of dirt every day.
Cooking releases grease into the air. This grease lands on your cabinet doors and frames. Dust sticks to this grease. Then moisture from cooking and washing adds to the mix. The result is a sticky film that attracts more dirt.
If you do not clean kitchen cabinets properly, this grime builds up. It becomes harder to remove over time. The finish can also get damaged. Wood can lose its shine. Paint can become dull or yellow. Laminate can get stained.
Regular cleaning helps protect your investment. Kitchen cabinets cost a lot of money. They are a big part of your home value. Keeping them clean extends their life. It also keeps your kitchen looking fresh and welcoming.
Another reason is health. Dirty cabinets can hold bacteria and mold. Food particles can get stuck on surfaces. This can attract pests. A proper clean removes these risks.
“Clean cabinets are not just about appearance. They are about protecting your family’s health and your home’s value.” – Sarah Mitchell, Home Maintenance Specialist.
Now that you know why this matters, let us look at how to do it right.

what You Need Before You Start
Getting ready makes the job faster. Gather these supplies first. Then you can work without stopping.
Basic Supplies
- Soft microfiber cloths
- Sponges (non-scratch)
- Soft-bristle brush
- Old toothbrush
- Warm water
- Mild dish soap
- White vinegar
- Baking soda
- Olive oil or mineral oil (for wood)
- Rubbing alcohol
- Spray bottle
- Step stool or ladder
Optional Supplies
- Cabinet cleaner (for specific finishes)
- Wood polish
- Degreaser
- Vacuum with brush attachment
What to Avoid
Some products damage cabinets. Stay away from these:
- Abrasive scrubbers
- Bleach (unless diluted carefully)
- Ammonia-based cleaners
- Citrus-based cleaners (on some finishes)
- Steel wool
- Heavy scouring pads
Now you are ready. Let us look at the different cabinet types and their needs.
Know Your Cabinet Type
Different cabinets need different care. Using the wrong method can ruin the finish. So first, identify what type you have.
Wood Cabinets
These are common in many homes. They can be stained or painted. Natural wood has a clear coat over it. Stained wood has color added. Both need gentle care.
Wood is porous. It absorbs moisture. Too much water can cause swelling. The finish can crack or peel. So you need to use minimal water. Always dry wood cabinets well after cleaning.
Painted Cabinets
Painted cabinets are popular for modern looks. They can be matte, satin, or glossy. The paint type affects how you clean them.
Matte paint shows marks easily. It can also wear off with harsh scrubbing. Glossy paint is easier to wipe clean. But it can scratch. So use soft cloths only.
Laminate Cabinets
Laminate is a synthetic material. It is durable and resists stains. It does not absorb water like wood. So you can use more moisture.
But laminate can scratch. Abrasive cleaners will damage the surface. They can also make the finish dull. So stick to mild cleaners and soft cloths.
Glass-Front Cabinets
These have glass panels. The frames are usually wood or metal. You need to clean both parts.
Glass needs streak-free cleaning. The frames need care based on their material. Be careful not to get cleaner on glass if it could streak.
Here is a quick reference table:
| Cabinet Type | Best Cleaning Method | Things to Avoid |
|---|---|---|
| Wood (Stained) | Mild soap and water, dry immediately | Excess water, harsh chemicals |
| Wood (Painted) | Gentle cleaner, soft cloth | Scrubbing, ammonia |
| Laminate | Vinegar solution or mild soap | Abrasive pads, citrus cleaners |
| Glass-Front | Glass cleaner for glass, mild soap for frame | Getting cleaner on wrong surface |
Step-by-Step: How to Clean Kitchen Cabinets Properly
Now we get to the main part. Follow these steps to clean kitchen cabinets properly. Take your time and work carefully.
Step 1: Clear the Area
First, remove everything from the cabinet surfaces. Take off items on top of the cabinets. Clear the countertops below. This gives you room to work.
Take down any decorative items. Remove magnets from the fridge if they are near. Clear off spice racks and other wall items.
If your cabinets go to the ceiling, you need a step stool. Make sure it is stable. Have someone spot you if needed.
Step 2: Dust First
Before using any liquid, dust the cabinets. Use a dry microfiber cloth. Start from the top and work down. This removes loose dirt.
Pay special attention to the top edges. These areas collect dust you cannot see. Use a soft brush for corners.
Vacuum with a brush attachment. This works well for tops and tight spots. It picks up dust without spreading it.
Dusting first prevents scratching. When you add water, dust turns into mud. This can scratch the finish. So always dust before wet cleaning.
Step 3: Make Your Cleaning Solution
You can buy cabinet cleaners. But homemade solutions work just as well. They are cheaper and safer for most surfaces.
Here are some options:
For General Cleaning:
Mix warm water with a few drops of mild dish soap. This works for most cabinet types. The soap cuts through grease without damage.
For Extra Grease:
Mix equal parts white vinegar and water. Add a few drops of dish soap. Vinegar dissolves grease and leaves no residue.
For Stubborn Stains:
Make a paste with baking soda and water. Apply to stains and let sit. Then wipe off gently.
For Wood Finishes:
Mix olive oil and vinegar in a 3:1 ratio. This feeds the wood while cleaning. Use a small amount.
Step 4: Clean the Doors and Frames
Now you are ready to clean kitchen cabinets properly. Dip your cloth in the solution. Wring it out well. The cloth should be damp, not wet.
Wipe each door from top to bottom. Work in the direction of the wood grain if applicable. Rinse the cloth often in clean water.
Do not let water pool on surfaces. Wipe with a dry cloth after each section. This prevents moisture damage.
For handles and knobs, use a small brush. These areas collect grease and grime. An old toothbrush works great. Dip it in soapy water and scrub lightly.
Important Tip: Change your cleaning water when it gets dirty. Using dirty water spreads grime around. Fresh water makes the job easier.
Step 5: Clean Inside the Cabinets
Most people forget the inside. But the inside needs cleaning too. Crumbs and spills can build up there.
Remove all items from the cabinets. Check expiration dates on food. Wipe down containers before putting them back.
Wipe the shelves with your damp cloth. Pay attention to corners. Let shelves dry completely before replacing items.
For stubborn spots inside, use your baking soda paste. Leave it on for a few minutes. Then scrub gently and wipe clean.
Step 6: Clean the Top Surfaces
Cabinet tops are often forgotten. They collect a lot of grease and dust. This is especially true near the stove.
Use a degreaser or vinegar solution here. The grease may be thick. You might need to let the cleaner sit for a few minutes.
Wipe with a cloth. You may need several passes. If the buildup is heavy, use a soft scrub pad. Be gentle to avoid scratching.
For cabinets that go to the ceiling, this step is faster. But you can still check for dust at the very top.
“Many people only clean the front of their cabinets. But the top and inside need attention too. This is where hidden dirt lives.” – Mark Thompson, Professional Cleaner.
Step 7: Rinse and Dry
After cleaning, you need to rinse. Soap residue can attract dust. It can also leave a film on your cabinets.
Use a clean cloth with plain water. Wring it out well. Wipe each surface to remove soap.
Then dry with a soft towel. Use a clean microfiber cloth. Make sure no moisture remains.
For wood cabinets, drying is very important. Excess moisture can cause damage. Spend extra time on this step.
Step 8: Polish (Optional)
After you clean kitchen cabinets properly, you can add polish. This gives them extra shine and protection.
For wood cabinets, use furniture polish. Apply a small amount to a cloth. Buff it into the wood with circular motions.
For painted cabinets, skip the polish. It can leave a sticky film. Instead, wipe with a damp cloth to keep them looking fresh.
Laminate cabinets do not need polish. Just keep them clean and dry.
Deep Cleaning for Greasy Cabinets
Some cabinets get very greasy. This is common near the stove. Regular cleaning may not be enough. You need a deep clean.
What Causes Heavy Grease
Cooking creates airborne grease. Frying and sautéing make the most. This grease travels through the air. It settles on nearby surfaces.
Over time, this grease builds up. It becomes a sticky, brown layer. It can be very hard to remove.
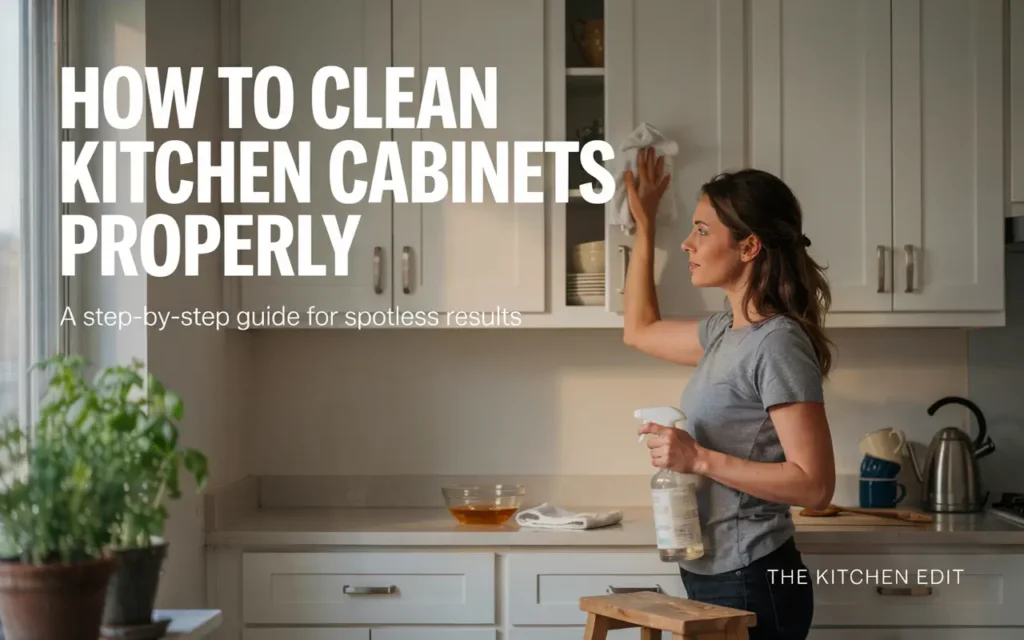
How to Remove Heavy Grease
Start with the strongest safe cleaner. Vinegar and water is a good start. For very heavy grease, use a degreaser.
Apply the cleaner and let it sit. Wait 5 to 10 minutes. This gives the cleaner time to break down the grease.
Scrub with a non-scratch sponge. Work in small circles. The grease should start to lift.
Wipe with a clean cloth. Rinse and repeat as needed. It may take several passes.
For really stubborn grease, use a plastic scraper. Gently scrape the thickest areas. Then clean again with your solution.
Always test any new cleaner in a hidden spot. This prevents damage to the finish.
Daily and Weekly Maintenance
Cleaning cabinets is easier with regular care. A quick daily wipe makes deep cleaning easier.
Daily Habits
Wipe cabinet fronts after cooking. Use a damp cloth. This removes fresh grease before it sets.
Clean handles and knobs often. These are touched all the time. They can carry germs.
Wipe up spills right away. Do not let them sit on the surface.
Weekly Care
Dust cabinet tops once a week. Use a microfiber cloth or dusting wand.
Check for spots or marks. Clean them before they become stains.
Wipe inside shelves quickly. Remove any crumbs or debris.
Monthly Cleaning
Do a more thorough cleaning once a month. Follow all the steps we covered.
Check for any damage. Look for peeling, cracking, or rust.
Deep clean the area near the stove. This gets the most grease.
Special Tips for Different Finishes
We covered basic methods. But each finish needs special care.
Unfinished Wood
Unfinished wood is rare today. But some cabinets have it. They need extra care.
Do not use water on unfinished wood. It will soak in and stain. Use a wood cleaner designed for unfinished surfaces.
Apply wood oil to protect the surface. This helps prevent stains and water damage.
High-Gloss Painted Cabinets
These are beautiful but delicate. They show every fingerprint and smudge.
Use a glass cleaner for a streak-free finish. Spray on the cloth, not the cabinet. This prevents overspray.
Wipe gently in one direction. Do not use circular motions. This prevents visible swirl marks.
Antique Cabinets
Antique cabinets need gentle care. They may have special finishes or hardware.
Avoid water on old finishes. Use a dry dusting method most of the time.
For cleaning, use a small amount of mineral spirits. This works on old varnishes. Test it first.
Do not remove original hardware. Clean it in place carefully.
Metal Cabinets
Some kitchens have metal cabinets. These are usually in industrial-style kitchens.
Use a mild soap solution. Rinse well and dry completely.
Watch for rust. If you see any, treat it right away. Use a rust remover safe for metal.
Common Mistakes to Avoid
People often make mistakes when cleaning cabinets. Here are some to watch for.
Using Too Much Water
This is the most common mistake. Water damages wood and some laminates. It can cause swelling, peeling, and warping.
Always wring out your cloth well. Use as little water as possible.
Scrubbing Too Hard
Scrubbing hard does not help. It can scratch the finish. Instead, let the cleaner do the work.
Use a soft touch. If the dirt stays, use a stronger cleaner. Do not scrub harder.
Using Harsh Chemicals
Some cleaners are too strong. They can strip the finish. They can also cause discoloration.
Stick to mild, pH-balanced cleaners. Test new products in a hidden spot.
Not Drying Properly
Leaving moisture on cabinets is bad. It can cause water spots. It can also lead to damage.
Always dry cabinets after cleaning. Use a clean, dry towel.
Skipping Regular Cleaning
Waiting too long makes cleaning harder. Grease and dirt build up. They become stubborn over time.
Clean on a regular schedule. This keeps the job easy.
The Best Cleaning Products for Cabinets
You do not need many products. But some are better than others.
Recommended Products
- Mrs. Meyer’s Clean Day – Gentle and smells nice.
- Method All-Purpose Cleaner – Plant-based and safe.
- Murphy’s Oil Soap – Great for wood cabinets.
- Simple Green – Good degreaser.
- Weiman Cabinet Cleaner – Made specifically for cabinets.
Homemade Options
- Vinegar and water
- Baking soda paste
- Olive oil and vinegar for wood
- Rubbing alcohol and water for grease
Products to Avoid
- Bleach (damages finishes)
- Ammonia (can discolor)
- Citrus cleaners (may strip finish)
- Abrasive powders (scratch surfaces)
How Often to Clean Kitchen Cabinets Properly
The frequency depends on your kitchen use. Here is a simple schedule.
Light Cooking
If you cook occasionally, clean monthly. Dust weekly.
Regular Cooking
If you cook daily, clean every two weeks. Dust weekly.
Heavy Cooking
If you fry often or cook daily, clean weekly. Dust weekly. Deep clean monthly.
Seasonal Cleaning
Do a deep clean twice a year. This includes inside shelves and cabinet tops.
| Cleaning Frequency | Task |
|---|---|
| Daily | Wipe fronts and handles after cooking |
| Weekly | Dust tops, wipe visible spots |
| Monthly | Full clean of doors and shelves |
| Twice Yearly | Deep clean including inside and tops |
Dealing with Stubborn Stains
Sometimes you will face stubborn stains. Here is how to handle them.
Grease Stains
Use a degreaser. Apply and let sit for 10 minutes. Wipe and repeat if needed.
Water Rings
These happen on wood. Use a cloth and iron method. Place a cloth over the ring. Iron on low heat. The heat lifts the moisture.
Ink or Marker
Rubbing alcohol works. Apply to a cloth and blot. Do not rub hard.
Food Stains
Baking soda paste works well. Apply and let sit. Then wipe clean.
Scratches
For wood, use a scratch cover. These are crayons or markers. They fill in the scratch. For painted cabinets, touch-up paint works.
Cleaning Cabinet Hardware
Your handles and knobs also need cleaning. They touch hands often. They collect oils and dirt.
How to Clean Hardware
Remove the hardware if possible. This makes cleaning easier. Soak in warm soapy water. Scrub with an old toothbrush.
Rinse and dry well. Then reattach.
For brass or copper, use a specialty polish. Follow the product instructions.

Without Removing
If you cannot remove hardware, clean in place. Dip a cloth in soapy water. Wipe around the hardware. Use a brush for tight spots.
Rinse with a damp cloth. Dry completely.
Keeping Cabinets Clean Longer
After you clean kitchen cabinets properly, you want them to stay clean. Here are tips.
Use Range Hood
Cook with your range hood on. It captures grease before it spreads. This reduces buildup on cabinets.
Wipe Spills Quickly
Do not let spills sit. Clean them right away. This prevents stains.
Use Cabinet Liners
Liners protect shelf surfaces. They catch spills and crumbs. You can remove and wash them.
Keep Grease Down
Use a splatter screen when frying. This catches grease in the pan. Less grease reaches your cabinets.
Avoid Touching with Dirty Hands
Wash hands before opening cabinets. This reduces oil transfer.
Eco-Friendly Cleaning Options
You can clean cabinets in an earth-friendly way. These methods are safe for you and the planet.
Vinegar and Water
This simple mix works great. It cuts grease and leaves no residue. White vinegar is cheap and natural.
Baking Soda
Baking soda is a gentle abrasive. It lifts stains without scratching. It also absorbs odors.
Castile Soap
This plant-based soap is gentle. It cleans well without harsh chemicals. Mix with water for a safe cleaner.
Essential Oils
Add a few drops to your cleaner. They add a pleasant scent. They also have antibacterial properties.
Olive Oil
For wood cabinets, olive oil is great. It cleans and conditions. Use with vinegar for a natural polish.
When to Call a Professional
Most cabinet cleaning is a DIY job. But sometimes you need help.
Signs You Need a Pro
- The finish is peeling or cracked
- There is water damage
- The cabinets are very old or delicate
- You see signs of mold
- You have tried cleaning but the grime stays
What Professionals Offer
They use special products. They have equipment to reach high places. They can also repair damage.
Cost Considerations
Professional cleaning costs more than DIY. But it can save you money in the long run. It protects your cabinets from damage.
Frequently Asked Questions
Can I use vinegar to clean kitchen cabinets properly?
Yes, vinegar works well. Mix equal parts vinegar and water. Add a drop of dish soap. Vinegar cuts grease and leaves a streak-free finish. But do not use it on unsealed wood. Test it in a hidden spot first.
How do I clean greasy kitchen cabinets without damaging them?
Use a degreaser or vinegar solution. Let it sit for a few minutes. Wipe gently with a soft cloth. Avoid scrubbing too hard. For very greasy spots, use a baking soda paste. Rinse and dry well after cleaning.
What is the best way to clean wood kitchen cabinets?
Use a mild soap and water solution. Wring your cloth out well. Wipe in the direction of the wood grain. Dry immediately with a clean towel. Apply wood polish occasionally to protect the finish.
How often should I clean my kitchen cabinets?
Clean the fronts once a month for light cooking. Clean every two weeks for regular cooking. Clean weekly if you cook often. Dust the tops weekly. Do a deep clean twice a year.
Can I use bleach on kitchen cabinets?
No, bleach is too harsh. It can damage the finish. It can also cause discoloration. Use mild soap and water instead. For sanitizing, use a vinegar solution.
How do I clean inside kitchen cabinets?
Remove all items first. Wipe shelves with a damp cloth. Use a soft brush for corners. For sticky spots, use baking soda paste. Let shelves dry completely before putting items back.
What should I avoid when cleaning cabinets?
Avoid abrasive pads, steel wool, and harsh chemicals. Do not use too much water. Avoid citrus-based cleaners on some finishes. Always test new products in a hidden spot.
How do I keep kitchen cabinets from getting greasy?
Use your range hood when cooking. Wipe cabinet fronts after each cooking session. Clean spills immediately. Use a splatter screen when frying.
Can I use olive oil on my cabinets?
Yes, olive oil works on wood cabinets. Mix with vinegar in a 3:1 ratio. Apply a small amount. Buff it into the wood. This feeds the wood and adds shine. Do not use on painted cabinets.
How do I get sticky residue off cabinets?
Use a baking soda paste. Apply to the sticky area. Let it sit for a few minutes. Wipe gently with a damp cloth. For grease, use vinegar and water.
Conclusion
Now you know how to clean kitchen cabinets properly. It is not hard. You just need the right method for your cabinet type. Regular cleaning keeps them looking new. It also protects your investment.
Start by gathering your supplies. Dust first, then clean with a gentle solution. Work from top to bottom. Do not forget the inside and top surfaces. Dry everything well after cleaning.
Choose the right method for your cabinet finish. Wood needs gentle care with minimal water. Painted cabinets need soft cloths. Laminate can handle more moisture but avoid scratching. Glass-front cabinets need separate care for the glass and frame.
Remember to maintain your cabinets daily. Wipe fronts after cooking. Clean spills right away. Dust tops weekly. This prevents grime buildup. Deep clean twice a year for best results.
The key is to be gentle and consistent. Use safe products. Avoid harsh chemicals and abrasive tools. Test new cleaners first. Let the cleaner do the work, not your scrubbing.
Your kitchen will look better and stay cleaner. You will feel good when you open your cabinets. They will be fresh and welcoming. And your whole kitchen will look brighter.
So give your cabinets the care they need. You will see the difference. And you will be proud of your clean, beautiful kitchen.
“Regular cabinet maintenance is not a chore. It is a way to keep your kitchen looking beautiful and your home healthy.” – Lisa Chen, Interior Design Expert.
Quick Reference Guide
Basic Cleaning Steps
- Clear the area
- Dust all surfaces
- Make your cleaning solution
- Clean doors and frames
- Clean inside shelves
- Clean top surfaces
- Rinse and dry
- Polish if needed
Daily Maintenance
- Wipe fronts after cooking
- Clean handles and knobs
- Wipe spills immediately
Monthly Maintenance
- Full cabinet cleaning
- Check for damage
- Deep clean near stove
Products to Use
- Mild dish soap
- White vinegar
- Baking soda
- Olive oil (for wood)
- Rubbing alcohol
Products to Avoid
- Bleach
- Ammonia
- Citrus cleaners
- Abrasive pads
- Steel wool
Take these tips and apply them. Your cabinets will thank you. And so will everyone who sees your beautiful kitchen.
Related posts
 Why Do Dogs Stare at Walls? Common Causes and When to Worry
Wondering why do dogs stare at walls? Discover the sensory, behavioral, and medical reasons behind this behavior, and learn when to contact your veterinarian. When you…
 How to Test Car Wiring for Continuity Using a Multimeter
Learn how to test car wiring for continuity safely. Find broken automotive wires, check connector ports, and diagnose electrical issues with a multimeter. Testing car wiring…
 Why Organizing Space Reduces Stress: The Mental Clarity Connection
Discover why organizing space reduces stress. Learn how a tidy environment lowers cortisol, improves focus, and creates a sense of calm in your daily life. Organizing…