
How To Change Oil At Home Tools Needed
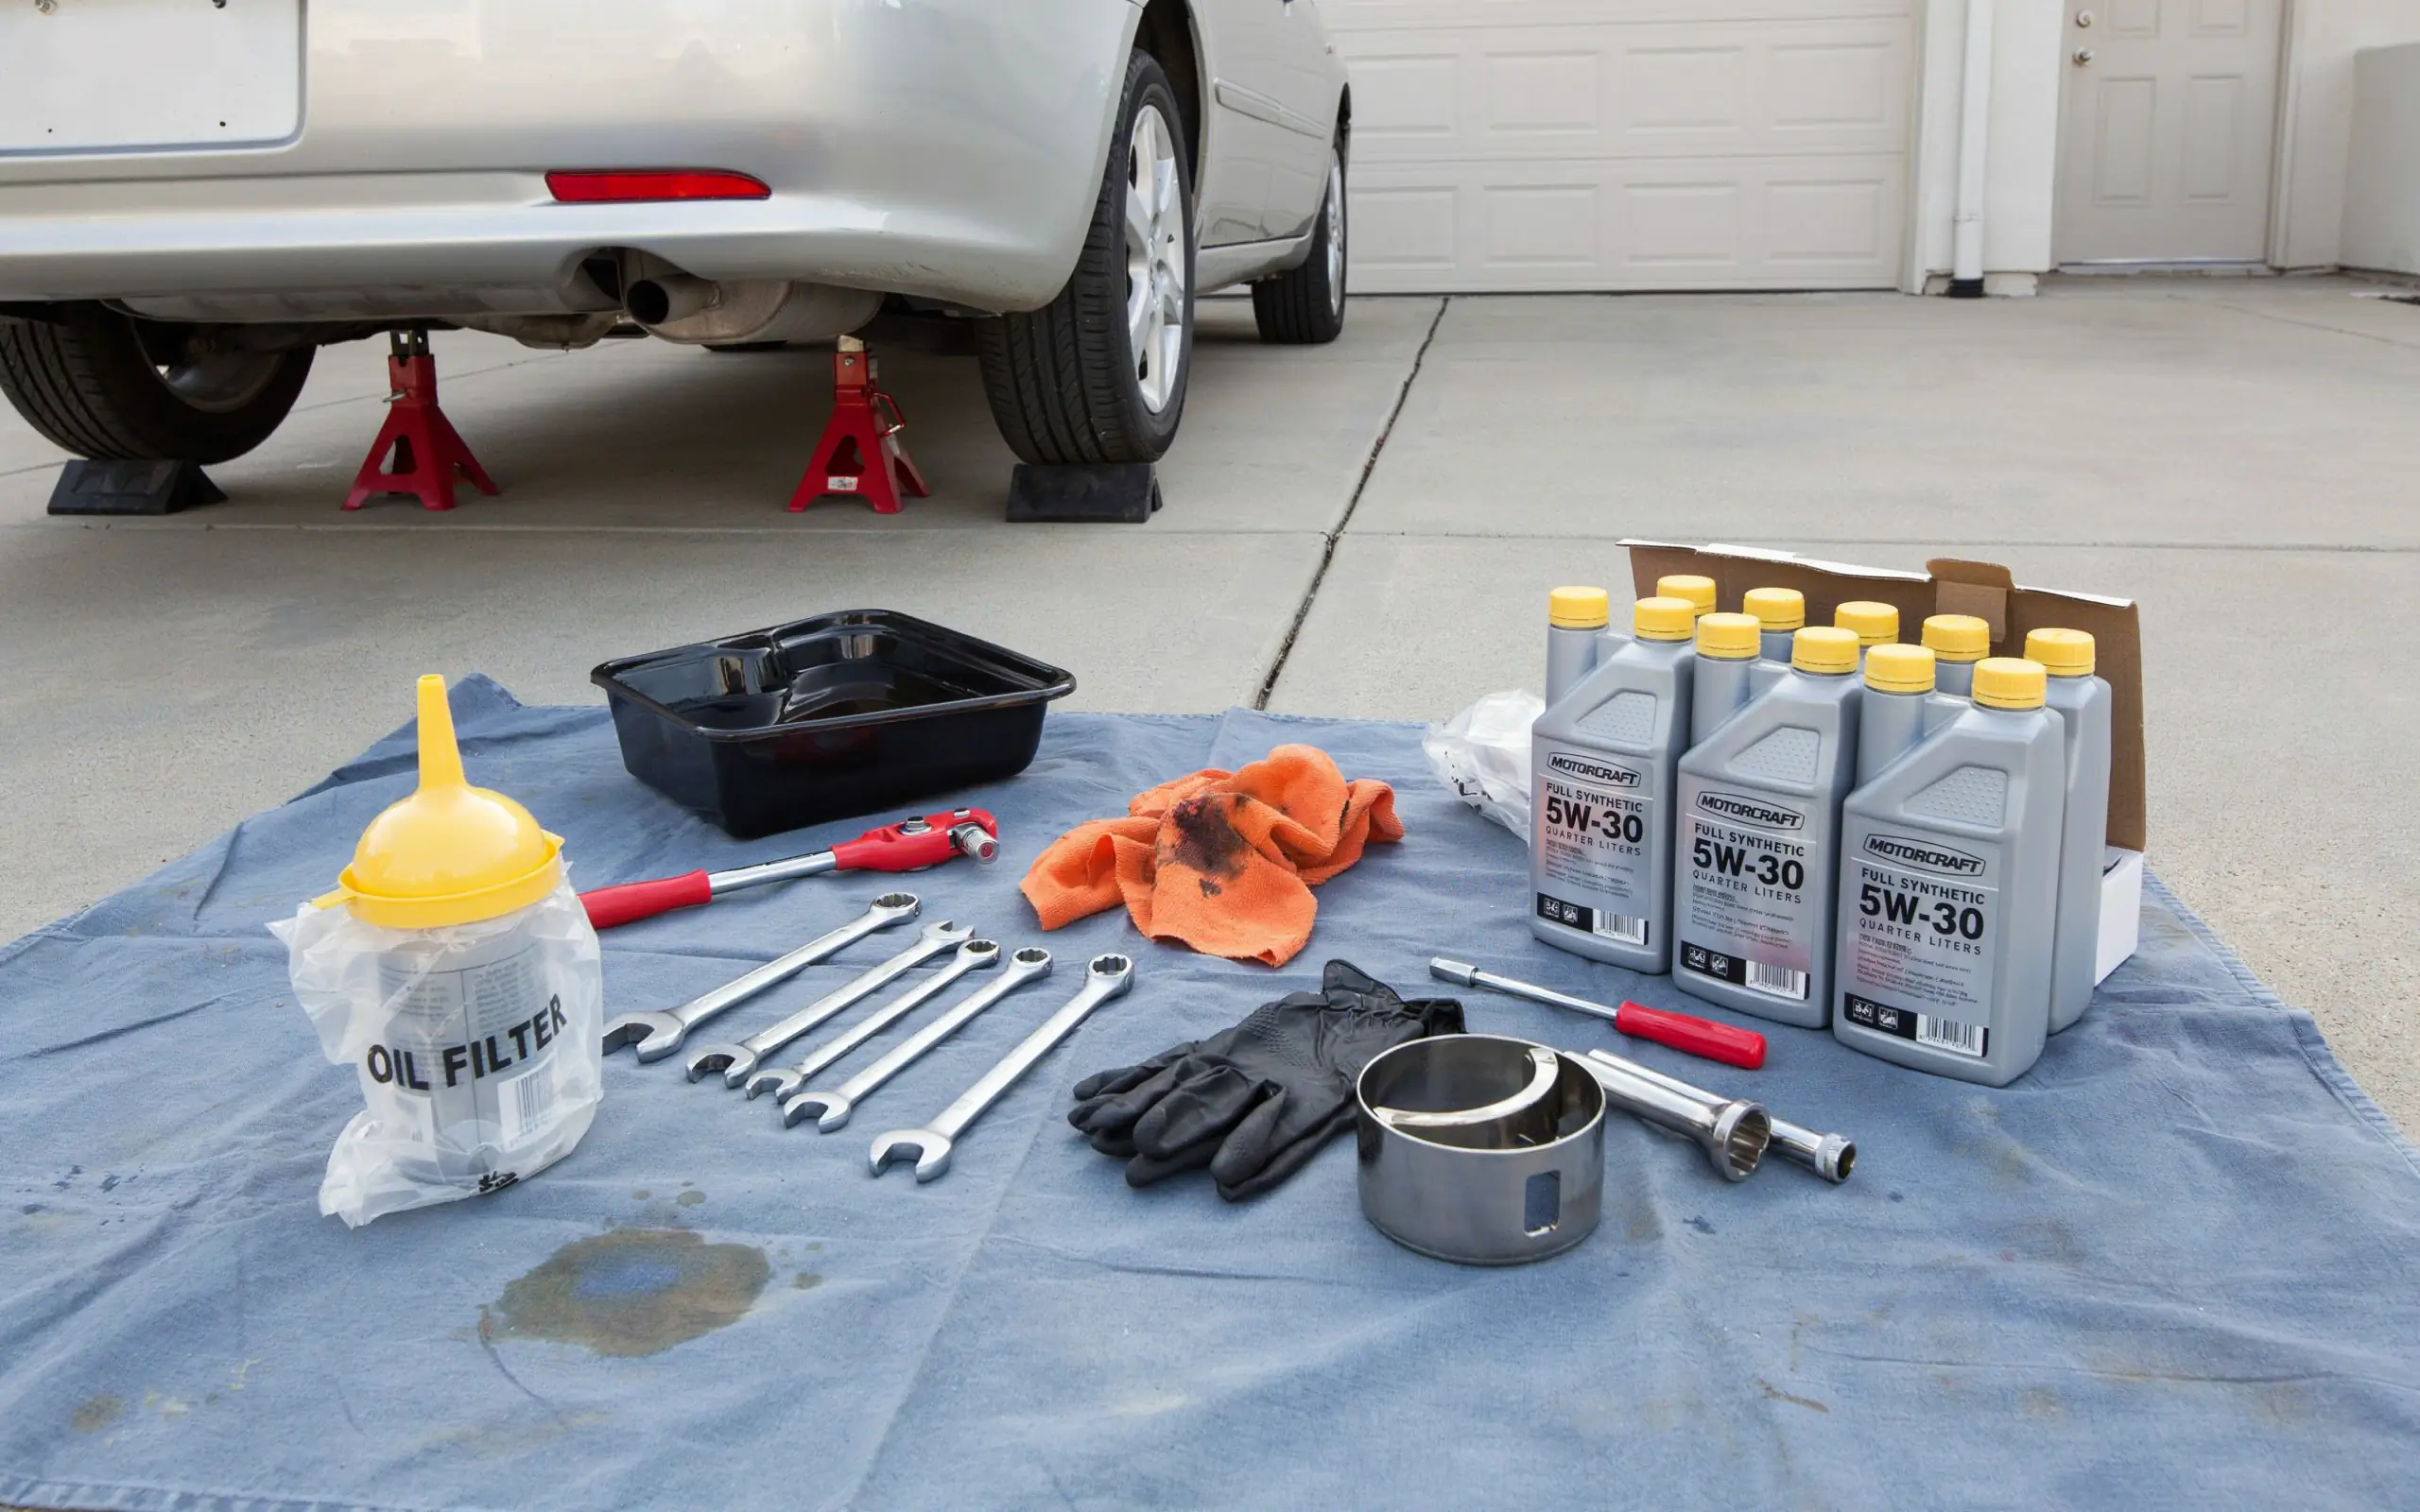
If you want to change oil at home tools needed are the first thing to gather. This guide covers every tool, step-by-step instructions, safety tips, and how to dispose of used oil properly.
There is a special feeling that comes with taking care of your own car. It is not just about saving money, although that is a big part of it. When you learn how to change oil at home, you gain a better understanding of your vehicle. You know exactly what is going into your engine. You are not waiting in a crowded shop for hours. You are in control.
The good news is that changing your oil is one of the easiest maintenance tasks you can do. It does not require a degree in mechanics. It does not require expensive equipment. What it does require is the right preparation. Knowing the change oil at home tools needed before you start makes the whole process smooth and enjoyable. Many people feel nervous the first time they try. That is normal. But once you do it, you will wonder why you did not start sooner.
Changing your own oil can save you between forty and eighty dollars each time. Over a year, that adds up to real money. More than that, you get the satisfaction of doing the job yourself. You also avoid the risk of a shop making a mistake on your car. When you do it yourself, you know it is done right.
“Taking care of your own car is one of the most empowering things you can do as a driver. It connects you to your vehicle in a way that just driving it never can.” – Robert Thompson, Automotive Instructor
Before we get into the step-by-step process, let us look at exactly what you need. This is the most important part. If you have the right tools, the job is simple. If you do not, it can become frustrating. Let us make sure you are fully prepared.
The Complete List of Change Oil at Home Tools Needed
Let us start with the basics. You do not need a full professional garage to do this job. You can do it in your driveway or garage with a fairly short list of items. The change oil at home tools needed fall into a few categories: safety equipment, draining tools, and refilling tools.
Here is a simple table to show you the essential tools and what each one does.
| Tool | Purpose |
|---|---|
| Jack and jack stands or ramps | Lift and support the car safely |
| Socket wrench set | Remove the oil drain plug |
| Oil filter wrench | Remove the old oil filter |
| Oil drain pan | Catch the old oil as it drains |
| Funnel | Pour new oil without spilling |
| Gloves and shop towels | Keep your hands clean and wipe up messes |
These are the core items. With just these, you can complete the job on most cars. Let us look at each one in more detail so you know exactly what to buy.
Lifting and Supporting Your Car
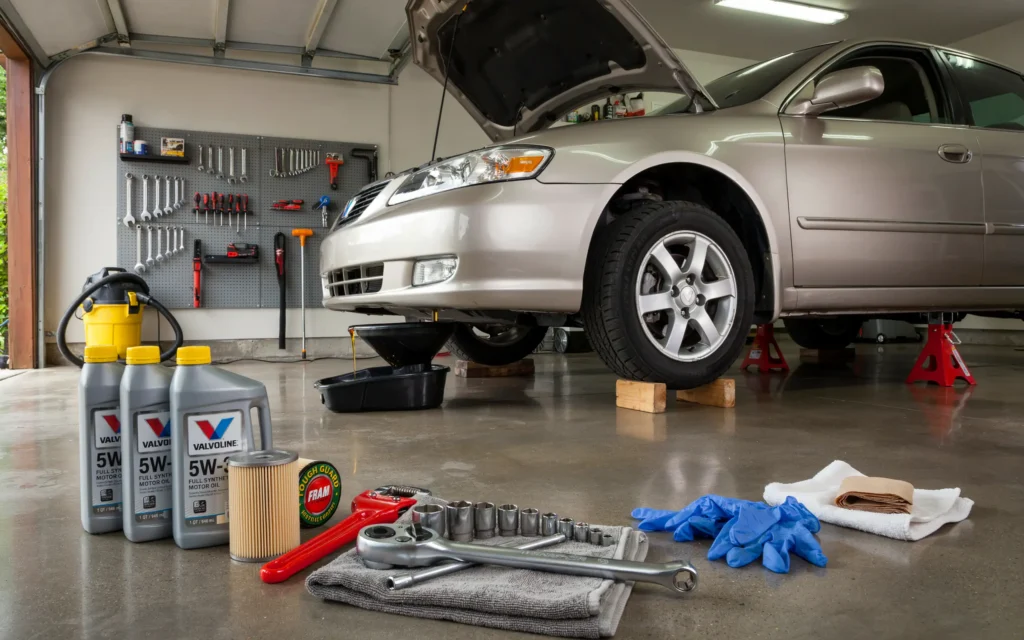
This is the first thing to think about. You need to get under your car to reach the oil drain plug and the oil filter. Some trucks and SUVs have enough ground clearance that you can slide under without lifting. But for most cars, you will need to raise the vehicle.
You have two main options here. The first is a set of ramps. You simply drive the front wheels up onto the ramps. They are stable and easy to use. The second option is a floor jack and jack stands. You use the jack to lift the car, then place jack stands under the frame for support.
Never work under a car that is only supported by a jack. Jacks can fail. Jack stands are designed to hold the weight safely. Always use jack stands or ramps. Also use wheel chocks behind the rear wheels to prevent the car from rolling. Safety is not something to skip.
Removing the Drain Plug
The oil drain plug is a bolt on the bottom of your oil pan. You need a tool to remove it. Most cars use a standard bolt head. A socket wrench set is the best choice. You will need the right size socket. Many cars use metric sizes, usually between 13 and 19 millimeters.
A ratchet makes the job faster because you do not have to remove the tool from the bolt with every turn. If you are just starting out, a 3/8-inch drive socket set is a good choice. It will handle most oil change tasks.
Some cars have a different type of drain plug. It might be a hex head or even a square head. Check your owner’s manual to know what you need. Having the right socket or wrench is one of the key change oil at home tools needed for a successful oil change.
Removing the Old Oil Filter
The oil filter can be tricky. It is often screwed on very tightly. You cannot always get a good grip with your bare hands. That is where an oil filter wrench comes in. This tool is designed specifically to grip and turn oil filters.
There are several types of oil filter wrenches. Cap wrenches fit over the end of the filter like a socket. They are great when you have limited space. Strap wrenches use a strap that wraps around the filter. They work on filters of different sizes. Pliers-type wrenches grip the filter from the side. They are versatile and good for filters in tight spots.
If you are not sure which type to get, an adjustable strap wrench or a pair of oil filter pliers are good choices. They work on many different vehicles. This tool is one of the most important change oil at home tools needed because without it, you might not be able to remove the old filter.
Catching the Old Oil
You need something to catch the oil when it drains out. An oil drain pan is the standard tool for this. It is a wide, shallow container that fits under your car. Make sure it is large enough to hold all the oil in your engine. Some engines hold five quarts or more.
Many drain pans have a spout for pouring the old oil into a container for disposal. Some even have a built-in lid to keep the oil from spilling. Choose one that feels sturdy and is easy to handle.
Adding the New Oil
Once the old oil is drained, you need to add the new oil. A funnel is essential here. It fits into the oil fill hole on top of your engine. It guides the new oil in without spilling it all over the engine. This saves you from a messy cleanup. A simple plastic funnel works perfectly. Some funnels have a flexible spout that makes it easier to reach awkward fill holes.
Keeping Things Clean
Oil changes can be messy. Gloves protect your hands from hot oil and chemicals. Nitrile gloves are a good choice because they are tough and resist oil. Shop towels or rags are also important. You will use them to wipe off the drain plug, clean up spills, and check the oil level on the dipstick.
Having these items on hand makes the whole experience cleaner and more pleasant. They are small things, but they make a big difference.
Optional but Helpful Tools
The list above covers the basics. But there are a few extra tools that can make the job easier or safer. These are not strictly required, but they are good to have.
| Optional Tool | Why It Is Helpful |
|---|---|
| Torque wrench | Tighten the drain plug to the exact specification |
| Breaker bar | Provides extra leverage for stubborn drain plugs |
| Creeper | Lets you slide under the car more comfortably |
| Safety glasses | Protects your eyes from dripping oil |
| Oil filter drain tool | Catches oil that spills when you remove the filter |
A torque wrench is a great investment. It lets you tighten the drain plug to the manufacturer’s specified torque. This prevents overtightening, which can strip the threads in your oil pan. Stripped threads are a costly repair. A breaker bar is a long handle that fits on your socket wrench. It gives you extra leverage if the drain plug is stuck.
A creeper is a flat board with wheels. You lie on it and roll under the car. It is much more comfortable than lying on the cold ground. Safety glasses are always a good idea when working under a car. Oil can drip into your eyes. An oil filter drain tool fits over the filter and drains the oil inside it before you remove it. This reduces spills.
While not a tool, having your owner’s manual handy is also very helpful. It tells you the correct oil type, the correct filter, and the correct torque for the drain plug.
Choosing the Right Oil and Filter
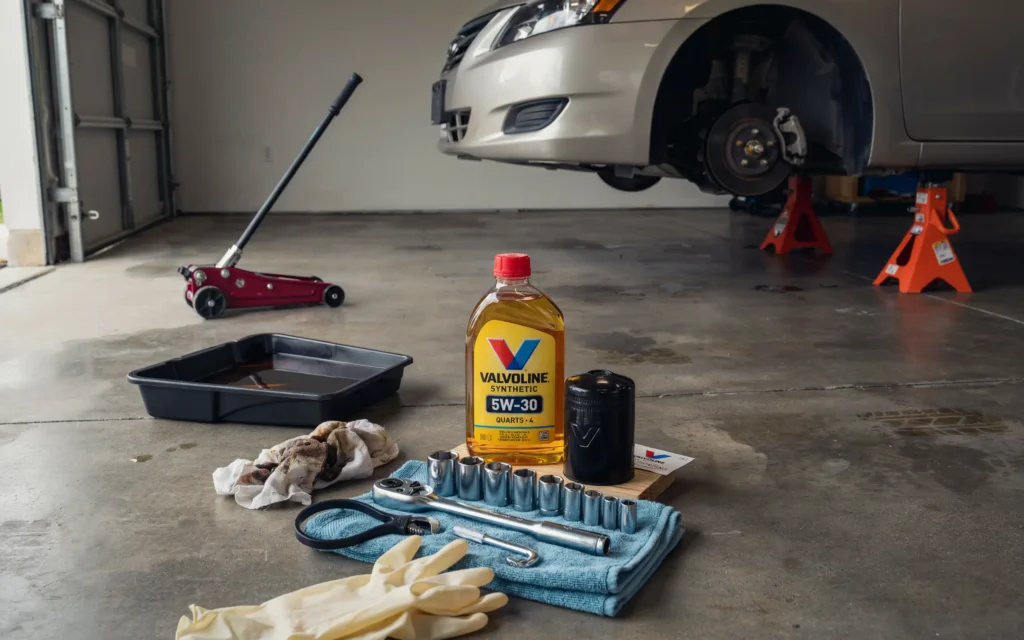
You cannot change your oil without oil. And you should always change the filter at the same time. The filter traps dirt and debris that the oil picks up as it circulates through the engine. If you only change the oil, the old filter will contaminate the new oil.
Your owner’s manual tells you exactly what type of oil your engine needs. It will specify a viscosity grade, like 5W-30 or 10W-40. The “W” stands for winter. The first number is the oil’s thickness at cold temperatures. The second number is its thickness at high temperatures. Using the wrong viscosity can hurt your engine’s performance and longevity.
You also need to choose between conventional oil and synthetic oil. Synthetic oil lasts longer and performs better in extreme temperatures. It costs more, but many drivers find it is worth the extra money. Some cars require synthetic oil. Check your manual.
For the oil filter, you have options too. You can buy the filter from your car’s dealership. Or you can buy a filter from a parts store. Many good brands make filters that meet or exceed the original equipment specifications. Make sure the filter you buy is the correct one for your car.
Step-by-Step Guide to Changing Your Oil
Now that you have all the change oil at home tools needed and your oil and filter, it is time to do the job. Follow these steps carefully. Take your time. There is no rush.
Step 1: Warm Up the Engine
Start your car and let it run for a few minutes. You want the oil to warm up so it flows more easily. Do not let the engine get too hot. Just run it until the temperature gauge starts to move. Warm oil drains faster and more completely than cold oil. Turn off the engine and let it cool for a few minutes before you start working. Hot oil can burn you.
Step 2: Prepare the Car
Park your car on a level, solid surface. Engage the parking brake. If you are using ramps, drive the front wheels onto them carefully. If you are using a jack and stands, lift the front of the car and place the stands securely under the frame. Place wheel chocks behind the rear wheels. Open the hood of your car.
Step 3: Locate the Drain Plug and Oil Filter
Get under the car and find the oil pan. It is a metal pan at the bottom of the engine. The drain plug is a bolt at the lowest point of the pan. Find the oil filter as well. It may be on the side or bottom of the engine. Some cars have a plastic cover under the engine that you need to remove first. If you are unsure, check your owner’s manual.
Step 4: Drain the Old Oil
Place your oil drain pan directly under the drain plug. Use your socket wrench to loosen the drain plug. Turn it counterclockwise. Do not remove it completely yet. Once it is loose, use your fingers to turn it the rest of the way. Be ready for the oil to start flowing. Remove the plug quickly and move your hand out of the way. The oil will pour out into the pan. Let it drain for several minutes. While it is draining, you can remove the oil fill cap on top of the engine. This helps the oil drain faster.
Step 5: Replace the Drain Plug
Once the oil has stopped dripping, clean the drain plug with a rag. Check the washer on the plug. Many plugs have a copper washer that should be replaced each time. If yours looks worn, put a new one on. Thread the drain plug back into the oil pan by hand. This prevents cross-threading. Once it is hand-tight, use your wrench to tighten it. Do not overtighten. If you have a torque wrench, use it to tighten the plug to the specification in your manual.
Step 6: Remove the Old Oil Filter
Position your oil drain pan under the oil filter. Use your oil filter wrench to loosen the filter. Turn it counterclockwise. It may be very tight. Once it is loose, finish removing it by hand. Be careful. The filter is full of oil. It will spill when you tilt it. Let the oil drain into the pan. Wipe the mounting surface on the engine with a clean rag. Make sure the old gasket from the filter did not stick to the engine. If it did, remove it.
Step 7: Install the New Oil Filter
Take your new oil filter. Put a small amount of fresh oil on the rubber gasket at the top of the filter. This helps it seal properly. Screw the new filter onto the engine by hand. Turn it until the gasket touches the mounting surface. Then tighten it according to the instructions on the filter. Usually, this is three-quarters to one full turn after the gasket touches. Do not use a wrench to tighten the filter. Hand-tight is usually enough.
Step 8: Add the New Oil
Lower your car off the jacks or ramps. Open the hood and remove the oil fill cap. Place your funnel in the fill hole. Pour in the new oil. Check your manual for the correct amount. Start with about four quarts, then check the level. Add more as needed. Replace the oil fill cap.
Step 9: Check the Oil Level and Start the Engine
Start your car and let it run for about a minute. Watch the oil pressure light on your dashboard. It should go out after a few seconds. Turn off the engine and wait a minute for the oil to settle. Pull out the dipstick, wipe it clean, and insert it again. Pull it out and check the level. It should be between the two marks. Add more oil if needed.
Step 10: Check for Leaks
Get under the car and check the drain plug and oil filter for leaks. If you see any drips, tighten the plug or filter a little more. Wipe up any spilled oil. Check the oil level one more time.
Safety Tips for Changing Oil at Home
Safety is important. Here are some key things to remember.
Always use jack stands. A jack is for lifting. Jack stands are for holding. Never get under a car supported only by a jack.
Wear gloves. Used motor oil contains harmful substances. Gloves protect your skin.
Wear safety glasses. Oil can drip into your eyes. Safety glasses are cheap protection.
Work in a well-ventilated area. Oil fumes can be strong. Open your garage door.
Let the engine cool. Hot oil can burn you. Wait a few minutes after warming the engine before you start draining.
Dispose of oil properly. Do not pour it down the drain or on the ground. We will cover this in the next section.
How to Dispose of Used Motor Oil
This is a critical step. Used motor oil is toxic. It can contaminate groundwater and harm the environment. You must dispose of it correctly.
Never pour used oil down the drain, into the sewer, or onto the ground. This is illegal in many places and harmful to the environment.
The right way to dispose of used oil is to take it to a recycling center. Many auto parts stores accept used oil for free. Some local garages also accept it. Put the used oil back into the containers the new oil came in. Seal the containers tightly. Take them to a collection point.
You should also recycle the oil filter. Punch a hole in the top of the filter and let it drain into your oil pan. Then take the filter to the same recycling center. Many places that accept oil also accept filters.
“Proper disposal of used oil is not just a good idea. It is our responsibility as car owners to protect the environment for everyone.” – Dr. Sarah Chen, Environmental Scientist
Common Mistakes to Avoid
Even with the right change oil at home tools needed, mistakes can happen. Here are some common ones to watch out for.
Forgetting to replace the drain plug washer. This small washer creates a seal. If it is old and worn, it can leak. Replace it with each oil change.
Overtightening the drain plug. This can strip the threads in the oil pan. That is an expensive repair. Use a torque wrench if you have one.
Double-gasketing the oil filter. Sometimes the old filter’s gasket sticks to the engine. If you install the new filter without removing it, you have two gaskets. This causes a massive oil leak. Always check the mounting surface.
Adding too much oil. Too much oil can damage your engine. Add oil gradually and check the level often.
Not warming the engine. Cold oil drains slowly and leaves old oil in the engine. Warm the engine for a few minutes first.
Using the wrong oil. Check your manual. Using the wrong viscosity can hurt your engine.
How Often Should You Change Your Oil?
This is a common question. The old rule was every 3,000 miles. But that has changed. Most modern cars can go 5,000 to 7,500 miles between changes. Some synthetic oils can last even longer. Check your owner’s manual for the recommended interval for your car.
Your driving habits also matter. If you do a lot of short trips, stop-and-go driving, or towing, you may need to change your oil more often. This is called severe service. Many manuals have a separate schedule for severe service.
Changing your oil more often than needed does not hurt your engine. It just costs more. Follow your manual’s recommendation and you will be fine.
Saving Money by Doing It Yourself
One of the best reasons to change your own oil is the money you save. A shop oil change can cost between fifty and one hundred dollars. When you do it yourself, you pay only for the oil and filter. That is usually twenty to forty dollars. You save the rest.
The tools are a one-time investment. Once you have the change oil at home tools needed, you can use them over and over. A good socket set, jack stands, and oil filter wrench will last for years. Over time, the savings add up significantly.
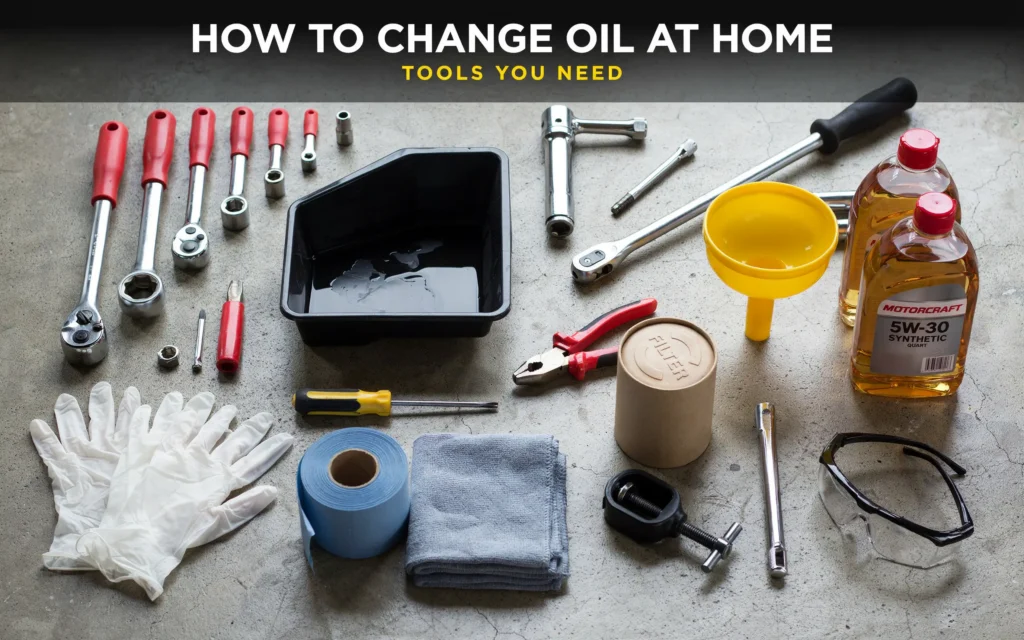
Beyond the money, there is the convenience. You do not have to make an appointment. You do not have to drive to a shop and wait. You can do the job on your own schedule. You can take your time and do it right. That is a valuable thing.
Frequently Asked Questions
What is the most important change oil at home tools needed?
The most important tool is a way to safely lift and support your car. Jack stands or ramps are essential. Without them, you cannot safely get under your car. After that, a socket wrench for the drain plug and an oil filter wrench are the next most important tools.
Can I change my oil without jacking up the car?
Some trucks and SUVs have enough ground clearance. You might be able to slide under without lifting. But for most cars, you need to lift it. Trying to do the job without enough room is difficult and unsafe.
What size socket do I need for the oil drain plug?
It varies by car. Most use metric sizes between 13 and 19 millimeters. Check your owner’s manual or look at the plug itself. A set of sockets will cover the size you need.
Do I really need an oil filter wrench?
You might get lucky and remove the filter by hand. But filters are often very tight. An oil filter wrench gives you the grip and leverage you need. It is one of the key change oil at home tools needed to avoid frustration.
How do I know what type of oil to use?
Your owner’s manual tells you the correct viscosity and type. You can also find this information on the oil fill cap under the hood. Some cars require synthetic oil. Do not guess. Use what the manufacturer recommends.
Can I mix different brands of oil?
Yes, you can mix brands. They are all compatible. But it is best to use the same brand and type for consistency.
How do I know when the oil filter is tight enough?
Screw it on by hand until the gasket touches the mounting surface. Then tighten it three-quarters to one full turn more. Do not use a wrench. Hand-tight is correct.
What should I do if I spill oil?
Clean it up immediately. Use kitty litter or an absorbent material to soak up the oil. Then sweep it up and dispose of it properly. Do not leave oil stains on your driveway.
Conclusion
Changing your oil at home is a skill that every driver can learn. It is not difficult. It does not require a lot of expensive equipment. What it does require is the right preparation and the right tools. Once you gather the change oil at home tools needed, the job becomes straightforward. You save money. You gain confidence. You know your car is getting the care it deserves.
Start with the basics: a way to lift your car safely, a socket wrench, an oil filter wrench, a drain pan, and a funnel. Add some gloves and shop towels. Choose the right oil and filter for your car. Follow the steps we have outlined. Take your time and be safe.
The first time you do it, you might feel a little nervous. That is okay. Everyone feels that way. But after you finish, you will feel a sense of accomplishment. You did it yourself. You did not need to pay someone else. You took control of your car’s maintenance.
“The best mechanic is the one who cares about your car the most. And that person is usually you.” – Michael Rodriguez, Master Mechanic
So go ahead. Gather your tools. Pick a sunny day. Change your oil. Your car will thank you. And so will your wallet.
Related posts
 How to Strengthen Weak Nails: A Practical Guide to Daily Care
Learn how to strengthen weak nails with simple daily habits, protective care, and targeted hydration. Restore your natural nail strength today. Weak, peeling, or brittle nails…
 What Sounds Do Cats Dislike? 7 Noises That Stress Your Pet
Discover what sounds do cats dislike and why. Learn how to protect your cat’s sensitive hearing from stressful household noises and high-frequency hums. Cats dislike sounds…
 Restoring Faded Black Clothing: Practical Methods and Reality Checks
Can you restore faded black clothing? Learn the difference between temporary color revival and permanent redyeing, plus how to prevent future fading. You can restore the…