How To Calibrate A Torque Wrench

To correctly calibrate a torque wrench, you need a vise, a torque tester or weight set, and basic math. This guide shows you how to calibrate a torque wrench step by step for accurate bolt tightening every time.
Have you ever tightened a bolt and wondered if it was really tight enough? Or maybe you worried it was too tight. That is a common concern for anyone who works on cars, bikes, or machinery. The tool that gives you confidence is a torque wrench. But like any precision tool, it can lose accuracy over time. That is why you need to know how to calibrate a torque wrench. This skill is easier than you think. And it keeps your work safe and reliable.
I remember my first torque wrench. I used it for months without checking anything. Then a bolt snapped. Another time, a wheel nut came loose. I learned the hard way that torque wrenches drift. Now I check my tools regularly. Let me show you how to do it. No fancy lab equipment required. Just some basic items and a little patience.
“A torque wrench that is not calibrated is just a fancy breaker bar.” – Carroll Smith, Author of Engineer to Win
Why You Should Calibrate a Torque Wrench
A torque wrench measures how much twisting force you apply to a fastener. Over time, the internal spring or mechanism wears. Dropping the tool or using it past its limit also causes errors. When your wrench is off, two bad things happen. Under‑tightening lets parts move and fail. Over‑tightening strips threads or breaks bolts. Neither is fun to fix.
Calibration means checking the wrench’s reading against a known standard. Then you adjust it to match. Most home mechanics never do this. But factories recommend checking every year or after 5,000 cycles. If you use your wrench often, you should calibrate a torque wrench even more frequently. The good news is you can do it yourself in about 20 minutes.
How Often Should You Check?
Use this simple table as a guide. It depends on how you use the tool.
| Usage Type | How Often to Calibrate |
|---|---|
| Daily professional use | Every 3 months or 2,500 cycles |
| Weekly home garage use | Every 6 months |
| Occasional (once a month) | Once a year |
| After any drop or misuse | Immediately before next use |
| New wrench from store | Check once before first use |
Many new wrenches are close, but not perfect. I always check a new tool. One brand new click‑type wrench I bought was 8% off. That is enough to damage an engine block. So make calibration a habit.
Tools You Need to Calibrate a Torque Wrench
You do not need a expensive machine. Here is what works for most home mechanics.
- A vise – Mounted firmly to a heavy bench
- A known weight – Like a dumbbell plate, a bucket of water, or a barbell weight. You need to know the exact pounds or kilograms.
- String or strong cord – To hang the weight from the wrench handle
- A ruler or tape measure – For measuring distance
- A calculator or phone – For simple math
- Marker or tape – To mark the handle position
- The torque wrench you want to test
For beam type wrenches, you also need a small screwdriver to adjust the pointer. For click type, you need the adjustment knob (usually built in). For split beam or digital models, check the manual. But the basic principle is the same.
How the Weight Method Works
Physics makes this easy. Torque equals force times distance. Force is your weight in pounds or kilograms. Distance is from the square drive (the head) to the point where you hang the weight. You measure that in feet or meters. Then you compare the calculated torque to what your wrench shows.
Example: A 20 pound weight hung 1 foot from the head gives 20 foot‑pounds of torque. If your wrench clicks or reads at 20, it is perfect. If it reads 18 or 22, you need to adjust.
“Precision is not expensive. Ignorance is.” – Jim Martin, Master Mechanic and Instructor
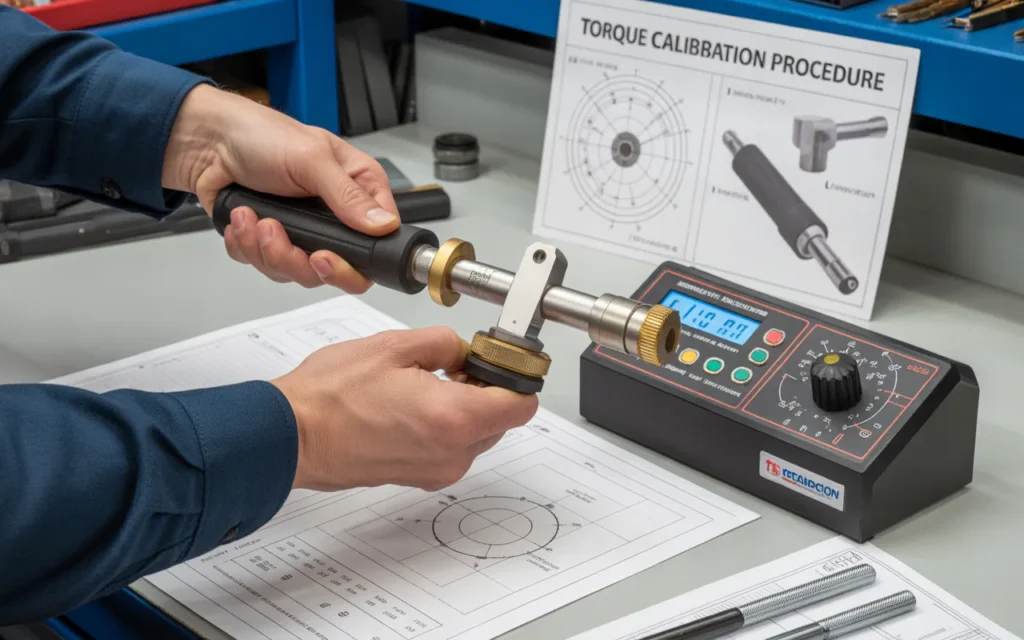
Step by Step: How to Calibrate a Torque Wrench
Let me walk you through the actual process. I will use foot‑pounds for this example. But the same steps work for inch‑pounds or Newton meters. Just be consistent with your units.
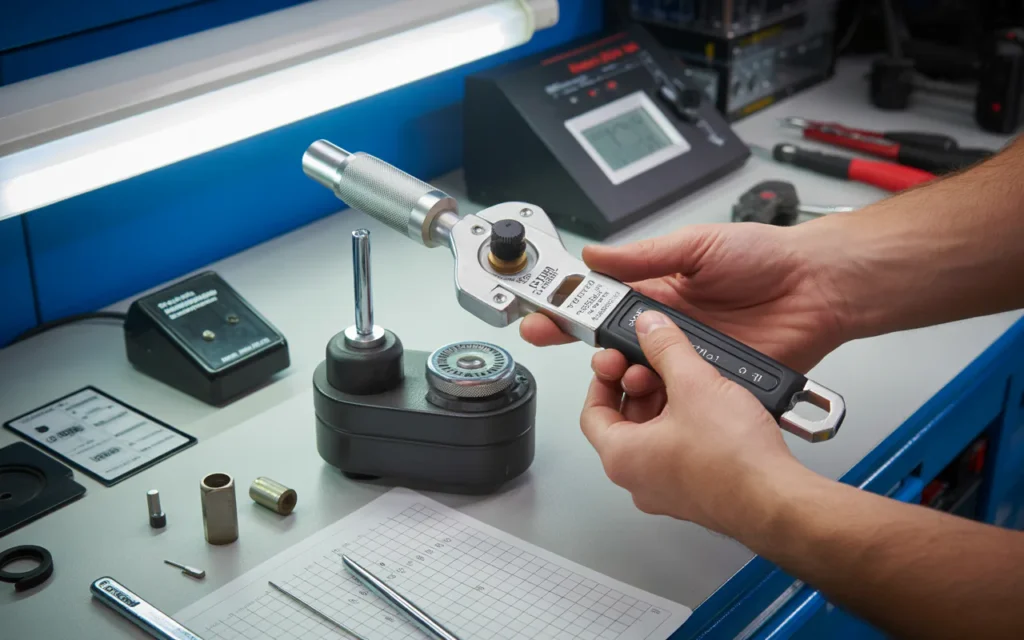
Step 1: Secure the Wrench in a Vise
Clamp the square drive end of the torque wrench in your vise. Do not crush it. Use soft jaws or wrap a cloth around the head to avoid scratches. The handle should stick out horizontally. Make sure the vise is rock solid. Any movement ruins the test.
Step 2: Find the Exact Pivot Point
The pivot is the center of the square drive. Mark it on the wrench body with a marker. Then measure from that mark to the center of the handle where you will hang the weight. For a click type wrench, put your mark at the middle of the grip area. For a beam type, use the middle of the handle tube.
Write down that distance in inches or feet. Let us say it is 12 inches (1 foot). If you use inches, convert to feet by dividing by 12. So 18 inches = 1.5 feet.
Step 3: Calculate the Target Torque
Decide what torque value you want to test. Pick a value in the middle of the wrench’s range. For a 50‑150 foot‑pound wrench, test at 100 foot‑pounds. Then work backwards to find the weight you need.
Formula: Weight (pounds) = Target Torque (foot‑pounds) / Distance (feet)
Example: Target 100 foot‑pounds. Distance 1 foot. Weight = 100 / 1 = 100 pounds. That is heavy. So use a shorter distance to reduce weight. If you set the distance at 0.5 feet (6 inches), then weight = 100 / 0.5 = 50 pounds. Much easier.
Choose a weight you actually have. A standard 45 pound plate plus a 5 pound plate gives 50 pounds. Perfect.
Step 4: Hang the Weight
Tie a strong string around the handle at your marked point. Make a loop that sits exactly on the center mark. Then hang your weight from that loop. Let it hang freely. Do not let it touch anything. The wrench handle will try to rotate downward. But the vise holds the head steady.
For a click type wrench: Slowly pull the handle upward by hand. Let the weight hang. Then gradually increase the torque setting from zero until you hear a click. When it clicks, stop. Read the setting on the wrench. That is your actual measured torque.
For a beam type wrench: The weight will pull the handle down. Look at the pointer on the scale. It should point to your target torque value. If not, note the difference.
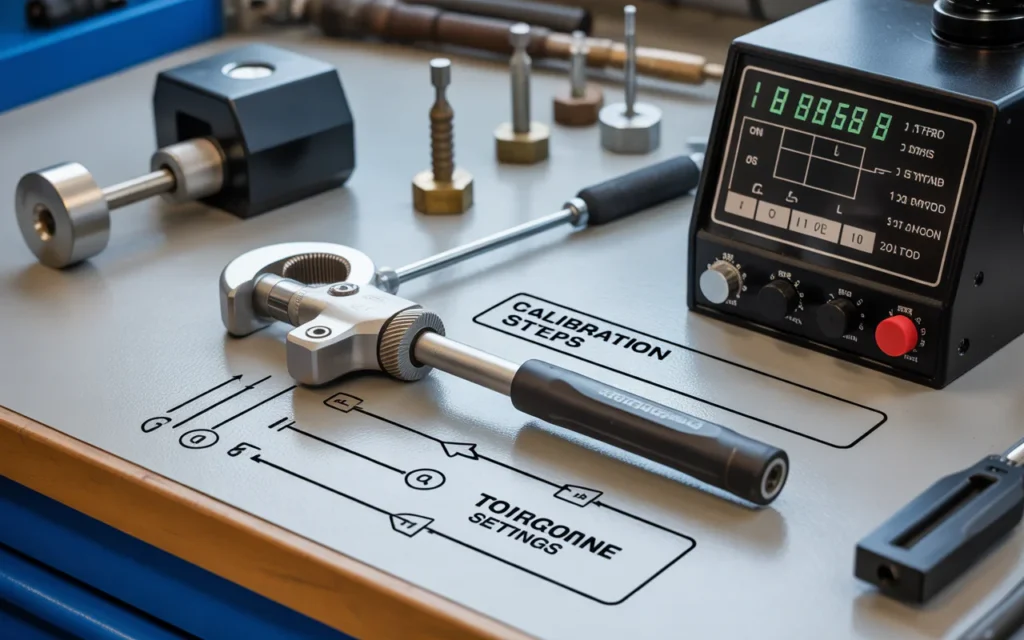
Step 5: Compare and Calculate Error
Write down what your wrench showed. Then calculate the error.
Error (%) = [(Wrench reading – Target torque) / Target torque] x 100
Example: Target 100 foot‑pounds. Wrench clicked at 108. Error = (108‑100)/100 = 8% high. That means the wrench is over‑tightening by 8%. If it clicked at 94, error = (94‑100)/100 = -6% (low).
Most torque wrenches are considered acceptable within 4% error. Anything above that needs adjustment.
Step 6: Adjust the Wrench
This part varies by brand. But most click type wrenches have an internal adjustment screw. You find it inside the handle or under the end cap.
- Remove the end cap (often a plastic plug or a screw)
- Inside you see a locking nut and an adjustment screw
- Loosen the locking nut slightly
- Turn the adjustment screw: clockwise to increase the torque reading (makes it click sooner), counterclockwise to decrease (makes it click later)
- One full turn might change the reading by 10% or more. So make small turns. Try 1/8 turn first.
- Retighten the locking nut and reassemble
For beam type wrenches: Bend the pointer slightly at its base. That moves the needle. Use two pairs of pliers. Bend a tiny amount. Then retest.
For digital wrenches: Follow the manual. Many have a push‑button calibration mode. Some need to be sent to a shop.
Step 7: Retest After Adjustment
Repeat the weight test. Keep adjusting until the wrench reads within 2% of the target. That is plenty accurate for home use. Once done, test at a second torque value. For example, test at 50 foot‑pounds and 150 foot‑pounds. This makes sure the adjustment works across the whole range.
“The difference between a good mechanic and a great one is how they treat their tools.” – Maria Santos, ASE Certified Master Technician
How to Test a Torque Wrench Without a Weight
Maybe you do not have heavy weights. Or your vise is small. There is another method. Use a digital torque adapter. These cost between $30 and $100. You put the adapter on your wrench, then tighten a bolt. The adapter shows the real torque. Compare that to your wrench’s reading. Then adjust.
This is actually easier for most people. Just buy a cheap torque tester from a hardware store or online. Many of them work like a digital scale. I keep one in my toolbox. It is faster than hanging weights.
Table: Common Torque Conversion Errors
| Units | Common Mistake | Correct Conversion |
|---|---|---|
| Foot‑pounds to inch‑pounds | Multiply by 12 | Yes, that is correct |
| Inch‑pounds to foot‑pounds | Divide by 12 | Yes |
| Newton meters to foot‑pounds | Use 1 Nm = 0.73756 ft‑lb | Many people forget the decimal |
| Kilogram‑meters to foot‑pounds | 1 kg‑m = 7.233 ft‑lb | Often misused |
Keep this table near your workbench. It saves headaches.
When NOT to Calibrate a Torque Wrench Yourself
Some wrenches cannot be adjusted at home. For example, many “factory‑sealed” split beam wrenches have no external adjustment. If you force it open, you break the warranty. Also, if your wrench is very old or damaged internally (makes grinding noises or sticks), send it to a professional calibration service. They cost about $50‑$100. That is cheaper than breaking a cylinder head bolt.
Also, do not try to calibrate a torque wrench if it has been dropped from a height. The internal mechanism may be cracked. Even after adjustment, it might fail suddenly. Replace it instead.
How to Calibrate a Torque Wrench for Different Units
Maybe your wrench shows inch‑pounds but your weight is in kilograms. No problem. Convert first. Here is a quick method.
- Convert your weight to pounds (1 kg = 2.20462 lbs)
- Measure your distance in inches
- Torque (inch‑pounds) = weight (lbs) x distance (inches)
- Then convert to foot‑pounds by dividing by 12
Example: A 5 kg weight (11.02 lbs) hung at 18 inches (1.5 ft) gives 11.02 x 18 = 198.36 inch‑pounds. Or 198.36 / 12 = 16.53 foot‑pounds.
Always double check your math. One wrong number and your calibrate a torque wrench effort fails.
Common Mistakes When You Calibrate a Torque Wrench
I have made all these errors. Learn from me.
- Forgetting to reset the wrench to zero – Always turn the adjustment knob to zero or the lowest setting before storage. But during calibration, set it to your target value before hanging weights? Actually no: For click type, you start at zero and turn up slowly until it clicks. That is correct. But some people set the wrench to the target first and then hang the weight. That is wrong. The correct method: Hang the weight, then turn the knob from zero upward until it clicks. The click point is your reading.
- Using a rusty or stretchy string – Use strong cord that does not stretch. Nylon rope or paracord works. Do not use rubber bands or elastic.
- Letting the weight swing – The weight must hang perfectly still. If it swings, the force changes. Gently stop the swing with your hand before reading.
- Measuring distance from the wrong point – Measure from the center of the square drive, not the edge of the head. A half inch error changes the torque by up to 5%.
- Not using a torque wrench calibrator for high values – The weight method works well up to about 150 foot‑pounds. Beyond that, you need heavy plates. A 100 foot‑pound test at a 0.5 foot distance needs 200 pounds of weight. That is not safe. Instead, buy a hydraulic torque tester or send it to a shop.
How to Keep Your Torque Wrench Accurate Longer
Once you calibrate a torque wrench correctly, you want that accuracy to last. Follow these simple rules.
- Always store the wrench at its lowest setting. Never store it with a spring under tension. That means turning the knob to zero or the minimum marked value. For click type wrenches, this is critical.
- Clean the tool after use. Wipe off oil and dirt from the ratchet head.
- Never use a torque wrench to break loose tight bolts. That is what breaker bars are for.
- Do not drop it. If you do, recalibrate before the next job.
- Keep the calibration log. Write down the date, the tested values, and the adjustments you made. A small notebook in your toolbox works fine.
Many pros send their wrenches to a lab every year. But for home use, the weight method is accurate enough. I have compared my home calibration to a professional lab. The difference was less than 1%. So do not worry.
Frequently Asked Questions
1. Can I calibrate a torque wrench without special tools?
Yes. Use a vise, a known weight (like a free weight plate), a ruler, and string. That is all you need for the weight method. It works for most click and beam type wrenches.
2. How do I know if my torque wrench needs calibration?
If you drop it, use it heavily for a year, or after 5,000 cycles. Also check if bolts feel wrong. If a bolt snaps at a low setting or a nut comes loose easily, test the wrench.
3. What is the acceptable error for a torque wrench?
Most manufacturers say ±4%. For critical engine work (cylinder heads, rod bolts), aim for ±2%. The weight method can give you ±1% if you do it carefully.
4. Can I calibrate a digital torque wrench at home?
Some digital wrenches have a user calibration mode. Read the manual. Many require a certified lab because they use internal strain gauges that need electronic adjustment.
5. How often do professional shops calibrate a torque wrench?
Every 3 to 6 months, depending on usage. They also keep certified records. As a home mechanic, once a year is fine for moderate use.
6. My wrench has no adjustment screw. What do I do?
Some lower‑cost wrenches are non‑adjustable. You can still test them. If they are out of spec, you cannot fix them. You need to buy a better wrench or send it to a repair service that can replace internal parts.
7. Is the weight method as good as a digital calibrator?
For most home users, yes. The key is having an accurate weight and a precise measurement of distance. A digital calibrator is faster but not more accurate than a properly done weight test.
8. What does it mean to calibrate a torque wrench in both directions?
Some wrenches are used for left‑hand threads (reverse). You can test reverse direction by hanging the weight on the opposite side of the handle. The process is the same.
Conclusion
Learning how to calibrate a torque wrench is one of the best skills for any mechanic or DIYer. It saves you from broken bolts, loose wheels, and damaged engines. You do not need expensive machines. A vise, a weight, a ruler, and 20 minutes are enough. The weight method is simple physics that anyone can do.
Make calibration a regular habit. Put a reminder on your phone for every six months. After each calibration, write the date on the wrench handle with a paint marker. That way you always know when it was last checked.
Your torque wrench is a precision tool. Treat it with respect. Keep it clean. Store it at zero. And test it often. Your car, your motorcycle, or your machinery will thank you with longer life and fewer surprises.
Now go check your torque wrench. You might be surprised at how far it has drifted. And remember, a confident mechanic is one who knows their tools are accurate.
Related posts
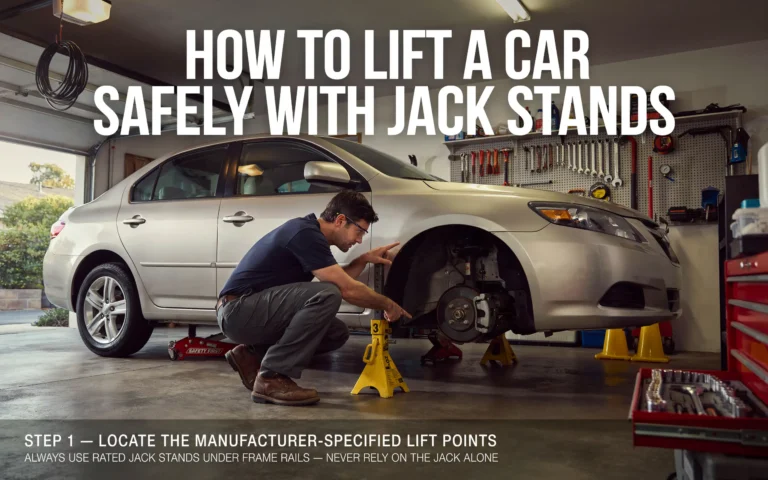 How To Lift A Car Safely With Jack Stands
Learning how to lift a car safely with jack stands is the most important skill for any home mechanic. This guide covers choosing the right stands,…
 Best Tool Chest for Automotive Garage: Storage Solutions Compared
Find the best tool chest for automotive garage. Compare rolling cabinets, tool sets, and organizers for efficient and organized workspace solutions. Keeping your automotive garage organized…
 How To Inspect Used Car With Basic Tools
Learn how to inspect used car with basic tools before you buy. This guide shows you step-by-step methods to check a used vehicle using simple equipment…