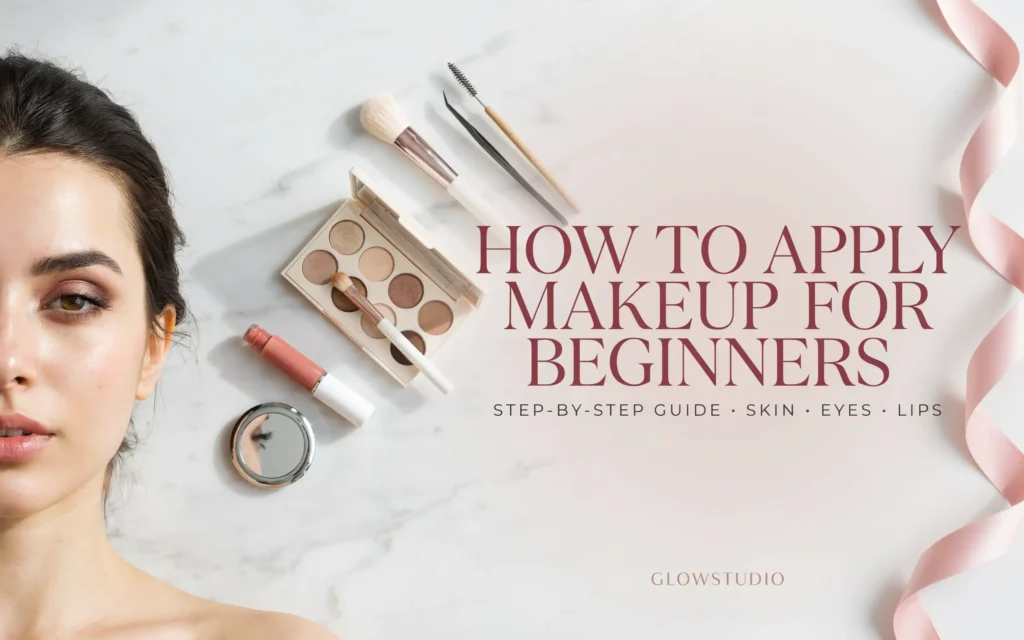
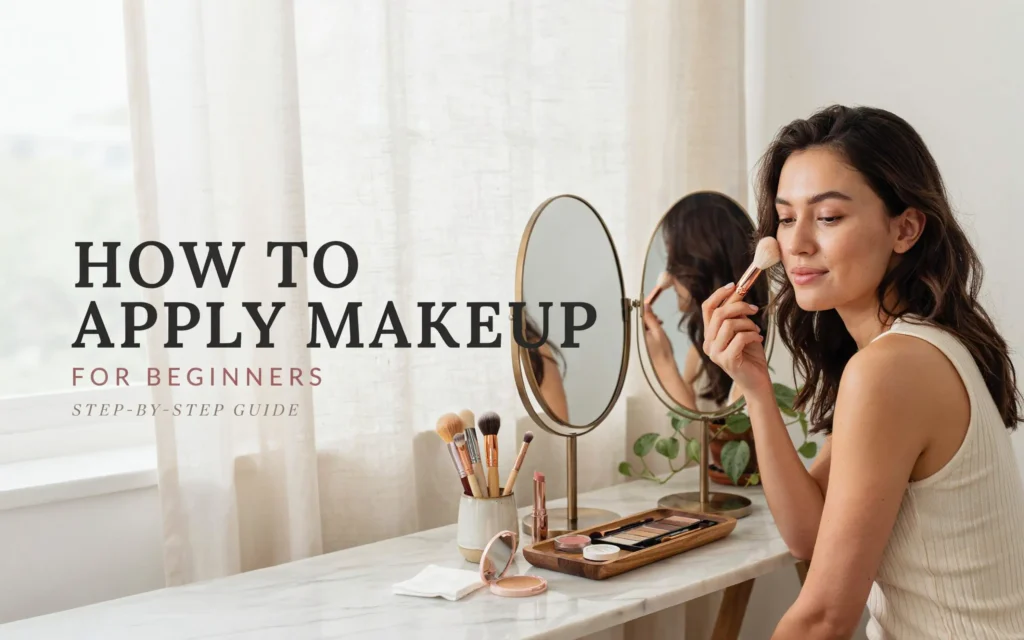
How To Apply Makeup For Beginners
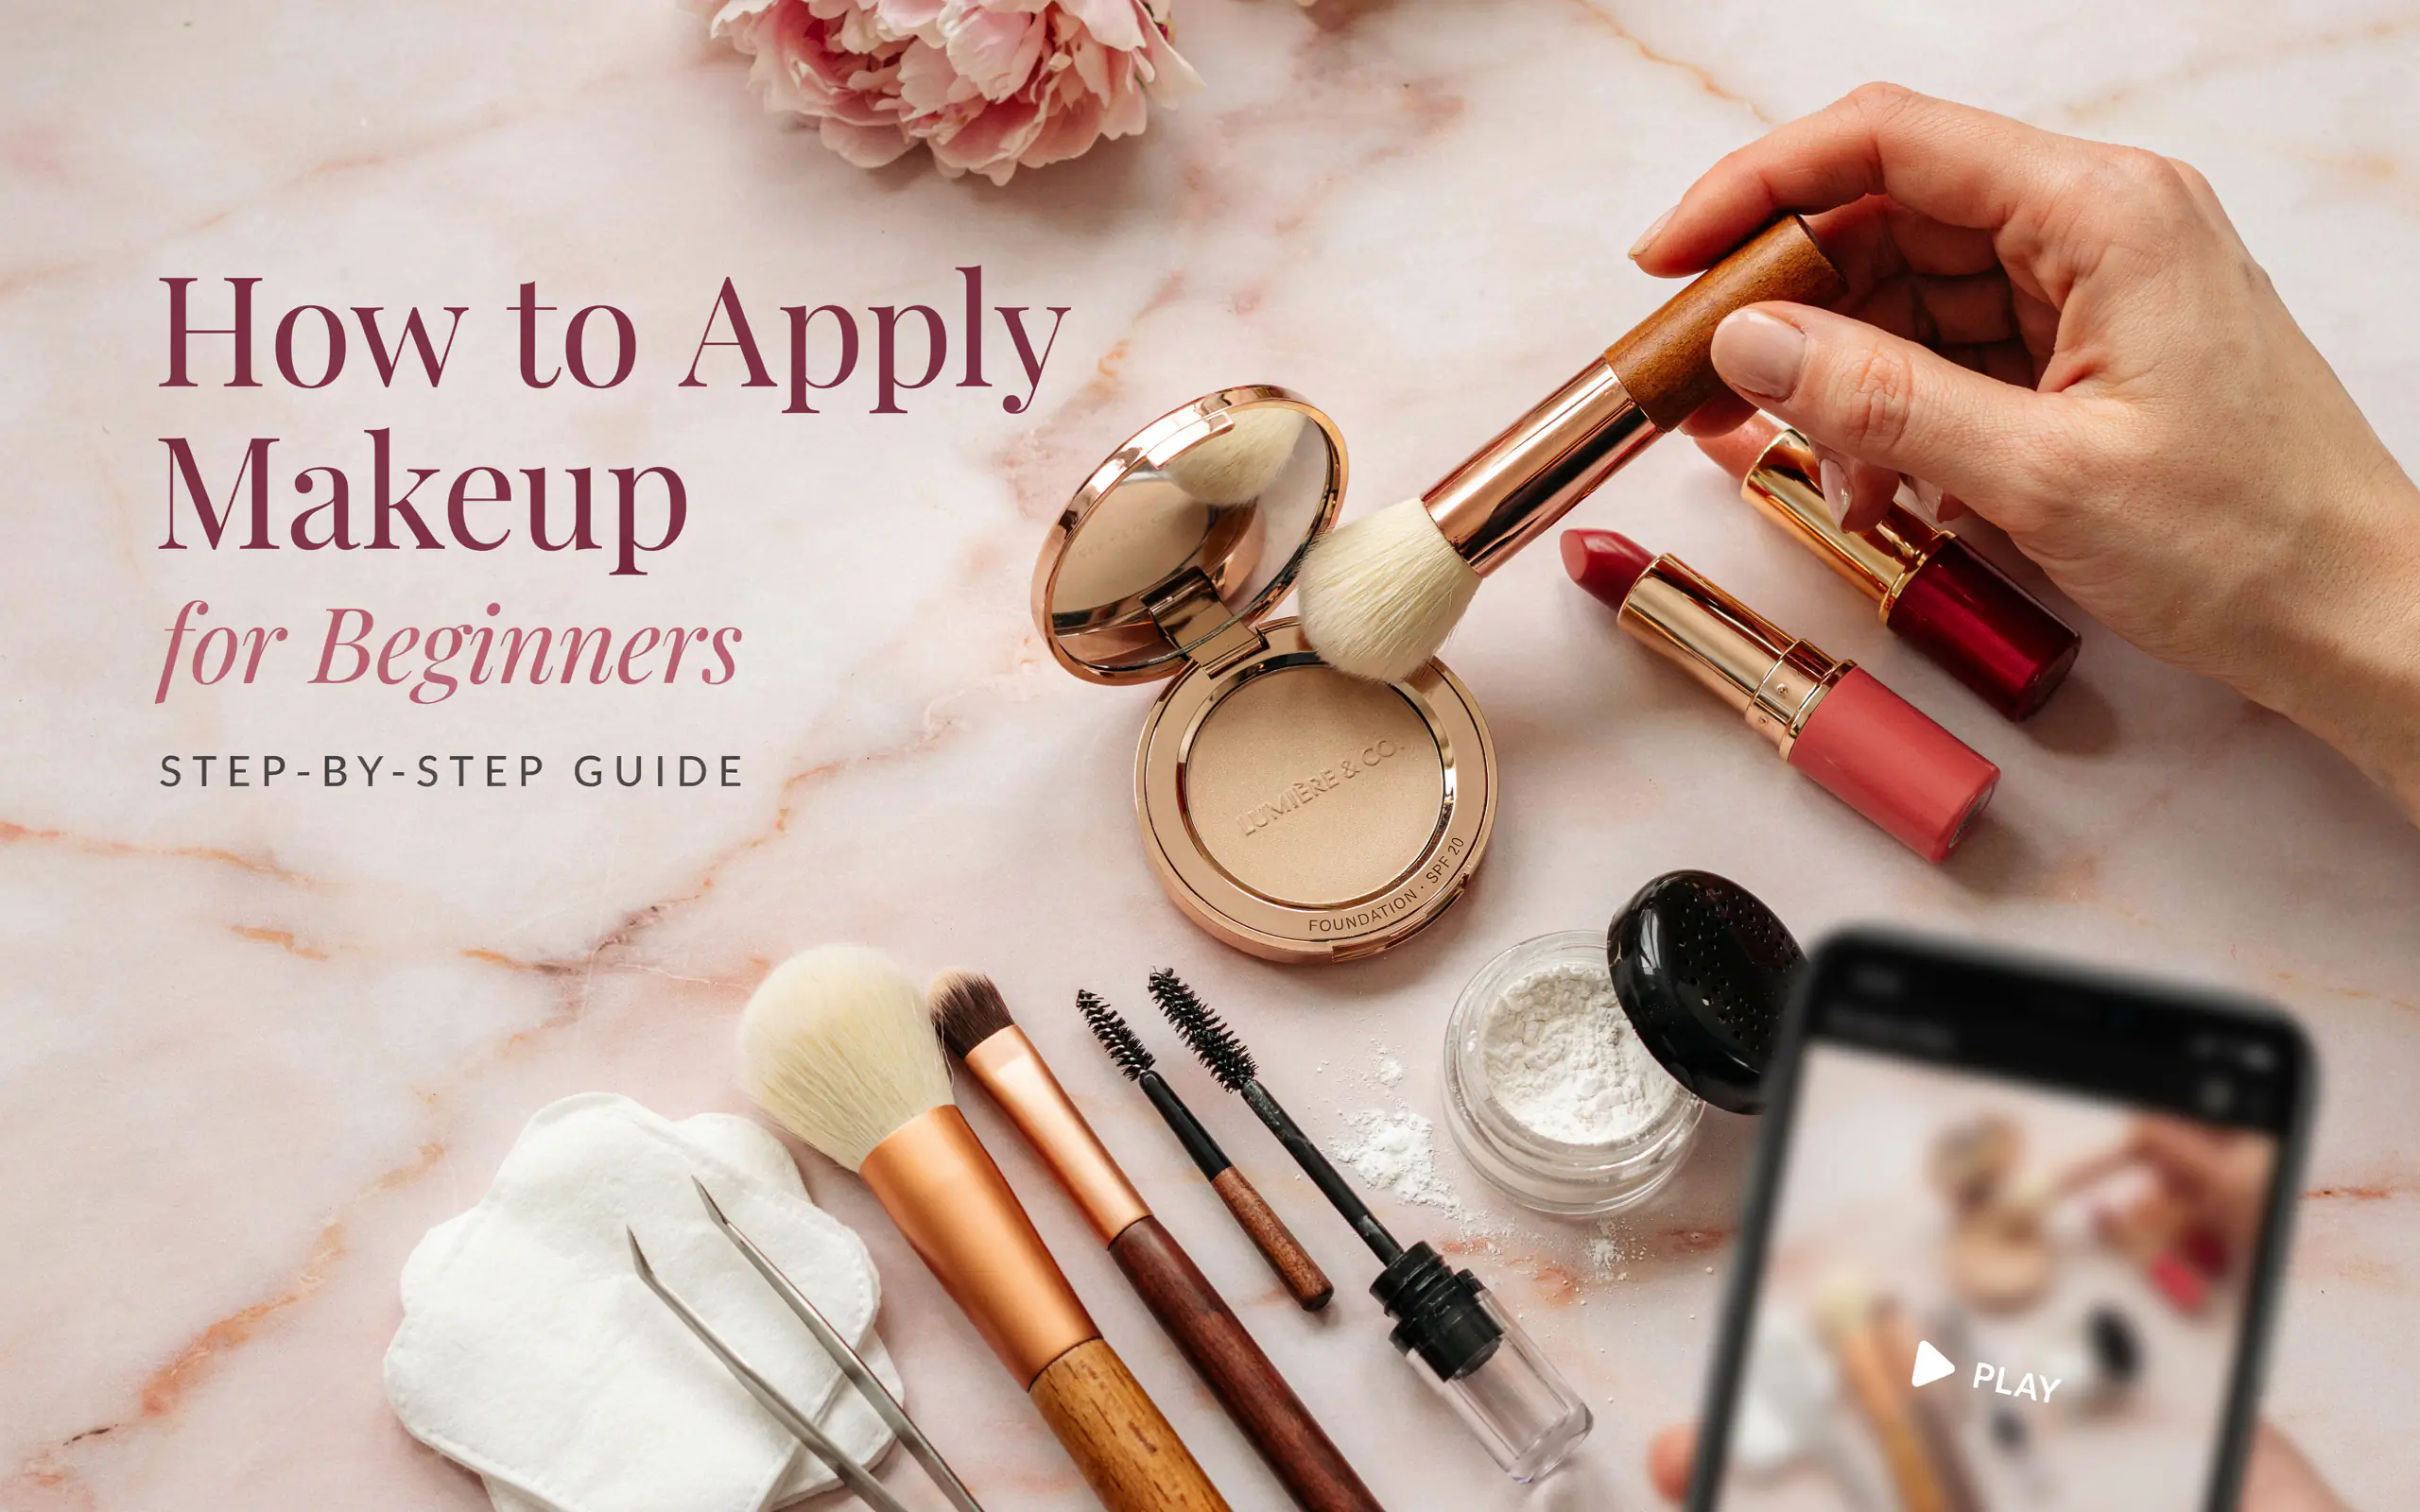
Learning how to apply makeup for beginners starts with good skin preparation. This guide covers everything from choosing foundation to applying eyeshadow, with simple steps and practical tips for a natural look.
Starting with makeup can feel like a lot. You walk into a store and see shelves full of products with names you do not recognize. There are brushes, sponges, powders, and creams. But here is the good news. You do not need all of it. You only need a few basic items and some simple know-how to create a fresh, natural look.
This guide is here to help you learn how to apply makeup for beginners. We will break everything down into small, easy steps. No confusing terms. No pressure to be perfect. Just friendly advice from someone who has been where you are right now.
Bobbi Brown, a famous makeup artist, once said, “Makeup is a way for a woman to look and feel like herself, only more confident.” That is exactly what we are going for here. Let us get started.
Why Learning the Right Order Matters
Many beginners make the mistake of applying products in the wrong order. This can lead to patchy foundation, creased concealer, or makeup that does not last. When you learn the correct sequence, everything works better together. Your base looks smoother, your routine feels calmer, and you stop guessing which step comes next.
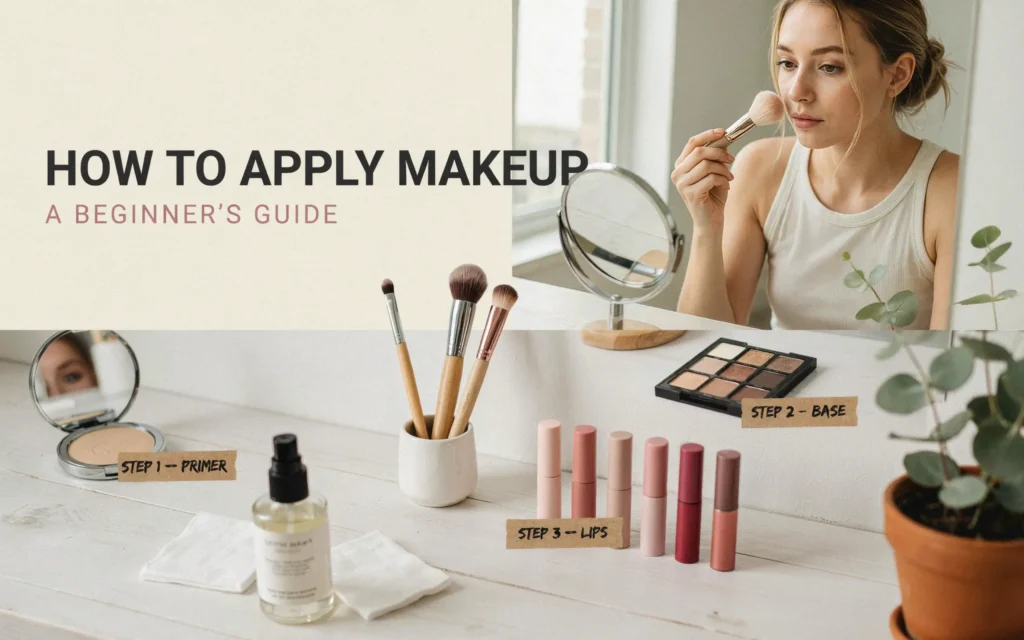
The basic order is simple: skin preparation, primer, foundation, concealer, powder, blush or bronzer, brows, eyeshadow, eyeliner, mascara, lips, and setting spray. We will go through each one in detail.
Skin Preparation: The Most Important Step
Before you even touch a makeup product, you need to prepare your skin. This is the step that many beginners skip, but it makes the biggest difference. If your skin is dry, oily, or flaky, even the best foundation will struggle.
Cleanse Your Face
Start with a clean face. Use a gentle cleanser that suits your skin type to remove dirt, oil, and any leftover grime. Wash with lukewarm water and pat your skin dry with a clean towel. Do not rub. Rubbing can irritate your skin.
Moisturize
Next, apply a moisturizer. This step is non-negotiable. Moisturizer keeps your skin hydrated and helps your makeup go on smoothly. If you have oily skin, choose a lightweight, oil-free moisturizer. If you have dry skin, pick something richer. Let the moisturizer sink in for a few minutes before you move to the next step.
Apply Sunscreen
If you are doing your makeup during the day, sunscreen is a must. Choose a sunscreen with at least SPF 30. Apply it after your moisturizer and let it absorb fully. Sunscreen protects your skin from damage and prevents premature aging.
Primer: The Secret to Long-Lasting Makeup
Primer is like a base coat for your face. It creates a smooth surface for your foundation and helps your makeup last longer. Primer also fills in fine lines and minimizes the look of pores. If you have oily skin, look for a mattifying primer. If your skin is dry, choose a hydrating one. Apply a small amount all over your face, focusing on your T-zone if you get shiny there.
Patricia Wexler, a board-certified dermatologist, says, “Good skin care is the foundation of good makeup.” Taking a few minutes for skin prep pays off in the long run.
How to Apply Foundation for Beginners
Foundation is what evens out your skin tone. It creates a blank canvas for the rest of your makeup. For beginners, liquid foundation is the most versatile and easiest to work with.
Choose the Right Shade
Finding the right shade is important. Test foundation on your jawline, not on your hand. The right shade should disappear into your skin. If you can see a line where the foundation ends, it is not the right match. Natural light is best for checking the color.
How to Apply
Start with a small amount of foundation. Dot it on the center of your face: your forehead, nose, chin, and the tops of your cheeks. Then blend outward using a brush, a damp beauty sponge, or your fingertips. Blend in small, gentle motions.
If you use a sponge, dampen it first and squeeze out the extra water. This stops the sponge from soaking up too much product. If you use a brush, use short, buffing strokes. Build coverage slowly. It is easier to add more than to take away.
Blend Down Your Neck
Do not forget to blend a little foundation down your jawline and onto your neck. This prevents a harsh line and makes your makeup look natural.
Foundation Tools Comparison
| Tool | Best For | How to Use |
|---|---|---|
| Foundation Brush | Liquid foundation, full coverage | Use short, buffing strokes for a smooth finish |
| Beauty Sponge | Sheer to medium coverage, natural finish | Dampen first, then bounce gently on the skin |
| Fingertips | Quick application, cream foundations | Warm product between fingers, then pat onto skin |
Concealer: Covering Imperfections
Concealer is thicker than foundation. It is meant for hiding dark circles, blemishes, and redness. Apply concealer after your foundation. This way, you only need to cover what your foundation did not already hide.
Where to Apply Concealer
Put concealer under your eyes in a triangle shape. The point of the triangle should go down toward your cheek. This shape brightens your whole under-eye area. For blemishes, dab a small amount directly on the spot and blend the edges.
How to Blend
Use your ring finger to pat concealer in. Your ring finger has the lightest touch, which is gentle on the delicate skin under your eyes. You can also use a small concealer brush or a sponge. Pat, do not rub. Rubbing can move the product around and make it look streaky.
Setting Powder: Locking Everything in Place
Powder sets your foundation and concealer. It stops them from moving around and keeps your makeup in place longer. Powder also controls shine throughout the day.
Loose vs. Pressed Powder
Loose powder is great for setting your whole face. Pressed powder is good for touch-ups during the day. For beginners, pressed powder is easier to control.
How to Apply Powder
Dip a fluffy powder brush into the powder. Tap off the extra. Then gently press the powder onto your skin, focusing on your T-zone (forehead, nose, and chin). Do not sweep the brush across your face. Sweeping can disturb your foundation underneath. Pressing sets it in place.
Do not use too much powder. Too much can make your skin look cakey or dry. Start with a small amount and add more only if you need it.
Blush and Bronzer: Adding Color and Definition
Foundation makes your skin one even color. But that can also make your face look flat. Blush and bronzer bring back dimension and warmth.
Bronzer
Bronzer adds a sun-kissed glow. Apply it to the areas where the sun naturally hits your face: your forehead, the tops of your cheeks, the bridge of your nose, and your jawline. Use a fluffy brush and a light hand. Blend well so there are no harsh lines.
Blush
Blush adds a healthy flush of color to your cheeks. Smile and find the apples of your cheeks. Apply blush to the apples and blend it back toward your hairline. Choose a shade that looks natural on your skin. For fair skin, try soft pink or peach. For medium skin, try rose or coral. For dark skin, try berry or deep orange.
Blush and Bronzer Placement
| Product | Placement | Effect |
|---|---|---|
| Bronzer | Forehead, cheekbones, jawline, nose bridge | Adds warmth and a sun-kissed look |
| Blush | Apples of the cheeks, blended outward | Adds a healthy flush of color |
Brows: Framing Your Face
Your eyebrows frame your face. Filling them in can make a big difference in how polished your makeup looks. For beginners, brow gel is the easiest option.
Brow Gel
Tinted brow gel adds color and holds your brow hairs in place. Brush it through your brows in the direction they grow. Start at the front and brush upward and outward. This gives a natural, fluffy look.
Brow Pencil
If you want more definition, use a brow pencil. Choose a shade that matches your natural brow color. Use short, hair-like strokes to fill in any sparse areas. Do not draw one solid line. That looks unnatural. Blend with a spoolie brush (the little brush that looks like a mascara wand) to soften the color.
Eye Makeup for Beginners
Eye makeup can feel intimidating. But it does not have to be complicated. Start with one or two eyeshadow shades and build from there.
Eyeshadow Primer
Eyeshadow primer creates a smooth base for your eyeshadow. It stops the shadow from creasing and helps the color last longer. Apply a small amount from your lash line to your brow bone. If you do not have primer, you can use concealer and set it with a little powder.
Applying Eyeshadow
For a simple everyday look, use two shades: a light shade and a medium shade.
- Apply the light shade all over your eyelid. This is your base color.
- Apply the medium shade in the crease of your eye. The crease is the folded area above your eyelid. Blend it back and forth to soften the edges.
Use a fluffy blending brush for the crease. The natural curve of your eye shape helps guide you.
Eyeliner
Eyeliner defines your eyes. For beginners, a pencil eyeliner is the easiest to control. Gently pull your eyelid taut and draw a thin line along your upper lash line. Start thin and build up if you want a thicker line. You can also smudge the line with a small brush for a softer look.
Mascara
Mascara opens up your eyes and makes your lashes look fuller. Wiggle the wand at the base of your lashes and sweep upward. This deposits more product at the roots, where it counts most. Do one or two coats. Too many coats can make lashes clumpy.
Lips: The Finishing Touch
Lip color is the final step. It pulls your whole look together. For beginners, a tinted lip balm or a sheer lipstick is a great place to start.
Choosing a Lip Color
Choose a shade that makes you feel good. Nude, pink, and berry shades are flattering on almost everyone. If you are unsure, start with a shade close to your natural lip color.
How to Apply Lipstick
For a precise application, start by outlining your lips with a lip liner that matches your lipstick. Then fill in with your lipstick. If you make a mistake, clean up the edges with a little concealer on a small brush.
For a more natural look, dab the lipstick on with your finger. This gives a soft, stained effect.
Setting Spray: Making It Last
Setting spray is the final step. It locks your makeup in place and helps it last all day. Hold the bottle about arm’s length from your face and mist it evenly. Let it dry naturally. Do not touch your face while it is drying.
Common Mistakes Beginners Make
Even with the best instructions, mistakes happen. Here are some common ones and how to avoid them.
Skipping Skin Prep
Jumping straight into foundation without preparing your skin is a big mistake. Clean, moisturized skin is the key to smooth makeup application.
Using Too Much Product
Using too much foundation, concealer, or powder can make your makeup look heavy and cakey. Start with a small amount and build up slowly.
Choosing the Wrong Foundation Shade
Foundation that is too light or too dark looks obvious. Always test on your jawline in natural light.
Neglecting to Blend
Unblended makeup looks harsh. Take your time to blend foundation, concealer, eyeshadow, and blush. Blending is what makes makeup look natural.
Not Cleaning Your Brushes
Dirty brushes can cause breakouts and make your makeup look muddy. Clean your brushes regularly with a gentle brush cleanser or mild soap.
Tools You Actually Need
You do not need a hundred brushes. For beginners, a few good tools are enough.
- Foundation brush or beauty sponge: For applying foundation and concealer
- Fluffy powder brush: For powder, blush, and bronzer
- Eyeshadow blending brush: For applying and blending eyeshadow
- Spoolie brush: For grooming brows
That is it. Four tools are all you need to start.
Building Your Makeup Kit
Start with the basics and add more products as you get comfortable.
Essential products for beginners:
- Moisturizer
- Sunscreen
- Primer
- Foundation or tinted moisturizer
- Concealer
- Pressed powder
- Blush
- Brow gel
- Eyeshadow palette with neutral shades
- Mascara
- Lip balm or sheer lipstick
- Setting spray
François Nars, founder of NARS Cosmetics, said, “Makeup is not a mask. It is a way to enhance what you already have.” Keep this in mind as you practice.
Practice Makes Progress
Learning how to apply makeup for beginners takes practice. Do not expect to get it perfect the first time. That is okay. Makeup is supposed to be fun, not stressful. Set aside some time on a weekend when you are not in a rush. Play around with your products. See what you like and what you do not.
Frequently Asked Questions
What is the correct order to apply makeup?
The correct order is: skin prep (cleanse, moisturize, sunscreen), primer, foundation, concealer, powder, bronzer/blush, brows, eyeshadow, eyeliner, mascara, lips, and setting spray.
Do I really need primer?
Primer is not strictly necessary, but it makes a big difference. It helps your makeup last longer, fills in fine lines, and creates a smooth surface for foundation.
How do I choose the right foundation shade?
Test foundation on your jawline in natural light. The right shade should blend seamlessly into your skin and neck.
Can I use my fingers to apply foundation?
Yes. Your fingers work well for cream foundations and tinted moisturizers. Just make sure your hands are clean.
How do I stop my makeup from looking cakey?
Start with well-moisturized skin. Use a light hand with foundation and powder. Build coverage slowly. Too much product is the main cause of cakey makeup.
Should I apply concealer before or after foundation?
Apply concealer after foundation. This way, you only need to cover the spots your foundation did not already hide.
How often should I clean my makeup brushes?
Clean your brushes at least once a week. Dirty brushes can cause breakouts and make your makeup application less smooth.
Conclusion
Learning how to apply makeup for beginners is a process. It takes time, patience, and a little bit of practice. But the goal is not perfection. The goal is to feel good about yourself. Makeup is a tool for self-expression. It is something you do for you.
Start with the basics. Focus on good skin preparation. Choose products that work for your skin type. Practice the order of application. And most importantly, have fun with it. You will make mistakes. Everyone does. But each mistake teaches you something new.
Remember the words of makeup artist Pat McGrath: “Makeup is an expression of who you are, so have fun with it.” Now go ahead and give it a try. You have got this.
Related posts
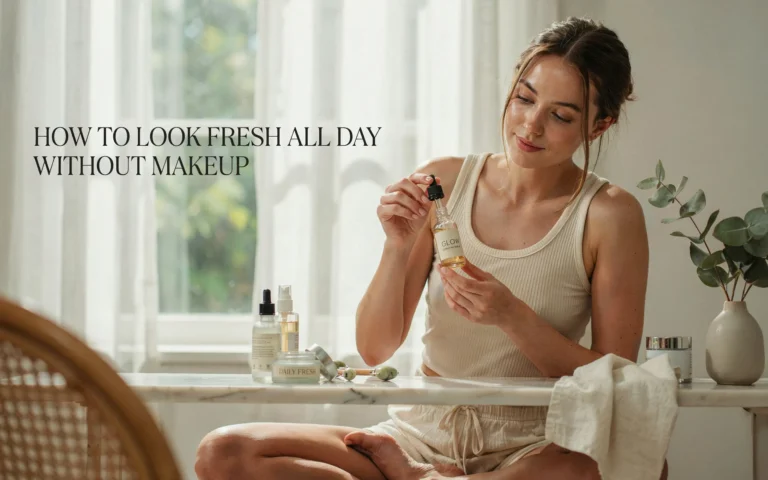 How To Look Fresh All Day Without Makeup
Do you want to look fresh all day without makeup? This complete guide shares morning habits, skincare tips, and lifestyle changes that keep your face glowing…
 Best Hair Accessories for Wedding: Elegant Choices for Your Special Day
Find the best hair accessories for wedding. Compare elegant clips, combs, and sets with pearls and rhinestones to complete your bridal look. Weddings are a time…
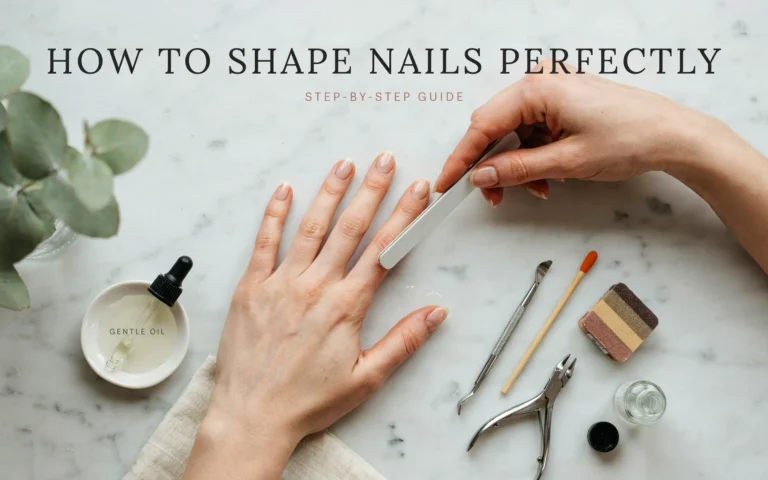 How To Shape Nails Perfectly
If you want to know how to shape nails perfectly, start with the right tools and a gentle hand. This guide covers five popular shapes, common errors…