How To Shape Nails Perfectly
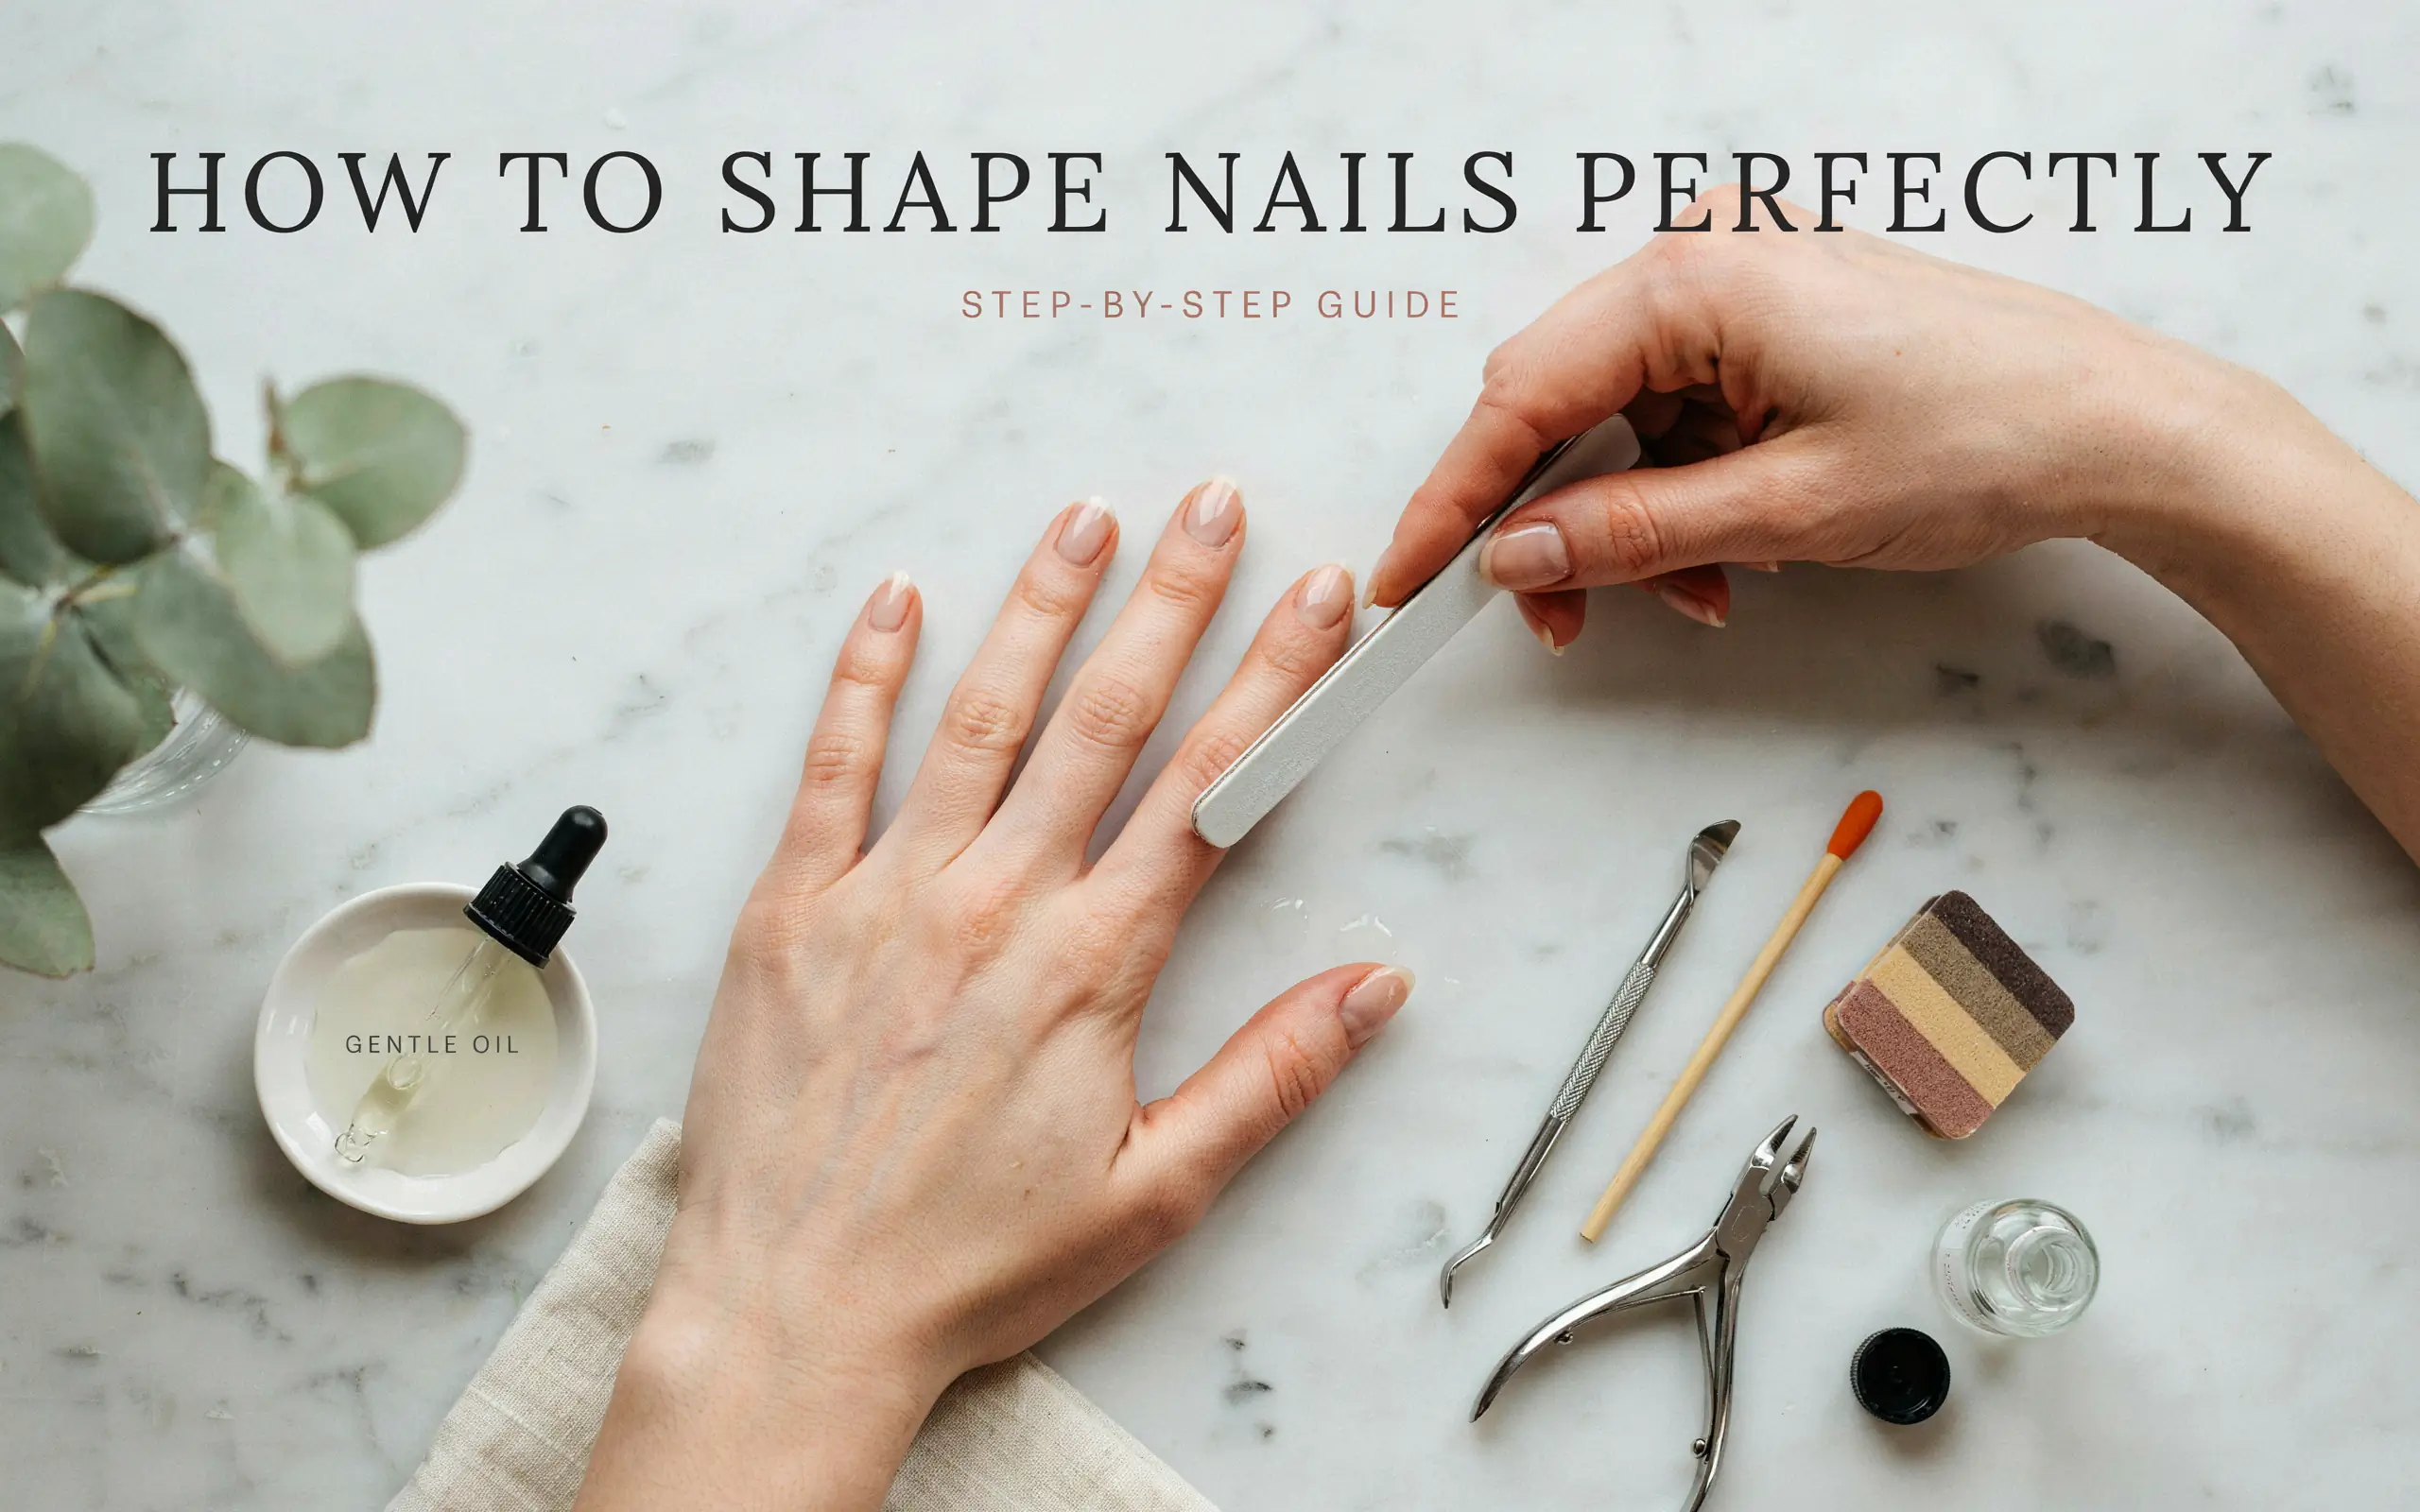
If you want to know how to shape nails perfectly, start with the right tools and a gentle hand. This guide covers five popular shapes, common errors to avoid, and pro tips for salon-worthy results at home.
Have you ever spent time filing your nails, only to end up with an uneven shape or a broken tip? You are not alone. Many people struggle with getting their nails to look neat and even. The good news is that learning how to shape nails perfectly is easier than you think. It just takes a little practice, the right tools, and some simple steps to follow.
Your nails say a lot about you. When they look clean and well-shaped, you feel more put together. Whether you are getting ready for a special event or just want to feel good every day, having nicely shaped nails makes a difference. This guide will walk you through everything you need to know. From picking the right file to choosing a shape that flatters your hands, we will cover it all. By the end, you will feel confident enough to shape your nails at home like a professional.
Why Learning How to Shape Nails Perfectly Matters
Shaping your nails is not just about looks. It is also about keeping your nails healthy and strong. When you shape your nails the right way, you lower the risk of breaks, splits, and hangnails. You also help your nails grow evenly.
Many people think that shaping nails is hard or that you need to go to a salon to get good results. That is not true. With the right information, anyone can learn how to shape nails perfectly at home. Plus, doing it yourself saves time and money. You can shape your nails whenever you want, without waiting for an appointment.
“Good nail shaping is the foundation of any beautiful manicure. If the shape is off, nothing else will look right.” – Jin Soon Choi, Celebrity Nail Artist
Essential Tools You Need to Shape Nails Perfectly
Before you start shaping, you need to gather the right tools. Using the wrong tools can make the job harder and even damage your nails. Here is what you need:
1. Nail Clippers
Clippers help you trim your nails to a rough length before you start filing. This saves time and makes the shaping process easier. Choose clippers that are sharp and easy to hold.
2. Nail Files
A good nail file is the most important tool for shaping. Files come in different grits, which means they have different levels of roughness.
- Coarse grit (80-180): Best for artificial nails or taking off a lot of length.
- Medium grit (180-240): Good for natural nails and general shaping.
- Fine grit (240-400): Great for smoothing and refining the edges.
For natural nails, a 180/240 grit file is a great choice. Glass files are also popular because they seal the edges and help prevent splitting.
3. Buffer
A buffer smooths the surface of your nails and gives them a natural shine. Use it after you finish shaping.
4. Cuticle Pusher
Pushing back your cuticles before shaping gives you a cleaner canvas to work with. It also helps you see the true shape of your nail bed.
5. Cuticle Oil and Hand Cream
Keeping your nails and skin moisturized helps prevent dryness and cracking. This makes shaping easier and keeps your nails healthy.
Choosing the Right Nail File Grit
| Grit Level | Best Used For |
|---|---|
| 80 – 180 (Coarse) | Artificial nails, acrylics, gels, removing lots of length |
| 180 – 240 (Medium) | Natural nails, general shaping, refining edges |
| 240 – 400 (Fine) | Smoothing, buffing, finishing touches |
Preparing Your Nails Before Shaping
Preparation is a key step in learning how to shape nails perfectly. Skipping this step can lead to uneven results or damaged nails.
Step 1: Remove Old Polish
Start with clean nails. Use a gentle nail polish remover to take off any old polish. This lets you see your natural nails clearly.
Step 2: Wash and Dry Your Hands
Wash your hands with soap and water. Dry them well. Shaping dry nails is better because wet nails are softer and more likely to tear or bend.
Step 3: Push Back Your Cuticles
Use a cuticle pusher to gently push back your cuticles. This gives you more space to work and helps you see the full shape of your nail. Be gentle to avoid hurting the skin.
Step 4: Trim to a Rough Length
Use nail clippers to trim your nails to a length that is close to what you want. Leave a little extra so you have room to file and shape. For square or squoval shapes, clip straight across. For round or oval shapes, clip the corners slightly.
Step-by-Step Guide on How to Shape Nails Perfectly
Now that your nails are prepped, it is time to start shaping. Follow these steps to get great results.
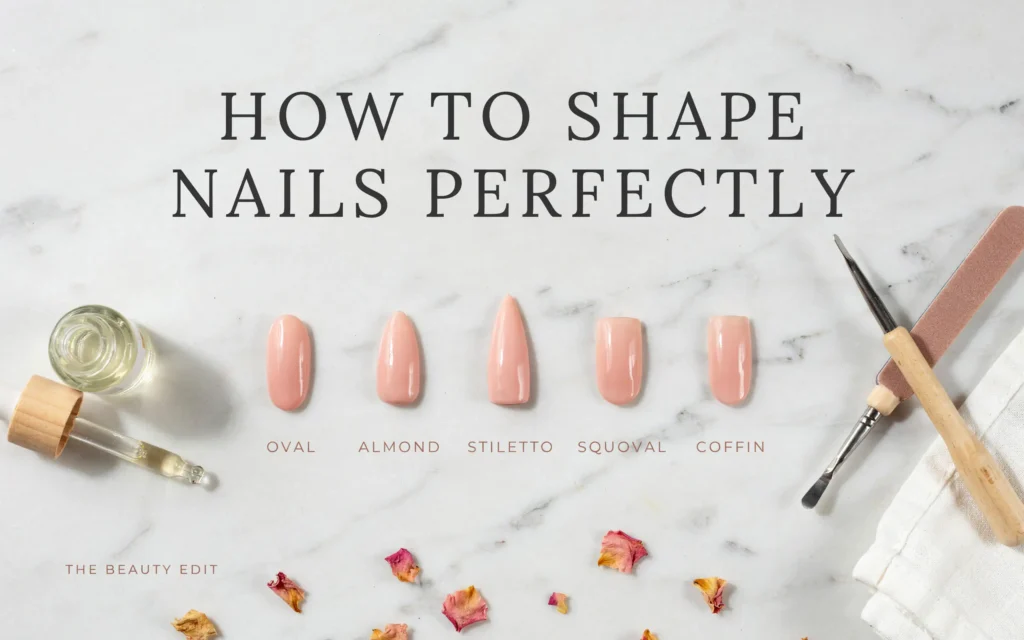
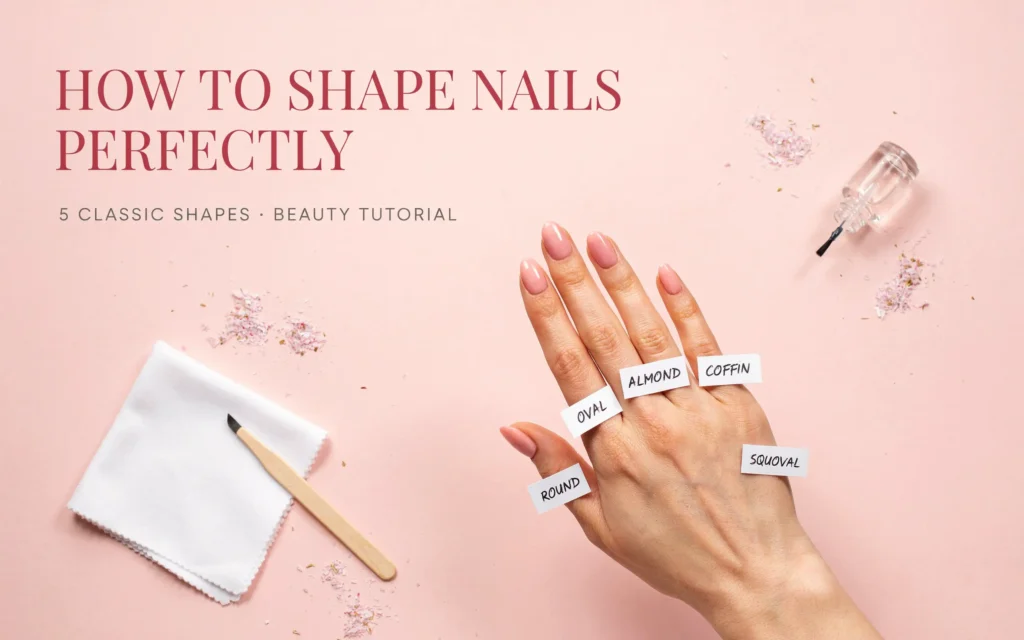
Step 1: Choose Your Desired Nail Shape
The shape you pick makes a big difference in how your hands look. Here are the most common shapes:
- Square: Classic and clean. The tip is filed straight across with sharp corners.
- Round: Natural and simple. The tip follows the curve of your fingertip.
- Oval: Elegant and lengthening. The sides taper slightly and the tip is rounded.
- Squoval: A mix of square and oval. The tip is straight but the corners are softened.
- Almond: Tapered to a soft point, like an almond nut.
- Stiletto: Dramatic and pointed, like a stiletto heel.
Think about your daily activities. If you type a lot or do physical work, shorter shapes like round or squoval might be better. If you want a more elegant look, oval or almond are good choices.
Step 2: Hold the File Correctly
Hold your nail file at a slight angle to the edge of your nail. The angle should be about 45 degrees for most shapes. This helps you shape the nail without putting too much pressure on one spot.
Step 3: File in One Direction
This is one of the most important rules of shaping. Always file in one direction, from the side to the center. Never saw back and forth. Sawing creates friction and heat, which can weaken your nails and cause them to split.
Step 4: Shape the Sides First
Start by filing the sides of your nail. This sets the outline of your shape. For square nails, file the sides straight down. For oval or almond, file the sides at a slight angle, tapering toward the tip.
Step 5: Shape the Tip
After the sides are done, move to the tip. For square shapes, file straight across. For round or oval, file in a gentle curve. For almond or stiletto, file the tip to a point.
Step 6: Check Your Work Often
Stop and check your nails as you go. Compare them to each other to make sure they are even. It is easy to over-file one nail without realizing it. Checking often helps you avoid this.
Step 7: Smooth the Edges
Once you have the shape you want, use a finer grit file or a buffer to smooth the edges. This removes any rough spots and gives your nails a polished look.
How to Shape Nails Perfectly for Each Shape
Different shapes need different techniques. Here is a closer look at how to shape nails perfectly for the most popular styles.
Square Nails
Square nails have a clean, modern look. They work well on long, slender fingers.
- Clip the nail straight across.
- File the sides straight down at a 90-degree angle.
- File the tip straight across.
- Leave the corners sharp for a true square shape.
Round Nails
Round nails are natural and easy to maintain. They are great for beginners.
- Clip the corners slightly.
- File the sides to follow the curve of your fingertip.
- File the tip in a gentle semicircle.
- Make sure there are no sharp corners.
Oval Nails
Oval nails make your fingers look longer and more elegant.
- Start with a square shape.
- File the sides at a slight angle, tapering toward the tip.
- File the tip in a rounded curve.
- The shape should be wider at the base and narrower at the tip.
Squoval Nails
Squoval nails combine the best of square and oval. They are strong and stylish.
- File the tip straight across like a square.
- Round off the corners in one smooth stroke.
- The result is a square shape with soft, rounded corners.
Almond Nails
Almond nails are elegant and feminine. They taper to a soft point.
- Start with an oval shape.
- File the sides more narrowly, creating a stronger taper.
- File the tip to a soft point, not a sharp one.
- The shape should look like an almond nut.
Stiletto Nails
Stiletto nails are bold and dramatic. They taper to a sharp point.
- Start with a square shape.
- File the sides at a sharp angle, narrowing toward the tip.
- File the tip to a point.
- Be careful not to make the point too sharp, or it may break easily.
Nail Shapes and Best Filing Techniques
| Nail Shape | Filing Technique |
|---|---|
| Square | File straight across the tip, sides straight down |
| Round | File in a gentle curve following the fingertip |
| Oval | Taper sides slightly, round the tip |
| Squoval | File straight across, round the corners |
| Almond | Taper sides strongly, file tip to a soft point |
| Stiletto | Taper sides sharply, file tip to a point |
Pro Tips to Shape Nails Perfectly Every Time
These insider tips will help you get better results faster.
Tip 1: Start with the Dominant Hand First
If you are right-handed, shape your left hand first. Your dominant hand is steadier, so it is easier to shape the other hand. Then, when you shape your dominant hand, you can take your time.
Tip 2: Use a Light Touch
You do not need to press hard. Let the file do the work. Pressing too hard can cause your nails to bend or break.
Tip 3: Keep Your Nails Dry
As mentioned earlier, wet nails are weaker. Shape your nails when they are completely dry.
Tip 4: Check the Shape from Different Angles
Look at your nails from the top, the side, and the bottom. This helps you see any uneven spots that you might miss from one angle.
Tip 5: Shape Your Nails Regularly
To keep your nails looking their best, shape them every one to two weeks. This prevents them from getting too long or uneven.
“The key to beautiful nails is not the polish, but the shape underneath. A perfect shape makes any color look good.” – Deborah Lippmann, Nail Expert and Creator
Common Mistakes to Avoid When Shaping Nails
Even experienced people make mistakes sometimes. Here are some common errors to watch out for.
Mistake 1: Over-Filing
Filing too much can make your nails thin and weak. Take off a little at a time and check your progress often.
Mistake 2: Filing Back and Forth
Sawing back and forth creates friction and can cause your nails to split. Always file in one direction.
Mistake 3: Using the Wrong Grit
Using a file that is too coarse for your natural nails can damage them. Stick to medium or fine grit for natural nails.
Mistake 4: Skipping Cuticle Care
Pushing back your cuticles gives you a cleaner shape. Skipping this step can make your nails look messy.
Mistake 5: Shaping Wet Nails
Wet nails are soft and can tear easily. Always shape dry nails.
How to Shape Nails Perfectly on Short Nails
Short nails need a slightly different approach. Here are some tips for shaping shorter nails.
- Choose round or squoval shapes. These shapes look best on short nails.
- Do not try to make them too long. Short nails are stronger and less likely to break.
- Focus on smoothing the edges. Rough edges are more noticeable on short nails.
- Keep them even. Short nails that are uneven stand out more than longer ones.
How to Shape Nails Perfectly on Long Nails
Long nails give you more options, but they also need more care.
- Consider almond or stiletto shapes. These shapes look elegant on long nails.
- Be careful with the tips. Long tips are more likely to break, so do not make them too thin.
- Check the balance. Make sure the shape is even from the base to the tip.
- Use a finer grit file for finishing. This helps prevent snags and breaks.
“Shaping nails is like sculpting. You have to see the final form in your mind before you start filing.” – Tom Bachik, Celebrity Manicurist
Maintaining Your Shaped Nails
Once you have shaped your nails, you want to keep them looking good.
Moisturize Daily
Apply cuticle oil and hand cream every day. This keeps your nails and skin healthy and prevents cracking.
Wear Gloves for Chores
When you are cleaning or doing dishes, wear gloves. This protects your nails from harsh chemicals and water.
Be Gentle
Use your nails as tools as little as possible. Opening cans or scraping stickers can cause breaks.
Touch Up as Needed
If you notice a snag or an uneven spot, file it gently right away. This prevents bigger problems later.
Frequently Asked Questions
1. How often should I shape my nails?
You should shape your nails every one to two weeks to keep them looking neat and healthy. This also helps prevent breaks and snags.
2. What is the easiest nail shape for beginners?
The round shape is the easiest for beginners. It follows the natural curve of your fingertip and requires less precise filing.
3. Can I shape my nails with a regular nail file?
Yes, you can use a regular emery board or a glass file. Just make sure you choose the right grit for your nail type. A medium grit (180-240) is best for natural nails.
4. Why do my nails keep splitting after I shape them?
Splitting can happen if you file back and forth instead of in one direction. It can also happen if you use a file that is too coarse or if your nails are dry. Moisturizing regularly can help.
5. Should I shape my nails wet or dry?
Always shape your nails when they are dry. Wet nails are softer and more likely to tear or bend.
6. How do I know which nail shape is best for me?
Consider the shape of your hands and your daily activities. Oval and almond shapes make fingers look longer. Square and squoval shapes are strong and practical. Round shapes are natural and easy to maintain.
7. Is it better to clip or file my nails?
It is best to clip your nails to a rough length first, then file them to the final shape. Clipping saves time, and filing gives you more control over the shape.
8. How can I make my nails stronger?
Keep your nails moisturized, eat a balanced diet, and avoid over-filing. Using a nail hardener can also help.
Conclusion
Learning how to shape nails perfectly is a skill that anyone can develop. It does not require expensive tools or years of training. All you need is the right information, a little patience, and some practice.
Remember to start with clean, dry nails. Choose a shape that fits your hands and your lifestyle. Use the right file and always file in one direction. Check your work often and smooth the edges when you are done.
With these steps, you can achieve salon-quality results at home. Your nails will look better, feel stronger, and you will feel more confident. So go ahead, give it a try. You might be surprised at how easy it is to shape your nails perfectly.
Related posts
 Best Hair Mask For Damaged Hair: Deep Repair & Hydration Choices
Discover the best hair masks for damaged hair. Compare top choices for deep repair, intense hydration, and overall hair health to find your perfect match. Damaged…
 How To Look Fresh All Day Without Makeup
Do you want to look fresh all day without makeup? This complete guide shares morning habits, skincare tips, and lifestyle changes that keep your face glowing…
 Best Hair Accessories for Wedding: Elegant Choices for Your Special Day
Find the best hair accessories for wedding. Compare elegant clips, combs, and sets with pearls and rhinestones to complete your bridal look. Weddings are a time…