
How To Clean A Refrigerator Inside
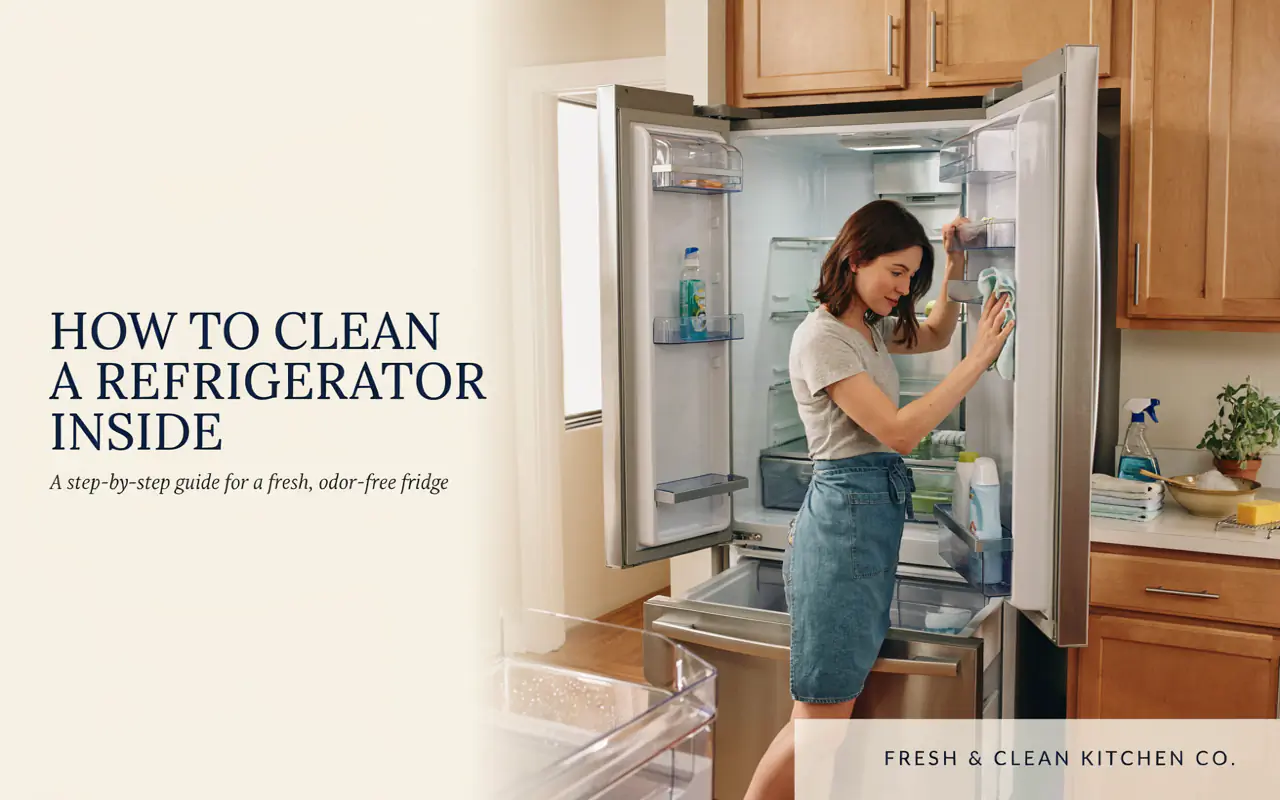
Learn the best way to clean a refrigerator inside with this simple step-by-step guide. Discover easy tips for a fresh, odor-free fridge and safe food storage.
A clean refrigerator is the heart of a healthy kitchen. It keeps your food safe, helps reduce waste, and even saves on energy bills. But many people see this chore as a big, messy task. In reality, knowing how to clean a refrigerator inside is simple when you break it down into clear steps.
I have cleaned my fridge more times than I can count. I have made all the usual mistakes. I know what works and what does not. This guide comes from real experience. It uses simple, proven methods to make this job easy. You will learn how to clean your fridge without using harsh chemicals and in less time than you think.
We will cover everything from getting started to keeping it fresh for the long term. Let’s get started on making your fridge look and smell like new again.
Why You Need to Clean a Refrigerator Inside Regularly
A clean refrigerator is more than just pleasant to look at. It is a health and safety issue. Here is why this task matters so much.
1. Food Safety is Key
Spills and crumbs can grow harmful bacteria like Salmonella and E. coli. These germs spread from old food to fresh food. A clean fridge reduces these risks.
2. Save Money on Food
When you know how to clean a refrigerator inside, you can see everything you have. You will not buy a second jar of pickles because you forgot about the first one. This cuts down food waste and saves you cash.
3. Better Air Quality
Old food smells and mold spores affect the air. A fresh fridge helps the whole kitchen smell better. Food tastes better too, as it does not pick up old smells from other items.
4. Energy Efficiency
A dirty fridge works harder to stay cool. Dust and grime block air vents. The motor runs more often, which uses more electricity and can shorten the life of your appliance.
Quote:
A clean refrigerator is an essential part of a well-run kitchen. Regular cleaning prevents the spread of foodborne illnesses and saves families money.” – Dr. Jane H. Maxwell, Food Safety Consultant.
Preparation: What You Need Before You Start
Do not jump in without a plan. Preparation makes the job faster and easier. Gather your supplies first so you don’t have to stop halfway.
Essential Supplies
- White Vinegar: This is a natural cleaner that cuts grease.
- Baking Soda: Great for cleaning stubborn stains and removing odors.
- Dish Soap: A mild soap works well for general cleaning.
- Microfiber Cloths: These are soft and do not leave lint behind. Use two or three.
- Soft Sponge: Good for scrubbing without scratching the surfaces.
- Old Towels: Use these to soak up water spills on the floor.
- A Small Bowl or Container: For mixing cleaning solutions.
Optional But Useful
- Plastic Scraper: This tool helps remove stuck-on food without scratching.
- Rubber Gloves: These protect your hands from cold water and soap.
- Toothbrush: Great for cleaning small gaps and around the door seals.
Clear the Decks
Clear your kitchen counter. You will need space to put all the food from your fridge. If you have a cooler, you can use it for milk and meat to keep them cold during the cleaning process. If not, work quickly and keep the door closed on the food you have not removed yet.
Step-by-Step Guide: How to Clean a Refrigerator Inside
Now, let’s get into the actual cleaning process. Follow these steps for the best results. This method is safe for any fridge. It uses natural ingredients that do not harm your food surfaces.
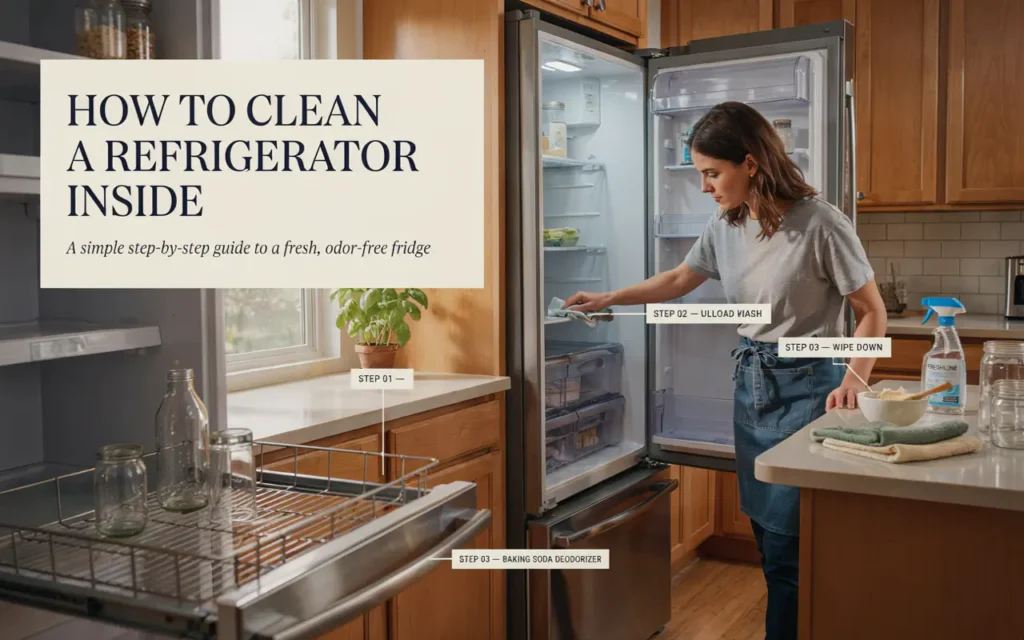
Step 1: Empty the Fridge
Take everything out. Yes, everything. Place items on your clean countertop. Group them into categories like dairy, vegetables, and condiments.
As you do this, check the expiration dates. Look for old leftovers. Throw away any food that looks bad or smells off. This is a great time to take inventory.
Step 2: Remove Removable Parts
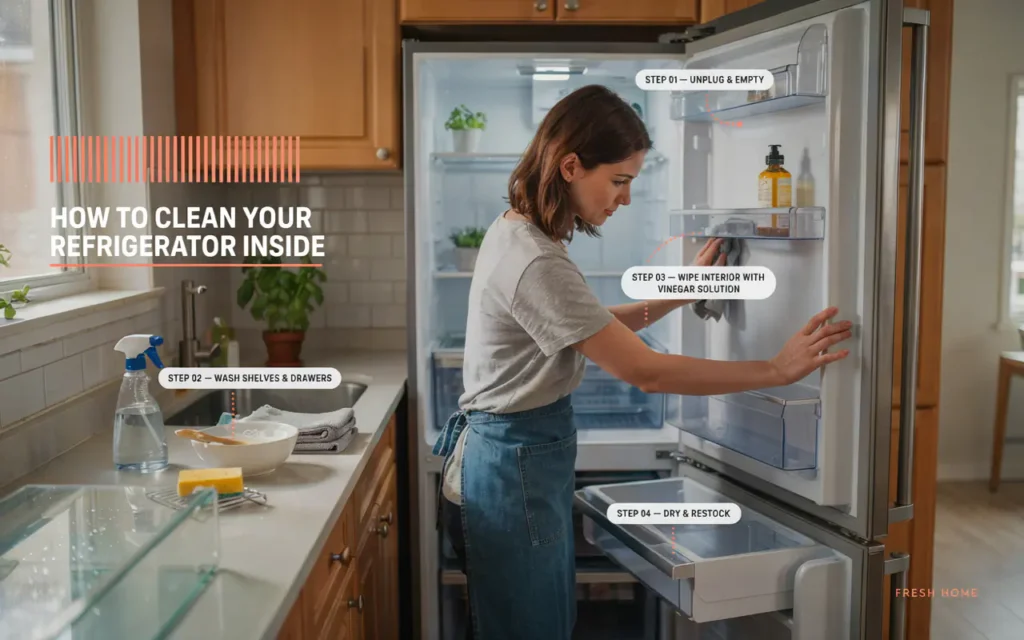
Take out all shelves and drawers. This is a key part of learning how to clean a refrigerator inside effectively. Wash these parts in your kitchen sink. Use warm, soapy water. Let them soak while you clean the main fridge space. This loosens dried-on spills.
Step 3: Clean the Interior Walls and Floor
Mix a solution of one part vinegar to two parts warm water. Add a small squirt of dish soap. Dip your microfiber cloth in this mixture. Wring it out well. You want it damp, not dripping wet.
Wipe the walls, the floor, and the ceiling of the fridge. For tough stains, make a paste of baking soda and water. Apply it to the stain and let it sit for five minutes. Then wipe it clean.
Do not forget the corners. Crumbs often hide in the back corners.
Step 4: Clean the Door Shelves
The door shelves hold condiments and drinks. These are often the most sticky parts. Use the same vinegar and water mix. Wipe the sides and the bottoms of these pockets.
Pay special attention to the rubber seals around the door. This area traps crumbs and spills. The buildup here prevents the door from sealing properly. A bad seal lets cold air escape. Clean the seal with warm water. Dry it with a clean cloth.
Quote:
“Holding a clean, organized refrigerator is a daily triumph. It means you are ready to nourish yourself and your family with fresh food.” – Martha Stewart, Lifestyle Expert.
Step 5: Clean the Shelves and Drawers
Now clean the parts you removed. Use hot, soapy water. Rinse them well. Dry them completely before putting them back. If you put wet glass shelves back into a cold fridge, they can crack. Use a towel to dry every part.
Step 6: Deodorize Your Fridge
After cleaning, it is time to get rid of any lingering smells. Place an open box of baking soda on a shelf. It acts as a natural odor absorber. You can also place a small bowl of coffee grounds or dry oats inside. These absorb odors without giving off a strong smell of their own.
Step 7: Put Food Back
Now you can put all your food back. This is the perfect time to organize your fridge. Place the newest items at the back. Put the oldest items at the front so you use them first.
Wipe the bottles and jars before you put them back. This prevents sticky drips from messing up your clean fridge.
A Handy Guide to Fridge Zones
Understanding the temperature zones in your fridge helps you organize better. Use this guide to place food correctly.
| Fridge Zone | Temperature | Best For |
|---|---|---|
| Top Shelves | Warmest area (about 40°F) | Ready-to-eat foods, leftovers, drinks. |
| Middle Shelves | Cold and stable (about 38°F) | Eggs, dairy products, deli meat. |
| Bottom Shelves | Coldest area (about 35°F) | Raw meat, poultry, fish. |
| Crisper Drawers | High humidity (about 40°F) | Vegetables, leafy greens, fruits. |
| Door Shelves | Warmest area (about 42°F) | Condiments, juices, butter. |
How to Handle the Freezer Section
Most freezers become a mystery pile of frozen food. Do not ignore it. The process is similar but has a few changes.
1. Empty and Inspect
Take everything out. This is a good chance to rotate your stock. Throw away anything with freezer burn.
2. Defrost If Needed
If there is ice buildup, you need to defrost it. You can put a bowl of hot water inside and close the door. The steam will soften the ice. Do not use sharp tools to chip the ice away. This can damage the refrigerant lines. Use a plastic scraper for soft ice.
3. Clean the Interior
Use the same vinegar and water solution for the freezer walls. Dry it well to stop new ice from forming immediately.
4. Organize with Bins
Use bins to group items like meats, vegetables, and prepared meals. Label the bins so you know what is inside.
Quick Cleaning of the Outside
The outside of your fridge matters too. It collects fingerprints and dust. Clean the stainless steel or painted surface.
For Stainless Steel:
- Mix vinegar and water. Wipe with a cloth. Then buff dry with a dry cloth to prevent streaks.
- You can also use a tiny bit of olive oil on a cloth to make it shine.
For Painted Surfaces:
- Use warm, soapy water. Wipe clean. Dry with a soft cloth.
Remember the top of the fridge. Dust gathers here. Wipe it with a damp cloth.
Dealing with Common Problems
Sometimes you face specific issues. Here is how to solve them.
How to Remove Strong Odors
Sometimes a spill goes bad and leaves a strong smell. If the smell is very strong, clean with a baking soda paste. Make a paste of baking soda and water. Apply it to the inside walls and leave it for 10 minutes. Then wipe it off. Leave a small bowl of fresh coffee grounds inside for 24 hours. The grounds absorb odors.
How to Clean a Fridge After a Power Outage
A power outage can cause food to spoil. You must clean the fridge and get rid of spoiled items. Follow the steps above. Wash all surfaces with a stronger solution. Use one tablespoon of bleach in one gallon of water for extra disinfection. Rinse well and dry.
How to Remove Stains
Tomato sauce and fruit juice leave stains. Use a paste of baking soda and a little water. Let it sit on the stain for 15 minutes. Wipe it off. For tough stains, use a magic eraser sponge. Do not use it on glossy surfaces as it might dull the shine.
Quote:
“I believe that the art of living well starts in the kitchen. A clean fridge is the canvas upon which we create our daily meals.” – Alice Waters, Chef and Cookbook Author.
How Often Should You Clean?
A complete deep clean should happen every three to four months. But a quick weekly wipe-down is very helpful. Wipe spills as soon as they happen. This stops them from drying and becoming hard to clean.
A monthly check is also a good habit. During this check, you can throw away old food. You can also wipe down the door handles.
Simple Maintenance Tips
Keep your fridge working well with these simple habits.
- Check the Door Seals: Close a dollar bill in the door. If you can pull it out easily, the seal is weak. Clean the seal with warm water to help it seal better.
- Keep It Full: A full fridge stays cold better than an empty one. But do not overfill it. Air must circulate to keep food cold evenly.
- Cover Leftovers: Cover food to stop moisture from getting into the air. This reduces frost in the freezer.
- Put a Shelf Liner: Use a soft, washable liner on shelves. If food spills, you can take the liner out and wash it.
How to Clean a Refrigerator Inside Quickly
Sometimes you need to do a fast clean. This is for when you have a guest coming or you just need a quick refresh.
The 10-Minute Clean:
- Throw away old food.
- Wipe up spills with a damp cloth.
- Wipe the door handles.
- Put fresh baking soda inside to absorb odors.
The 30-Minute Clean:
- Empty one shelf at a time.
- Wipe the shelf and the items going back on it.
- Move to the next shelf.
- Wipe the door gaskets.
A Cleaning Schedule to Follow
Having a schedule stops the job from becoming too big.

| Task | Frequency |
|---|---|
| Wipe up spills | As soon as they happen |
| Throw away old food | Weekly |
| Wipe shelves and drawers | Monthly |
| Deep clean | Every 3-4 months |
| Wipe outside and top | Monthly |
| Replace baking soda | Every 3 months |
Frequently Asked Questions
1. What is the best way to clean a refrigerator inside?
The best way is to use a simple mix of vinegar and warm water. Remove all food. Take out shelves and wash them in soapy water. Wipe the interior, dry it, and put everything back. This method is safe, cost-effective, and leaves no harsh chemical residue.
2. Can I use bleach to clean a refrigerator inside?
It is best to avoid bleach for regular cleaning. It has a strong smell. If you must disinfect after a serious event, like a power outage, use a diluted solution. Use one tablespoon of bleach per gallon of water. Rinse thoroughly and allow to air dry.
3. How do I get bad smells out of my refrigerator?
First, remove the source of the smell. Then clean the area with vinegar and water. Place an open box of baking soda on a shelf to absorb any leftover odors. For strong smells, leave coffee grounds in a bowl inside the fridge for 24 hours.
4. Do I need to unplug my refrigerator to clean it?
It is not always necessary. Unplugging the fridge is a good safety measure, especially when using liquids near the electrical parts. If you do unplug it, keep the door open to avoid a musty smell from forming while it’s off.
5. Can I use dish soap to clean the inside of my fridge?
Yes, mild dish soap is an excellent choice. It cuts through grease and grime effectively. Make sure you rinse the surfaces with a damp cloth to remove any soap residue before you put food back inside.
6. What is the fastest way to clean a refrigerator inside?
The fastest way is to do it in sections. Start by removing items from one shelf. Wipe the shelf and the items. Put them back. Move to the next shelf. Throw away old items as you go. This method avoids the need to remove all food at once.
Conclusion
Cleaning your fridge is a simple task that gives you many benefits. It saves money, keeps food safe, and makes your kitchen feel fresh. Now you know exactly how to clean a refrigerator inside. You have the tools, the steps, and the expert advice.
The process is simple. Empty the fridge. Clean the surfaces. Clean the parts. Put everything back. A clean fridge leads to less food waste and a healthier home. It also takes away the stress of opening the door and finding a sticky mess.
Set a date on your calendar. Gather your simple supplies. Follow these steps. You will feel great when you open that clean, fresh fridge. Your food will stay fresher for longer. Your energy bills will be lower. Start today. You deserve a clean space where you can safely store the food that nourishes you and your family.
Related posts
 Why Do Dogs Stare at Walls? Common Causes and When to Worry
Wondering why do dogs stare at walls? Discover the sensory, behavioral, and medical reasons behind this behavior, and learn when to contact your veterinarian. When you…
 How to Test Car Wiring for Continuity Using a Multimeter
Learn how to test car wiring for continuity safely. Find broken automotive wires, check connector ports, and diagnose electrical issues with a multimeter. Testing car wiring…
 Why Organizing Space Reduces Stress: The Mental Clarity Connection
Discover why organizing space reduces stress. Learn how a tidy environment lowers cortisol, improves focus, and creates a sense of calm in your daily life. Organizing…