
How To Do Natural Makeup Look At Home
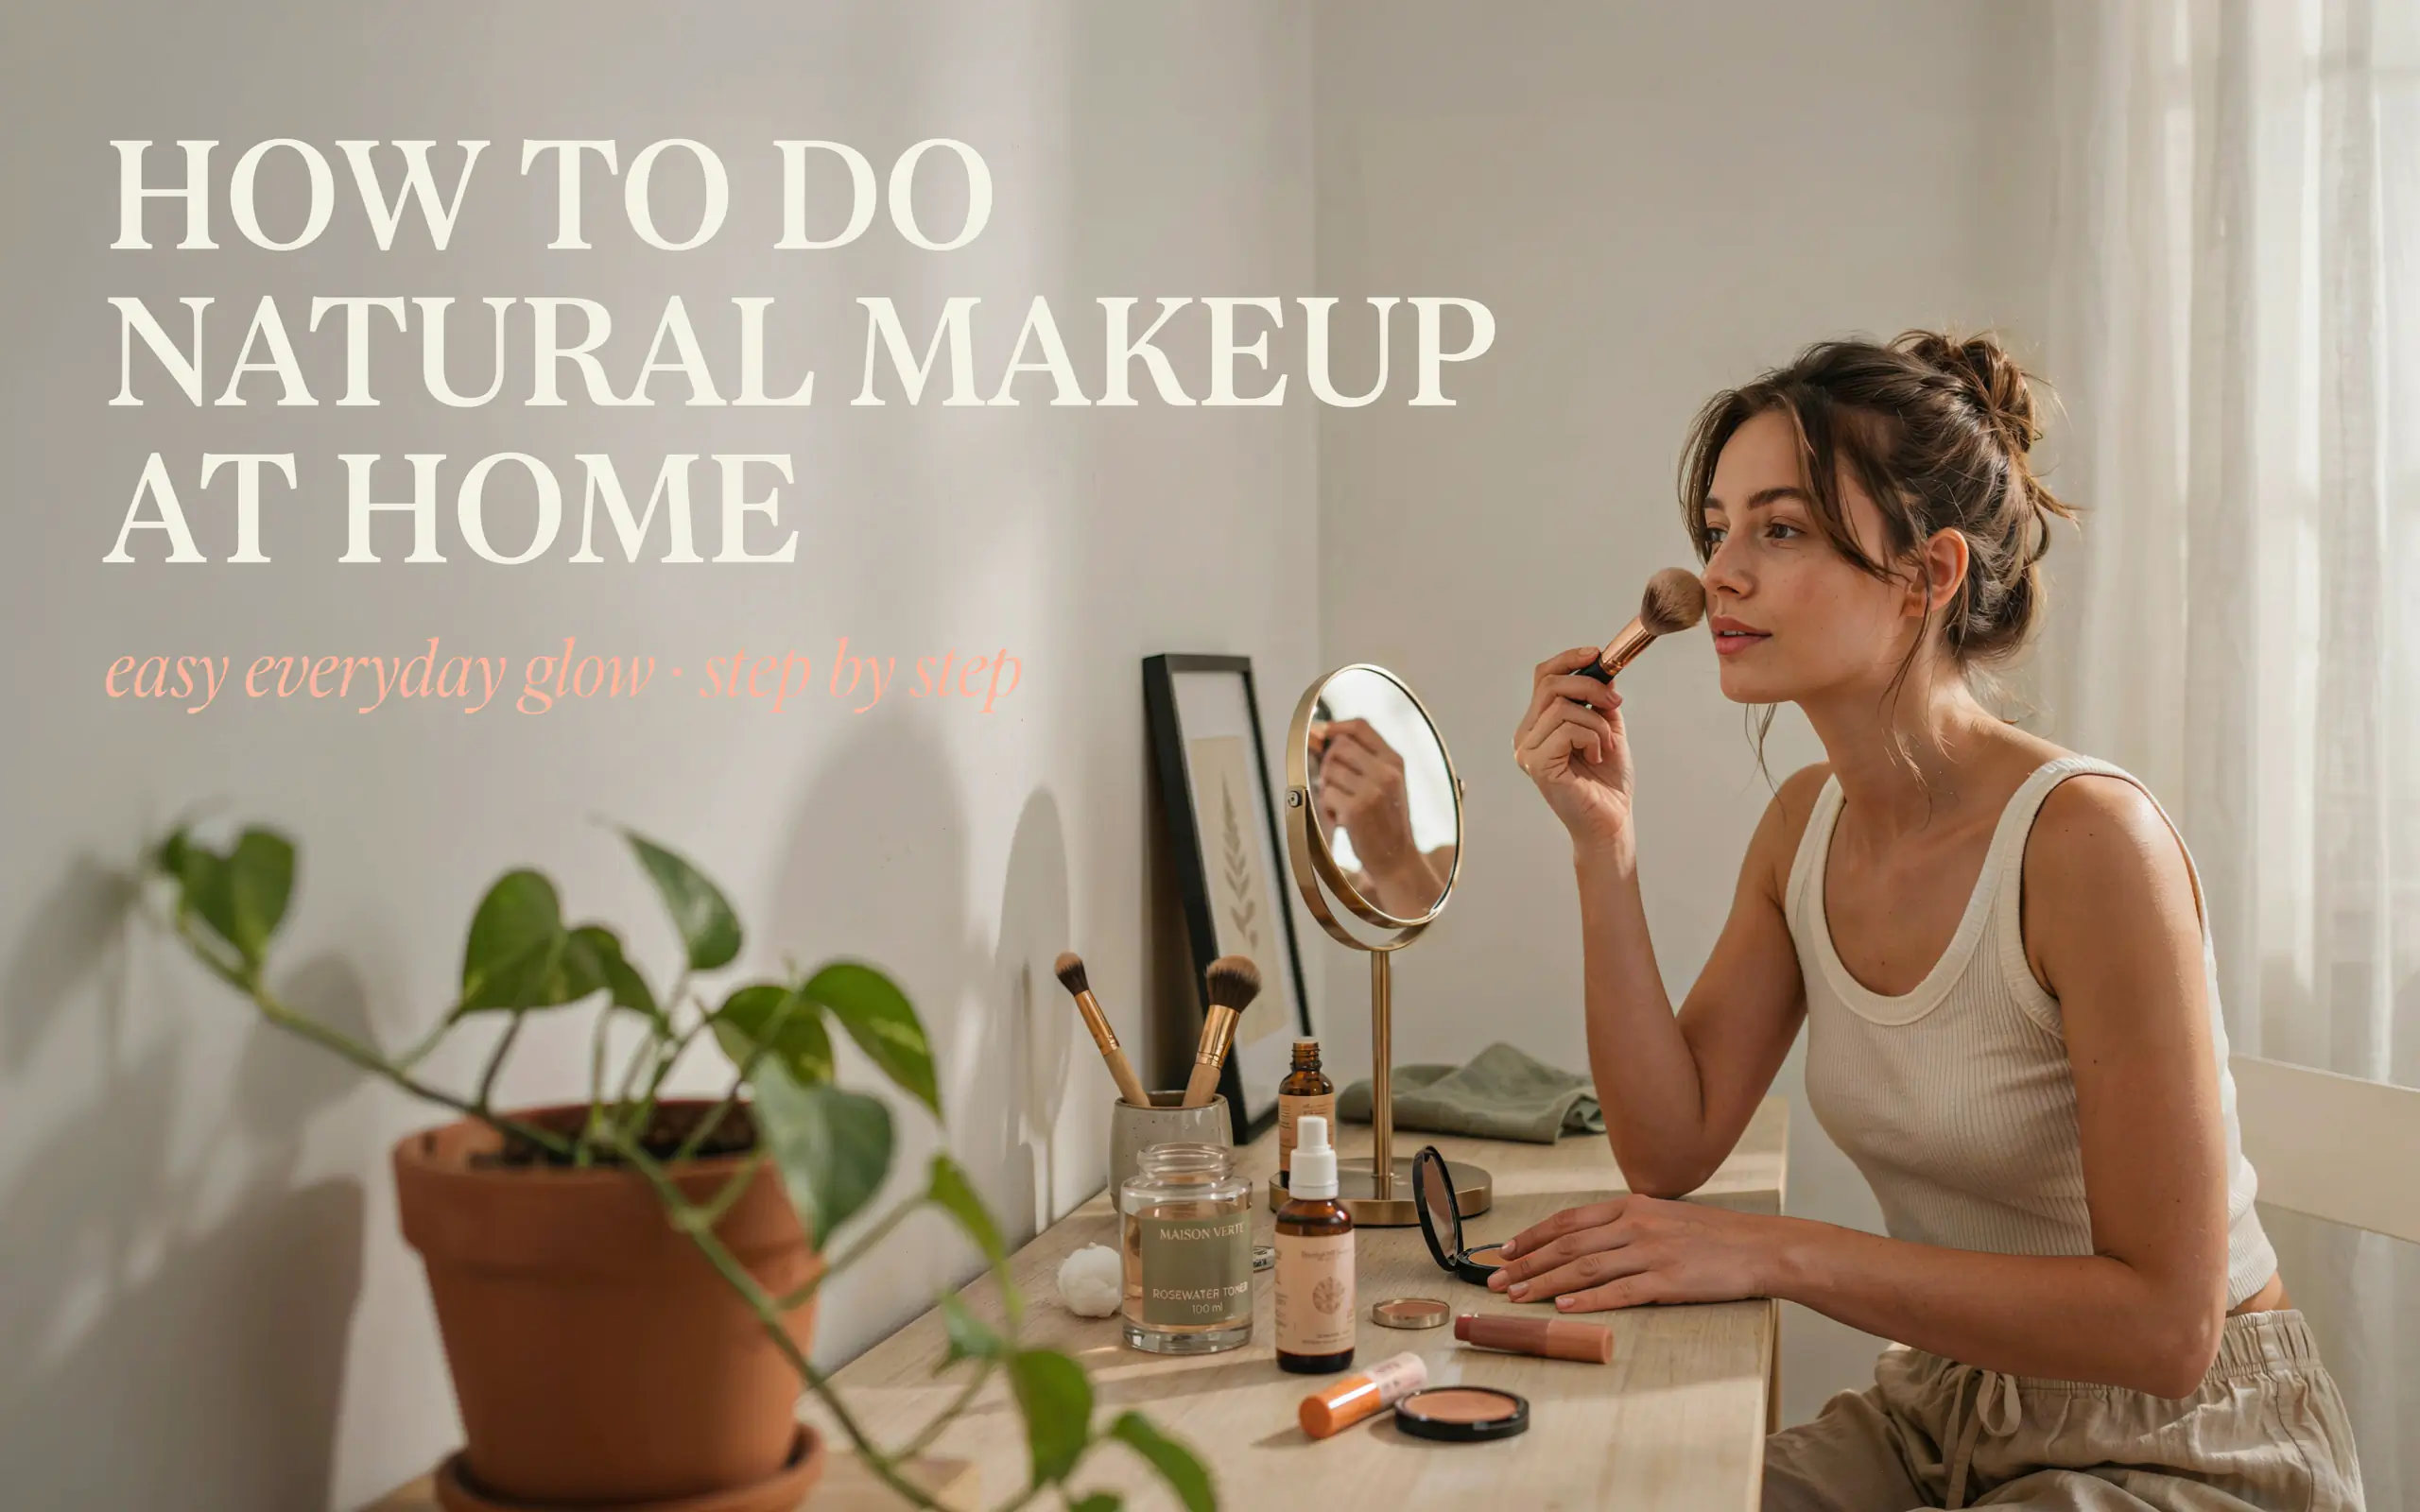
Learn how to create a natural makeup look at home with this simple step-by-step guide. From skin prep to the perfect lip balm, achieve a fresh, glowing look in minutes.
Have you ever looked at someone and thought, “Wow, their skin looks so fresh and healthy”? That is the magic of a natural makeup look. It is not about covering up every single thing. It is about letting your real skin show while giving it a little help to look its best. The goal is to look like you, just a more polished version.
The best part is that you do not need a ton of expensive products or a lot of time to get this look. You can create a beautiful natural makeup look at home with just a few items you might already have in your bag. This guide will walk you through everything from prepping your skin to the final step. We will keep it simple, fun, and focused on what works. You will learn how to enhance your features without feeling like you are wearing a mask. Let us get started on this journey to a fresher, more radiant you, right from your own bathroom.
Why Choose a Natural Makeup Look?
There are many reasons why people love a natural makeup style. It is perfect for everyday wear, whether you are going to work, running errands, or just hanging out with friends. It makes you look put-together but not overdone.
Natural makeup is also much gentler on your skin. You use fewer products and lighter formulas, which means less chance of clogged pores or irritation. It lets your skin breathe. Plus, it saves you time in the morning. You can achieve a great natural makeup look at home in under ten minutes once you get the hang of it.
Makeup artist Bobbi Brown once said, “Makeup is a way for a woman to look and feel like herself, only more beautiful and more confident.” This is exactly what a natural look does. It boosts your confidence by highlighting what you already love about your face.
Step 1: Start with Skin Prep
This is the most important step for any makeup, but especially for a natural look. Healthy, hydrated skin is the best canvas. If your skin is dry or flaky, even the best makeup will not look right. So, let us focus on getting your skin ready.
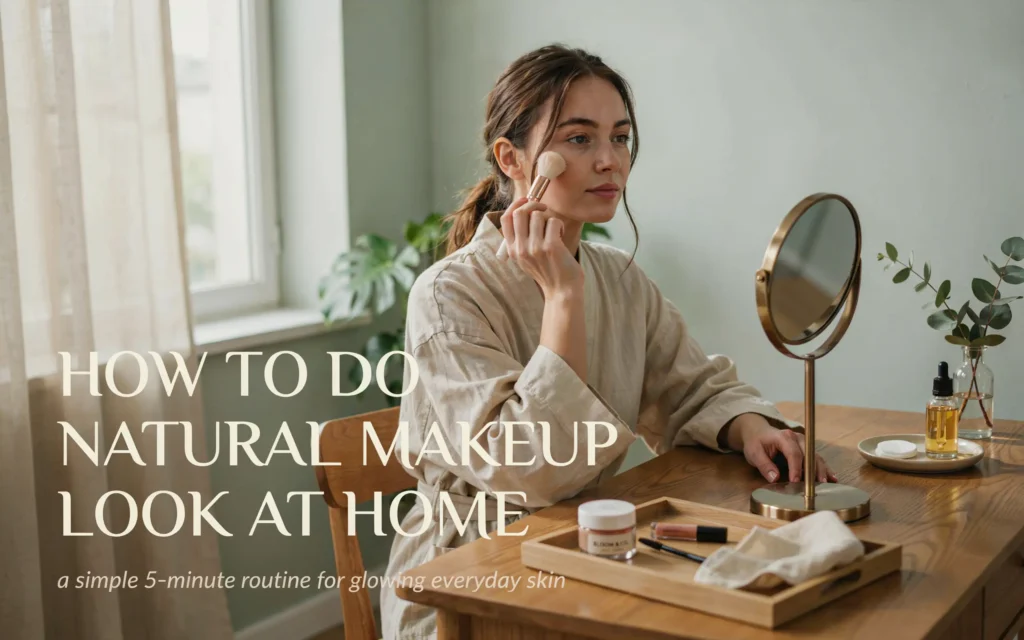
Cleanse Your Face
Begin with a clean face. Use a gentle cleanser that works for your skin type. This removes dirt, oil, and anything else from the night before. You want a fresh, clean surface to work with.
Moisturize Well
Next, apply a good moisturizer. This is key for a natural makeup look at home. Hydrated skin helps your makeup blend smoothly and look like skin, not like a layer of paint. Choose a moisturizer that suits your skin, whether it is dry, oily, or combination.
Apply Sunscreen
Do not skip this step. Sunscreen is a must every single day, even if you are staying indoors. It protects your skin and keeps it looking young and healthy. Look for a moisturizer with SPF 30 or higher to save a step.
| Skin Type | Recommended Prep Products |
|---|---|
| Dry Skin | Creamy cleanser, hydrating serum, rich moisturizer |
| Oily Skin | Gel cleanser, lightweight oil-free moisturizer |
| Combination Skin | Gentle cleanser, balancing toner, lightweight moisturizer |
| Sensitive Skin | Fragrance-free cleanser, soothing serum, simple moisturizer |
Makeup artist and founder of Jones Road, Bobbi Brown, also advises, “Don’t forget your neck and chest. Blend your skincare and makeup down so there are no lines.” Taking care of your skin is the first and most important part of your routine.
Step 2: Choose a Lightweight Base
For a natural look, you want to even out your skin tone without hiding your skin’s natural texture. This is where you skip the heavy, full-coverage foundation.
Tinted Moisturizer or BB Cream
These are your best friends for a natural look. They give a touch of color and hydration, but they are very light. You can use your fingers to apply them, which gives a more natural finish. Start in the center of your face and blend outward. A damp makeup sponge also works great for this.
Skin Tint
Another great option is a skin tint. These are even lighter than tinted moisturizers. They just add a hint of color and a nice glow. They are perfect for days when your skin is already looking good.
The goal here is not to cover everything. It is to create an even, fresh base. This is a core part of achieving a natural makeup look at home. Let your freckles or a little natural redness show through. It makes you look more real and healthy.
Step 3: Conceal Only Where Needed
Now that you have your base, look at your face. You do not need concealer everywhere. Use it only on the spots that need a little extra help.
Under the Eyes
If you have dark circles, dab a little concealer under your eyes. Use a shade that matches your skin tone. A lighter shade can sometimes look too bright and unnatural. Pat it in gently with your ring finger or a small sponge.
On Blemishes and Redness
Got a pimple or a red spot? Put a tiny amount of concealer right on that spot. Blend the edges so it melts into your skin. Do not rub it in. Patting works best.
The key is to use a light hand. You can always add more if you need it, but it is hard to take it away. This strategic approach keeps your natural makeup look at home from looking cakey.
Step 4: Add a Natural Flush with Blush
Blush brings life back to your face after you apply your base. It makes you look healthy and awake.
Choose Cream Blush
Cream blushes are the best choice for a natural finish. They melt into your skin and look like a real flush from within. Powder blushes can sometimes sit on top of the skin and look a bit dry.
How to Apply
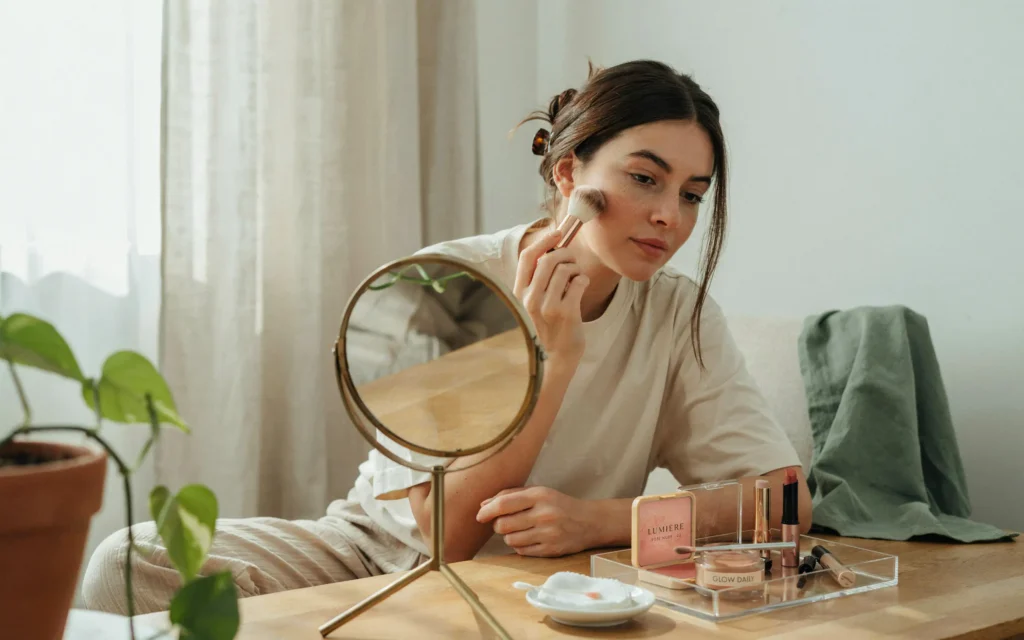
Smile to find the apples of your cheeks. Put a small dot of cream blush there. Then, blend it upward toward your temples. You can also put a little on the bridge of your nose for a sun-kissed look. This gives a very fresh and natural effect.
For a truly natural look, you can even use the same cream blush on your lips. This ties the whole face together and is a great trick for a quick natural makeup look at home.
Step 5: Groom Your Brows
Your eyebrows frame your face. Well-groomed brows can make a huge difference. The goal is to make them look neat, not drawn on.
Brush Them Up
Start by brushing your brows up with a spoolie brush. This shows you their natural shape and where there are any sparse areas.
Fill in Lightly
Use a brow pencil or powder that is close to your natural hair color. Make tiny, hair-like strokes to fill in any gaps. Do not draw a solid line. The goal is to add a little definition, not to create a new brow.
Set with Gel
You can finish with a clear or tinted brow gel. This keeps all the hairs in place all day. Groomed brows are a simple step that makes your whole natural makeup look at home more polished.
Step 6: Keep Eye Makeup Simple
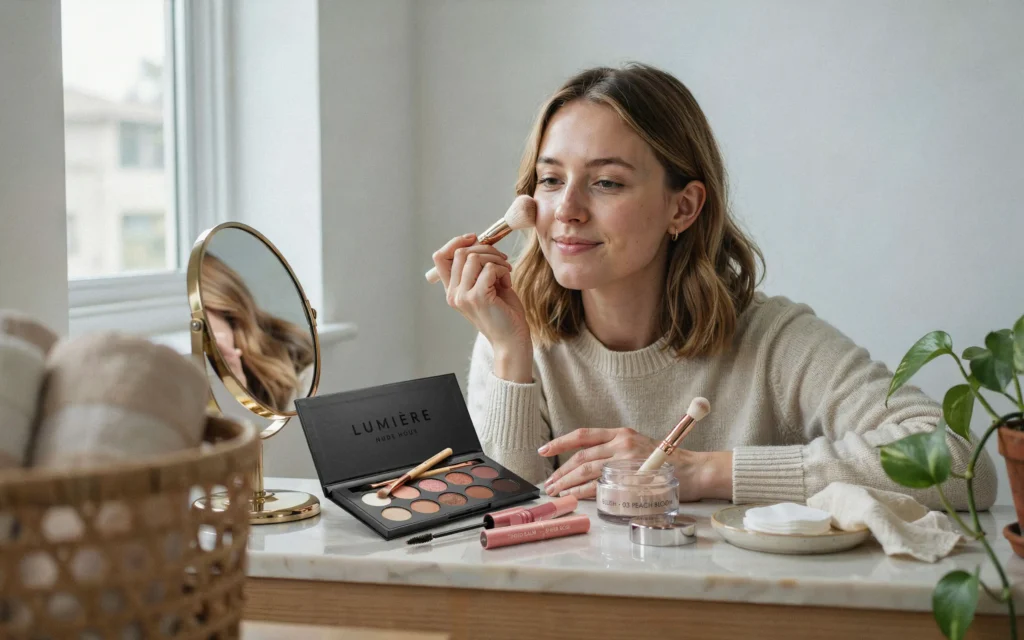
The eyes are the focus of any look, but for a natural style, you want to keep things soft and subtle.
Light Eyeshadow
You do not need a lot of eyeshadow. A single, neutral shade can add a bit of dimension. A soft taupe, beige, or light brown in your crease is enough. You can even skip eyeshadow altogether if your skin has a nice, even tone.
Curl Your Lashes
This is a secret weapon. Curling your lashes opens up your eyes instantly. It makes you look more awake without any makeup.
Mascara
Apply one coat of mascara. Brown mascara is often better than black for a natural look, especially if you have fair skin. It defines your lashes without looking too harsh. Wiggle the wand from the root to the tip of your lashes. This simple step is a staple for a quick natural makeup look at home.
Step 7: Finish with a Natural Lip
The final touch is your lips. You want them to look hydrated and healthy, with just a hint of color.
Tinted Lip Balm
This is the perfect product for a natural look. It adds color and moisture at the same time. Choose a shade that is close to your natural lip color but a little deeper.
Sheer Lipstick or Gloss
You can also use a sheer lipstick or a gloss. Apply it to the center of your lips and then blend it out with your finger. This gives a soft, just-bitten look that is very natural.
Multi-Use Product
Remember the cream blush you used on your cheeks? You can dab a little on your lips, too. This creates a cohesive look and is a great trick for a natural makeup look at home when you are in a hurry.
Product Recommendations for a Natural Look
Here is a quick guide to help you pick the right products. You do not need to spend a lot of money. Many affordable brands make great products for a natural look.
| Product Type | Budget-Friendly Option | High-End Option |
|---|---|---|
| Base | e.l.f. Halo Glow Liquid Filter | NARS Pure Radiant Tinted Moisturizer |
| Concealer | Maybelline Fit Me Concealer | NARS Radiant Creamy Concealer |
| Blush | Sheglam Air Plush Lip & Cheek Cream | Glossier Cloud Paint |
| Mascara | NYX Professional Makeup Worth The Hype Mascara | Ilia Limitless Lash Mascara |
| Brows | e.l.f. Ultra Precise Brow Pencil | Anastasia Beverly Hills Brow Wiz |
| Lips | Burt’s Bees Tinted Lip Balm | Fresh Sugar Lip Treatment |
The best products are the ones that work for your skin. Do not be afraid to experiment with different formulas to find what you like best.
Common Mistakes to Avoid
It is easy to make small mistakes that ruin a natural look. Here are a few things to watch out for.
Using Too Much Product
This is the biggest mistake. A natural look is about using less, not more. Start with a small amount of product and build up if you need to. You can always add more, but you cannot take it away.
Choosing the Wrong Shade
Your foundation or concealer should match your skin perfectly. Test it on your jawline, not your hand. The right shade disappears into your skin. The wrong one leaves a noticeable line.
Skipping Skin Prep
If you do not moisturize, your makeup will look dry and flaky. Hydrated skin is the secret to a flawless finish. Never skip this step for your natural makeup look at home.
Over-Powdering
Powder can make your skin look flat and cakey. Only use a little bit on areas that get oily, like your T-zone. A light dusting is all you need.
Quick Tips for a Perfect Finish
- Use Your Fingers: The warmth of your fingers helps blend cream products beautifully.
- Blend, Blend, Blend: Make sure there are no harsh lines. Everything should melt into your skin.
- Less is More: Remember, the goal is to enhance, not to cover.
- Natural Light: Apply your makeup in natural light if you can. This helps you see how it really looks.
- Set with a Spray: A quick mist of setting spray can help your makeup last all day without looking heavy.
As makeup artist Pat McGrath says, “The best makeup is the one that looks like skin.” This is the ultimate goal of your natural makeup look at home.
How to Make It Last All Day
You want your fresh look to stay fresh. Here is how to make your natural makeup look at home last.
Use a Primer
A primer creates a smooth base for your makeup. It helps everything stay in place longer. Choose a hydrating primer for a dewy finish.
Set with Powder
Use a translucent powder only where you need it. Focus on your T-zone (forehead, nose, and chin). Use a fluffy brush and tap off the excess before applying.
Blot, Don’t Rub
If your skin gets oily during the day, use blotting paper. Press it gently on the oily areas. Do not rub, as this can move your makeup around. This will keep your natural look intact without adding more product.
Frequently Asked Questions
1. What is the first step for a natural makeup look at home?
The first and most crucial step is skin preparation. You need to start with a clean, well-moisturized face. This ensures your makeup applies smoothly and looks fresh throughout the day. Using a good moisturizer and sunscreen is the foundation for any natural look.
2. What kind of foundation should I use for a natural makeup look at home?
You should skip heavy foundations. Instead, opt for a lightweight base like a tinted moisturizer, BB cream, or a skin tint. These products even out your skin tone while letting your natural skin texture show through, which is key for a natural finish.
3. How can I make my natural makeup look at home last all day?
To make your look last, start with a primer to create a smooth base. Lightly set your T-zone with translucent powder. During the day, use blotting papers to remove excess oil instead of adding more powder. A setting spray can also help lock everything in place.
4. Can I use cream products for a natural makeup look at home?
Yes, cream products are highly recommended for a natural look. Cream blush, bronzer, and highlighter blend seamlessly into the skin and look more like a natural flush than powders. They give a dewy, skin-like finish that is perfect for this style.
5. Do I need to use concealer for a natural makeup look at home?
You do not need concealer everywhere. Use it only where you need extra coverage, such as under the eyes or on blemishes. Apply it sparingly and blend well so it does not look cakey. This targeted approach keeps your overall look natural.
Conclusion
Creating a natural makeup look at home is simpler than you might think. It is all about working with your natural features, not against them. By following these easy steps, you can achieve a fresh, glowing look that is perfect for any occasion.
Remember the basics: start with good skin prep, choose light and creamy products, and use a light hand. The goal is to enhance your beauty, not to cover it up. With a little practice, you will be able to do this routine in just a few minutes each morning.
Makeup artist, Bobbi Brown, sums it up perfectly: “I believe that all women are pretty without makeup, but with the right makeup can be pretty powerful.” So, enjoy the process and have fun with your new skills. Your natural makeup look at home is just a few steps away.
Related posts
 Best Compact Powder for Women: 2026 Buyer Guide
Finding the best compact powder for women in 2026. We compare top-rated matte, mineral, and lightweight pressed powders to help you choose the right finish. Finding…
 Best Casual Wear for Women: 2026 Style and Comfort Essentials
Discover the best casual wear for women in 2026. We compare top-rated trousers and versatile tops to help you build a comfortable, stylish everyday wardrobe. Finding…
 Best Claw Clips for Thick Hair in 2026
Finding the best claw clips for thick hair requires a balance of grip and size. Explore our top 2026 recommendations for secure, stylish, and reliable styling.…