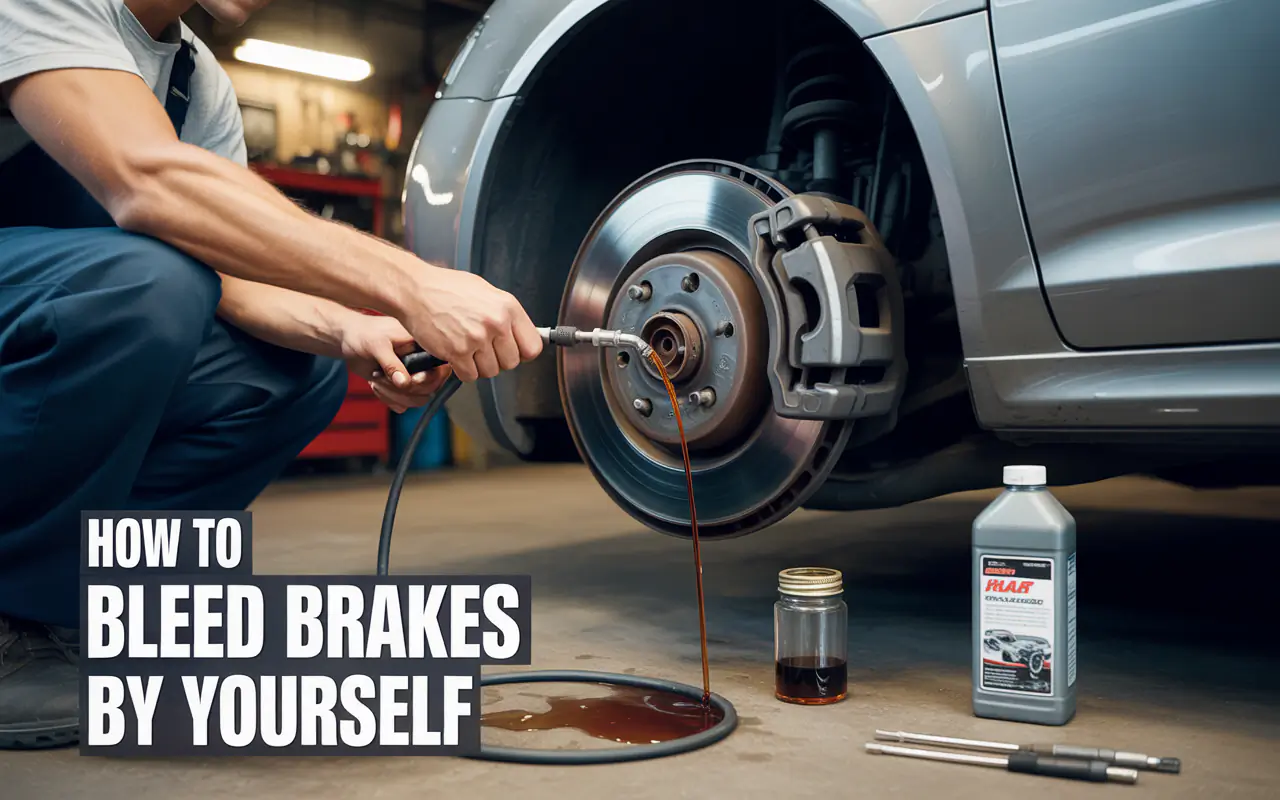
How To Bleed Brakes By Yourself
Learn how to bleed brakes by yourself with this complete step-by-step guide. Discover the tools, methods, and safety tips to get a firm brake pedal without a helper.
Do you have a brake pedal that feels soft or spongy? Maybe your car takes longer to stop than it used to. These are signs that air might have gotten into your brake lines. The good news is you can fix this problem at home. You do not need a mechanic. You can bleed brakes by yourself with the right tools and a little patience.
Brakes are the most important safety feature on your car. When you press the brake pedal, you expect the car to stop. But brake fluid can absorb moisture over time. Air bubbles can also enter the system when you change brake pads or open the brake lines. Air compresses, but brake fluid does not. This is why air in the lines makes the pedal feel soft. Getting that air out is called bleeding the brakes.
This guide will show you exactly how to bleed brakes by yourself. We will cover the tools you need, the safety steps, and the different methods you can use. You will learn the traditional two-person method, the one-person methods, and how to choose the right brake fluid. By the end, you will feel ready to take on this job in your own garage.
Let us get started. Your safety depends on having brakes that work the way they should.
Why You Might Need to Bleed Your Brakes
Before you learn how to bleed brakes by yourself, you need to know when it is necessary. There are several clear signs that your brake system has air in it or old fluid that needs replacing.
Common Signs of Air in the Brake Lines
The most common sign is a spongy brake pedal. When you press the pedal, it feels soft or mushy. It might go down farther than normal before the brakes engage. This happens because air bubbles compress under pressure. The pedal feels like stepping on a sponge instead of a solid surface.
Other signs include:
- The brake pedal goes all the way to the floor.
- You need to pump the brakes to get them to work.
- The car takes longer to stop than it should.
- You notice a decrease in braking performance.
If you experience any of these, it is time to bleed your brakes.
When Should You Bleed Your Brakes?
You should also bleed your brakes in these situations:
After replacing brake pads or rotors. Opening the brake system can let air in. Even if you are careful, some air can enter.
After replacing a brake caliper, wheel cylinder, or brake line. Any time you open the hydraulic system, air gets in.
When the brake fluid looks dark or dirty. Brake fluid should be clear or light amber. Dark fluid means it has absorbed moisture and should be changed.
As part of regular maintenance. Most car makers suggest changing brake fluid every two to three years. This keeps the system working well.
If your car has been sitting for months. Brake fluid can absorb moisture over time. This can cause corrosion inside the system.
As brake expert and mechanic John Smith says, “A soft pedal is your car’s way of telling you something is wrong. Ignoring it is like ignoring a warning light. The problem will only get worse.”
Tools and Supplies You Will Need
To bleed brakes by yourself, you need a few basic tools. Most of these are cheap and easy to find at any auto parts store. Here is what you need.
Essential Tools for Brake Bleeding
| Tool | Purpose |
|---|---|
| Box-end wrench (usually 8mm or 10mm) | To open and close the bleeder valve |
| Clear plastic hose (about 2 feet long) | To carry fluid from the bleeder to a bottle |
| Empty plastic bottle or jar | To catch the old brake fluid |
| Fresh brake fluid | To replace the old fluid |
| Jack and jack stands | To lift and support the car safely |
| Turkey baster or syringe | To remove old fluid from the master cylinder |
| Brake bleeder kit (optional) | Makes one-person bleeding easier |
Choosing the Right Wrench
Most bleeder valves use an 8mm or 10mm wrench. A flare nut wrench is the best choice. It grips the nut on more sides and is less likely to strip it. A regular open-end wrench can work, but be careful. A 6-point box wrench is better than a 12-point one. The 12-point wrench can round off the bleeder valve.
Selecting the Correct Brake Fluid
Using the right brake fluid is critical. Your car’s owner’s manual will tell you which type to use. Most cars use DOT 3 or DOT 4 brake fluid. These are glycol-based fluids that absorb water over time. DOT 5 is silicone-based and used in some older cars and classic vehicles. Do not mix DOT 5 with DOT 3 or DOT 4. They are not compatible.
| Fluid Type | Base | Common Use |
|---|---|---|
| DOT 3 | Glycol-based | Most everyday cars |
| DOT 4 | Glycol-based | Cars with ABS or performance needs |
| DOT 5 | Silicone-based | Classic cars, some motorcycles |
| DOT 5.1 | Glycol-based | Performance and racing use |
Always buy a sealed, fresh bottle of brake fluid. Brake fluid absorbs moisture from the air. An open bottle will not stay fresh for long.
One-Person Brake Bleeding Tools
If you want to bleed brakes by yourself without a helper, you have options. Speed bleeders are one-way valves that replace your existing bleeder screws. They let fluid out but do not let air back in. This lets you pump the pedal and open the valve without a second person.
A one-man brake bleeder kit uses a hose and a bottle with a check valve. The check valve lets fluid flow out but stops air from going back in. Gravity bleeding is another option. You simply open the bleeder and let gravity pull the fluid out.
Safety First: What You Need to Know
Brake fluid is corrosive. It can damage your car’s paint. It can also irritate your skin and eyes. Take these safety steps before you start.
Protect Yourself and Your Car
Wear safety glasses. Brake fluid can splash. Gloves are a good idea too. They keep the fluid off your skin.
Cover your car’s fenders and painted surfaces with old towels or drop cloths. If brake fluid drips on the paint, wipe it off right away. Rinse the area with water.
Work in a well-ventilated area. Brake fluid fumes are not good to breathe.
Never Let the Master Cylinder Run Dry
This is the most important rule. The master cylinder reservoir must always have fluid in it. If it runs dry, air will get into the master cylinder. Then you will have to bleed the whole system again.
Check the fluid level often. Top it up after bleeding each wheel. Keep the reservoir at the “full” line.
Proper Lifting and Support
Never work under a car that is only supported by a jack. Always use jack stands. Place them on solid parts of the car’s frame. Chock the wheels that stay on the ground. This stops the car from rolling.
The Traditional Two-Person Method
This is the classic way to bleed brakes. It works well and costs nothing extra. You just need a helper to pump the brake pedal. Here is how to bleed brakes by yourself with a friend.
Step 1: Prepare the Car
Park the car on level ground. Chock the wheels. Jack up the car and support it with jack stands. Remove the wheels if needed. Some cars let you reach the bleeder valves without removing the wheels. Others need the wheels off.
Step 2: Find the Bleeding Sequence
Bleeding order matters. You start with the wheel farthest from the master cylinder. Then you move to the next farthest. For most cars, this sequence is: right rear, left rear, right front, left front.
Some cars have different sequences. Check your owner’s manual if you are unsure.
Step 3: Prepare the Master Cylinder
Open the hood. Find the brake master cylinder. It is usually on the driver’s side, against the firewall. Wipe the top clean. Remove the cap. Use a turkey baster to remove the old fluid from the reservoir. Do not let any dirt fall in.
Fill the reservoir with fresh brake fluid. Put the cap back on loosely.
Step 4: Attach the Hose and Bottle
Go to the first wheel in the sequence. Find the bleeder valve. It is a small screw on the brake caliper or wheel cylinder. Put the box-end wrench on the valve.
Attach one end of the clear plastic hose to the bleeder valve. Put the other end into the empty bottle. Add a little fresh brake fluid to the bottle. The hose end should be below the fluid level. This stops air from being sucked back in.
Step 5: The Bleeding Process
Now you need your helper. Tell your helper to pump the brake pedal three to five times. Then they should hold the pedal down with steady pressure.
While they hold the pedal down, you open the bleeder valve about a half turn. Fluid and air bubbles will flow through the hose into the bottle. The pedal will sink toward the floor.
Close the bleeder valve. Then tell your helper to release the pedal.
Repeat this process. Pump the pedal, hold it down, open the valve, close the valve, release the pedal. Keep going until you see clear fluid with no bubbles coming through the hose.
Step 6: Move to the Next Wheel
Close the bleeder valve. Remove the hose. Check the master cylinder fluid level. Top it up if needed. Then move to the next wheel in the sequence. Repeat the bleeding process.
Step 7: Test the Brakes
After bleeding all four wheels, check the brake pedal. It should feel firm. If it still feels spongy, you may need to bleed the system again. There might still be air in the lines.
How to Bleed Brakes By Yourself Without a Helper
Maybe you do not have someone to help you. Or you prefer to work alone. You can still bleed brakes by yourself. Here are three methods that let you work solo.
Method 1: Using Speed Bleeders
Speed bleeders are special bleeder valves with a built-in one-way check valve. They let fluid out but stop air from going back in. This means you can pump the pedal and open the valve without a helper.
To use speed bleeders:
- Replace your old bleeder valves with speed bleeders.
- Attach the hose and bottle to the speed bleeder.
- Pump the brake pedal a few times.
- Loosen the speed bleeder about a quarter turn.
- Pump the pedal again. Fluid will come out. Air will not go back in.
- Tighten the speed bleeder when you see clear fluid.
This method is simple and effective. It is one of the easiest ways to bleed brakes by yourself.
Method 2: The Gravity Bleeding Method
Gravity bleeding uses, well, gravity. You open the bleeder valve and let the fluid flow out on its own. This takes longer but works well.
To gravity bleed:
- Fill the master cylinder with fresh fluid.
- Attach a hose to the bleeder valve. Put the other end in a bottle.
- Open the bleeder valve.
- Wait. Fluid will slowly drip out. Air bubbles will come with it.
- Check the master cylinder often. Keep it full.
- Close the valve when the fluid runs clear and bubble-free.
This method can take 15 to 30 minutes per wheel. But it is effective and requires no pumping.
Method 3: Using a One-Man Brake Bleeder Kit
A one-man brake bleeder kit uses a hose, a bottle, and a check valve. The check valve lets fluid out but stops air from going back in. This works like a speed bleeder but attaches to your existing bleeder valve.
To use a one-man kit:
- Attach the kit’s hose to the bleeder valve.
- Put the other end in the bottle.
- Open the bleeder valve.
- Pump the brake pedal several times.
- The check valve lets fluid out but stops air from coming back.
- Close the valve when the fluid is clear.
This is a cheap and effective tool. It is a good choice if you want to bleed brakes by yourself often.
Master mechanic Sarah Johnson puts it this way: “The key to bleeding brakes alone is having the right tool. A speed bleeder or a one-man kit turns a two-person job into a one-person job. It saves time and frustration.”
The Vacuum Bleeding Method
A vacuum bleeder uses suction to pull fluid through the system. This is another way to bleed brakes by yourself. You attach a vacuum pump to the bleeder valve. The pump pulls fluid and air out of the lines.
How to Use a Vacuum Bleeder
- Fill the master cylinder with fresh fluid.
- Attach the vacuum pump hose to the bleeder valve.
- Open the bleeder valve.
- Operate the vacuum pump. It will pull fluid through the line.
- Watch the hose. You will see fluid and air bubbles come out.
- Close the valve when the fluid is clear.
Vacuum bleeders work well. But you need to be careful. If the vacuum is too strong, it can pull air past the threads of the bleeder valve. This makes it look like there are still bubbles in the system. Putting a little grease or Teflon tape on the threads can help seal them.
Pros and Cons of Vacuum Bleeding
| Pros | Cons |
|---|---|
| Works with one person | Can pull air past threads |
| Fast and effective | Requires a vacuum pump tool |
| No helper needed | Not as common as other methods |
The Pressure Bleeding Method
Pressure bleeding uses a pressurized tank to push fluid through the system. This is a professional-grade method. It is fast and thorough. You attach a pressure bleeder to the master cylinder reservoir. Then you pressurize the system. Opening a bleeder valve lets fluid and air flow out.
How to Use a Pressure Bleeder
- Fill the pressure bleeder with fresh brake fluid.
- Attach the pressure bleeder to the master cylinder reservoir.
- Pressurize the system to about 15 to 25 PSI.
- Go to each wheel in the correct sequence.
- Open the bleeder valve. Fluid will flow out.
- Close the valve when the fluid is clear.
Pressure bleeding is the cleanest and fastest method. It is often used in shops. But the tools can be expensive. It is a good choice if you bleed brakes often.
Step-by-Step Guide: Bleed Brakes By Yourself with a Kit
Let us put it all together. Here is a complete step-by-step guide for bleeding brakes by yourself using a one-man brake bleeder kit.
Step 1: Gather Your Tools
Get your wrench, clear hose, bottle, fresh brake fluid, and one-man bleeder kit. Make sure you have the right size wrench for your bleeder valves.
Step 2: Lift the Car
Park on level ground. Chock the wheels. Jack up the car and support it with jack stands. Remove the wheels if needed.
Step 3: Remove Old Fluid from the Master Cylinder
Open the hood. Clean the master cylinder cap. Remove the cap. Use a turkey baster to suck out the old fluid. Fill the reservoir with fresh fluid. Put the cap back on.
Step 4: Start with the Farthest Wheel
Find the right rear wheel. This is usually the farthest from the master cylinder. Locate the bleeder valve. Attach your clear hose to the valve. Put the other end in your bottle.
Step 5: Bleed the Wheel
Open the bleeder valve about a half turn. Pump the brake pedal several times. Watch the hose. You will see fluid and bubbles come out. The one-way valve in your kit will stop air from going back in.
Keep pumping until you see clear fluid with no bubbles. Close the bleeder valve.
Step 6: Check the Master Cylinder
Go back to the master cylinder. Check the fluid level. Top it up if needed. Never let it run dry.
Step 7: Move to the Next Wheel
Move to the left rear wheel. Repeat the bleeding process. Then do the right front. Finish with the left front.
Step 8: Test the Brakes
After all four wheels are done, check the brake pedal. It should feel firm. If it still feels soft, you may need to bleed the system again. There could still be air trapped in the lines.
Step 9: Clean Up
Dispose of the old brake fluid properly. It is hazardous waste. Take it to a recycling center or auto parts store that accepts used fluids. Wipe up any spills. Replace the wheels and lower the car.
Common Mistakes to Avoid When You Bleed Brakes By Yourself
Even with good instructions, things can go wrong. Here are some common mistakes and how to avoid them.
Letting the Master Cylinder Run Dry
This is the biggest mistake. If the master cylinder runs dry, air gets into the master cylinder. Then you have to bleed the whole system again, including the master cylinder. Check the fluid level after every wheel. Top it up often.
Using the Wrong Fluid
Using the wrong brake fluid can damage your brake system. DOT 5 silicone fluid is not compatible with DOT 3 or DOT 4 systems. Always check your owner’s manual. Use the recommended fluid.
Bleeding in the Wrong Order
Bleeding in the wrong order can leave air trapped in the system. Always start with the wheel farthest from the master cylinder. Then work your way closer.
Not Tightening the Bleeder Valve Enough
If you do not tighten the bleeder valve enough, air can leak in. This will make your brakes spongy. Tighten the valve firmly, but do not overtighten. You could strip the threads.
Not Testing the Brakes
After bleeding, always test the brakes before driving. Pump the pedal a few times with the car off. It should feel firm. Then start the car and test the brakes at low speed in a safe area.
When to Call a Professional
Bleeding brakes is a job most DIYers can handle. But there are times when you should call a professional.
If you have an Anti-lock Braking System (ABS), bleeding can be more complex. Some ABS systems need a special scan tool to cycle the valves during bleeding. If you are not sure, check your owner’s manual.
If you have tried bleeding and the pedal is still soft, there may be another problem. A bad master cylinder, a leaking brake line, or a stuck caliper can cause similar symptoms. A professional can diagnose the issue.
As veteran mechanic Robert Lee says, “Bleeding brakes is a basic skill. But if you have ABS or if the pedal stays soft after a good bleed, do not guess. Get a pro to look at it. Brakes are too important to risk.”
Frequently Asked Questions
How often should I bleed my brakes?
Most car makers suggest changing brake fluid every two to three years. This is a good time to bleed the brakes. You should also bleed them after any brake repair that opens the system.
Can I bleed brakes by myself without any special tools?
Yes. You can use the gravity bleeding method. Open the bleeder valve and let gravity do the work. It takes longer but requires no special tools.
How do I know if I have air in my brake lines?
A spongy or soft brake pedal is the main sign. The pedal may go down farther than normal. You may need to pump the brakes to stop the car.
What happens if I do not bleed my brakes?
Air in the brake lines will make your brakes less effective. Over time, the pedal can become very soft. In a worst-case scenario, the brakes could fail completely. This is dangerous.
How much brake fluid do I need?
One quart (about one liter) is usually enough for a full bleed. But it is a good idea to have an extra bottle on hand. You may need more if you are flushing the entire system.
Can I mix different types of brake fluid?
Do not mix DOT 5 with DOT 3 or DOT 4. They are not compatible. DOT 3 and DOT 4 can usually be mixed, but it is best to use the type your car’s manual recommends.
Why does my brake pedal still feel spongy after bleeding?
There may still be air in the system. Try bleeding again. Make sure you are using the correct sequence. Also check for leaks. A leak can let air into the system.
Is it safe to drive after bleeding brakes?
Yes, if you did the job correctly. Test the brakes before driving. Pump the pedal a few times. It should feel firm. Then test at low speed in a safe area.
Conclusion
Learning how to bleed brakes by yourself is a valuable skill. It saves you money and gives you confidence in your car’s safety. The process is not hard. With the right tools and a little patience, anyone can do it.
Remember the key steps. Use the correct bleeding sequence. Start with the wheel farthest from the master cylinder. Keep the master cylinder full. Use the right brake fluid. And test your brakes before you drive.
Whether you use a helper, speed bleeders, a one-man kit, or gravity, you can bleed brakes by yourself. Choose the method that fits your tools and comfort level. Take your time. Do it right. Your brakes are too important to rush.
A firm brake pedal means a safe stop. And a safe stop is what braking is all about. So get your tools, grab some fresh fluid, and give it a try. You might be surprised at how easy it is to bleed brakes by yourself.
Related posts
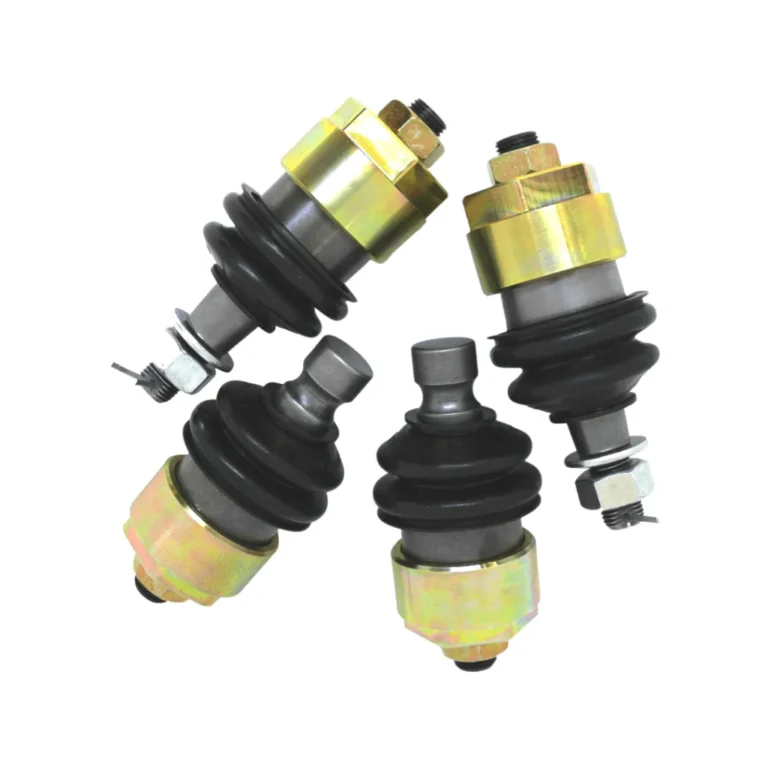 Best Ball Joint Press Kit for DIY and Professional Auto Repair
Find the best ball joint press kit for your vehicle. Compare heavy-duty options, comprehensive sets, and specialized tools for 2WD and 4WD cars and trucks. A…
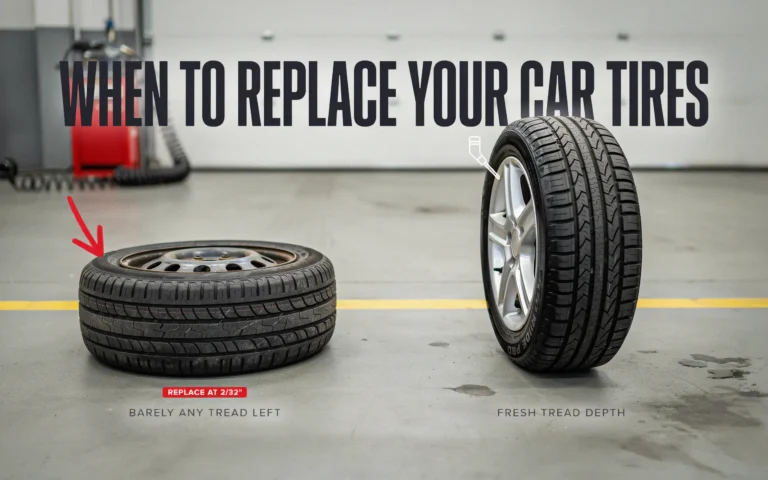 When To Replace Car Tires
“Wondering when to replace car tires? Check tread depth, cracks, bulges, or vibration. Most tires need replacement every 25,000-50,000 miles or after 6 years. Stay safe…
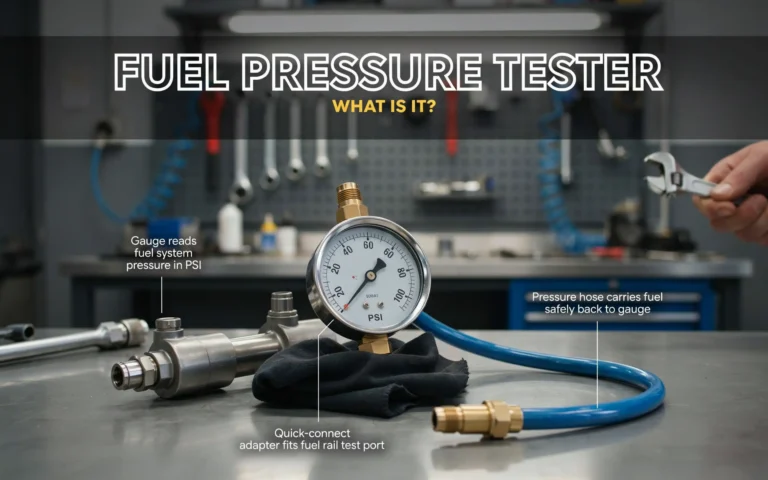 What Is A Fuel Pressure Tester
Learn what a fuel pressure tester is and how it checks your car’s fuel system. A fuel pressure tester helps find bad pumps, leaks, or clogged…