
How To Use An OBD2 Scanner
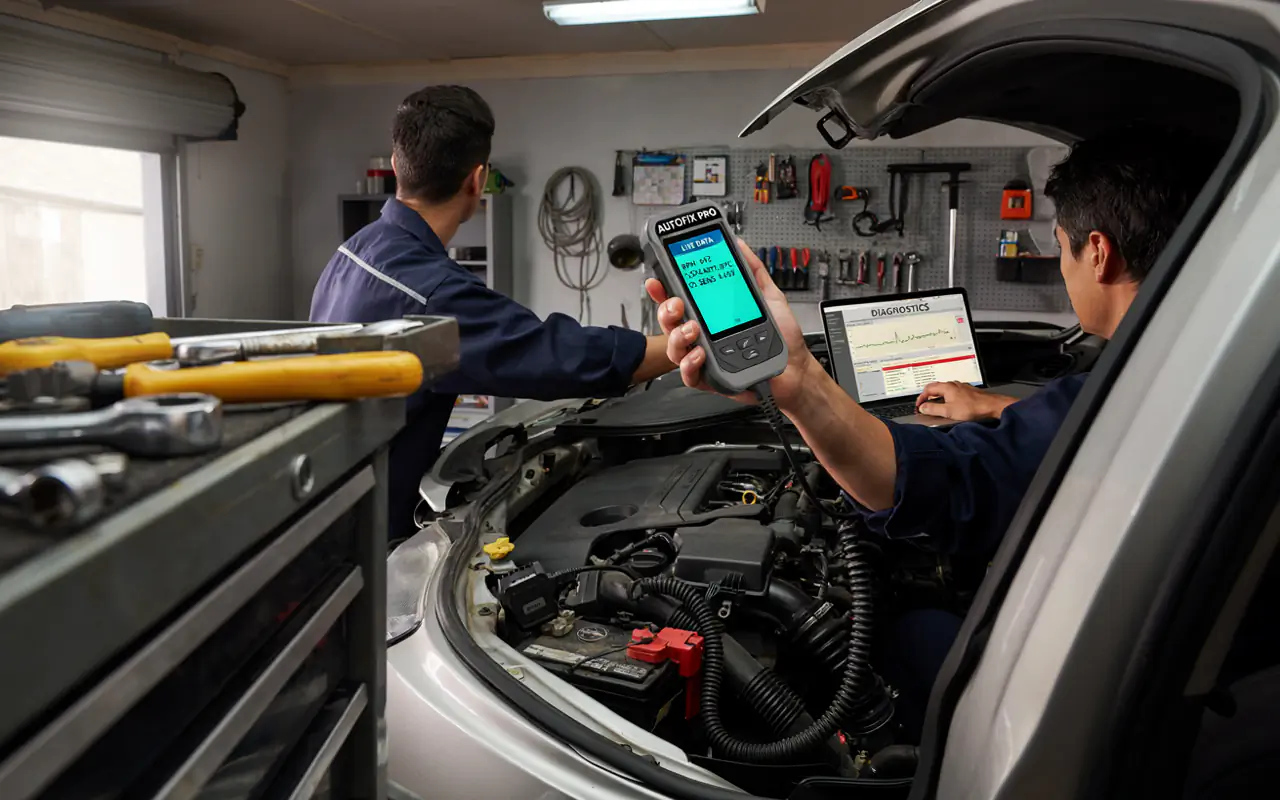
Learning how to use an OBD2 scanner can save you time and money on car repairs. This guide shows you exactly how to connect, read codes, interpret data, and clear warning lights with confidence.
That little orange or yellow light on your dashboard can cause a lot of worry. You might think it means a huge repair bill is coming. But often, the problem is small and easy to fix. The best way to find out is to use an OBD2 scanner. This tool connects to your car’s computer and tells you what is wrong. It reads the error codes that trigger the check engine light.
This guide will teach you how to use an OBD2 scanner from start to finish. You will learn where to plug it in, how to read the codes, and what to do with the information. We will also cover live data, clearing codes, and choosing the right scanner for your needs. By the end, you will feel confident to diagnose your car like a pro.
What is an OBD2 Scanner and Why Do You Need One?
OBD stands for On-Board Diagnostics. OBD2 is the second generation of this system. It has been standard on all cars and light trucks sold in the United States since 1996. The system was created to monitor emissions and engine performance. Today, it tracks many systems in your vehicle.
An OBD2 scanner is a device that plugs into your car’s diagnostic port. It reads the data from your car’s computer. This data includes Diagnostic Trouble Codes (DTCs). These codes are the reason your check engine light turns on.
Here is why you should learn how to use an OBD2 scanner:
- Save money on repairs. You can avoid paying a mechanic just to read the codes.
- Fix simple problems yourself. Many codes point to easy fixes like a loose gas cap or a faulty sensor.
- Know if a problem is serious. Some codes mean you need immediate help. Others can wait.
- Check a used car before buying. You can plug in a scanner to see if the seller is hiding any issues.
- Monitor your car’s health. Advanced scanners show live data about engine performance.
“An OBD2 scanner is like a translator for your car. It takes the computer’s language and turns it into something you can understand,” says Chris Fix, a popular automotive YouTuber and DIY mechanic.
Step 1: Locate the OBD2 Port in Your Vehicle
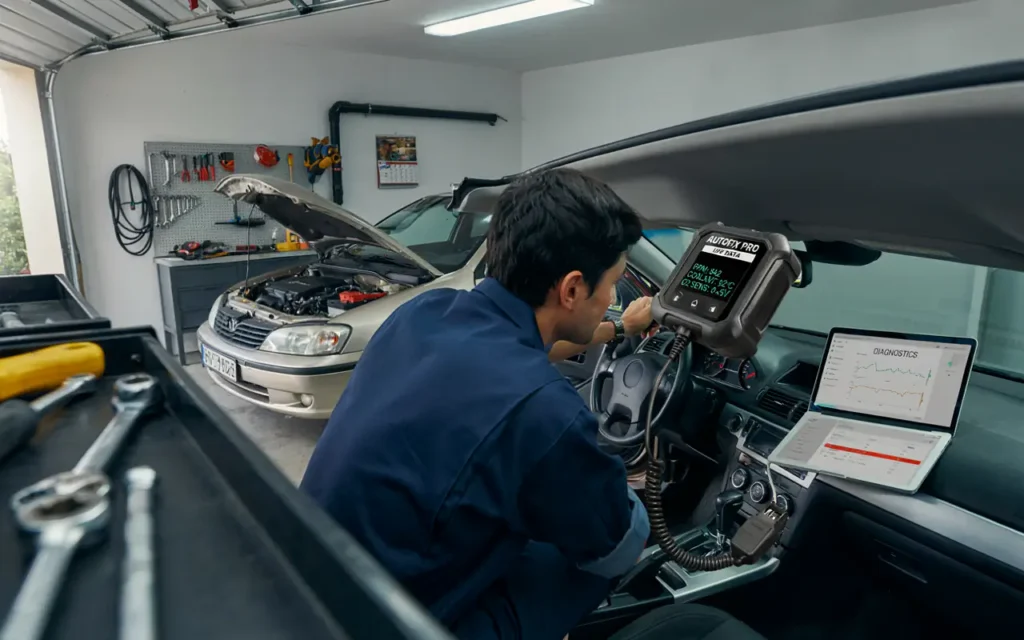
Before you can use an OBD2 scanner, you need to find the port. This is a 16-pin connector shaped like a trapezoid. It is usually under the dashboard on the driver’s side. Look near the steering column or around the footwell area.
Sometimes the port is in a different spot. It could be:
- Behind a small plastic cover or panel.
- In the center console area.
- Under the dashboard on the passenger side.
- Near the glove box.
If you cannot find it, check your owner’s manual. The manual will show you the exact location. You can also search online for your car’s make and model.
Important: The port is usually easy to spot. It is a female connector with 16 slots arranged in two rows. It looks like a larger version of a VGA computer port.
Step 2: Connect Your OBD2 Scanner Properly
Connecting the scanner is simple. But you need to do it in the right order. Follow these steps to connect your OBD2 scanner correctly.
How to Connect an OBD2 Scanner Step by Step
Most scanners power on automatically when you turn the ignition on. Some basic models have a power button. Make sure the connection is secure. Push the plug in firmly until you feel it click.
What If the Scanner Does Not Turn On?
If your scanner does not power up, check these things:
- The ignition is in the “on” position, not “accessory”.
- The plug is fully seated in the port.
- Your vehicle is OBD2 compliant (1996 or newer for US models).
- The scanner battery is charged (for wireless models).
Step 3: Read the Diagnostic Trouble Codes (DTCs)
Once your scanner is connected and powered on, you need to read the codes. This is the main reason you use an OBD2 scanner.
- From the main menu, select “Diagnostics” or “Scan”.
- Choose “Read Codes” or “Retrieve Codes”.
- The scanner will communicate with your car’s computer.
- It will display any stored codes on the screen.
The codes are alphanumeric. They start with a letter followed by four numbers. For example, P0300.
Understanding the Code Structure
Each code tells you where the problem is and what type of issue it is.
| Code Letter | System | Description |
|---|---|---|
| P | Powertrain | Engine, transmission, and emissions |
| B | Body | Airbags, climate control, seat belts |
| C | Chassis | Brakes, suspension, ABS |
| U | Network | Communication between modules |
The first number after the letter indicates if the code is generic or manufacturer-specific:
- 0 means the code is generic (standard across all makes).
- 1 means the code is manufacturer-specific.
For example, P0300 is a generic code for a random misfire. P0301 is a misfire in cylinder 1. P1234 might mean something different on a Ford than on a Toyota.
Step 4: Interpret the Codes and Understand the Problem
Reading the codes is only half the job. You need to know what they mean. This is where learning how to use an OBD2 scanner becomes really useful.
Some scanners show the code definition on the screen. Others just display the number. If your scanner does not show the definition, you can look it up. There are many free resources online.
Types of Codes You Might See
When you use an OBD2 scanner, you might see different types of codes:
- Stored Codes: These are active problems. The check engine light is on. The computer has confirmed the issue.
- Pending Codes: These are potential issues. The computer detected a problem once but needs to see it again to confirm. The light may not be on yet.
- History Codes: These are past faults. The codes were cleared or the problem was fixed. They remain in memory for reference.
Freeze Frame Data
Many scanners also show freeze frame data. This is a snapshot of the vehicle’s condition at the moment the code was set. It includes information like:
- Engine speed (RPM)
- Vehicle speed
- Coolant temperature
- Fuel trim values
This data helps you understand what was happening when the problem occurred. It gives you context beyond just the code number.
Example: If you see code P0171 (system too lean), the freeze frame might show high RPM and low coolant temperature. This could indicate a vacuum leak when the engine is cold.
“Codes tell you what the computer sees, not always what is actually broken. You have to think like a detective,” says Eric O. from South Main Auto, an ASE certified master technician.
Step 5: Use Live Data for Advanced Diagnostics
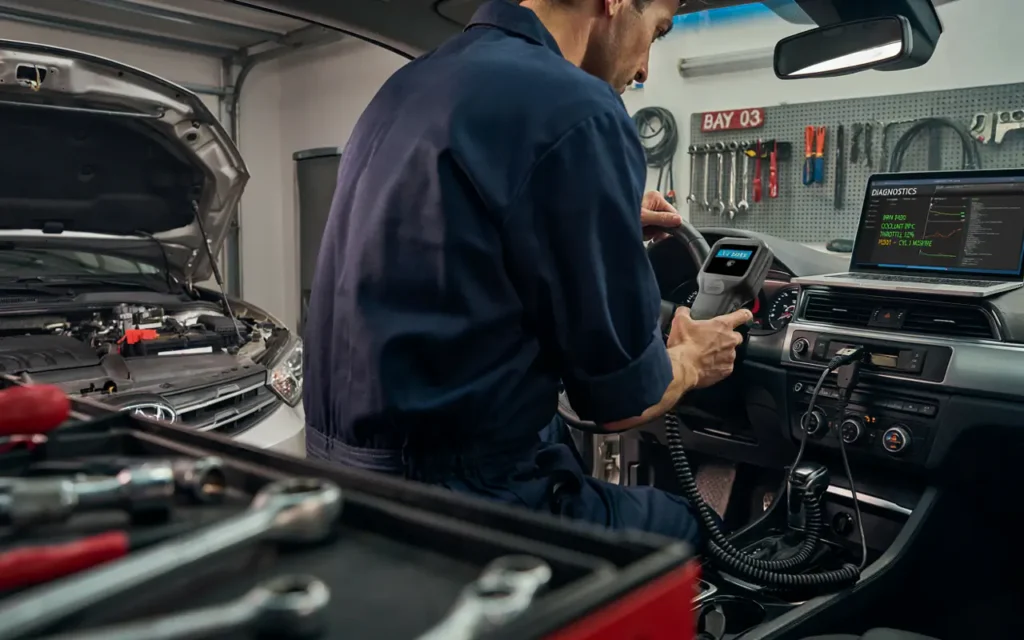
Basic scanners only read and clear codes. More advanced scanners offer live data. This feature lets you see real-time information from your car’s sensors.
Live data is like watching your car’s vital signs. You can see values change as you drive or rev the engine. This is helpful for finding problems that do not trigger a code.
Common Live Data Parameters
When you use an OBD2 scanner with live data, you will see various parameters:
- Engine RPM: How fast the engine is turning.
- Coolant Temperature: The temperature of the engine coolant.
- Vehicle Speed: How fast the car is moving.
- Throttle Position: How much the throttle is open (percentage).
- Fuel Trim: How the engine adjusts the air-fuel mixture.
- Oxygen Sensor Readings: Shows if the sensors are working properly.
How to Use Live Data
To access live data:
- Select “Live Data” or “Data Stream” from the menu.
- Choose which parameters you want to view.
- Start the engine.
- Watch the values change in real time.
Live data is very useful for troubleshooting intermittent issues. For example, if your car hesitates when accelerating, you can watch the throttle position and fuel trim values during the hesitation. This can help you pinpoint the cause.
Step 6: Clear the Codes and Reset Warning Lights
After you have read the codes and fixed the problem, you can clear them. This turns off the check engine light.
- From the main menu, select “Clear Codes” or “Erase Codes”.
- Confirm that you want to erase the codes.
- The scanner will send a command to the car’s computer.
- The check engine light should turn off.
Important Warnings About Clearing Codes
Do not clear codes just to pass an emissions test. The car’s computer needs time to run all its monitors. If you clear the codes right before a test, the monitors will show as “not ready.” This will cause you to fail the test.
Clearing codes is only useful after you have fixed the problem. If you clear the codes without fixing the issue, the light will come back on. The computer will detect the same fault again. This usually happens after one or two drive cycles.
“If you clear a code without fixing the root cause, you are just hiding the symptom. The problem will come back,” says Scotty Kilmer, a mechanic with over 50 years of experience.
Step 7: Troubleshooting Common Issues When Using a Scanner
Sometimes things do not go as planned. Here are some common problems and how to fix them.
Common OBD2 Scanner Issues and Solutions
What If You Get a Code You Do Not Understand?
It happens to everyone. Here is what to do:
- Write down the exact code (e.g., P0420).
- Search online for the code + your car’s make and model.
- Read forums and repair guides.
- Check the freeze frame data for more clues.
- If you are still unsure, ask a mechanic for help.
Choosing the Right OBD2 Scanner for Your Needs
There are many types of scanners on the market. Choosing the right one depends on your needs and budget.
Basic Code Readers
These are simple and affordable. They read and clear codes. They show the code number and sometimes a brief definition. They do not show live data.
Best for: Occasional use. Checking a check engine light now and then.
Handheld Scanners
These have their own screen. They are more advanced than basic readers. They show live data, freeze frame data, and sometimes ABS and airbag codes.
Best for: DIY enthusiasts who do their own repairs.
Bluetooth Adapters
These plug into the port and connect to your phone via Bluetooth. You use an app to read codes and view data. They are very affordable and offer many features.
Best for: Tech-savvy users who want a low-cost option with good features.
Professional-Grade Scanners
These are expensive but very powerful. They can access all vehicle systems. They offer bidirectional control (you can send commands to the car). They are used by professional mechanics.
Best for: Professional mechanics or serious DIYers.
Safety Tips When Using an OBD2 Scanner
Using an OBD2 scanner is safe. But you should follow some basic precautions.
- Do not plug or unplug the scanner while the engine is running. This can cause a voltage spike. It could damage the scanner or the car’s computer.
- Make sure the car is in Park or Neutral. This is a general safety rule when working on a vehicle.
- Do not clear codes unless you have fixed the problem. This can hide issues and make diagnosis harder later.
- If the check engine light is flashing, do not drive the car. A flashing light means a serious problem like a misfire that can damage the catalytic converter. Get it towed to a shop.
Frequently Asked Questions
1. Will any OBD2 scanner work on my car?
Most OBD2 scanners work on all cars and light trucks sold in the US from 1996 onward. For European cars, look for EOBD compliance (gasoline 2001+, diesel 2004+). Heavy-duty trucks and motorcycles usually use different systems.
2. Can I use an OBD2 scanner on a diesel car?
Yes, if the diesel car is OBD2 compliant. In the US, diesel vehicles became OBD2 compliant in 1997. In Europe, diesel EOBD compliance started in 2004.
3. How much does an OBD2 scanner cost?
Prices range from $15 for a basic Bluetooth adapter to over $1,000 for a professional scanner. A good handheld scanner with live data costs between $50 and $150.
4. Can an OBD2 scanner tell me exactly what part to replace?
Not always. The code tells you what system has a problem. It does not always tell you which part is faulty. You may need to do further testing. For example, P0420 (catalyst efficiency) could mean a bad catalytic converter, a bad oxygen sensor, or an exhaust leak.
5. Why did my check engine light come back on after I cleared the code?
The computer detected the same problem again. This means you did not fix the root cause. You need to diagnose the issue properly and make the necessary repair.
6. Is it safe to drive with the check engine light on?
It depends. If the light is steady, it is usually safe to drive for a short time. But you should check the code as soon as possible. If the light is flashing, do not drive. This is a serious issue that can cause damage.
7. Do I need to start the engine to use an OBD2 scanner?
No. For reading codes, you only need to turn the ignition to the “on” position. The engine does not need to be running. For live data, you will need to start the engine.
8. What is the difference between OBD and OBD2?
OBD was the first generation. It had different connectors and protocols for different car makers. OBD2 is the second generation. It uses a standard 16-pin connector and standard protocols. This means one scanner works on all OBD2 cars.
9. Can an OBD2 scanner drain my car battery?
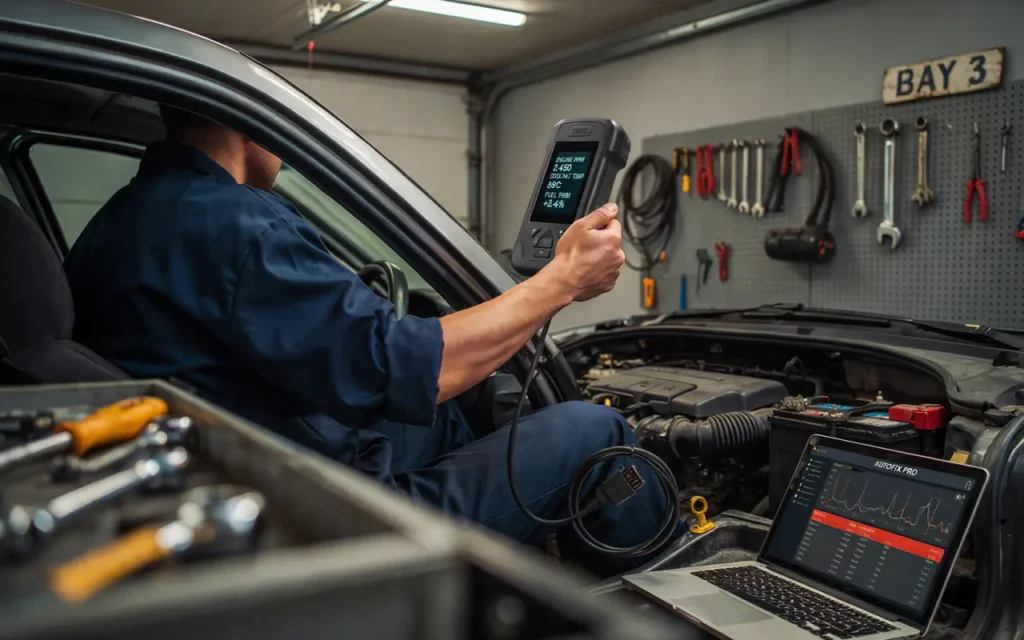
Most scanners use very little power. But it is best to unplug the scanner when you are finished. If you leave it plugged in for a long time with the ignition off, it could drain a weak battery.
10. How do I update my OBD2 scanner?
Many scanners can be updated via USB or Wi-Fi. Check the manufacturer’s website for instructions. Updates add new features and fix bugs. Some scanners also get new code definitions.
Conclusion
Learning how to use an OBD2 scanner is a valuable skill for any car owner. It saves you money, gives you peace of mind, and helps you understand your vehicle better. The process is simple: find the port, connect the scanner, read the codes, interpret the data, and fix the problem.
Start with a basic scanner if you are new. As you get more comfortable, you can upgrade to a model with live data and more features. Remember to always fix the root cause of a problem before clearing codes. And never ignore a flashing check engine light.
Your car’s computer is trying to tell you something. An OBD2 scanner is the tool that lets you listen. So next time that warning light comes on, do not panic. Grab your scanner, follow the steps in this guide, and take control of your car’s health.
This article is for informational purposes only. Always consult a qualified mechanic for serious repairs.
Related posts
 How to Strengthen Weak Nails: A Practical Guide to Daily Care
Learn how to strengthen weak nails with simple daily habits, protective care, and targeted hydration. Restore your natural nail strength today. Weak, peeling, or brittle nails…
 What Sounds Do Cats Dislike? 7 Noises That Stress Your Pet
Discover what sounds do cats dislike and why. Learn how to protect your cat’s sensitive hearing from stressful household noises and high-frequency hums. Cats dislike sounds…
 Restoring Faded Black Clothing: Practical Methods and Reality Checks
Can you restore faded black clothing? Learn the difference between temporary color revival and permanent redyeing, plus how to prevent future fading. You can restore the…