
How To Organize A Small Kitchen
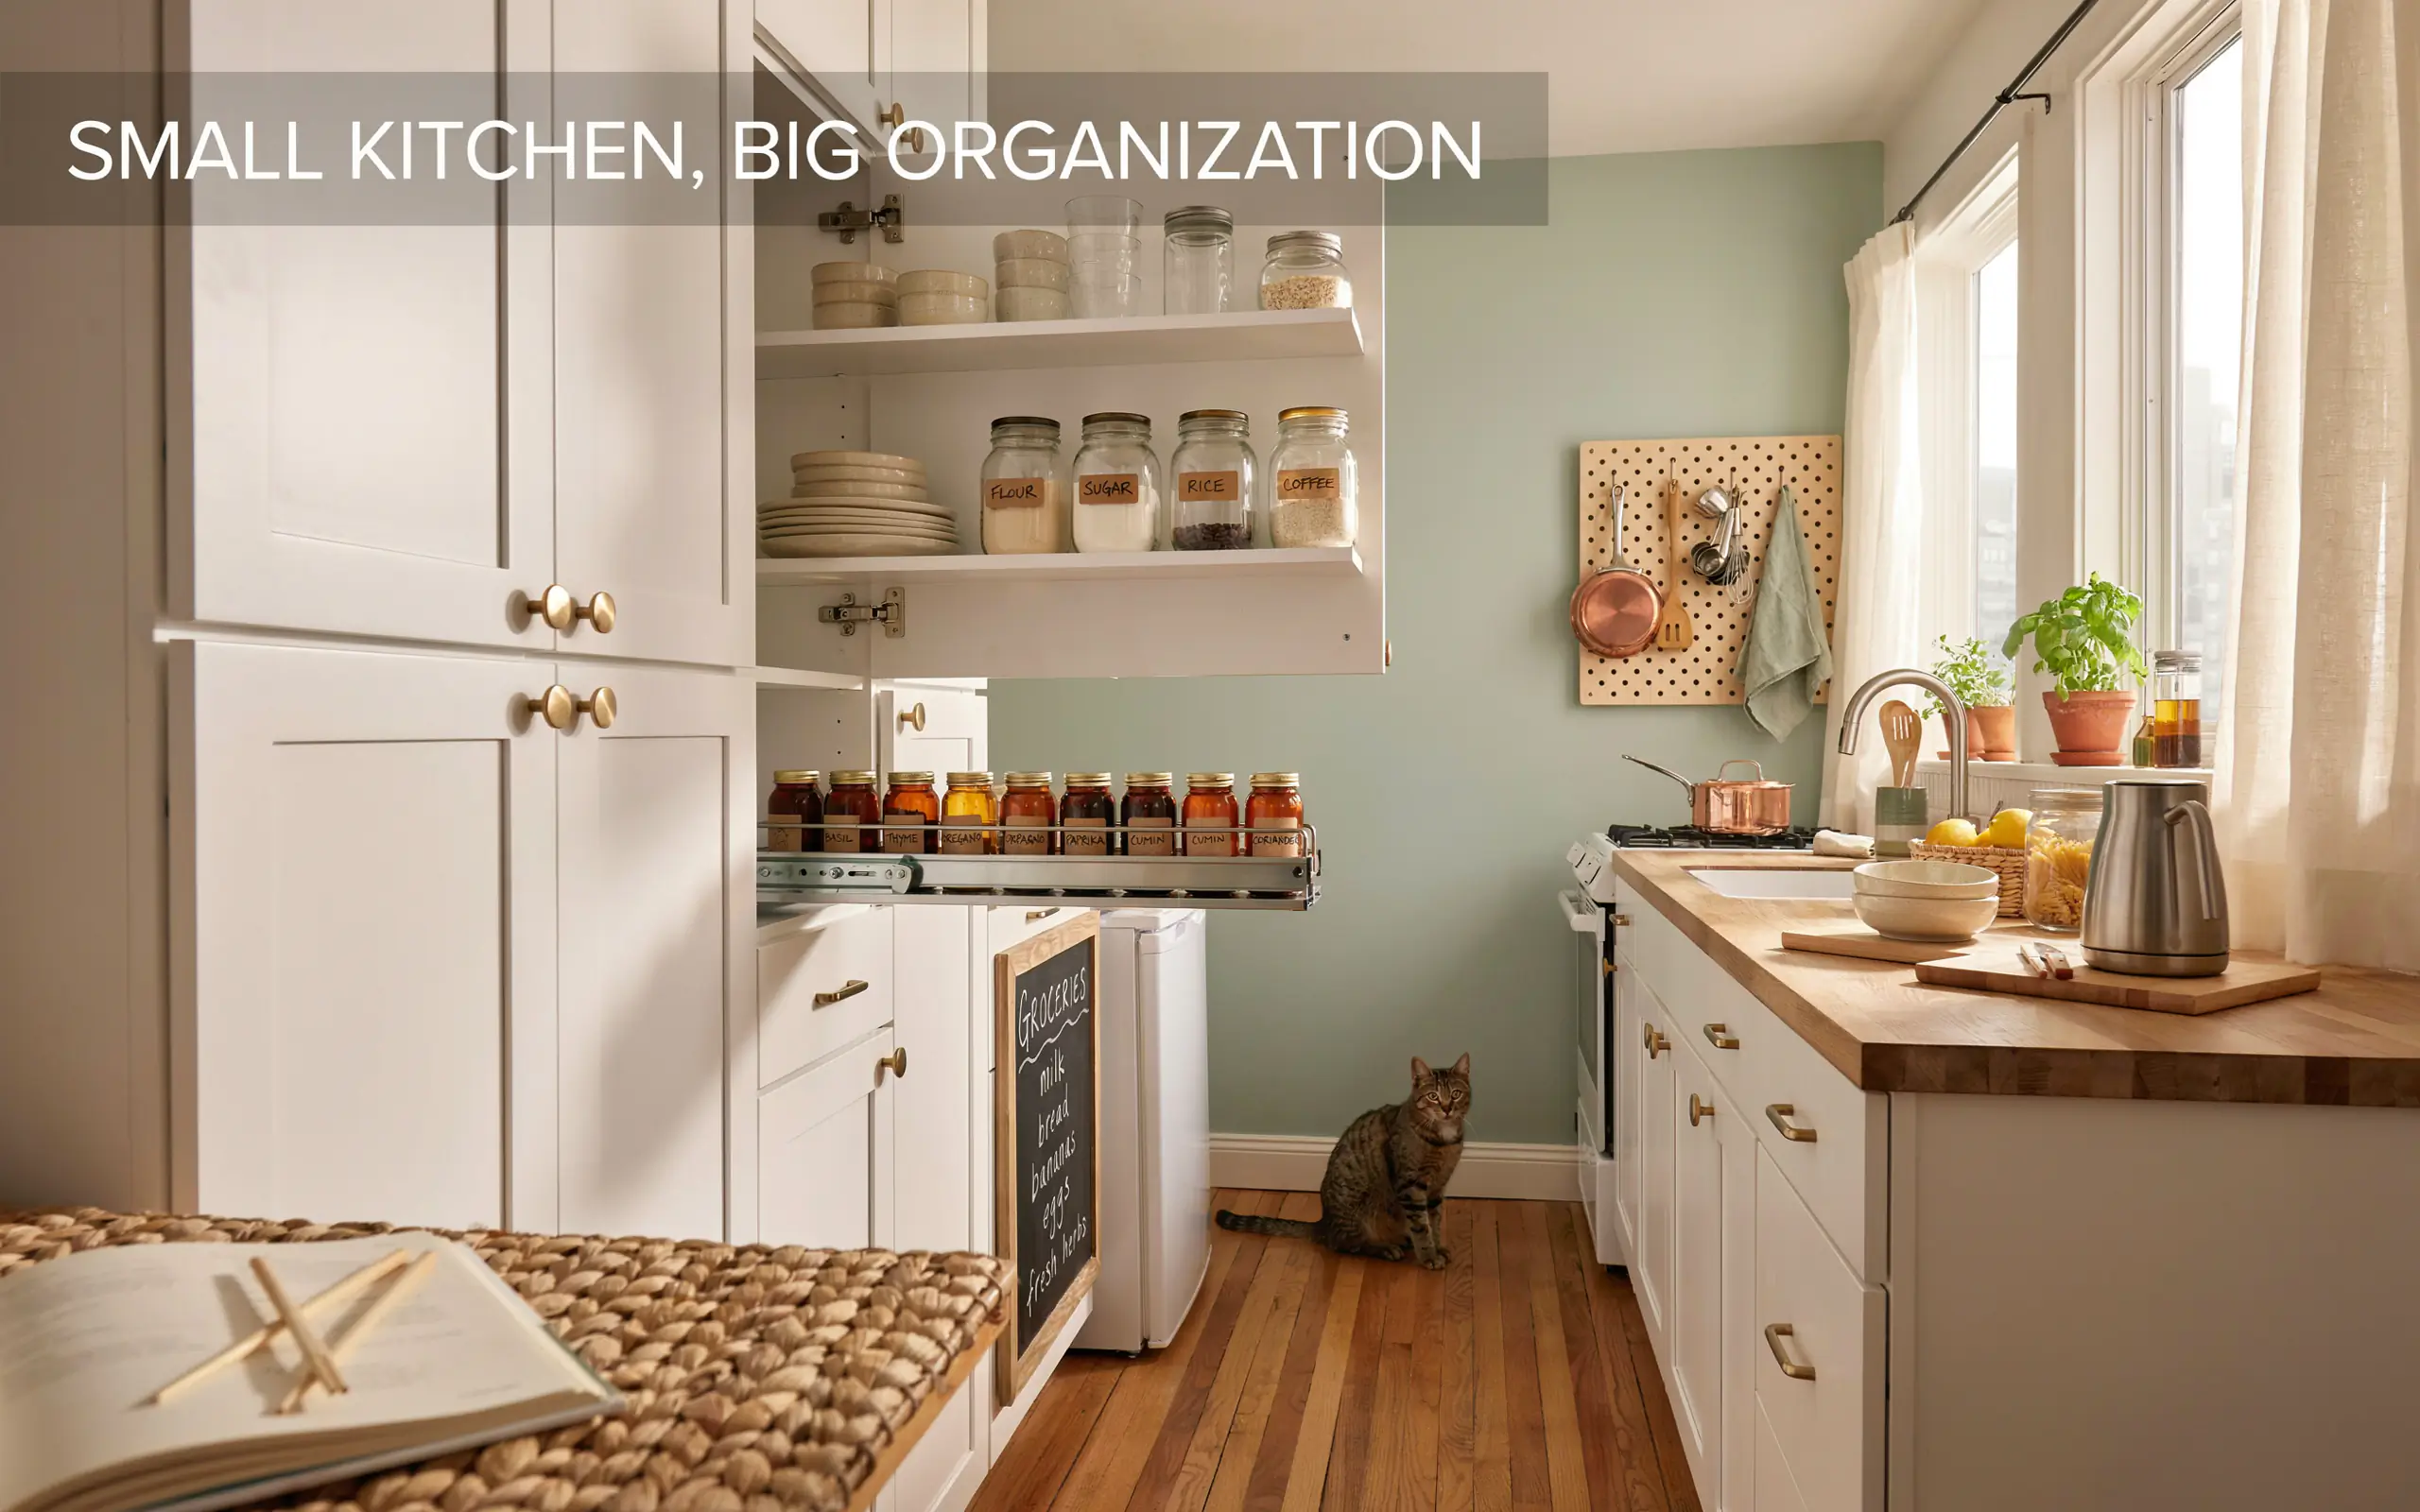
Learn how to organize a small kitchen with easy, budget-friendly tips. From decluttering to vertical storage, these simple ideas will transform your cooking space into a functional, clutter-free zone.
Living with a small kitchen can feel like a constant battle. You open a cabinet, and something falls out. You search for a mixing bowl, and you find three lids but no container. Counter space disappears under a pile of mail, fruit bowls, and that coffee maker you use every morning. It gets tiring.
But here is the good news. You do not need a bigger kitchen. You just need a better plan. With a few smart changes, you can completely transform how your space works. This guide will show you exactly how to organize a small kitchen using simple, practical steps that anyone can follow. No fancy tools or big budgets are required. Just a little time and some honest thinking about what you actually use.
Why Small Kitchens Feel Cluttered
Before we start moving things around, let us talk about why small kitchens get messy so fast. It is not always about having too much stuff. Often, it is about where that stuff lives.
When you store your daily-use items in hard-to-reach places, you end up leaving them on the counter. When you have six spatulas but only use two, the extras take up space that could hold something useful. When you organize by category instead of by task, you walk back and forth more than you need to. All these little things add up to a space that feels cramped and chaotic.
The solution is to think differently about your kitchen. Instead of asking, “Where can I put this?” ask, “Where would I use this?” That small shift in thinking makes a huge difference. Ready to get started? Let us go step by step.
Step 1: Declutter Before You Do Anything Else
This is the most important step. I cannot stress this enough. Before you buy any bins, shelves, or organizers, you need to clear out what you do not need. Many people skip this part and wonder why their kitchen still feels messy even after buying storage solutions.
Start by pulling everything out of your cabinets, drawers, and pantry. Yes, everything. Put it all on your counter or table. Then sort each item into one of four piles: keep, donate, trash, or maybe. Be honest with yourself. If you have not used something in the past year, you probably will not miss it.
The One-Year Rule
The one-year rule is simple. If you have not touched an item in twelve months, let it go. That fancy waffle maker you used once? Donate it. That set of five pie servers when you never bake pies? Keep one, give away the rest. Extra mugs, duplicate peelers, and that weird gadget from a gift exchange can all find a new home.
“I recommend organizing by activity,” says professional organizer Angelia York. “Keep your coffee items together, your baking supplies in one cabinet, and prep tools near your cutting board.”
Decluttering feels hard at first, but it gets easier. And the result is immediate. You will have more space before you even add any new storage solutions. That is a win.
Step 2: Create Task-Based Zones
Once you have reduced your kitchen items to what you actually use, it is time to think about zones. A zone is a specific area where you do a specific task. Most kitchens have four main zones: prep, cooking, cleaning, and food storage.
Your prep zone is where you chop, measure, and mix. Keep your cutting boards, knives, mixing bowls, and measuring cups near your main counter workspace. Your cooking zone is by the stove. Store your pots, pans, spatulas, oils, and spices there. Your cleaning zone belongs near the sink. Dish soap, sponges, trash bags, and dishwasher tabs all live there. Your food storage zone is your pantry or main cabinets for dry goods and canned items.
When you group items by task instead of by type, you move less. You open fewer doors. You spend less time searching. Everything flows better. That is how you truly organize a small kitchen for real efficiency.
| Common Small Kitchen Problem | Simple Solution |
|---|---|
| Counter is always full | Store daily-use items in easy-to-reach spots; move weekly items to higher shelves |
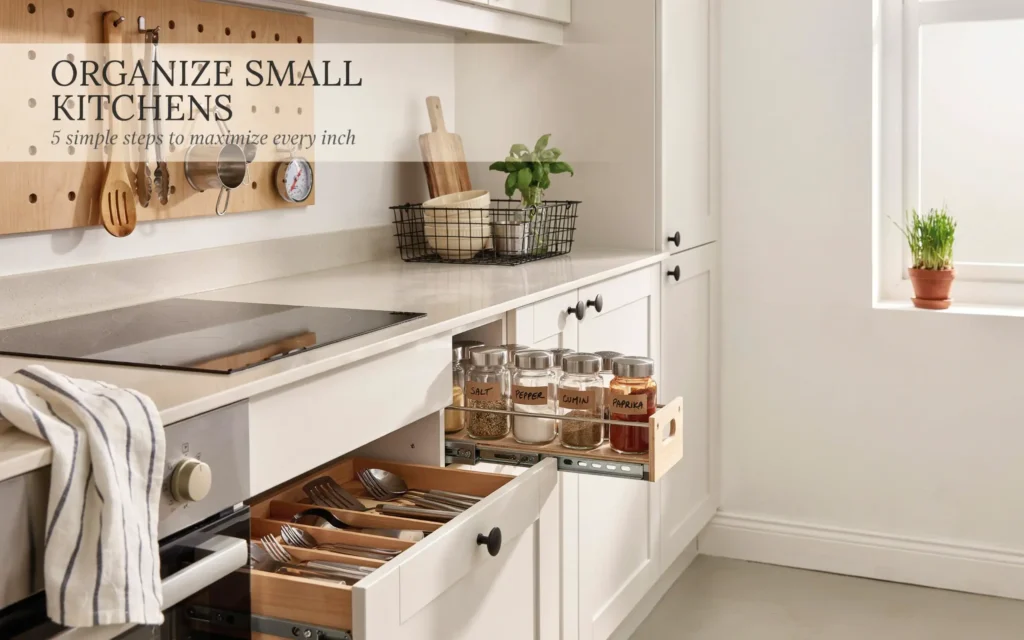
| Can’t find spices when cooking | Group all spices near the stove in a dedicated rack or drawer |
| Drawers are a jumbled mess | Use dividers to separate utensils by type and function |
| Pots and pans pile up | Hang them on a wall rack or use a pot lid organizer inside a cabinet |
Step 3: Use Vertical Space Wisely
When floor space is limited, the only direction to go is up. Vertical storage is one of the most effective ways to organize a small kitchen. Your walls, the backs of doors, and even the space above your cabinets are all valuable real estate.
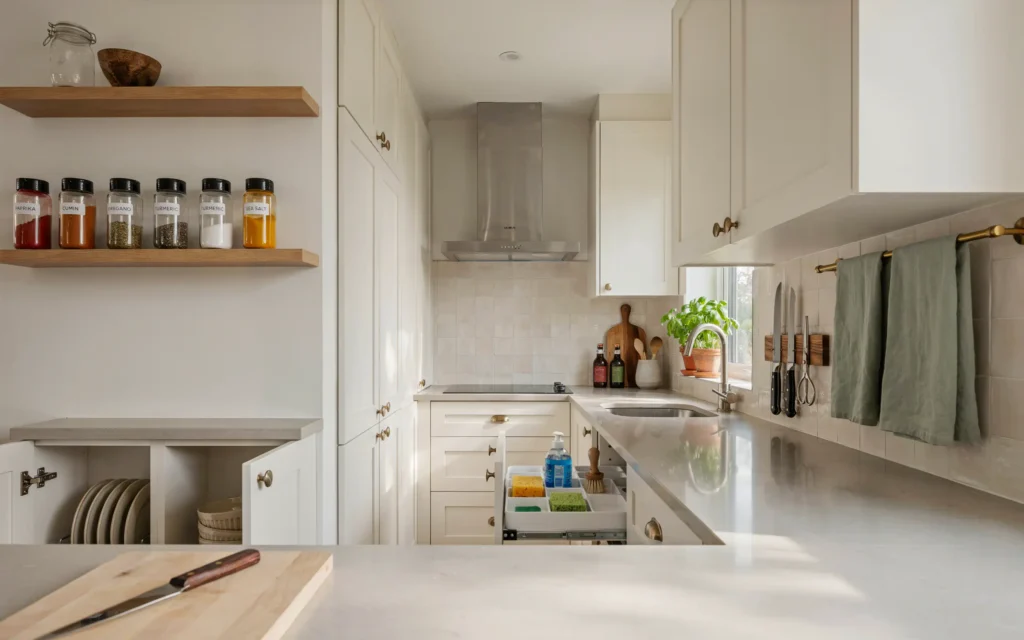
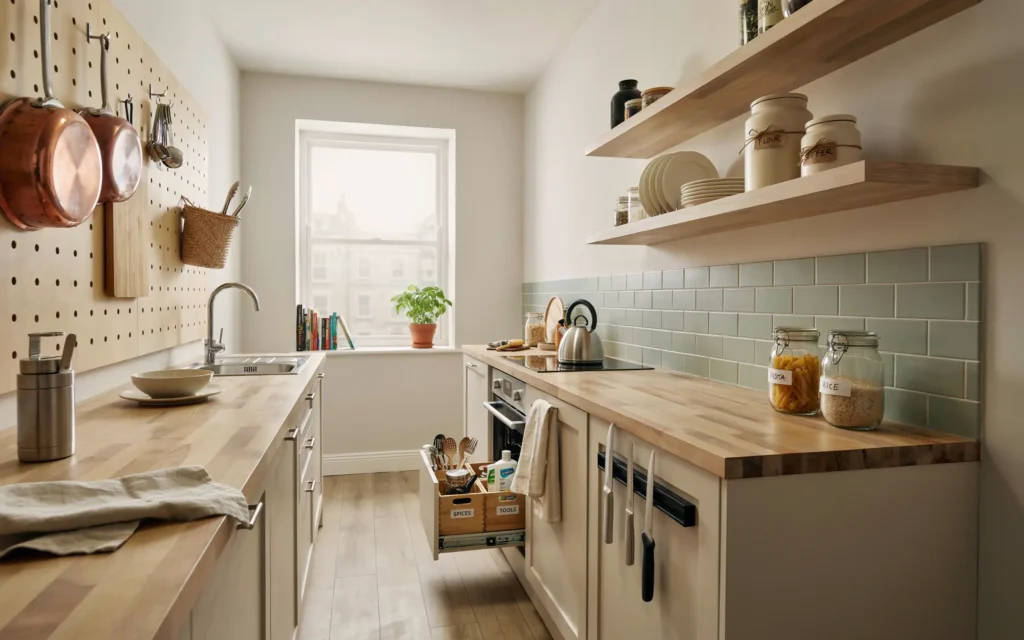
Install floating shelves above your counter for frequently used items like spices, cooking oils, or your favorite mugs. A pegboard on an empty wall can hold pots, pans, utensils, and even small cutting boards. Magnetic strips are great for knives, saving drawer space and keeping your blades within easy reach.
Wall-Mounted Shelves and Pegboards
Floating shelves add storage without taking up floor space. They also keep your everyday items visible and easy to grab. Pegboards are even more flexible because you can move hooks and containers around as your needs change. Both options are affordable and easy to install. They are also a great way to add a little personality to your kitchen.
Step 4: Organize Cabinets Like a Boutique Closet
Your upper cabinets are prime real estate. They are at eye level and easy to access. So treat them with care. Do not just shove things in there randomly.
Interior designer Rachel Blindauer suggests treating your upper cabinets like boutique closets. That means using adjustable shelving, uniform containers, and labels. Decant dry goods like pasta, rice, and flour into matching glass jars. Label them clearly. Keep things beautiful, even behind closed doors.
“In a small kitchen, every object should either make you happy when you see it or disappear,” says Rachel Blindauer.
Group similar items together. Put all your baking supplies on one shelf. Keep your daily-use dishes on the lower shelves where you can reach them easily. Move the fancy serving platters you use twice a year to the top shelf.
Step 5: Make Drawers Work Harder
Drawers can become black holes if you are not careful. One minute they are tidy, and the next they are a jumble of spatulas, measuring spoons, and random lids. The fix is simple: drawer dividers.
Use dividers to separate your utensils by type. Put forks with forks, spoons with spoons, and knives with knives. Create a section for your cooking tools like spatulas and whisks. Another section can hold your measuring cups and spoons. When everything has a designated spot, you can find what you need in seconds.
You can also use tension rods inside drawers to keep cutting boards and baking sheets standing upright. This saves space and makes them easier to pull out. These small changes make a big difference in how your kitchen feels.
Step 6: Don’t Forget the Inside of Cabinet Doors
The inside of your cabinet doors is hidden storage just waiting to be used. This is one of the cleverest ways to organize a small kitchen because it uses space that would otherwise be wasted.
Attach small hooks to the inside of a cabinet door to hang measuring spoons, pot lids, or oven mitts. Install a narrow rack for spices or small jars. Use adhesive hooks for dish towels or lightweight tools. You can even attach a magnetic sheet to hold metal items like measuring spoons or small knives.
This trick works especially well under the sink. A tension rod can hold spray bottles and keep them from cluttering the base of the cabinet.
| Budget-Friendly Organization Tool | Where to Use It |
|---|---|
| Tension rods | Inside drawers for cutting boards; under sink for spray bottles |
| Adhesive hooks | Inside cabinet doors for measuring spoons and oven mitts |
| Magnetic strips | On walls for knives; inside cabinets for metal tools |
| Stackable clear containers | Pantry for dry goods; fridge for leftovers |
Step 7: Choose Multi-Purpose Tools and Appliances
In a small kitchen, every item should earn its keep. That means choosing tools and appliances that can do more than one job.
An Instant Pot can pressure cook, slow cook, sauté, and more. A blender that also works as a food processor saves you from owning two bulky machines. A sheet pan with a rim can bake cookies, roast vegetables, and even catch drips from other dishes.
When you buy new items, think about whether they can replace something you already have. This helps you avoid duplicates and keeps your storage from getting overloaded. It is a simple habit that makes it much easier to organize a small kitchen over time.
Step 8: Use Clear, Stackable Containers
Pantry organization can feel overwhelming, but clear containers make it much simpler. When you can see what is inside, you waste less food and avoid buying duplicates.
Transfer dry goods like flour, sugar, rice, and pasta into clear, stackable containers. Label each one with the contents and expiration date. Stack them neatly in your pantry or cabinets. This not only saves space but also looks clean and inviting.
The same idea works for your fridge. Clear containers for leftovers and prepped ingredients help you see what you have at a glance. No more mystery Tupperware hiding in the back.
Step 9: Maximize Under-Sink Storage
The area under your sink is often a messy jumble of cleaning supplies, trash bags, and random bottles. But with a little effort, it can become a useful storage spot.
Install a pull-out rack or a small shelf to hold your cleaning products. Use stackable bins to separate different types of items. Hang a tension rod to hold spray bottles. Add hooks for scrub brushes and dish gloves.
Keep only what you actually use under there. Move extra supplies to a less accessible spot, like a high shelf or a hall closet. This keeps the area functional and easy to manage.
Step 10: Keep Up the Good Habit
Organizing your kitchen is not a one-time project. It is a habit. Once you have everything in its place, you need to maintain it.
Make it a rule to put things back where they belong after each use. Spend five minutes at the end of each day tidying up. Run the dishwasher every night so you wake up to clean dishes and a clear sink. Take inventory before you go shopping so you do not buy duplicates.
“A kitchen should work for you,” says Anna Bauer, founder of Sorted & Co. “Prioritize everyday items in accessible areas.”
When you keep up with these small habits, your kitchen stays organized. You save time, reduce stress, and actually enjoy cooking again. And that is the whole point.
Frequently Asked Questions
How do I organize a small kitchen with no pantry?
If you do not have a dedicated pantry, use your cabinets and vertical space wisely. Install floating shelves for dry goods. Use clear containers to store pasta, rice, and canned items. A rolling cart can serve as a portable pantry. You can also use the space above your refrigerator for items you do not use every day.
What is the first thing I should do to organize a small kitchen?
Start by decluttering. Pull everything out and sort it into keep, donate, trash, and maybe piles. Be honest about what you actually use. This step alone will free up a lot of space and make the rest of the process much easier.
How can I organize a small kitchen on a tight budget?
You do not need expensive organizers. Use tension rods, adhesive hooks, and clear jars you already have. Repurpose mason jars for spice storage. Make your own drawer dividers from cardboard or small boxes. Check dollar stores for inexpensive bins and baskets. The key is not spending money. It is using what you already have in a smarter way.
What are the best storage solutions for a small kitchen?
Vertical storage is your best friend. Wall-mounted shelves, pegboards, and magnetic strips save counter and drawer space. Drawer dividers keep utensils organized. Clear, stackable containers make pantry storage efficient. And do not forget the inside of cabinet doors for extra hidden storage.
How often should I declutter my kitchen?
Aim for a quick declutter every season. Take ten minutes each month to go through one cabinet or drawer. This prevents clutter from building up again. Also, adopt a one-in, one-out rule. For every new item you bring into the kitchen, remove one you no longer need.
Conclusion
Learning how to organize a small kitchen is not about perfection. It is about making your space work for you. When you declutter, create zones, use vertical space, and keep up good habits, your kitchen transforms. It becomes a place where you want to cook, not a place you avoid.
Start with one step today. Clear out one drawer. Install one shelf. Make one small change. You will be surprised how quickly things improve. Remember, you do not need a bigger kitchen. You just need a smarter system. And now you have one. So go ahead. Take that first step. Your small kitchen has more potential than you think.
Related posts
 How to Strengthen Weak Nails: A Practical Guide to Daily Care
Learn how to strengthen weak nails with simple daily habits, protective care, and targeted hydration. Restore your natural nail strength today. Weak, peeling, or brittle nails…
 What Sounds Do Cats Dislike? 7 Noises That Stress Your Pet
Discover what sounds do cats dislike and why. Learn how to protect your cat’s sensitive hearing from stressful household noises and high-frequency hums. Cats dislike sounds…
 Restoring Faded Black Clothing: Practical Methods and Reality Checks
Can you restore faded black clothing? Learn the difference between temporary color revival and permanent redyeing, plus how to prevent future fading. You can restore the…