
How to Make Kitchen Counters Look Less Cluttered: A Practical 5-Step Method
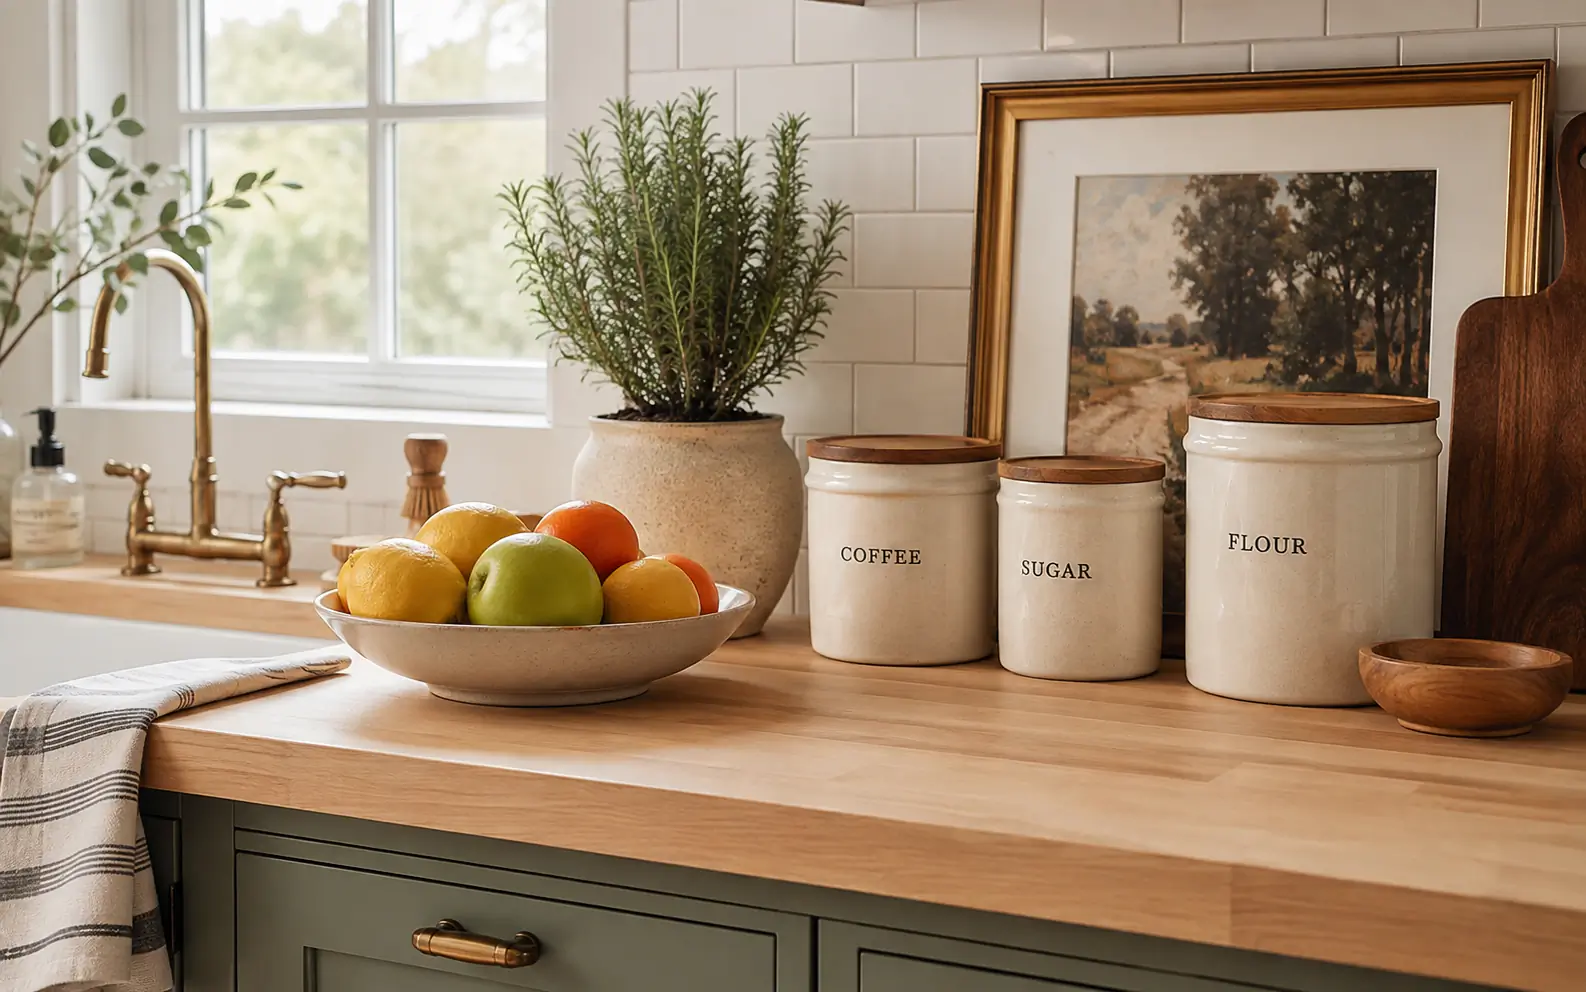
To make kitchen counters look less cluttered, clear everything off the surfaces first and only return items used every single day, such as a coffee maker or primary cutting board. Store secondary appliances like blenders, toasters, and food processors in lower cabinets or deep drawers until needed.
Next, contain remaining items into visual groups using low-profile trays, hide dangling cords behind appliances with adhesive cord wraps, and remove paper piles by setting up a dedicated wall organizer or basket away from food prep areas. Maintaining clear surfaces requires a brief nightly reset to prevent daily mail and dirty dishes from taking over.
The daily-use rule for small
- Keep only daily-use items on the counter; relocate weekly or monthly tools to lower drawers or upper shelves.
- Group loose items like oil bottles, salt cellars, and soap dispensers onto small trays to reduce visual clutter.
- Bundle and hide excess appliance cords behind the machines using cable wraps or adhesive clips.
- Clear dish racks promptly or dry dishes directly inside an empty dishwasher to keep the sink perimeter clear.
- Build a 3-minute evening reset habit to return incoming papers and misplaced items to their designated homes.
| Topic | When it helps | What to keep in mind |
|---|---|---|
| Step 1 | Kitchens overwhelmed by stand mixers, blenders, air fryers, and toaster ovens. | Avoid keeping appliances on the counter just because they look high-end if you rarely use them. |
| Step 2 | Cooking oils, salt and pepper shakers, hand soaps, and dish detergent. | Do not overcrowd the tray; leave breather room so items look curated. |
| Step 3 | Coffee makers, slow cookers, toasters, and microwave cables. | Ensure cords are not pulled so tightly that the plug casing bends or damages internal wiring. |
| Step 4 | Small kitchens with limited counter space around the sink perimeter. | Leaving hand-washed pots to air-dry on towels overnight recreates immediate clutter. |
| Step 5 | Families and busy households where the kitchen island becomes a landing zone. | Do not use an open counter tray for mail; it quickly turns into an overflowing clutter trap. |
Covers appliance evaluation cord concealment
Step 1. Apply the Daily-Use Rule to Small Appliances
Audit every appliance currently resting on your counter. If you do not use an appliance daily, store it in a cabinet, pantry, or deep drawer.
- Kitchens overwhelmed by stand mixers, blenders, air fryers, and toaster ovens.
- Avoid keeping appliances on the counter just because they look high-end if you rarely use them.
- If an item is used fewer than 4 times a week, place it on an accessible shelf instead of prime counter real estate.
- Action – Relocate secondary appliances
- Visual Impact – High
- Time Required – 10 minutes
Step 2. Contain Loose Items on Flat Trays
Individual bottles, spices, and utensils scattered across a counter create visual static. Grouping small items on a wood, marble, or ceramic tray signals intent and clean design.
- Cooking oils, salt and pepper shakers, hand soaps, and dish detergent.
- Do not overcrowd the tray; leave breather room so items look curated.
- Limit each tray to 3 to 4 items maximum to keep the arrangement neat.
- Action – Group items on trays
- Visual Impact – High
- Time Required – 5 minutes
Step 3. Conceal and Wrap Appliance Cords
Exposed, twisted black cords running along backsplashes add major visual clutter. Use stick-on cord wrappers on the back of appliances to bundle extra wire tightly.
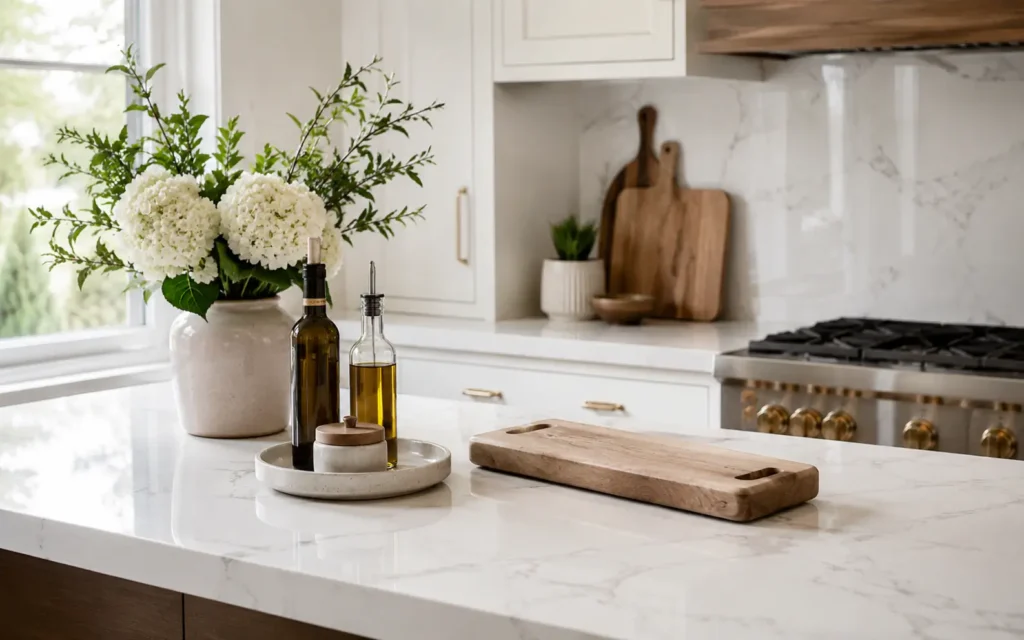
- Coffee makers, slow cookers, toasters, and microwave cables.
- Ensure cords are not pulled so tightly that the plug casing bends or damages internal wiring.
- Tuck excess cord lengths directly behind the machine body out of direct line of sight.
- Action – Bundle excess cabling
- Visual Impact – Medium
- Time Required – 15 minutes
Step 4. Clear the Sink Area and Dish Drying Visuals
Large plastic dish drying racks filled with damp plates disrupt open counter views. Switch to a roll-up drying rack that sits over the sink basin or dry dishes inside your dishwasher.
- Small kitchens with limited counter space around the sink perimeter.
- Leaving hand-washed pots to air-dry on towels overnight recreates immediate clutter.
- Dry and put away hand-washed items as soon as you finish washing up.
- Action – Streamline dish drying
- Visual Impact – High
- Time Required – Ongoing daily
Step 5. Create a Dedicated Drop Zone for Incoming Mail
Paper, mail, keys, and receipts naturally land on kitchen counters. Establish a wall pocket, entryway drawer, or basket elsewhere to stop paper from spreading across food preparation surfaces.
- Families and busy households where the kitchen island becomes a landing zone.
- Do not use an open counter tray for mail; it quickly turns into an overflowing clutter trap.
- Move paper handling away from the main kitchen work triangle entirely.
- Action – Relocate paper storage
- Visual Impact – Medium
- Time Required – 5 minutes
Understanding Visual Weight and Counter Surface Zoning
Visual clutter occurs when the eye has too many separate objects to process at once. Ten small individual bottles lining a wall look far messier than the same ten bottles neatly tucked inside a single shallow basket. By grouping objects by function and zoning your countertops, you reduce visual breaks across the room.
To establish effective zones, divide your counters into three primary areas: prep space, cooking area, and clean-up zone. Keep your prep space completely clear of permanent items whenever possible. The prep zone requires raw physical space for cutting boards and bowl movement, so storing items here restricts both workspace and airflow.
Instead of scattering a knife block, spice jars, and cooking oil along the main prep area, group them into a single cooking zone on one side of the stove.
Spreading decorative items evenly across the entire backsplash line, which fragments visual space and makes counters feel smaller.
- Prep Zone: Keep 100% clear when not actively cooking.
- Cooking Zone: Store olive oil and primary wooden spoons on a tray near the stove.
- Beverage Zone: Consolidate coffee machine, mugs, and bean canister into one corner.
| Item Category | Ideal Placement Strategy | Visual Impact Level |
|---|---|---|
| Daily Appliances (Coffee maker, Toaster) | Tucked into corners with wrapped cords | Low Visual Noise |
| Occasional Tools (Blender, Hand mixer) | Inside lower cabinets or pantry shelves | Zero Counter Impact |
| Cooking Essentials (Oils, Spices) | Grouped on a single low-rimmed tray | Contained Visual Accent |
| Daily Mail & Paperwork | Moved off counters to entry command center | Eliminated Surface Clutter |
Styling Counter Essentials Without Sacrificing Clean Lines
Keeping kitchen counters clean does not mean removing every trace of human activity. The key to functional styling lies in choosing utilitarian items that look naturally cohesive. When your soap dispensers, salt cellars, and cutting boards match your kitchen aesthetic, they act as design elements rather than visual distractions.
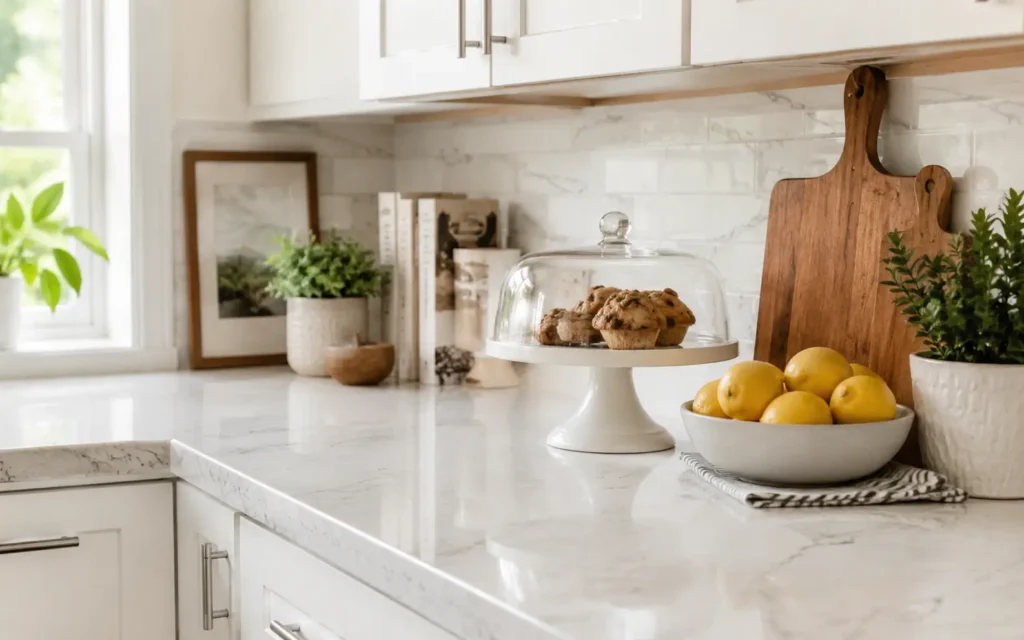
Use natural materials like wood, stone, or ceramic to add warmth without creating mess. A large wooden cutting board leaned upright against the backsplash hides outlet boxes while providing quick access for meal preparation. Selecting double-duty items keeps surfaces operational while maintaining clean design lines.
Replacing bright plastic dish soap bottles with a matching amber glass pump set sitting on a small wooden riser behind the sink faucet.
Adding purely decorative knick-knacks, fake plants, or signs that consume functional workspace.
- Decant dish soap and hand soap into matching glass or ceramic pump bottles.
- Store frequently used wooden spoons in a single heavy stoneware crock.
- Lean one large, attractive cutting board against the backsplash behind key prep areas.
- Choose neutral color palettes for kitchen linens and sponge holders to blend into countertops.
Building Daily Reset Habits to Keep Countertops Clear
Even the best organizational systems fall apart without routine maintenance. Countertops are natural horizontal landing pads for incoming objects. Establishing brief, repeatable habits prevents daily items from accumulating into overwhelming weekend projects.
Adopt a clean-as-you-go philosophy while cooking. Wash or load prep dishes into the dishwasher while waiting for water to boil or oven timers to finish. By treating counter maintenance as an ongoing micro-habit rather than a major chore, your surfaces stay consistently clear with minimal ongoing effort.
Setting a timer for 3 minutes before turning off the kitchen lights at night to put away stray items, wipe surfaces, and clear the sink.
Waiting until the end of the week to declutter accumulated mail and cooking gear.
- Clear all hand-washed dishes from drying mats before going to bed.
- Run the dishwasher every evening so dirty dishes never sit on the counter overnight.
- Wipe down open counter spans immediately after meal preparation.
- Enforce a zero-paper rule on kitchen island surfaces.
FAQs
How do I decorate my kitchen countertops without adding clutter?
Decorate using functional items you already need. Choose a beautiful stoneware crock for utensils, a stylish marble tray for cooking oils, or an attractive wood cutting board leaned against the backsplash instead of non-functional knick-knacks.
What is the 50% rule for kitchen counter clutter?
The 50% rule suggests keeping at least 50% of your total countertop surface area completely bare at all times. This provides sufficient open space for prep work and maintains an open visual feel across the kitchen.
What items should never be kept on a kitchen counter?
Avoid keeping mail, paper bills, junk mail, unused appliances, pet food bags, and overflow pantry food on kitchen counters. These items belong in wall pockets, entry centers, lower cabinets, or dedicated pantry shelves.
How can I hide appliance cords on my kitchen counter?
Use stick-on silicone cord wrappers attached to the back of small appliances. Wrap excess cable length tightly around the holder, or position appliances directly in front of wall outlets to block cords from view.
Conclusion
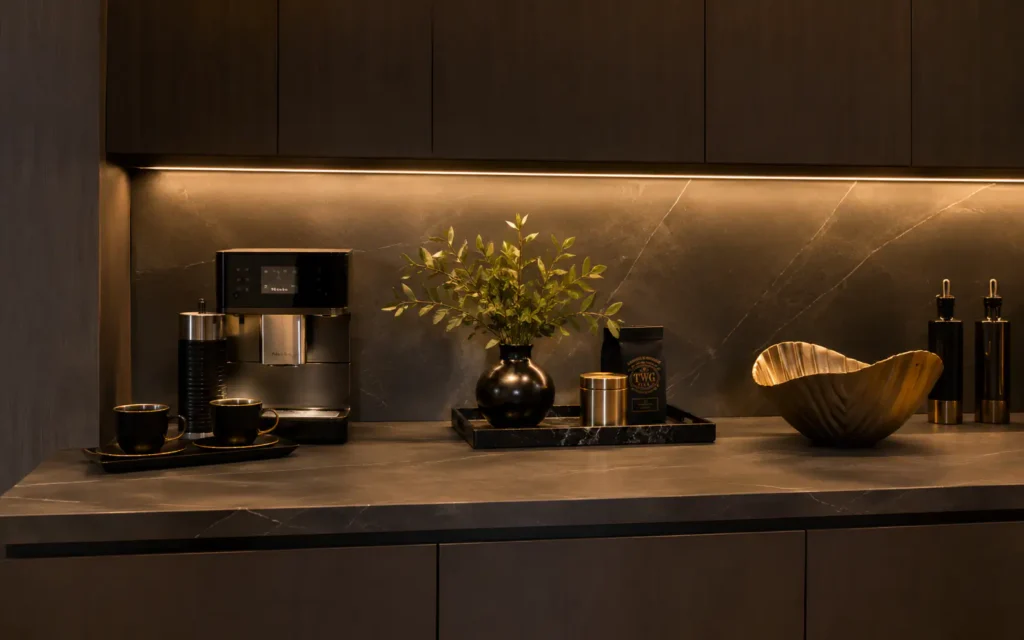
Making kitchen counters look less cluttered comes down to intentional containment and clear surface rules. By storing secondary appliances in cabinets, bundling dangling cords, and grouping everyday essentials onto small trays, you instantly reduce visual noise without compromising functionality.
Maintain these clear surfaces by building a quick nightly reset routine. When you protect your prep space and keep horizontal surfaces clear of daily paper and dirty dishes, your kitchen will feel larger, cleaner, and far more enjoyable to cook in.
Related posts
 Why Pest Control Is Important at Home: Protecting Health and Property
Discover why pest control is important at home. Learn how regular pest management protects your family’s health, prevents property damage, and secures your food. Understanding why…
 How to Test a Car Ground Connection: Step-by-Step Multimeter Methods
Learn how to test a car ground connection using a digital multimeter. Follow our step-by-step guide to diagnose voltage drops, resistance, and bad grounds. A car…
 Why Do Dogs Stare at Walls? Common Causes and When to Worry
Wondering why do dogs stare at walls? Discover the sensory, behavioral, and medical reasons behind this behavior, and learn when to contact your veterinarian. When you…