
How to Do a Manicure at Home: A Step-by-Step Practical Guide
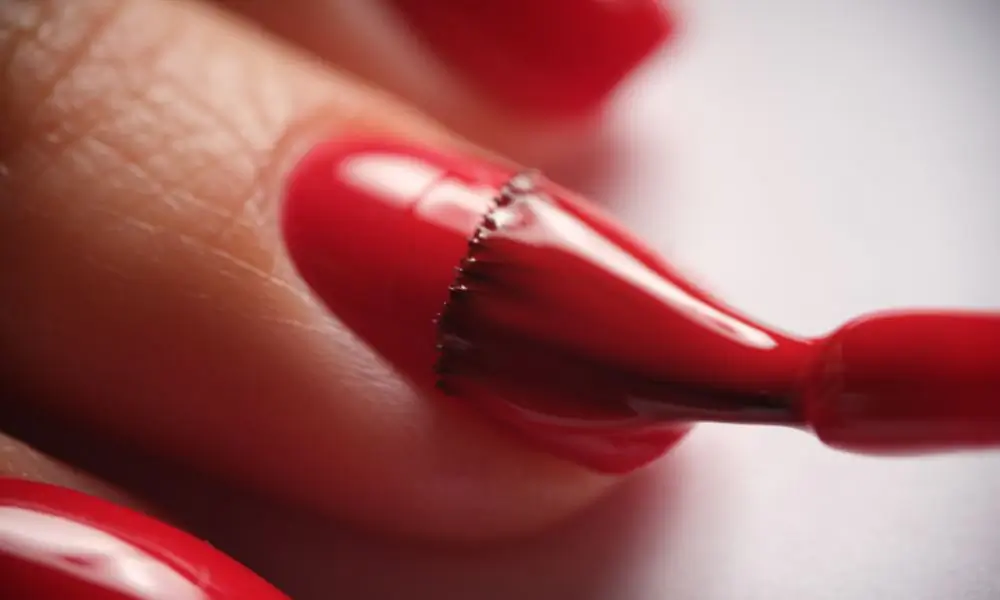
Performing a manicure at home is a straightforward process that relies more on proper technique than expensive equipment. By following a consistent sequence-from cleaning and shaping to careful polish application-you can achieve a clean, professional look that lasts.
To get started, gather your tools: a glass or emery board, a cuticle pusher, a mild nail polish remover, a base coat, your chosen color, and a top coat. The most important rule is to work on dry nails, as water makes them porous and prone to bending or splitting during the shaping process.
Nail preparation
- Always file in one direction to maintain nail integrity.
- Never cut cuticles, as they protect the nail matrix from infection.
- Thin, even coats of polish dry faster and last longer than thick ones.
| Topic | When it helps | What to keep in mind |
|---|---|---|
| Step 1 | Starting with a clean slate. | Avoid soaking nails in water before filing, as they become too soft. |
| Step 2 | Creating a uniform look. | Sawing back and forth causes micro-tears in the nail tip. |
| Step 3 | Clean nail beds. | Never cut the cuticle; it is a seal that prevents infection. |
| Step 4 | Long-lasting finish. | Thick coats take longer to dry and are prone to smudging. |
Covers the entire process from
Step 1. Prep and Clean
Remove old polish with a non-acetone remover. Wash hands thoroughly to remove oils that prevent polish from adhering.
- Starting with a clean slate.
- Avoid soaking nails in water before filing, as they become too soft.
- Use a lint-free cloth to ensure no fibers remain on the nail bed.
- Time – 5 mins
- Difficulty – Easy

Step 2. Shape and Buff
File nails in one direction to reach your desired shape. Lightly buff the surface to smooth out ridges.
- Creating a uniform look.
- Sawing back and forth causes micro-tears in the nail tip.
- Choose a rounded or square-rounded shape for the most durability.
- Tool – Nail file
- Focus – Edges
Step 3. Cuticle Care
Apply a cuticle softener or oil. Gently push back the cuticles with a wooden stick or rubber-tipped pusher.
- Clean nail beds.
- Never cut the cuticle; it is a seal that prevents infection.
- Only push back what moves easily; do not force the skin.
- Tool – Cuticle pusher
- Safety – High
Step 4. Polish Application
Apply a base coat, two thin layers of color, and a top coat. Cap the free edge of the nail with the brush.
- Long-lasting finish.
- Thick coats take longer to dry and are prone to smudging.
- Wait two minutes between each coat for the best results.
- Layers – 4
- Finish – Glossy
Essential Manicure Tools
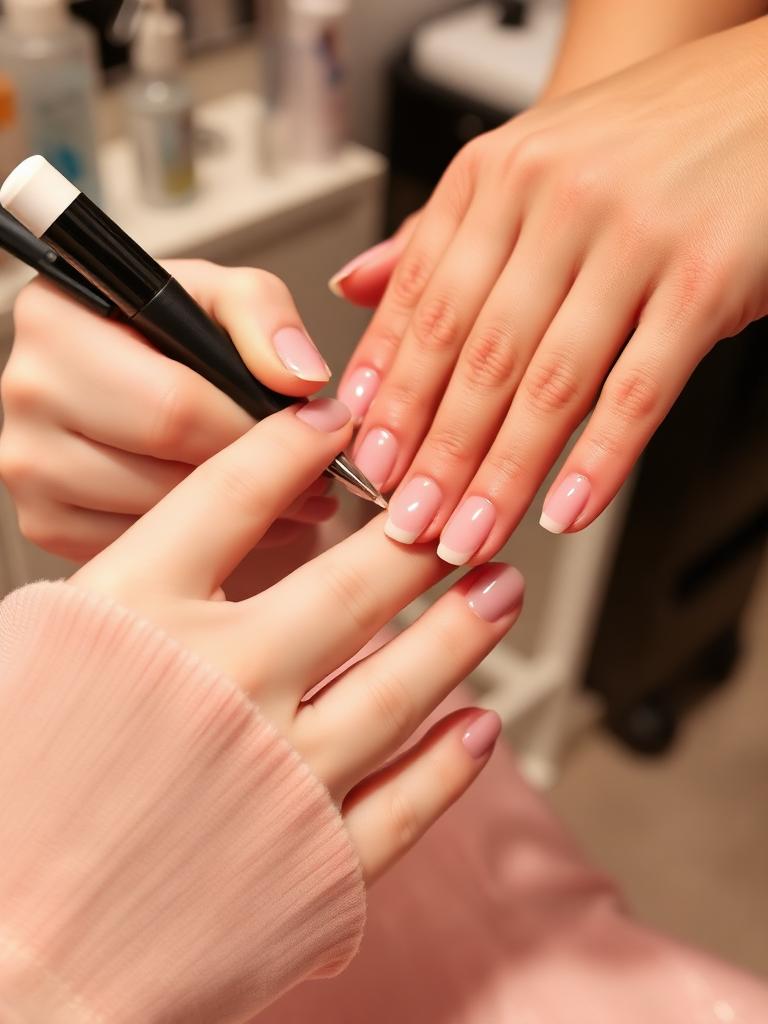
Having the right tools ready makes the process smoother. You do not need a professional kit; basic household items work perfectly well.
A glass file is often better than an emery board because it seals the nail edge, preventing peeling.
Keep a small bowl of warm water and a towel nearby for the final cleanup, even if you avoid soaking early on.
Using metal files on natural nails, which can be too abrasive.
- Glass or emery nail file
- Orange wood stick or rubber cuticle pusher
- Non-acetone nail polish remover
- Base coat, color polish, and top coat
- Cuticle oil or hand cream
Common Mistakes to Avoid
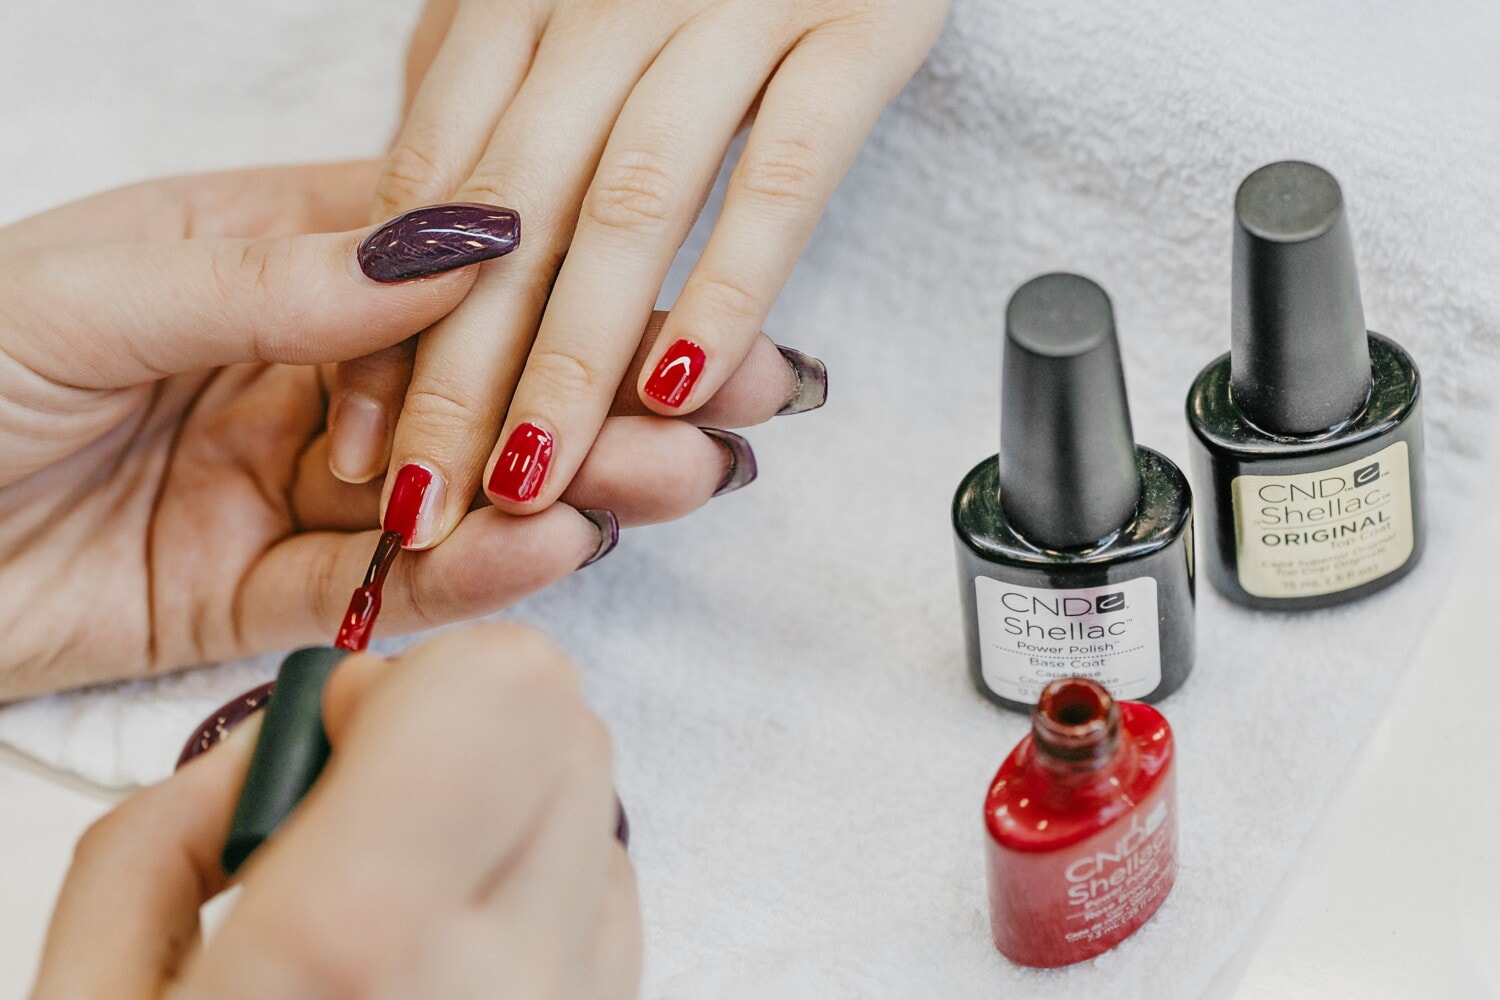
Even with the right steps, small errors can lead to a manicure that chips within a day. Understanding these common traps helps you maintain your work longer.
The most frequent mistake is skipping the base coat. It acts as a primer, preventing the color from staining your nails and helping it grip the surface.
If you notice bubbles in your polish, it is likely because you shook the bottle vigorously instead of rolling it between your palms.
Applying polish in a humid environment, which can trap moisture and cause bubbles.
- Shaking the polish bottle (roll it instead)
- Skipping the base coat
- Applying thick, heavy layers of color
- Filing nails while they are wet
- Ignoring the ‘free edge’ of the nail
| Mistake | Consequence |
|---|---|
| Shaking bottle | Air bubbles |
| Thick coats | Long dry time/peeling |
| Wet filing | Nail splitting |
| Skipping top coat | Fast chipping |
FAQs
How long should I wait between coats of polish?
Wait at least two minutes between each coat. This allows the solvents to evaporate, ensuring the polish sets properly and doesn’t smudge.
Why do my nails split after I file them?
Splitting often happens if you file back and forth in a sawing motion. Always file in one direction to keep the nail layers intact.
Is it necessary to soak my hands?
Soaking is optional. While it softens the skin, it also makes nails porous and weak. Using a cuticle softener is a safer, more effective alternative.
How do I make my manicure last longer?
Apply a fresh layer of top coat every two to three days and always ‘cap’ the free edge of your nail with polish during the initial application.
Conclusion
Achieving a salon-quality manicure at home is entirely possible with patience and the right technique. By focusing on dry preparation and thin, even layers of polish, you create a foundation that resists chipping and looks polished for days.
Remember that your nails need time to breathe and recover between manicures. If you notice your nails becoming brittle, take a few days off from polish and focus on hydration with cuticle oil.
Related posts
 How to Test Car Wiring for Continuity Using a Multimeter
Learn how to test car wiring for continuity safely. Find broken automotive wires, check connector ports, and diagnose electrical issues with a multimeter. Testing car wiring…
 Why Organizing Space Reduces Stress: The Mental Clarity Connection
Discover why organizing space reduces stress. Learn how a tidy environment lowers cortisol, improves focus, and creates a sense of calm in your daily life. Organizing…
 Why Fresh Air Is Important in Your Home: Health and Comfort Benefits
Discover why fresh air is important in your home. Learn how proper ventilation dilutes indoor pollutants, controls humidity, and improves your daily health. Bringing fresh outdoor…