How Do You Clean Car Headlights Properly
Do you want to clean car headlights properly without costly replacements? This guide shows you a simple, step by step method using household items or a restoration kit.
Driving at night with foggy headlights is like trying to see through a dirty window. You know the feeling. The road looks blurry. Your lights seem weak. Other cars flash their high beams at you because your headlights scatter light everywhere except where you need it.
I have been there myself. A few years ago, my old sedan failed its safety inspection because the headlights were too yellow. A mechanic quoted me 400 dollars for new housings. I said no thank you. Then I learned how to clean car headlights properly with a 20 dollar kit and some patience.
The good news is that you can do this too. You do not need special skills or expensive tools. You just need the right steps and a little time. Let me show you exactly how.
Why Do Car Headlights Turn Yellow and Foggy?
Before you fix the problem, it helps to know why it happens. Most car headlights are made of polycarbonate plastic. This plastic is strong and light. But it has a weakness. The sun.
Over time, UV rays break down the protective coating on the plastic. The surface becomes rough and porous. Dust, dirt, and chemicals stick to it. This makes the plastic look yellow, hazy, or cloudy.
Think of it like your skin without sunscreen. After too much sun, it gets damaged. Same idea here.
“Foggy headlights reduce your nighttime visibility by up to 50 percent. That is like driving with only one working headlight.” — Rick Popely, automotive journalist
So when you clean car headlights properly, you are not just making them look better. You are making your drive safer.
What You Need to Clean Car Headlights Properly
You have two main choices. You can use common household items. Or you can buy a dedicated headlight restoration kit. Both work. But they give different results.
Here is a quick table to help you decide.
| Method | Cost | Time | How Long It Lasts |
|---|---|---|---|
| Household items (toothpaste, baking soda) | Under 5 dollars | 30 minutes | 1 to 2 months |
| Restoration kit with UV sealant | 15 to 30 dollars | 1 hour | 1 to 2 years |
Household methods are good for a quick fix. But if you want lasting results, use a kit. The extra step of applying UV sealant makes a big difference.
Basic Supplies for Either Method
- Microfiber cloths (at least 3)
- Painter’s tape
- Spray bottle with water
- Old bucket or bowl
- Gloves (optional but helpful)
If Using Household Items
- Toothpaste (white paste type, not gel)
- Baking soda
- White vinegar
- Soft sponge
If Using a Restoration Kit
Most kits include sandpaper pads of different grits (like 800, 1500, 3000), a polishing compound, and a UV clear coat. Popular brands include 3M, Sylvania, and Meguiar’s. Read the box to make sure it has a UV protectant step.
Step by Step: How to Clean Car Headlights Properly
I will give you the full method for a restoration kit first. That is the best way to clean car headlights properly for long term results. Then I will add the household shortcut.
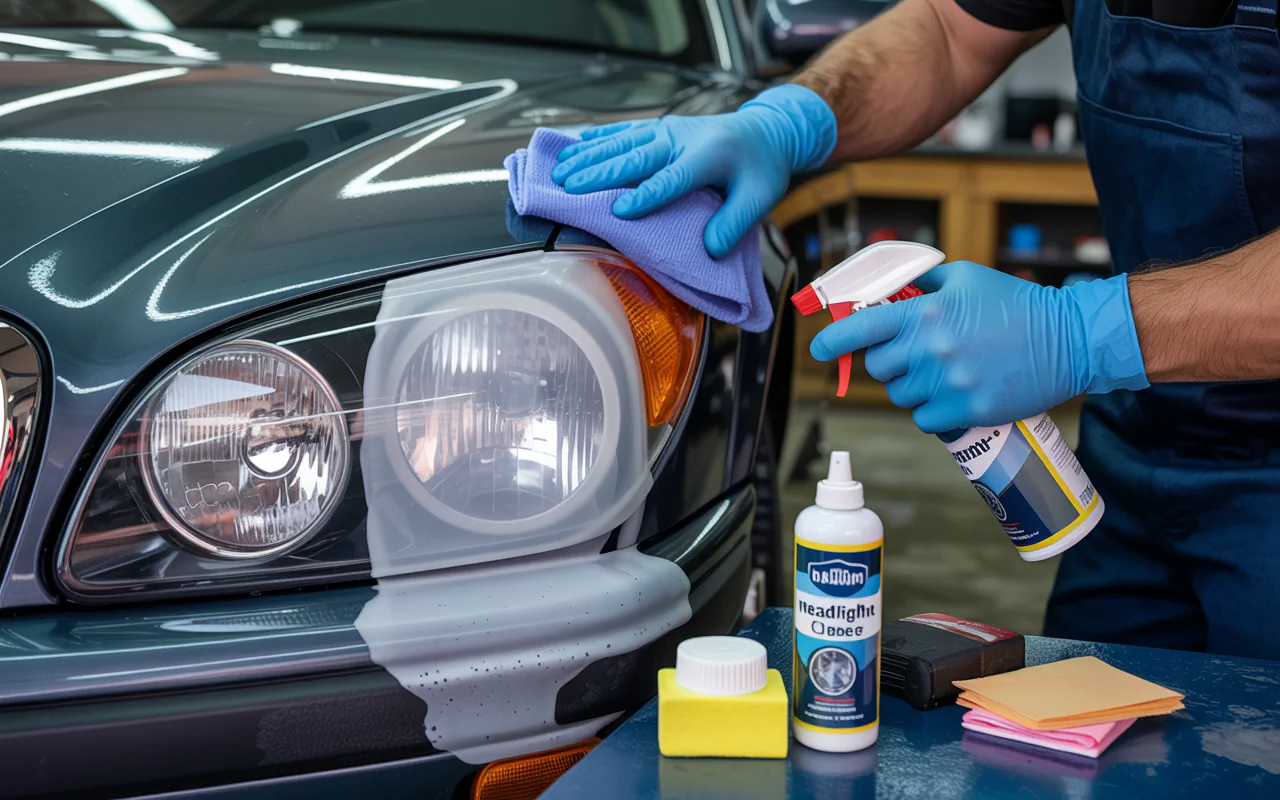
Step 1: Wash the Headlight Area
Dirt and loose grime will scratch the plastic if you start sanding right away. Wash the headlight and the surrounding paint with soap and water. Rinse well. Dry with a clean microfiber cloth.
Step 2: Tape Off the Edges
Use painter’s tape to mask the area around the headlight. Cover the paint, the grille, and any chrome trim. Sandpaper can easily damage paint. Take two extra minutes to tape carefully. You will thank yourself later.
Step 3: Start Sanding with Low Grit
Most kits give you three levels of sandpaper. Start with the roughest one (lowest number, like 800 grit). Wet the sandpaper. Spray water on the headlight. Sand in straight lines back and forth. Keep the surface wet. Do not press hard. Let the sandpaper do the work.
You will see yellow residue and a milky liquid appear. That is the old damaged plastic coming off. Wipe with a wet cloth and check your progress. The headlight should look evenly dull but not scratched.
Step 4: Move to Medium Grit
Switch to the next sandpaper (like 1500 grit). Wet it again. This time sand in up and down motions. This cross pattern removes the scratches from the first step. Keep everything wet. Sand for about two to three minutes.
Step 5: Finish with Fine Grit
Now use the finest sandpaper (like 3000 grit). Sand in circles. This step smooths out the surface and makes it ready for polishing. The headlight will look cloudy but very smooth to the touch.
“Most people stop too early. They sand but skip the UV protectant. Then the haze comes back in weeks, not years.” — Lauren Fix, The Car Coach
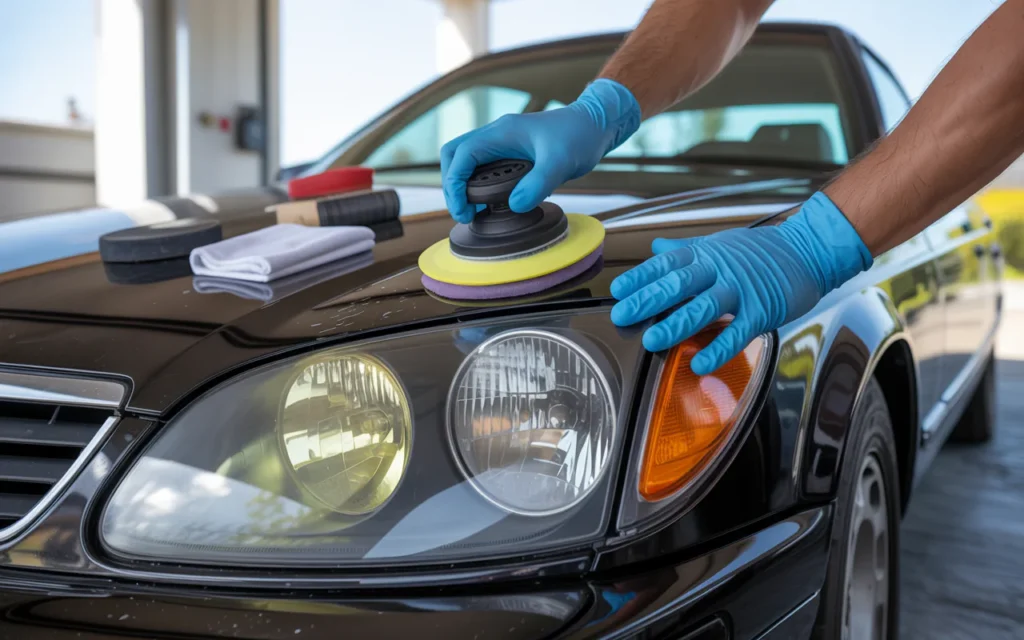
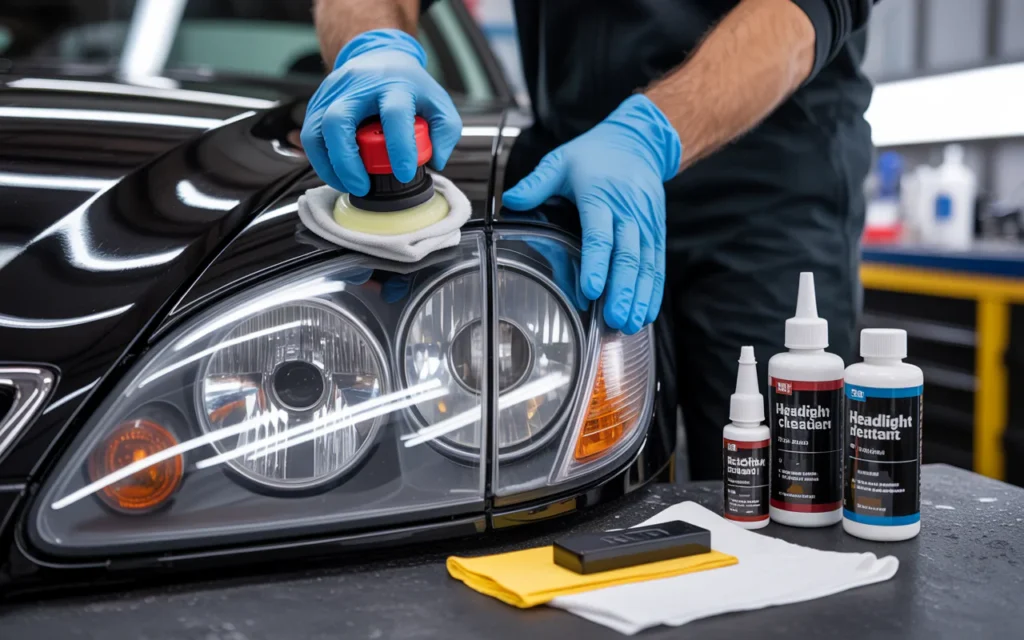
Step 6: Apply the Polishing Compound
Some kits include a small bottle of rubbing compound. Put a dime sized amount on a soft cloth. Rub it into the headlight using firm circular motions. Buff until the plastic looks clear and shiny. Wipe away any excess.
Step 7: Apply UV Sealant (The Most Important Step)
This is where many people fail. They get the headlight clear and stop. But without a UV blocker, the sun will damage the plastic again very fast.
Most kits have a wipe or a spray sealant. Apply it exactly as the instructions say. Let it dry completely. Do not drive in rain or wash the car for at least 24 hours.
Now you have learned how to clean car headlights properly from start to finish.
Quick Household Method: Toothpaste and Baking Soda
If you cannot buy a kit right now, this works as a temporary fix.
Mix three parts baking soda with one part water to make a thick paste. Or use white toothpaste (not gel). Apply the paste to the headlight with a wet sponge. Rub in small circles for two to three minutes. Let it sit for another minute. Rinse with water and dry.
The mild abrasives remove the top layer of oxidation. The headlight will look better. But without UV sealant, it will return to yellow in a month or two.
Use this method before a road trip or while you wait for a restoration kit to arrive. It is better than nothing.
Common Mistakes When People Clean Car Headlights Properly
Even with good instructions, things can go wrong. Here are the top mistakes I see.
| Mistake | Why It Hurts | Better Approach |
|---|---|---|
| Skipping the tape | Sandpaper scratches paint | Always tape a wide border |
| Sanding dry | Creates deep scratches | Keep the surface wet at all times |
| Pressing too hard | Uneven surface and swirl marks | Let the sandpaper do the work |
| No UV sealant | Haze returns in weeks | Always seal after polishing |
| Using kitchen cleaner | Bleach or ammonia damages plastic | Use only car safe products |
“Your headlights are safety devices. Treat them that way. A thirty minute restoration can prevent a crash.” — John Paul, AAA Car Doctor
How Often Should You Clean Car Headlights Properly?
It depends on your car and where you live. If you park outside in a sunny state like Arizona or Florida, you may need to restore them every two years. If you park in a garage or live in a cloudy area, they might stay clear for three or four years.
The household method lasts one to two months. So you would need to repeat it many times. That is why I recommend the kit method with UV sealant. It saves time and money in the long run.
Check your headlights every time you wash your car. Look for the first signs of yellowing. If you catch it early, a simple polish might be enough. You may not need the full sanding process.
Can You Prevent Headlights From Turning Yellow?
Yes, you can slow down the damage. But you cannot stop it completely because the sun is always there.
Here are three easy prevention tips.
- Park in the shade or a garage. This is the number one thing you can do. Less sun means less UV damage.
- Apply a wax or sealant every few months. After you clean car headlights properly, use a spray wax made for plastic. Reapply every time you wax your car. This adds a sacrificial layer that takes the UV hit instead of the plastic.
- Buy headlight covers or a clear film. These are like screen protectors for your car. They cost 20 to 50 dollars and last a few years. When they get yellow, you peel them off and replace them.
When Should You Replace Instead of Restore?
Restoration works most of the time. But not always. If the inside of the headlight is foggy, no amount of outside sanding will fix it. Moisture got inside through a crack or broken seal. You need a new headlight housing.
Also, if the plastic is cracked or deeply pitted, replacement is safer. Water and dirt can get inside and ruin the bulb or wiring.
A new headlight assembly costs between 100 and 500 dollars for most cars. That is expensive. But it is cheaper than a crash caused by poor visibility.
Frequently Asked Questions
Does toothpaste really work to clean car headlights properly?
Yes, white toothpaste works as a mild abrasive. It removes a thin layer of yellow oxidation. But it lacks a UV protectant. So the haze returns faster than with a proper kit. Use toothpaste for a quick temporary fix only.
Can I use WD-40 on my headlights?
WD-40 will make the headlights look clear for a few hours. It fills in the tiny scratches with oil. But it does not remove the damage. The yellow comes back as soon as you wash the car. Plus, WD-40 can attract dust and dirt. Not a good solution.
How do you clean car headlights properly without sanding?
You can use a specialized headlight polish and a buffing pad on a drill. This is less aggressive than sanding. It works well for light haze. For heavy yellowing, you still need sanding to remove the damaged layer.
Is it worth paying a professional to do it?
A professional detailer may charge 50 to 150 dollars. They have better tools and experience. If you feel unsure or have an expensive car, paying a pro is fine. But most people can do it themselves with a 20 dollar kit and one hour of time.
Will restored headlights pass a state safety inspection?
Yes, in most states. The inspection checks that your headlights produce enough light and are aimed correctly. A proper restoration brings back the clarity. But if the plastic is cracked or moisture is inside, you will fail. That requires replacement.

Conclusion
You now know exactly how to clean car headlights properly. You have two solid options. The quick household method with toothpaste and baking soda gives you a short term fix for almost no money. The restoration kit method with sanding and UV sealant gives you one to two years of clear, bright light.
Do not drive around with foggy headlights. It is not safe for you or other people on the road. Pick a sunny afternoon, gather your supplies, and spend one hour on this project. Your nighttime driving will feel completely different. Brighter. Safer. Easier on your eyes.
I did this on my own car three years ago. The headlights are still clear because I used the UV sealant and I park in the shade when I can. That one hour of work saved me from buying new headlights. It probably saved me from a fender bender too.
Now go take a look at your car. If the headlights look yellow or hazy, you have your plan. Get the tape, get the kit, and get it done. You can do this.
Related posts
 How To Use A Breaker Bar Safely
If you want to use a breaker bar safely without breaking tools or hurting yourself, this guide shows you the right stance, grip, and torque limits. Follow these…
 Best Portable Jump Starter for Cars
Find the best portable jump starter for your car. We review top models like NOCO, AstroAI, and WOLFBOX, comparing power, features, and value to help you…
 How Do You Test Alternator Health at Home
Learn how do you test alternator health at home simple steps and basic tools. Discover common signs of failure and keep your car running smoothly. Testing…