
How to Organize a Kitchen Without a Pantry: Smart Storage Solutions
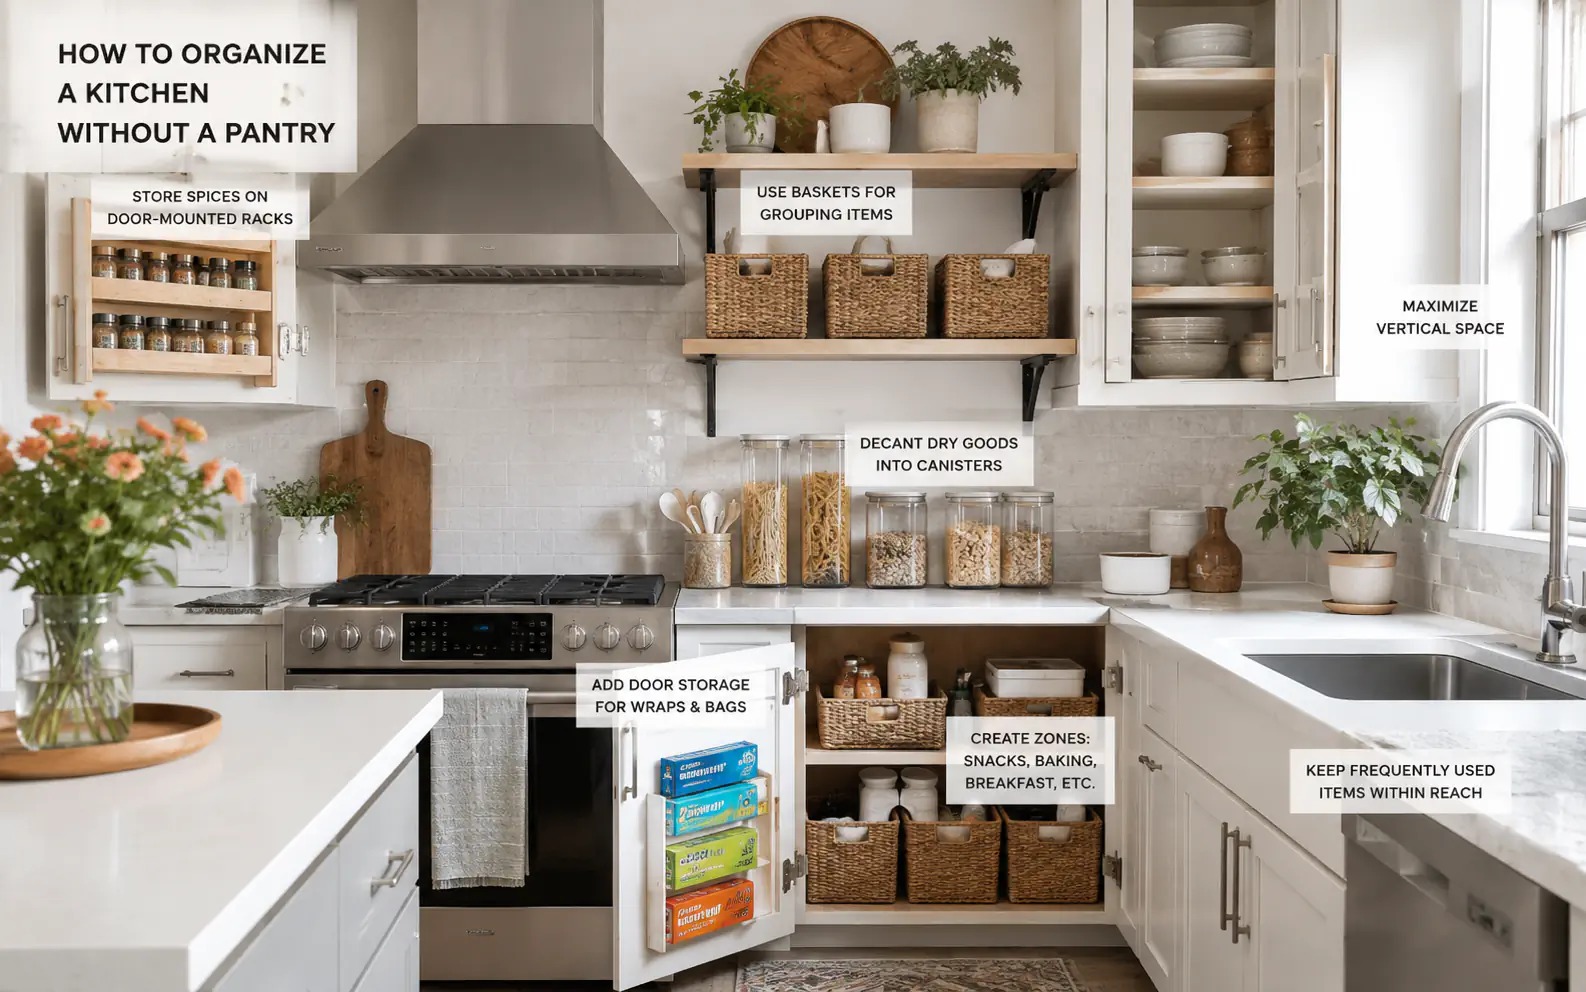
A kitchen without a built-in pantry can quickly become cluttered, with cereal boxes, canned goods, and baking supplies taking over your countertops. To organize a kitchen without a pantry, you must shift your approach from relying on a single closet to creating dedicated food storage zones throughout your existing cabinets, walls, and nearby floor space.
The first step is to audit your current kitchen layout and group your food items by category. By designating specific cabinet shelves, utilizing vertical wall space, and introducing freestanding storage furniture, you can build a highly functional, organized system that keeps your ingredients accessible and fresh.
Zoning existing cabinets for food
- Group food items by category before assigning them to a storage spot.
- Dedicate specific cabinets or drawers solely to food storage to create a virtual pantry.
- Use vertical space with over-the-door racks, wall shelves, and stackable bins.
- Repurpose freestanding furniture like bookshelves, sideboards, or rolling carts for extra storage.
- Decant dry goods only when it saves space or keeps food fresher longer.
| Topic | When it helps | What to keep in mind |
|---|---|---|
| Step 1 | Everyone starting the organization process. | Do not skip this step to buy containers first; you will likely buy the wrong sizes. |
| Step 2 | Kitchens with plenty of cabinet space but no pantry. | Avoid mixing dishes and food on the same shelves, which creates visual confusion. |
| Step 3 | Small kitchens with limited cabinet space. | Ensure wall anchors are strong enough to hold the weight of heavy jars and cans. |
| Step 4 | Renters and homes with minimal built-in cabinetry. | Measure your floor space carefully to ensure the furniture does not block walkways. |
Focus strictly on food storage
Step 1. Audit and Categorize Your Food Inventory
Empty your cabinets and group all food items by category, such as canned goods, baking supplies, breakfast items, snacks, and dinner grains. Discard expired items and donate food you will not use. This step gives you a clear picture of exactly how much storage space you need to allocate.
- Everyone starting the organization process.
- Do not skip this step to buy containers first; you will likely buy the wrong sizes.
- Keep similar items together on a table or counter so you can measure the total volume of each category.
- Time Required – 1 to 2 hours
- Difficulty – Easy
- Cost – Free
Step 2. Designate Specific Cabinet Zones
Dedicate a cluster of upper or lower cabinets exclusively for food storage. Keep daily essentials like coffee, tea, and breakfast items on lower, easy-to-reach shelves. Store baking supplies and backstock items on higher shelves that require a step stool.
- Kitchens with plenty of cabinet space but no pantry.
- Avoid mixing dishes and food on the same shelves, which creates visual confusion.
- Use lower cabinets with pull-out drawers for heavy canned goods and grains to save your back.
- Time Required – 1 hour
- Difficulty – Easy
- Cost – Free
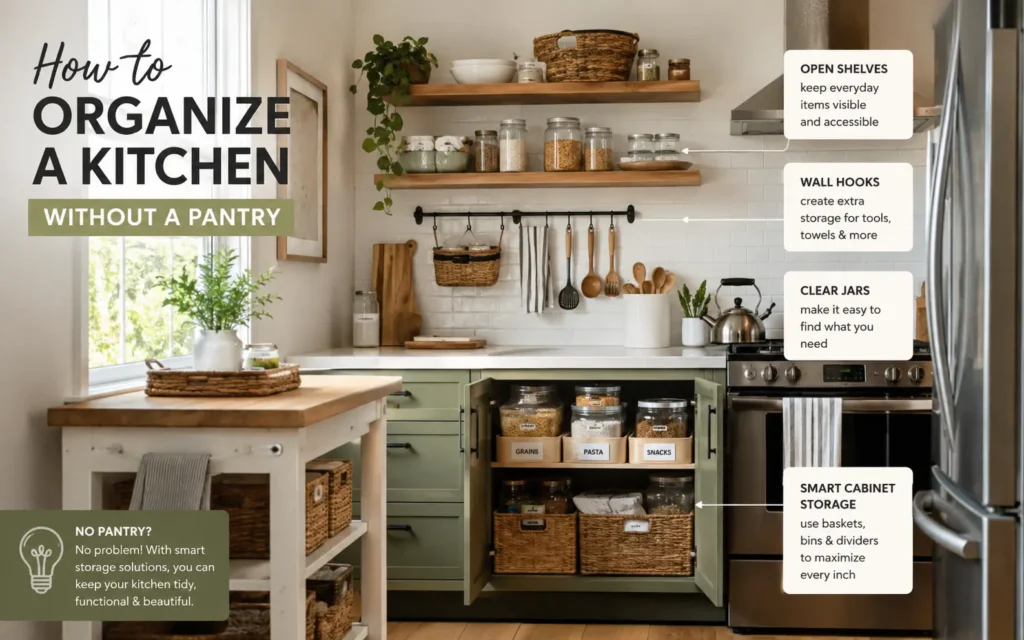
Step 3. Utilize Vertical Wall and Door Space
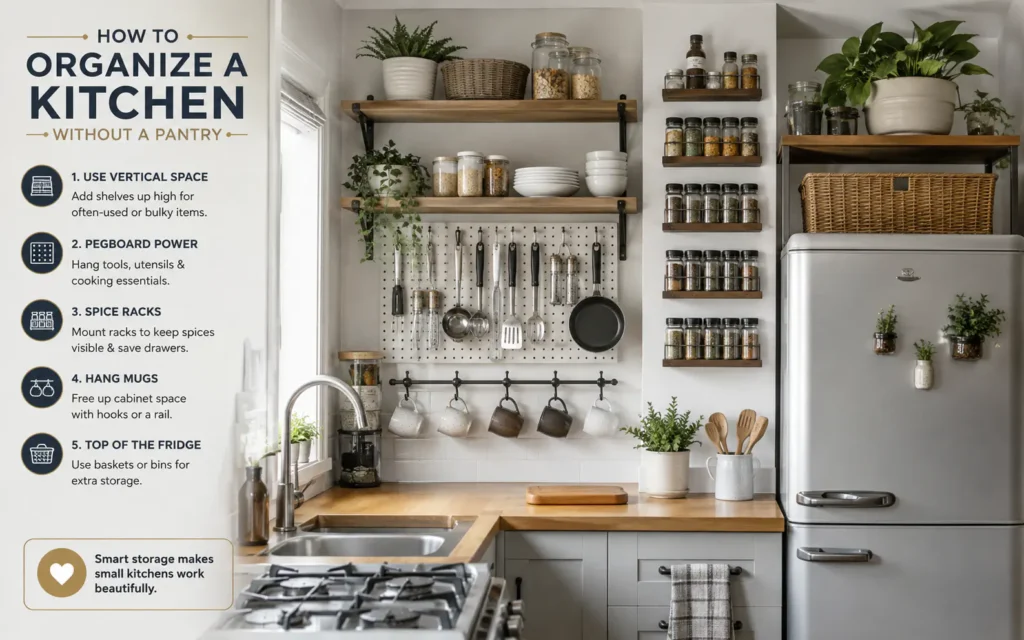
Install floating shelves, pegboards, or wall-mounted spice racks to free up cabinet space. The back of a pantry door or even a nearby closet door can host an over-the-door organizer with wire baskets for snacks, spices, and small jars.
- Small kitchens with limited cabinet space.
- Ensure wall anchors are strong enough to hold the weight of heavy jars and cans.
- Hang lightweight items like spices, snacks, and tea bags on doors, leaving heavy items for shelves.
- Time Required – 2 hours
- Difficulty – Medium
- Cost – Low to Medium
Step 4. Introduce Freestanding Storage Furniture
If cabinet space is entirely lacking, look outside the kitchen footprint. A narrow bookshelf, a stylish sideboard, or a rolling utility cart can serve as an excellent freestanding pantry. Place these pieces in an adjacent dining area, hallway, or breakfast nook.
- Renters and homes with minimal built-in cabinetry.
- Measure your floor space carefully to ensure the furniture does not block walkways.
- Choose a sideboard with closed doors if you prefer to keep your food storage hidden from view.
- Time Required – 1 to 3 hours
- Difficulty – Medium
- Cost – Medium to High
Maximizing Existing Cabinets with Smart Inserts
Standard kitchen cabinets are often deep and dark, making it easy for canned goods and small packages to get lost in the back. To turn these cabinets into efficient food storage zones, you need to improve visibility and accessibility.
Using the right organizing tools can double your usable shelf space. Stackable bins, shelf risers, and pull-out organizers allow you to utilize the full height of each cabinet shelf rather than leaving empty air space above your items.
Using a two-tier lazy Susan in a corner cabinet to store oils, vinegars, and condiments, allowing you to spin the tray to find what you need instead of knocking over bottles.
Buying deep bins that block access to the back of the cabinet, forcing you to pull everything out to reach one item.
- Shelf Risers: Perfect for stacking plates, bowls, or canned goods so you do not have to pile them directly on top of each other.
- Lazy Susans: Ideal for corner cabinets or high shelves to keep small jars, spices, and oils within easy reach.
- Clear Plastic Bins: Keep similar items grouped together, such as snack bars or pasta boxes, and let you see when inventory is running low.
- Pull-Out Wire Baskets: Turn deep lower cabinets into drawers, making it easy to access heavy items stored in the very back.
| Storage Tool | Best Food Types | Key Benefit | Budget Level |
|---|---|---|---|
| Clear Plastic Bins | Snacks, packets, baking supplies | High visibility and easy to clean | Low to Medium |
| Lazy Susans | Oils, vinegars, condiments, spices | Easy access to items in corners | Low |
| Wire Baskets | Potatoes, onions, boxed goods | Excellent airflow and durability | Medium |
| Tiered Risers | Canned goods, small jars | Prevents cans from hiding in the back | Low |
Repurposing Freestanding Furniture for Food Storage
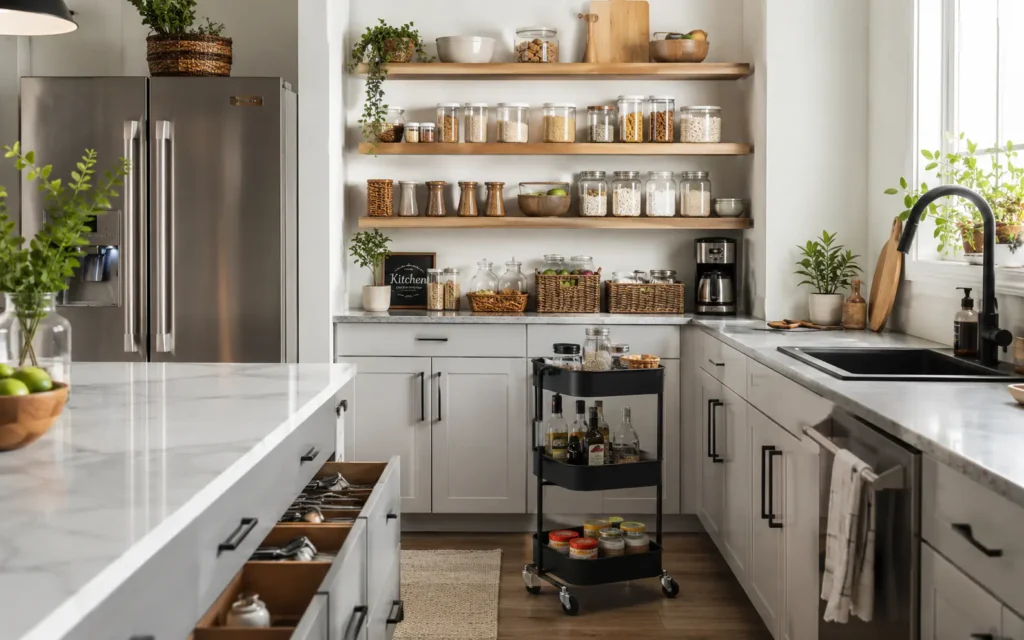
When your built-in cabinets are completely full, look to your floor space. You do not need a built-in closet to have a pantry; freestanding furniture can easily step in to fill the gap. This approach is especially useful for renters who cannot install permanent shelving.
Many furniture pieces designed for living rooms or dining areas can be repurposed for food storage. The key is choosing pieces that match your kitchen decor while providing the right balance of open and closed storage.
Placing a classic wooden bookshelf against an empty wall in the dining room, using matching baskets on the lower shelves to hide messy packaging, and displaying pretty glass jars of grains on the upper shelves.
Overloading lightweight utility carts with heavy canned goods, which can make them difficult to roll and prone to tipping.
- Bookshelves: A tall, narrow bookshelf takes up minimal floor space while offering multiple tiers of storage for dry goods and small appliances.
- Sideboards and Credenzas: These pieces offer closed storage to keep food hidden, plus a flat top surface that can act as an extra prep area or coffee station.
- Rolling Utility Carts: A three-tier metal cart can hold frequently used ingredients, fresh produce, or baking supplies, and can be rolled out of the way when not in use.
- Pie Safes or Wardrobes: Vintage pie safes with mesh doors or small wardrobes provide deep shelving and add character to your kitchen.
FAQs
What can I use instead of a pantry in a small kitchen?
You can use a freestanding bookshelf, a rolling utility cart, a sideboard, or wall-mounted floating shelves. Over-the-door organizers on nearby closet doors also work exceptionally well.
How do I store canned goods without a pantry?
Store canned goods in lower kitchen cabinets using tiered shelf risers or pull-out wire baskets. You can also store them in sturdy crates under a kitchen island or on the bottom shelves of a freestanding bookcase.
Should I decant all my dry goods into jars?
Only decant items if it saves space, keeps the food fresher (like flour, sugar, and cereal), or if you are using open shelving where original packaging looks cluttered. Otherwise, keeping items in their original boxes inside closed cabinets is perfectly fine.
How do I organize a kitchen with no counter space and no pantry?
Focus entirely on vertical space. Install magnetic knife strips, hanging fruit baskets, and wall-mounted pegboards for pots and utensils. This frees up your limited cabinet space exclusively for food storage.
Conclusion
Organizing a kitchen without a pantry requires a bit of creativity, but it is entirely achievable. By dividing your food into clear categories, maximizing your existing cabinet depth with smart inserts, and utilizing vertical wall space, you can create a highly functional kitchen that works for your daily routine.
Remember to start small. You do not need to organize the entire kitchen in one afternoon. Begin by zoning a single cabinet for dry goods, and gradually expand your storage system as you figure out what setup works best for your cooking habits.
Related posts
 How to Strengthen Weak Nails: A Practical Guide to Daily Care
Learn how to strengthen weak nails with simple daily habits, protective care, and targeted hydration. Restore your natural nail strength today. Weak, peeling, or brittle nails…
 What Sounds Do Cats Dislike? 7 Noises That Stress Your Pet
Discover what sounds do cats dislike and why. Learn how to protect your cat’s sensitive hearing from stressful household noises and high-frequency hums. Cats dislike sounds…
 Restoring Faded Black Clothing: Practical Methods and Reality Checks
Can you restore faded black clothing? Learn the difference between temporary color revival and permanent redyeing, plus how to prevent future fading. You can restore the…