
How To Arrange Kitchen Utensils
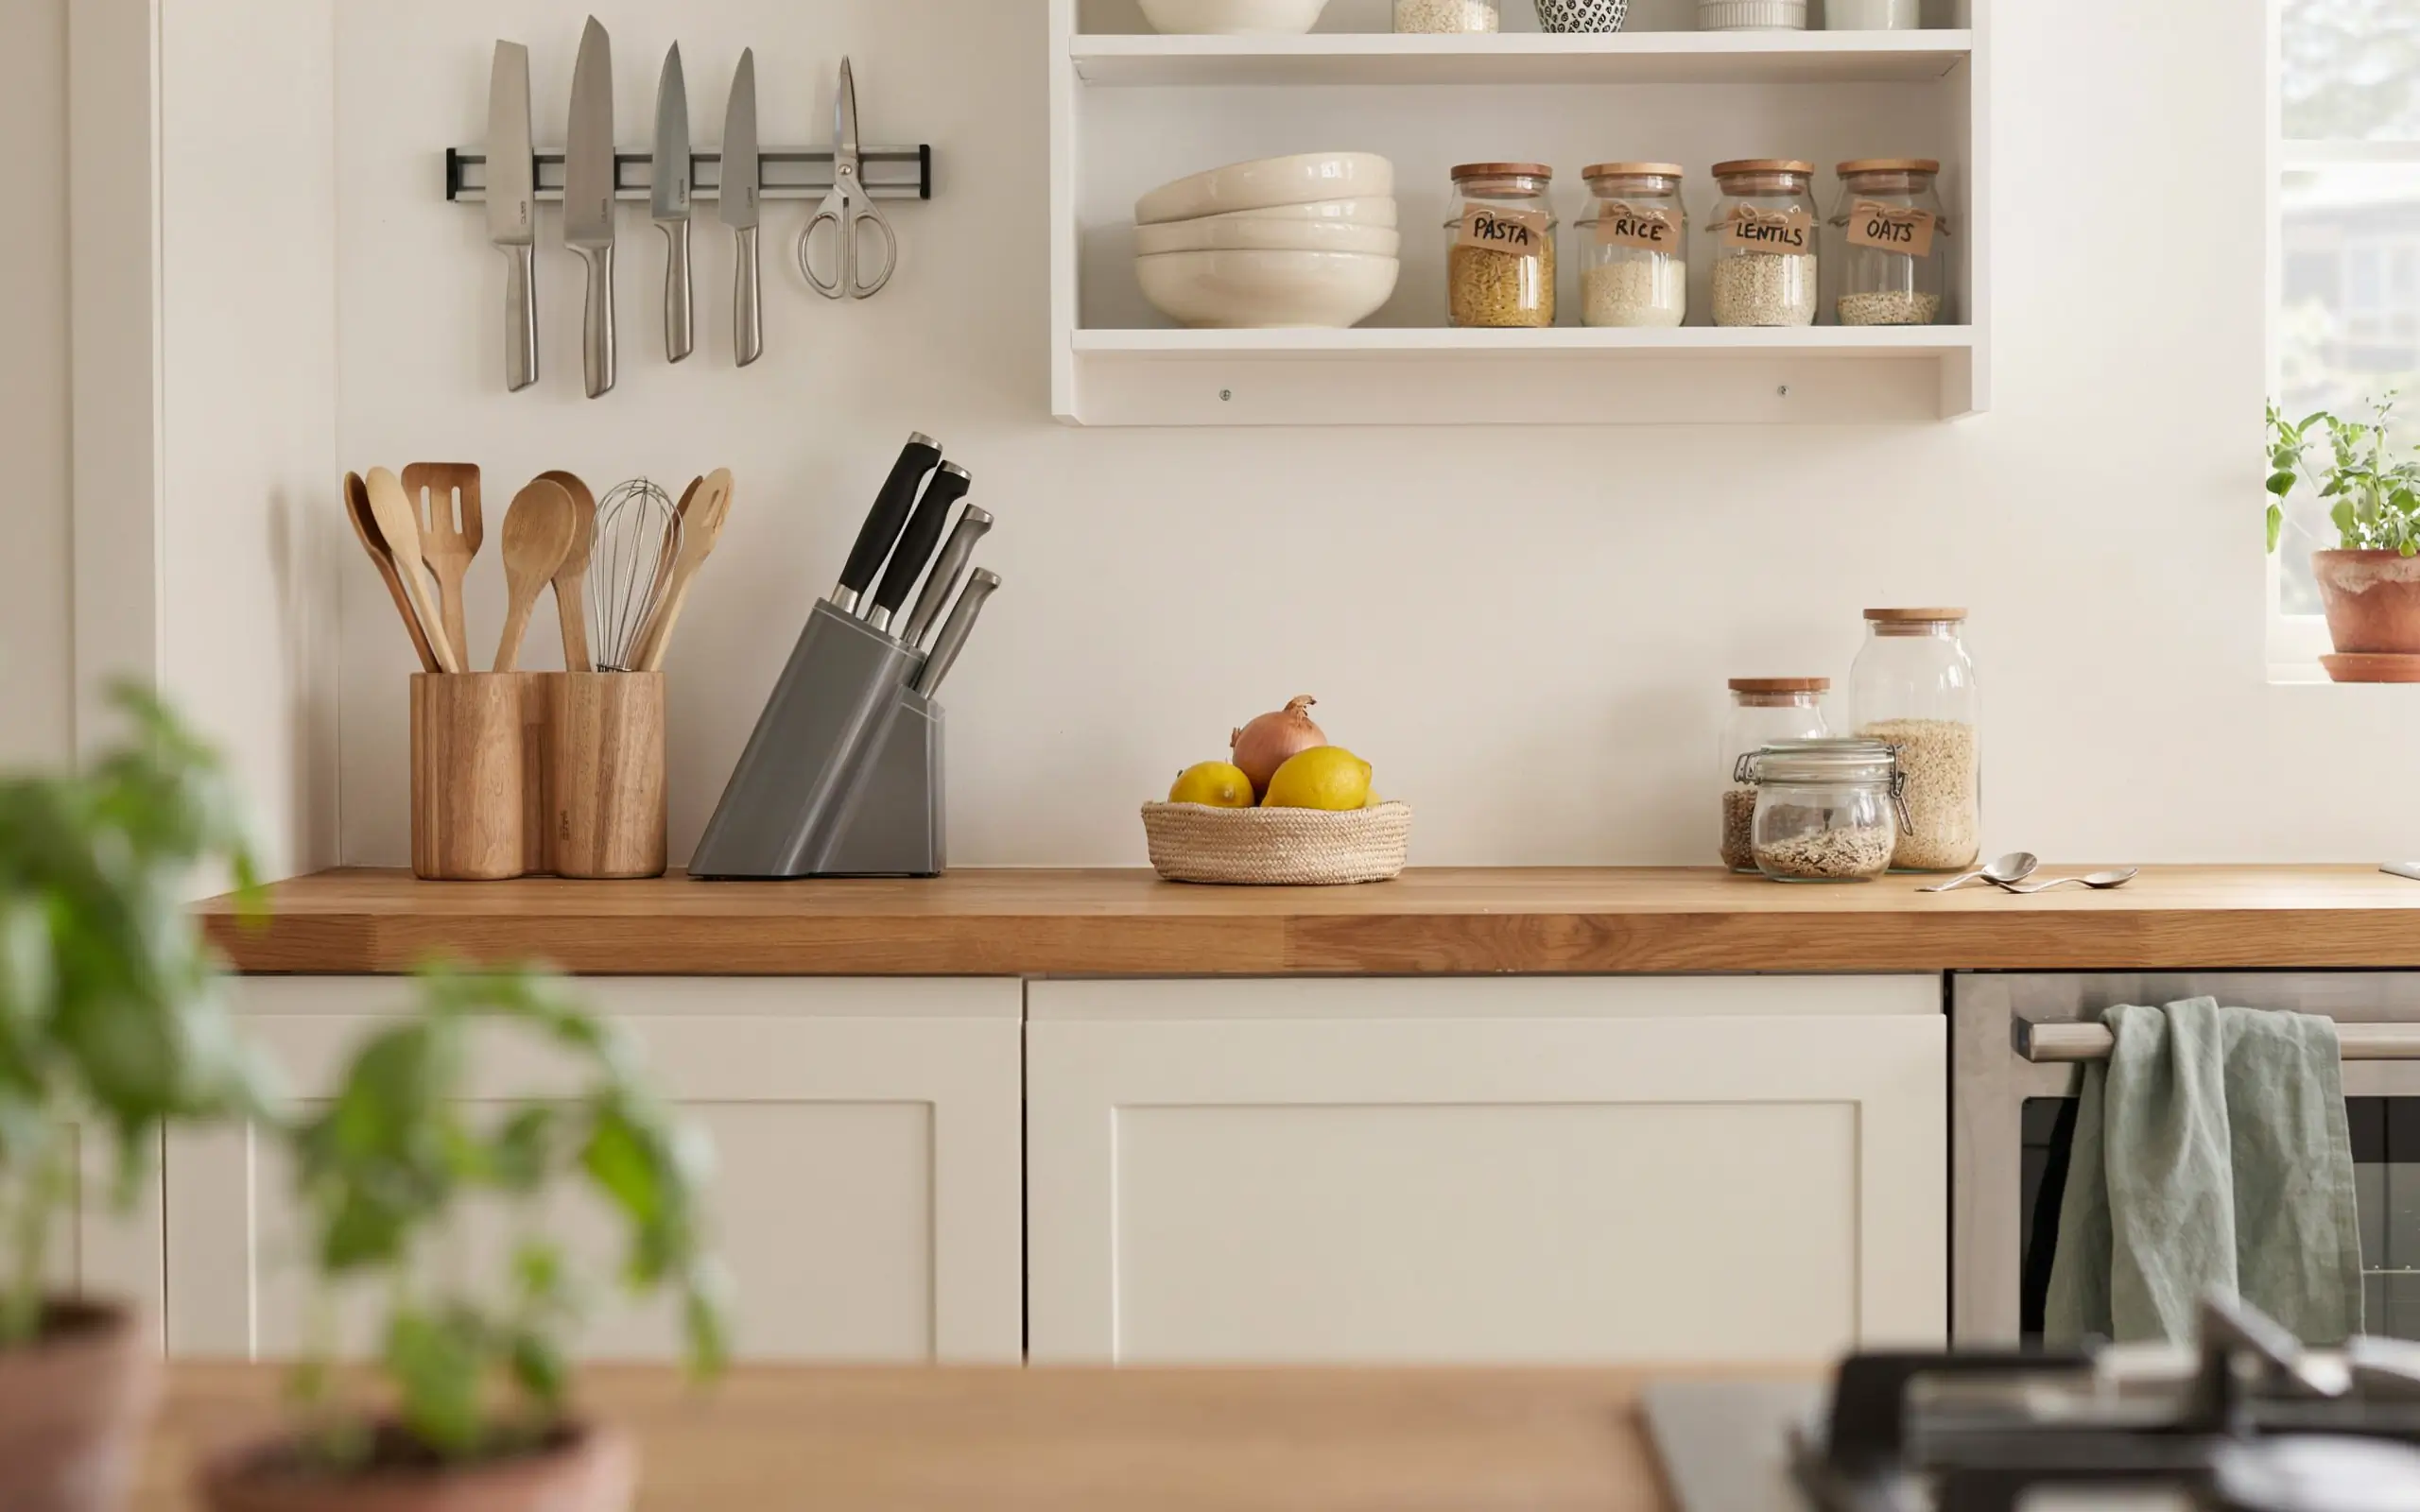
If you want to know how to arrange kitchen utensils properly, this guide covers sorting, drawer setups, wall storage, and daily habits. Learn simple ways to keep every tool in its place and save time.
Have you ever opened a kitchen drawer only to find a tangled mess of spatulas, ladles, and whisks? You are not alone. Many of us face this daily struggle. A messy utensil drawer can make cooking feel like a chore. You waste time searching for the right tool. Your dinner burns while you dig through the chaos. But there is a better way.
Learning how to arrange kitchen utensils can change your whole cooking experience. It saves time. It reduces stress. It makes your kitchen look and feel better. This guide will show you simple, practical steps to bring order to your utensil collection. You do not need expensive gadgets or a complete kitchen remodel. You just need a clear plan and a little time.
The goal is simple. You want every spoon, spatula, and whisk to have a home. You want to find what you need without thinking. You want your kitchen to work for you, not against you. Let us get started on this practical journey.
Step 1: Start with a Clean Slate
Before you can arrange kitchen utensils, you need to know what you have. Pull everything out. Every single utensil from every drawer, cabinet, and countertop crock. Spread them all out on your kitchen table or counter.
This first step is important. You cannot organize what you do not see. When you see everything together, you will notice things. You will see duplicates. You will spot broken tools. You will find items you forgot you owned.
Sort Like with Like
Group your utensils by type. Put all wooden spoons together. Gather all spatulas in one pile. Collect all whisks, tongs, ladles, and serving spoons. Make separate groups for measuring cups, peelers, can openers, and garlic presses.
This sorting process helps you see your collection clearly. You might realize you have five wooden spoons but only use two. You might find three can openers when you only need one. This is the time to make decisions.
Declutter Without Guilt
Here is the hard part. You need to let go of utensils you do not use. Damaged items should go in the trash. Cracked plastic spatulas and rusted tongs are not safe to use. Duplicates can be donated. Specialty tools you never touch can find a new home.
Martha Stewart, the famous lifestyle expert, swears by this approach. She suggests sorting everything by type first, then getting rid of broken or unnecessary items. Her method is straightforward and effective.
Be honest with yourself. If you have not used that avocado tool in three years, you probably never will. Keep your everyday tools. Let the rest go. A smaller collection is easier to manage.
“My best advice is finding a home for the things that you use all the time. Put away the small appliances and tools that you do not use every day.” – Melissa Rodriguez, executive chef
Step 2: Choose Your Storage Method
Now that you have a smaller, cleaner collection, you need to decide how to arrange kitchen utensils. You have several options. Each has its pros and cons. The right choice depends on your kitchen layout, your cooking style, and your personal preference.
Option A: Drawer Storage
Drawer storage keeps utensils out of sight. It gives your counters a clean, uncluttered look. This is a popular choice for many home cooks.
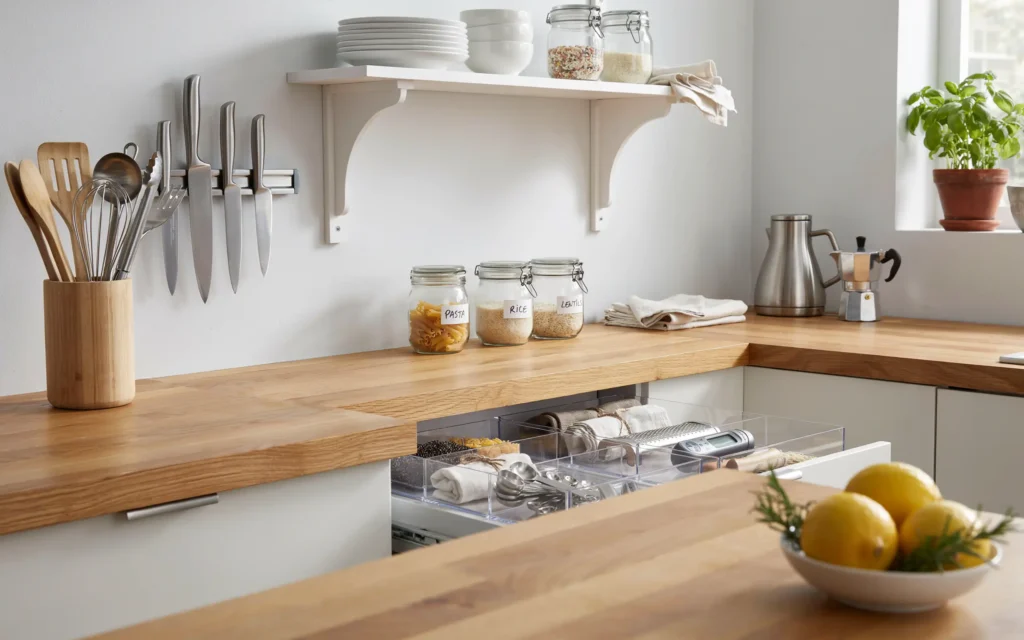
You can use drawer dividers to create separate sections. These dividers keep different types of utensils from mixing together. You can buy adjustable dividers that fit any drawer size. Or you can make your own using bamboo strips or even sturdy cardboard.
Kimberly Corey, a certified professional organizer, recommends this approach. She says, “Kitchen utensils can be organized in a drawer with purchased separators or dividers so that like is with like, and you’re aware of your quantities”.
Deep drawers work well for larger utensils. Shallow drawers are perfect for flatware and small tools. A wide drawer near the stove is ideal for cooking utensils.
Option B: Countertop Crocks and Holders
Countertop storage keeps your most-used tools within arm’s reach. This is the method Martha Stewart prefers. She keeps her utensils in vintage crocks on the counter.
You can use ceramic crocks, metal containers, or glass jars. Group similar utensils in each container. Put wooden spoons in one crock. Place spatulas and turners in another. Keep whisks and tongs in a third.
This method works well if you have counter space. It makes tools easy to grab while you cook. It also adds a decorative touch to your kitchen.
Option C: Wall and Hanging Storage
Wall storage frees up drawer and counter space. It uses vertical space that often goes unused. You can install a pegboard, a rail with hooks, or a magnetic strip.
A pegboard is flexible. You can move the pegs around to fit different utensils. This makes it easy to change your setup as your collection changes.
A rail with S-hooks is another great option. You can hang ladles, spatulas, and tongs right above your stove. This keeps them close and visible.
Magnetic strips are not just for knives. You can also use them to hold metal utensils like measuring spoons and kitchen shears.
Comparison Table: Storage Options
| Storage Method | Best For | Pros | Cons |
|---|---|---|---|
| Drawer Dividers | Small to medium collections | Keeps counters clear, protects tools | Requires drawer space, can be hard to see everything |
| Countertop Crocks | Daily-use tools | Easy access, decorative | Takes counter space, can look cluttered |
| Wall Hanging | Large collections, small kitchens | Saves space, keeps tools visible | Requires installation, may not suit all kitchen styles |
Step 3: Arrange by Frequency of Use
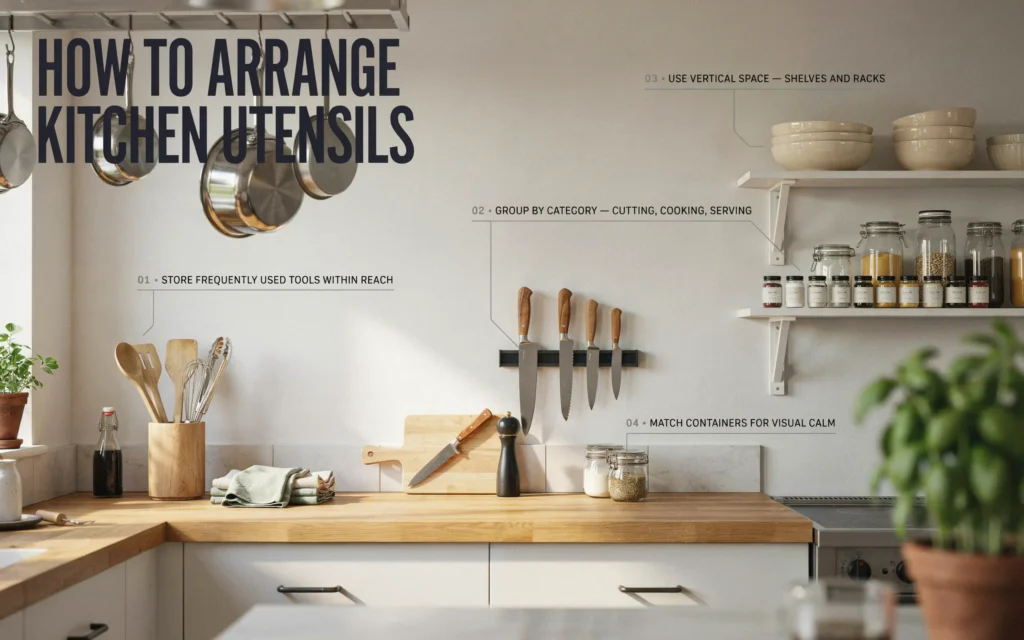
The best way to arrange kitchen utensils is by how often you use them. This is a simple rule that makes a big difference. Your most-used tools should be the easiest to reach.
Everyday Tools Front and Center
Think about what you use every day. For most people, this includes a spatula, a wooden spoon, a ladle, tongs, and a whisk. These should go in the most accessible spot. If you use drawers, put them in the top drawer. If you use crocks, place them in the front.
Weekly Tools in Middle Spots
Tools you use a few times a week can go in slightly less convenient spots. This might include a potato masher, a pasta server, a slotted spoon, and measuring cups. Put them in the second drawer or in a crock behind your everyday tools.
Occasional Tools Farther Away
Items you use only once in a while can go in harder-to-reach places. This includes specialty tools like a citrus zester, a pastry blender, or a melon baller. Store these in a lower drawer, a high cabinet, or the back of a shelf.
Chef Derek Piva explains this approach well. He says, “Create separate areas for prep, cooking, and plating… Keep your most-used tools and ingredients within easy reach, and store less-used equipment higher up or farther back”.
This frequency-based system makes cooking smoother. You never have to dig through rarely used tools to find your everyday spatula.
Step 4: Create Cooking Zones
Your kitchen has different work areas. Each area serves a different purpose. You should arrange kitchen utensils based on where you use them.
The Stove Zone
This is where you do most of your cooking. Keep your cooking utensils near the stove. This includes spatulas, ladles, tongs, and wooden spoons. Having them close means you can grab them quickly while your food cooks.
The Prep Zone
This is where you chop, slice, and measure. Keep your prep tools here. This includes knives, cutting boards, peelers, graters, and measuring cups. Store them near your main counter space.
The Serving Zone
This is near your dining area or where you plate food. Keep serving utensils here. This includes serving spoons, salad tongs, and gravy ladles. This makes it easy to set the table and serve meals.
The Baking Zone
If you bake often, create a dedicated baking area. Keep your rolling pin, pastry brush, cookie cutters, and measuring spoons here. This keeps baking tools separate from cooking tools.
Grouping items by zone makes cooking more efficient. You move less. You find things faster. Your kitchen feels more professional.
Step 5: Organize Drawers Like a Pro
Drawers are where most people keep their utensils. But many drawers become messy quickly. Here is how to arrange kitchen utensils in drawers so they stay neat.
Use Dividers
Dividers are the secret to a tidy drawer. They create separate compartments. Each type of utensil gets its own space. This stops tools from sliding around and mixing together.
You can buy adjustable dividers that expand to fit your drawer. You can also use bamboo or wooden inserts. Some people even use small boxes or baskets inside drawers.
Layer Your Drawers
Deep drawers can hold more than one layer. Use a tray or insert on top. Place flat items like spatulas and turners on this top layer. Put bulkier items like a potato masher or a whisk underneath.
This double-layer system doubles your storage space. It keeps everything organized without wasting vertical space.
Stand Utensils Vertically
Some drawer organizers allow you to stand utensils on their ends. This works well for deep drawers. You can see every tool at a glance. You can grab what you need without moving other items.
Keep Knives Safe
Knives need special care. A knife block is one option. An in-drawer knife tray is another. This keeps blades protected and prevents accidents. Never toss loose knives in a drawer with other tools.
Drawer Organization Tips
| Drawer Type | Best Storage Solution | Example Items |
|---|---|---|
| Shallow drawer | Flat dividers or trays | Forks, spoons, knives, small tools |
| Deep drawer | Vertical organizers or layered inserts | Spatulas, ladles, whisks, tongs |
| Wide drawer | Adjustable dividers with multiple sections | Mix of cooking and serving utensils |
Step 6: Use Wall and Counter Space Wisely
Not everything needs to go in a drawer. Wall and counter space can be valuable for utensil storage. This is especially helpful in small kitchens with limited drawer space.
Install a Pegboard
A pegboard is one of the most flexible storage solutions. You can arrange the pegs to fit any utensil. You can change the layout whenever you want. It works well for spatulas, ladles, whisks, and even pots and pans.
Pegboards are affordable and easy to install. They add a functional, industrial look to your kitchen. You can paint them to match your decor.
Hang a Rail with Hooks
A rail mounted on the wall or under a cabinet is another great option. Use S-hooks to hang utensils. This keeps them visible and within reach. It is especially useful for long-handled tools like ladles and spatulas.
Use a Tension Rod
A tension rod can hold utensils too. Place it inside a cabinet or between two walls. Add S-hooks to hang your tools. This is a no-drill option that works in rental kitchens.
Repurpose a Magnetic Bar
A magnetic knife bar can hold more than knives. Use it to store metal utensils. This includes kitchen shears, metal spatulas, and measuring spoons. It keeps them accessible and adds a modern touch.
Keep a Countertop Crock
A utensil crock on the counter is simple and effective. Use it for your most-used tools. This keeps them close to the stove. It also adds a decorative element to your kitchen.
Step 7: Maintain Your System
Arranging kitchen utensils is not a one-time task. You need to maintain your system. A few simple habits will keep your kitchen organized long-term.
Put Things Back
This is the most important habit. After you use a utensil, put it back in its place. Do not leave it on the counter. Do not toss it in a random drawer. Return it to its designated spot.
This small action takes just a few seconds. But it prevents mess from building up. It keeps your system working.
Do Regular Check-Ins
Every few months, take a look at your utensil collection. Have you acquired new tools? Are there items you no longer use? Do a quick declutter session.
This prevents your collection from growing out of control. It keeps your system manageable.
Clean Your Storage Areas
Drawers and crocks can collect crumbs and dust. Clean them regularly. Wipe out drawers. Wash crocks and containers. This keeps your utensils clean and your storage areas fresh.
Adjust as Needed
Your cooking habits might change. You might start baking more. You might get new tools. Adjust your system to match your current needs. Move frequently used items to easier spots. Store less-used items farther away.
Flexibility is key to long-term organization.
“Every item needs a home. Not only does this make things easier to find, but it’s also easier to maintain.” – Joseph Joseph organization experts
Step 8: Special Considerations for Different Utensil Types
Different utensils need different storage approaches. Here is how to handle specific types.
Wooden Spoons and Utensils
Wooden tools need to dry properly after washing. Store them in a well-ventilated spot. A crock works well. Make sure they are completely dry before storing to prevent cracking.
Silicone and Rubber Tools
Silicone spatulas and turners are flexible. They can be stored flat in a drawer or hung on a hook. They do not absorb moisture, so they are low-maintenance.
Metal Utensils
Metal tools are durable. They can go in drawers, crocks, or on magnetic strips. Just be careful with magnetic storage. Make sure the tools are clean and dry to prevent rust.
Sharp Knives
Knives need special care. Never store them loose in a drawer. Use a knife block, a magnetic strip, or an in-drawer knife tray. This protects the blades and keeps you safe.
Measuring Cups and Spoons
These small tools can be hard to find. Keep them together in one spot. Use a small container or a divided drawer section. Store them near your prep area.
Frequently Asked Questions
How do I arrange kitchen utensils in a small kitchen?
Focus on vertical space. Use wall hooks, a pegboard, or a magnetic strip. This frees up drawer and counter space. Also, declutter ruthlessly. Keep only the tools you use regularly.
What is the best way to arrange kitchen utensils in drawers?
Use dividers to create separate sections. Group similar utensils together. Put everyday tools in the top drawer. Store less-used items in lower drawers. Consider vertical storage for deep drawers.
Should I keep utensils on the counter or in drawers?
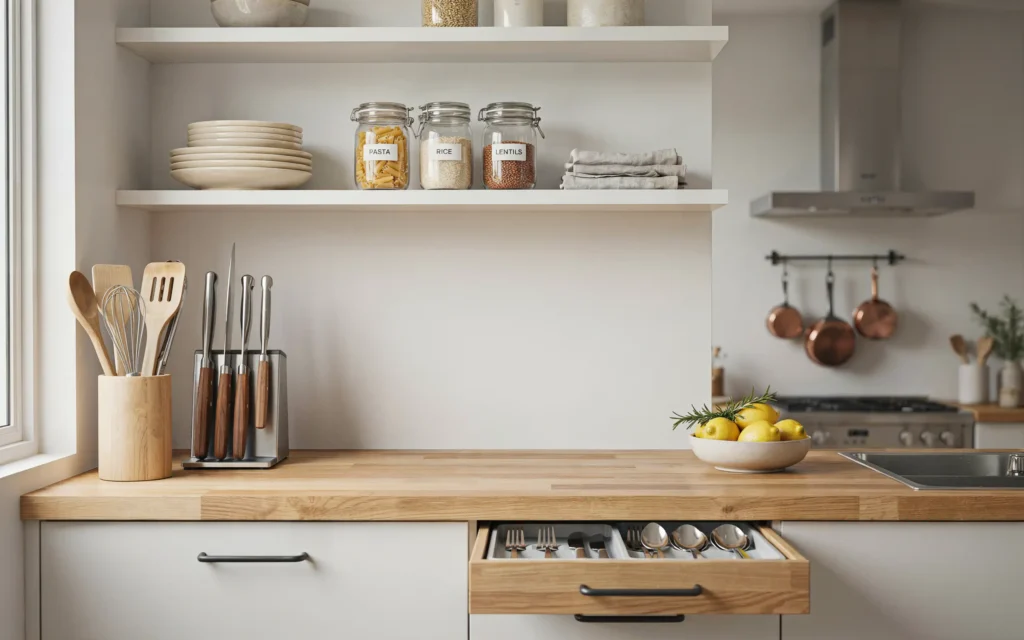
It depends on your preference and space. Countertop crocks keep tools accessible. Drawers keep counters clear. Many people use a mix of both. Keep daily-use tools on the counter. Store the rest in drawers.
How often should I declutter my kitchen utensils?
Do a full declutter once or twice a year. But also do quick check-ins every few months. Remove any broken or unused items. This keeps your collection manageable.
What is the best way to store wooden spoons?
Store them in a well-ventilated spot. A crock or a wall rack works well. Make sure they are completely dry before storing. This prevents cracking and warping.
How do I keep my utensil drawer from getting messy?
Use dividers. Put each type of utensil in its own section. Make a habit of putting things back after use. Do a quick tidy-up each week. This prevents mess from building up.
Can I use a pegboard for kitchen utensils?
Yes, a pegboard is a great option. It is flexible and affordable. You can arrange the pegs to fit any utensil. It works well for spatulas, ladles, whisks, and more.
What utensils should I keep in my everyday rotation?
Keep a spatula, a wooden spoon, a ladle, tongs, and a whisk. These are the most common cooking tools. Add a good chef’s knife and a peeler. Store these within easy reach.
Conclusion
Learning how to arrange kitchen utensils is not complicated. It just takes a little planning and some simple habits. Start by decluttering your collection. Sort your tools by type. Choose a storage method that fits your kitchen. Arrange items by how often you use them. Create zones for different cooking tasks. Maintain your system with regular check-ins.
The benefits are clear. You save time. You reduce stress. You enjoy cooking more. Your kitchen looks better and works better. A small investment of time now will pay off every time you cook.
Remember, there is no single right way to arrange kitchen utensils. The best system is the one that works for you. Experiment with different methods. Adjust as needed. Find what feels natural and efficient.
Your kitchen should be a place of joy, not frustration. With a well-organized utensil collection, you can focus on what matters: creating delicious meals for yourself and the people you love. Start today. Your future self will thank you.
“When you come up with an organized kitchen system that works, that’s when everything will click.” – Professional chefs interviewed by Real Simple
“A well-organized kitchen should feel intuitive.” – Southern Living organization experts
Related posts
 Why Do Dogs Stare at Walls? Common Causes and When to Worry
Wondering why do dogs stare at walls? Discover the sensory, behavioral, and medical reasons behind this behavior, and learn when to contact your veterinarian. When you…
 How to Test Car Wiring for Continuity Using a Multimeter
Learn how to test car wiring for continuity safely. Find broken automotive wires, check connector ports, and diagnose electrical issues with a multimeter. Testing car wiring…
 Why Organizing Space Reduces Stress: The Mental Clarity Connection
Discover why organizing space reduces stress. Learn how a tidy environment lowers cortisol, improves focus, and creates a sense of calm in your daily life. Organizing…