
How To Change Oil At Home
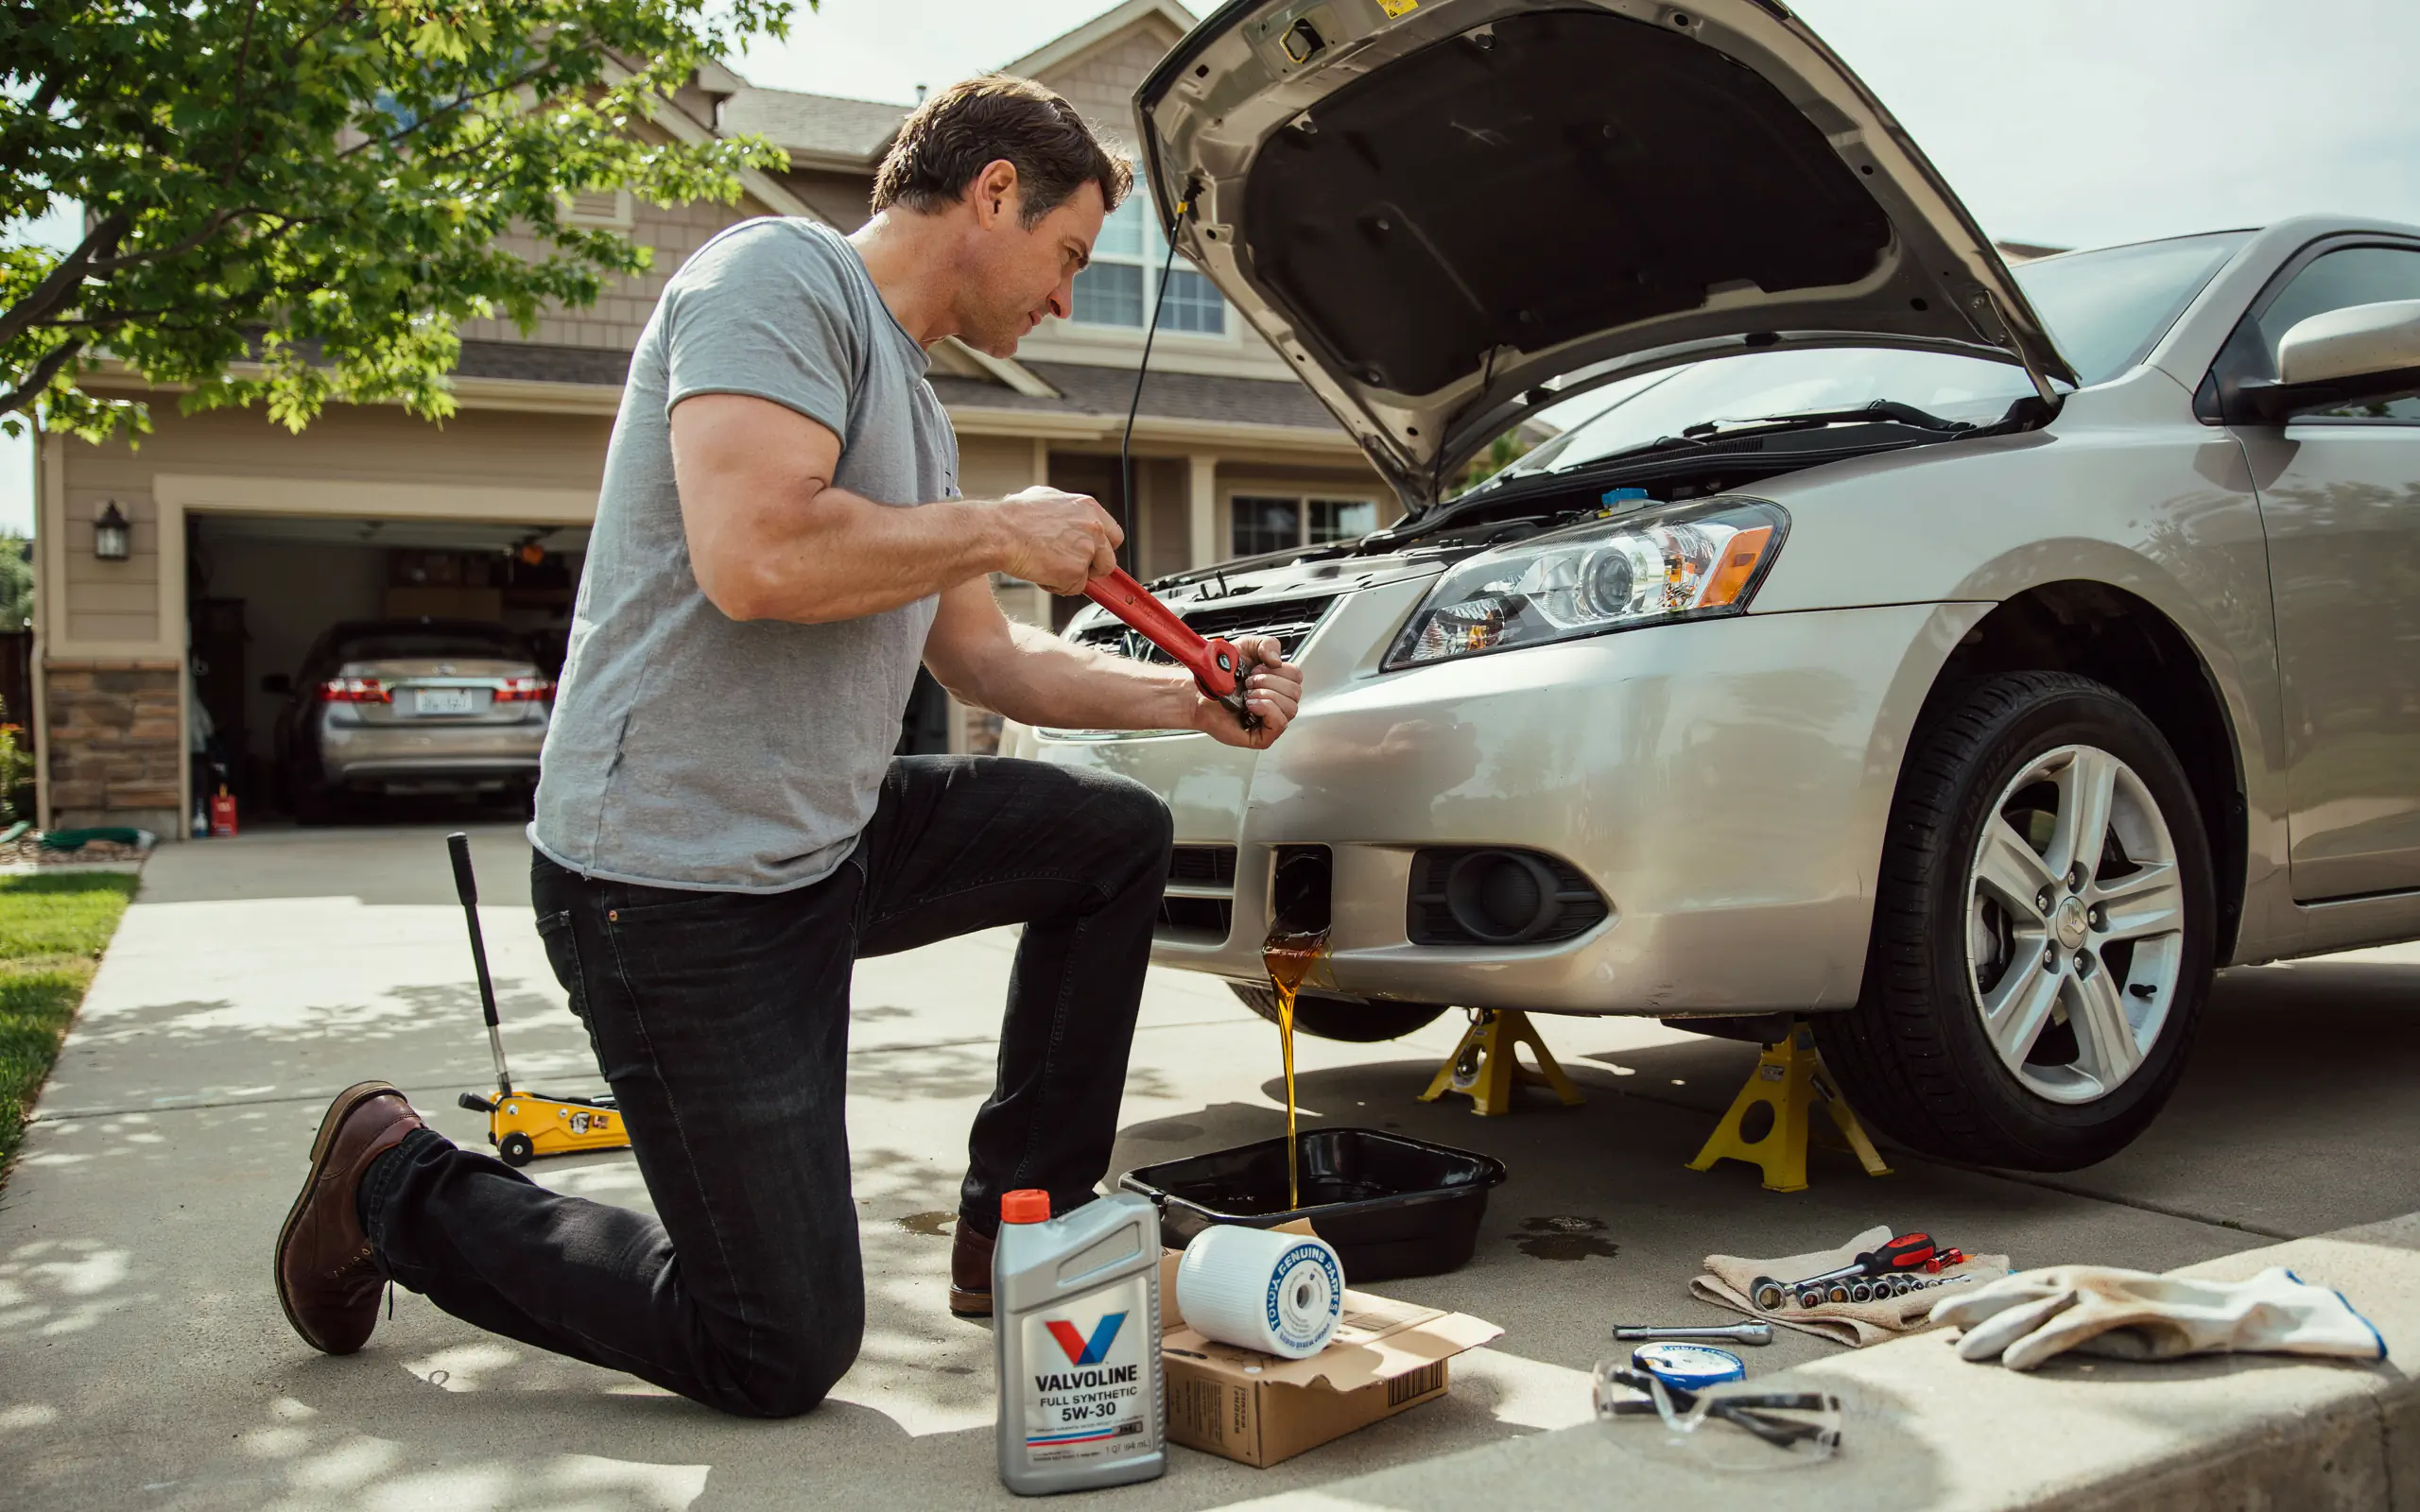
Want to know how to change oil at home? This complete DIY guide covers the right tools, simple steps, safety tips, and oil disposal. Save money and keep your car running great.
Changing your car’s oil is one of those maintenance tasks that sounds much harder than it actually is. Many car owners pay a shop to do this simple job, but the truth is, you can change oil at home with basic tools and a little bit of time. Not only does this save you money, but it also gives you a better feel for your vehicle.
Engine oil is the lifeblood of your car. It keeps all the moving parts lubricated, reduces friction, and helps carry heat away from the engine. Over time, oil breaks down and collects dirt, metal particles, and other contaminants. If you don’t change it regularly, you risk expensive engine damage.
“Regular oil changes are the single most important thing you can do to extend the life of your engine,” says John Baker, a master mechanic with over 30 years of experience.
The good news is that learning to change oil at home is a beginner-friendly project. Most cars take about 30 to 45 minutes, and you can save anywhere from $40 to $80 each time. Over a year, that adds up to real savings.
Let’s walk through everything you need to know. We’ll cover the tools, the steps, and the common mistakes to avoid. By the end, you will feel confident enough to change oil at home on your own.
Why You Should Change Oil at Home
There are several good reasons to change oil at home rather than taking your car to a shop.
Cost savings. This is the biggest reason. A typical oil change at a quick-lube shop costs between $40 and $80. When you change oil at home, you pay only for the oil and filter. That is often half the price or even less.
Convenience. No waiting in line. No appointments. You work on your own schedule. If you need to change oil at home on a Sunday afternoon, you can.
Quality control. When you change oil at home, you know exactly what is going into your engine. You choose the brand and the type of oil. You also know the filter is installed correctly.
Learning experience. Doing this job teaches you about your car. You learn where things are and how they work. This knowledge helps you spot other issues early.
“I started changing my own oil about ten years ago, and I have never looked back,” says Sarah Mitchell, a DIY car enthusiast and blogger. “It is one of those skills that pays for itself over and over again.”
What You Need to Change Oil at Home
Before you start, gather all your tools and materials. Having everything ready makes the job smoother.
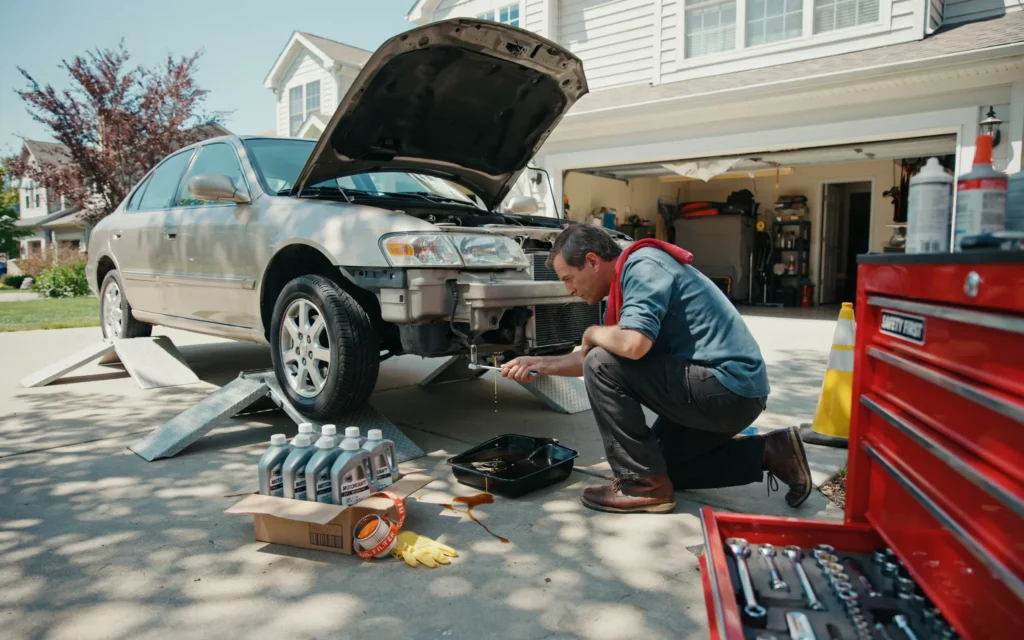
Tools Required
| Tool | Purpose |
|---|---|
| Socket wrench or spanner | To loosen and tighten the drain plug |
| Oil filter wrench | To remove the old oil filter |
| Oil drain pan | To catch the old oil |
| Funnel | To pour new oil without spilling |
| Jack and jack stands (or ramps) | To lift the car safely |
| Wheel chocks | To stop the car from rolling |
| Rags or shop towels | For cleaning up spills |
| Nitrile gloves | To protect your hands from oil |
Materials Required
Never work under a car supported only by a jack. Always use jack stands or ramps. A jack can fail, and the consequences are serious.
Choosing the Right Oil and Filter
This is an important step. Using the wrong oil can hurt your engine.
Checking Your Owner’s Manual
Your owner’s manual tells you exactly what oil your engine needs. Look for the viscosity grade, like 5W-30 or 10W-40. The manual also tells you how much oil your engine holds.
Understanding Oil Viscosity
Viscosity is the thickness of the oil. The numbers on the bottle tell you how it flows at different temperatures.
- The first number (like the 5 in 5W-30) is the cold temperature rating. Lower numbers mean the oil flows better in cold weather.
- The second number (like the 30 in 5W-30) is the hot temperature rating. Higher numbers mean the oil stays thicker when hot.
Most modern cars use 5W-30 or 0W-20. But always check your manual.
Synthetic vs. Conventional Oil
- Conventional oil is the basic type. It works fine for many older cars.
- Synthetic oil is man-made and performs better in extreme temperatures. It also lasts longer.
- Synthetic blend is a mix of both. It offers some benefits of synthetic at a lower price.
If your car is newer, synthetic oil is often recommended. But again, your manual knows best.
Choosing the Right Filter
Oil filters are not all the same. They have different sizes, thread patterns, and bypass valve pressures. Buy the filter specified for your car. Your local auto parts store can help you find the right one.
Step-by-Step Guide: How to Change Oil at Home
Now let’s get to the main event. Follow these steps carefully, and you will change oil at home like a pro.
Step 1: Warm Up the Engine
Start your car and let it run for about two to three minutes. This warms the oil so it flows out more easily. Do not let it get too hot. You want warm oil, not boiling oil.
Step 2: Park on a Level Surface
Park your car on flat, solid ground. Engage the parking brake. Place wheel chocks behind the rear wheels to prevent rolling.
Step 3: Lift the Car Safely
If you cannot reach the drain plug without lifting, use a jack to raise the front of the car. Then place jack stands under the frame. Lower the car onto the stands. Never work under a car held up by a jack alone.
If you have ramps, drive the front wheels onto them. Ramps are simpler and safer for beginners.
Step 4: Open the Hood and Remove the Oil Cap
Pop the hood. Find the oil filler cap on top of the engine and remove it. This helps the oil drain faster by letting air into the system.
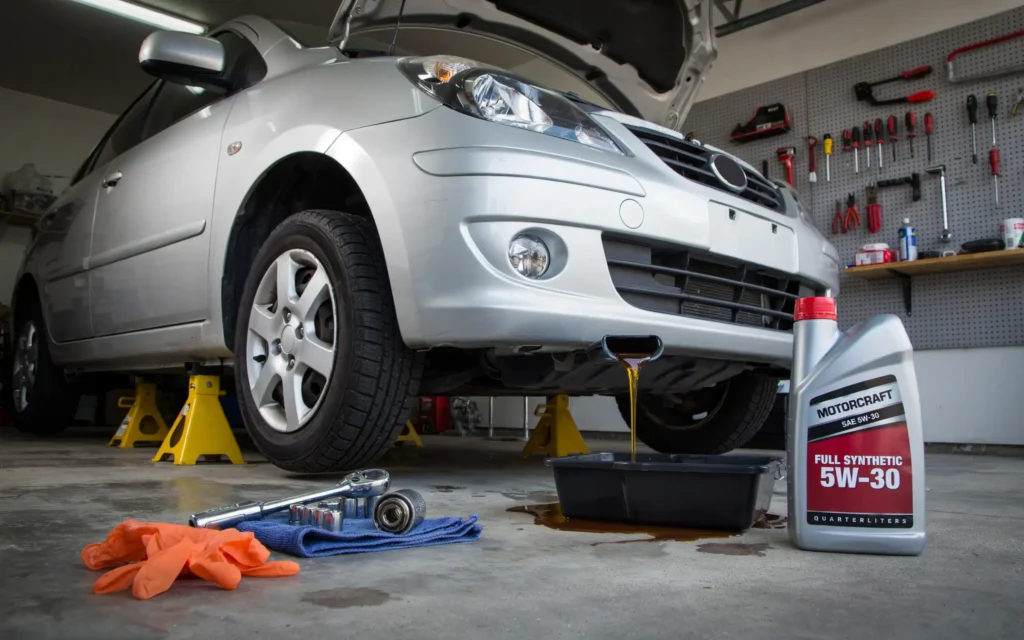
Step 5: Position the Drain Pan
Slide under the car. Locate the oil pan. It is a metal pan at the bottom of the engine. Find the drain plug, which is a bolt at the lowest point of the pan.
Place your oil drain pan directly under the drain plug. Make sure it is big enough to hold all the old oil. Most drain pans hold 5 to 7 quarts.
Step 6: Remove the Drain Plug
Use your socket wrench to loosen the drain plug. Turn it counterclockwise. Once it is loose, finish removing it by hand.
Be ready. The oil will start flowing as soon as the plug comes out. Move your hand away quickly to avoid getting oil on you.
Let the oil drain completely. This takes about five to ten minutes. You will know it is done when the flow slows to a drip.
Step 7: Clean and Replace the Drain Plug
Wipe the drain plug clean with a rag. If your car uses a crush washer, replace it with a new one.
Screw the drain plug back in by hand first to avoid cross-threading. Then tighten it with your wrench. Do not overtighten. You can strip the threads in the oil pan.
Step 8: Remove the Old Oil Filter
Find the oil filter. It is usually near the oil pan, shaped like a small can.
Place your drain pan under the filter. Use your oil filter wrench to loosen it. Turn it counterclockwise. Once it is loose, finish removing it by hand.
The filter will be full of oil, so hold it upright as you take it off. Dump the oil from the filter into your drain pan.
Step 9: Prepare and Install the New Filter
Take your new oil filter out of the box. Dip your finger in fresh oil and rub it on the rubber gasket or O-ring. This helps create a good seal and makes future removal easier.
Screw the new filter in by hand. Turn it clockwise until the gasket touches the engine surface. Then tighten it another three-quarter turn. Do not overtighten.
Step 10: Add New Oil
Place a funnel in the oil filler hole on top of the engine. Pour in most of the new oil. Check your manual for the correct amount.
Do not pour it all at once. Add about three-quarters of the total, then pause.
Step 11: Check the Oil Level
Remove the funnel. Put the oil cap back on. Start the engine and let it run for about 30 to 60 seconds. This circulates the new oil through the system. Check underneath for leaks around the drain plug and filter.
Turn off the engine. Wait five to ten minutes for the oil to settle. Then pull out the dipstick, wipe it clean, insert it again, and pull it out. The oil level should be between the “low” and “full” marks.
Add more oil if needed, a little at a time. Do not overfill.
Step 12: Lower the Car and Clean Up
If you used jack stands, raise the car slightly, remove the stands, and lower it safely. If you used ramps, drive the car off slowly.
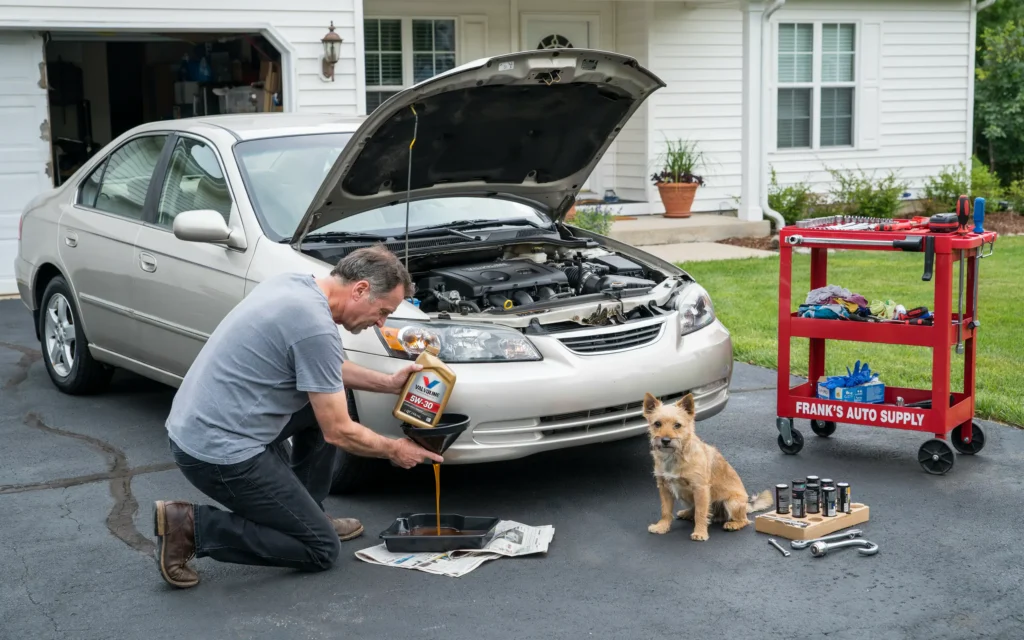
Clean any spills with rags. Dispose of the old oil and filter properly.
How to Dispose of Used Oil Properly
This is something many people forget. Used motor oil is hazardous waste. It cannot go in the trash or down the drain.
Where to Take Used Oil
- Many auto parts stores accept used oil for free.
- Some recycling centers take used oil.
- Local service stations may also accept it.
How to Store Used Oil
Pour the old oil from your drain pan into a clean, sealable container. The container the new oil came in works well. Keep it in a cool, dry place until you can drop it off.
Do not mix used oil with other fluids like brake fluid or coolant.
Recycling the Filter
The old oil filter also needs proper disposal. Drain as much oil as possible from it, then recycle it along with the used oil.
“Proper disposal of used oil is every car owner’s responsibility,” says David Chen, an environmental compliance officer. “One gallon of used oil can contaminate a million gallons of drinking water.”
How Often Should You Change Your Oil?
The old rule was every 3,000 miles. That has changed. Most modern cars can go longer between changes.
General Guidelines
| Oil Type | Recommended Interval |
|---|---|
| Conventional oil | 5,000 to 7,500 miles |
| Synthetic blend | 5,000 to 7,500 miles |
| Full synthetic | 7,500 to 15,000 miles |
Factors That Affect Oil Life
- Driving habits. Short trips and stop-and-go traffic are harder on oil.
- Climate. Extreme heat or cold affects oil performance.
- Vehicle age. Older engines may need more frequent changes.
Check your owner’s manual for the manufacturer’s recommendation. Many newer cars have an oil life monitor that tells you when it is time to change oil at home.
Common Mistakes to Avoid
Even simple jobs can go wrong. Here are some mistakes to watch for.
Using the Wrong Oil
Always use the viscosity and type specified in your manual. The wrong oil can reduce fuel economy and shorten engine life.
Overtightening the Drain Plug
This can strip the threads in the oil pan. A stripped pan is expensive to replace. Tighten the plug firmly but not with excessive force.
Overtightening the Oil Filter
The filter only needs to be hand-tight plus a quarter to three-quarter turn. Overtightening can damage the rubber seal and cause leaks.
Forgetting to Add Oil
This sounds silly, but it happens. Always double-check that you have added new oil before starting the engine.
Double-Gasketing the Filter
Sometimes the rubber gasket from the old filter sticks to the engine. If you install the new filter on top of it, you get a leak. Always check that the old gasket came off with the old filter.
Overfilling the Oil
Too much oil can cause foaming and reduce lubrication. Add oil gradually and check the dipstick often.
Signs Your Oil Needs Changing
Do not wait until your car breaks down. Watch for these signs.
- Dark, thick oil on the dipstick. Fresh oil is amber and translucent. Old oil is dark and opaque.
- Loud engine noise. Old oil does not lubricate as well, so you may hear more engine noise.
- Oil change light. Many cars have a warning light that comes on when it is time to change oil at home.
- Smell of oil inside the car. This can mean a leak.
“Your car will often tell you when it needs attention,” says Maria Santos, an automotive instructor. “You just have to pay attention to the signs.”
Safety Tips for Changing Oil at Home
Safety should always come first.
- Wear gloves. Used oil contains harmful chemicals.
- Wear safety glasses. Oil can splash.
- Work in a well-ventilated area. Fumes from old oil are not good to breathe.
- Never smoke near oil. Oil is flammable.
- Keep children and pets away. The work area is not safe for them.
- Use jack stands. Never work under a car supported only by a jack.
Cost Comparison: DIY vs. Professional
| Item | DIY Cost | Shop Cost |
|---|---|---|
| Oil (5 quarts) | $25 to $45 | Included |
| Oil filter | $8 to $15 | Included |
| Labor | $0 | $30 to $60 |
| Total | $33 to $60 | $70 to $120 |
As you can see, you save about $40 to $60 each time you change oil at home. If you do this twice a year, you save $80 to $120 annually.
Frequently Asked Questions
Can I change oil at home without a jack?
Yes, if your car has enough ground clearance. Some trucks and SUVs allow you to reach the drain plug without lifting. For most cars, you will need a jack or ramps.
How long does it take to change oil at home?
For a beginner, plan on about an hour. Once you have done it a few times, it takes about 30 to 45 minutes.
What do I do if the drain plug is stuck?
Use a breaker bar or a longer wrench for more leverage. If it still will not budge, spray it with penetrating oil and wait a few minutes. Be careful not to round off the bolt head.
Can I mix different brands of oil?
Yes, as long as they have the same viscosity and type. But it is better to stick with one brand for consistency.
What happens if I put too much oil in my engine?
Too much oil can cause the crankshaft to whip the oil into foam. Foamy oil does not lubricate well. If you overfill, drain a little out.
Is it safe to change oil at home in cold weather?
Yes, but allow extra time for the oil to warm up and drain. Cold oil flows slower. Also, be careful of slippery surfaces.
Do I need to change the filter every time?
Yes. Always replace the filter when you change the oil. A dirty filter can contaminate fresh oil.
How do I know if my oil filter is the right one?
Check your owner’s manual or ask at an auto parts store. They can look up the correct filter for your car.
Conclusion
Learning to change oil at home is one of the best skills a car owner can develop. It saves money, gives you control over what goes into your engine, and helps you understand your vehicle better.
The process is straightforward. Warm the engine. Lift the car safely. Drain the old oil. Replace the filter. Add new oil. Check the level. Dispose of the used oil responsibly.
Take your time the first time. Double-check each step. As you gain confidence, the job becomes quicker and easier.
“Changing your own oil is empowering,” says Robert Taylor, a former race car mechanic. “It connects you to your car in a way that just handing over your keys never can.”
Start small. Gather your tools. Read your owner’s manual. Then go ahead and change oil at home. Your car, and your wallet, will thank you.
Related posts
 Best Transmission Jack Options for 2026 Shop Projects
Find the best transmission jack options for your garage. We compare top-rated hydraulic and floor-style lifts to help you choose the right tool for your vehicle…
 Best Ratchet Wrench Set Options for 2026
Looking for the best ratchet wrench set? We compare top-rated socket and wrench kits to help you choose the right tools for your home or auto…
 Best Wire Crimping Tool for Automotive Wiring in 2026
Find the best wire crimping tool for automotive wiring. We compare five top-rated hand tools to help you choose the right fit for your vehicle projects.…