How To Remove Scratches From Car Paint
Learn how to remove scratches from car paint at home using simple tools. Fix clear coat and deep scratches with step by step methods that work.
Scratches on your car are annoying. You walk up to your vehicle after a trip to the store or a drive through the countryside, and there it is. A new white line across the door. Or a swirl mark on the hood. The good news is that you do not need a mechanic or a body shop for most of these marks. You can remove scratches from car paint yourself with a few basic items and a little patience.
This guide will show you exactly how to do it. We will talk about different scratch types, the tools you need, and a simple process that works. No special skills are required. Just a willingness to try and a bit of care for your car.
What Type of Scratch Do You Have? (The Finger Nail Test)
Before you buy anything, you must check the scratch depth. Run your fingernail across the scratch very gently. Does your nail catch on the edge? Or does it glide over smoothly? This simple test tells you everything.
| Scratch Type | Fingernail Test | Can You Fix It at Home? |
|---|---|---|
| Clear coat scratch | Nail glides over | Yes, easily with polish |
| Primer scratch | Nail catches lightly | Yes, but need touch up paint |
| Deep paint scratch | Nail catches firmly | Partially, needs filling |
If your nail does not catch, the scratch is only in the clear coat. That is the top transparent layer. You can remove scratches from car paint of this type with a simple polish. If your nail catches, the scratch went through the clear coat and into the color layer or primer. That needs more work, but still possible at home.
“A scratch is just a story. But you get to decide if it stays on the paint or becomes a lesson for next time.” – Tom Boyd, auto detailer for 20 years
Tools and Materials You Will Need
Do not run to buy expensive machines. Start simple. For most home fixes, you already have some of these items. Here is a short list broken down by scratch severity.
For Light Scratches (Clear Coat Only):
- Microfiber cloths (two or three clean ones)
- Car wash soap and a bucket
- Rubbing compound (like Meguiar’s or Turtle Wax)
- Polishing compound
- Spray wax or quick detailer
For Medium to Deep Scratches:
- All items above, plus:
- Scratch repair kit (usually includes a small sanding pen or pad)
- 3000 grit sandpaper (very fine)
- Touch up paint that matches your car’s color code
- Clear coat pen or small brush
- Isopropyl alcohol (70% mix)
You can find all these at any auto parts store for under 40 dollars total. That is much less than a body shop charge of 150 to 500 dollars.
Step 1: Wash the Area Properly
Never work on a dirty car. Dirt and dust will create more scratches when you try to fix the old ones. Wash the entire car or at least the panel you are working on. Use a clean sponge and car soap, not dish soap. Dish soap can strip old wax, but it also dries out rubber trim. Car soap is safer.
Dry the area with a clean microfiber cloth. Then look at the scratch again in good sunlight or with a bright flashlight. You will see its real length and depth now. Mark the ends with a small piece of tape if it helps you stay focused on one spot.
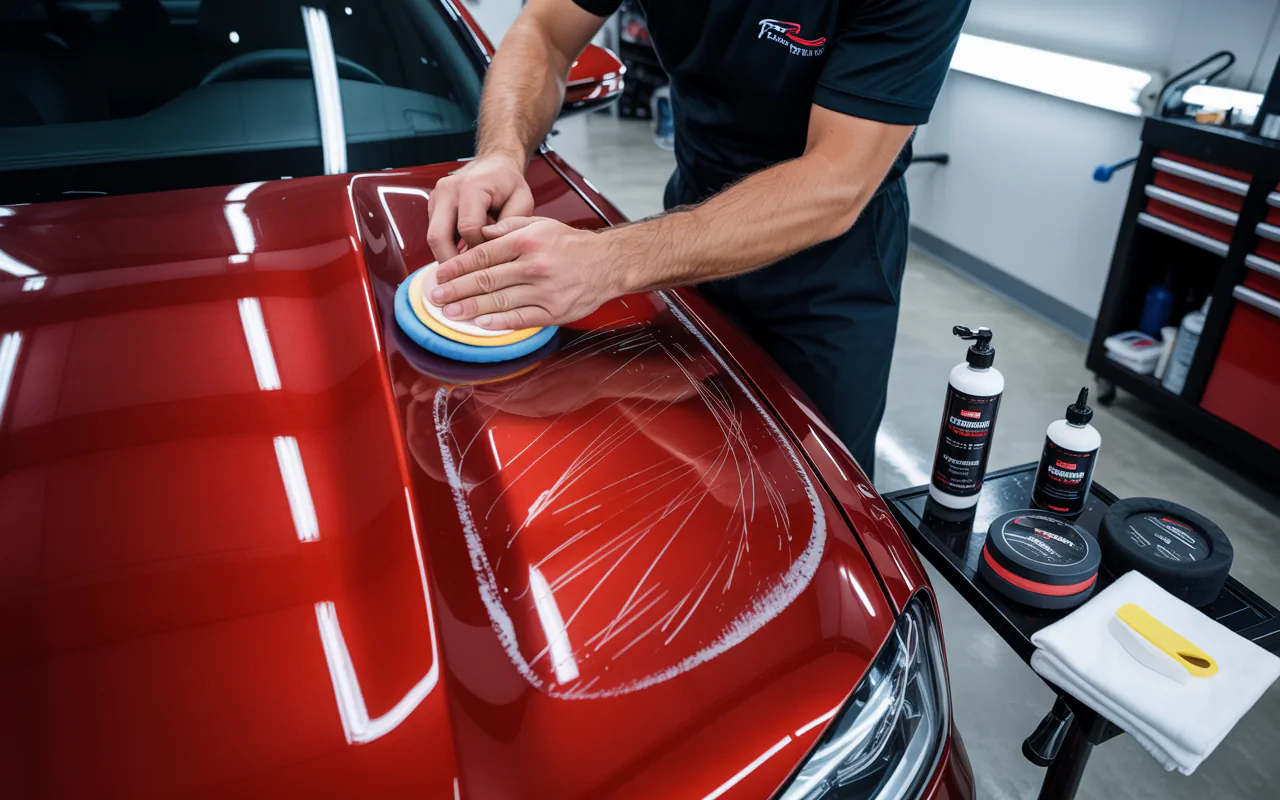
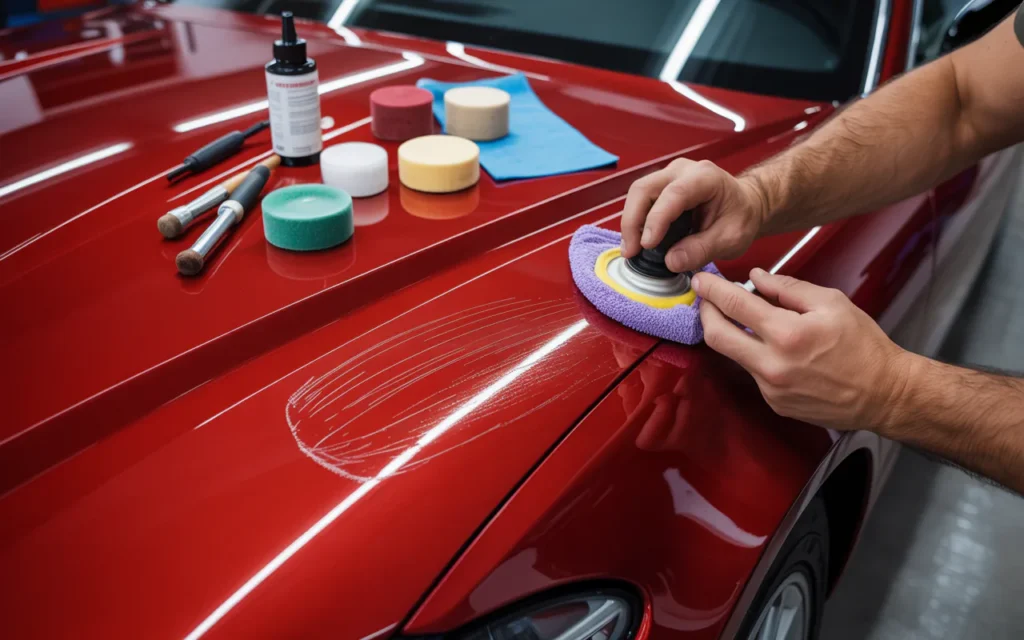
Step 2: Fixing Light Clear Coat Scratches
This is the easiest and most satisfying repair. You can remove scratches from car paint of the light variety in under ten minutes.
Take your rubbing compound. Put a small amount, about the size of a pea, onto a clean microfiber cloth. Rub it onto the scratch using small circular motions. Apply light pressure. Do this for 30 to 45 seconds. Then wipe off the excess with a different part of the cloth.
Check your work. Is the scratch gone? If not, repeat the rubbing compound step one more time. If the scratch is mostly gone or completely gone, switch to the polishing compound. The polishing compound brings back the shine. Apply it the same way: small circles, light pressure, 30 seconds. Wipe clean.
Finish with a spray wax or quick detailer. This seals the area and protects it from new marks.
“Most people make the mistake of pressing too hard. You are not sanding wood. You are polishing glass. Light touch wins every time.” – Lisa Tran, automotive chemist
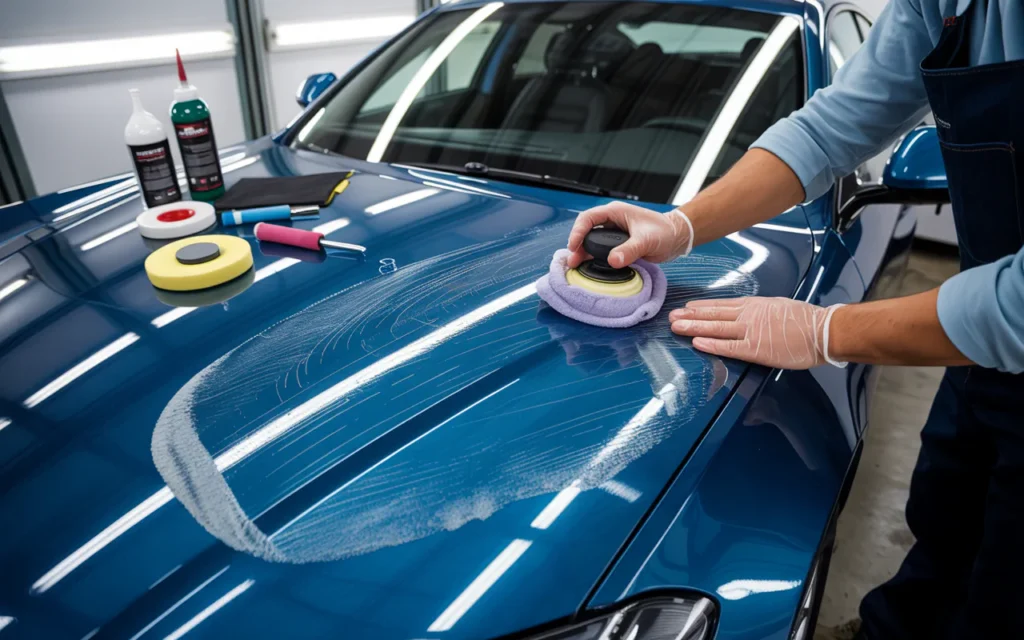
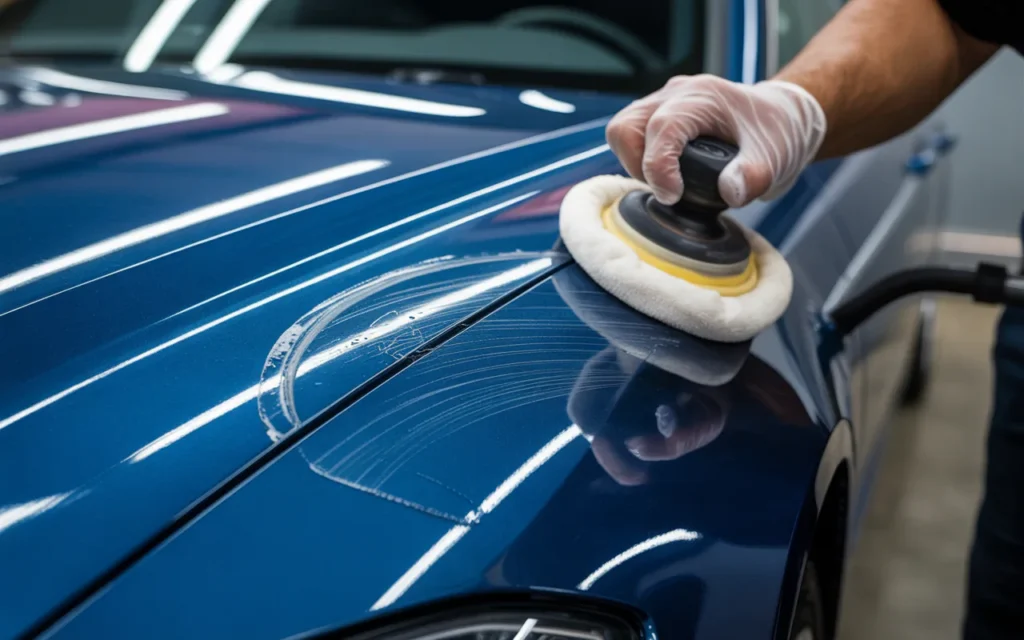
Step 3: Fixing Medium Scratches (Through the Clear Coat)
If your fingernail catches a little, the scratch has reached the color layer but not the metal. You can still remove scratches from car paint of this type, but you need to level the edges first.
Here is the process:
- Clean the area again with soap and water. Dry it.
- Use 3000 grit sandpaper. Soak it in water for five minutes. This makes it softer.
- Wrap the sandpaper around a small block or a foam pad. Do not use your fingers alone. That creates uneven pressure.
- Lightly sand only the scratch line. Keep the paper wet. Sand for five seconds, then wipe and check.
- Your goal is to make the scratch edges smooth, not to remove the scratch completely.
- Once the edges feel smooth to your fingertip, dry the area.
- Apply rubbing compound using a microfiber cloth. Rub for one minute.
- Wipe clean. Apply polishing compound. Rub for one minute.
- Wipe again.
The scratch should now be much less visible or completely gone. If you still see a faint line, repeat the compound steps. Do not sand again unless necessary. Over sanding can burn through the clear coat.
Step 4: Fixing Deep Scratches (Down to Primer or Metal)
Deep scratches are different. You cannot polish them away because the color is missing. But you can fill them. This method will not make the scratch invisible, but it will make it hard to see from five feet away. And it will protect the metal from rust.
Here is a simple table to show the deep scratch repair stages:
| Step | Action | Drying Time |
|---|---|---|
| 1 | Clean and sand edges (3000 grit) | 5 minutes |
| 2 | Apply touch up paint inside scratch | 20 minutes |
| 3 | Apply clear coat pen over the paint | 30 minutes |
| 4 | Light sand and polish | 10 minutes |
Follow these steps:
First, clean and sand the scratch edges exactly as described in Step 3. Make the edges smooth.
Second, wipe the scratch with isopropyl alcohol. This removes any oil or wax. Let it dry for two minutes.
Third, shake your touch up paint very well. Use the small brush that comes with the bottle. Fill the scratch slowly. Do not overflow. You want the paint to sit just slightly lower than the surrounding clear coat. Let it dry for 20 minutes.
Fourth, apply clear coat using a pen or small brush. Go over the filled scratch. Let this dry for 30 minutes. Do not touch it.
Fifth, after the clear coat is fully dry, use 3000 grit sandpaper very gently. Sand the area flat. You are leveling the new clear coat with the old one. Keep the paper wet. Sand for five seconds only.
Sixth, use rubbing compound, then polishing compound, just like before. This blends the repair into the original paint.
The result will not be perfect. But the scratch will be sealed, protected, and much less visible.
“Patience is the only secret. Wait for paint to dry. Wait for clear coat to cure. Rushing creates more scratches than it fixes.” – David Rojas, collision repair instructor
Common Mistakes That Make Scratches Worse
Many people try to help but end up harming the paint. Avoid these errors:
- Using a dry cloth to rub compound. Always use a slightly damp cloth for compound work. Dry rubbing creates heat and new swirl marks.
- Pressing too hard. Your arm weight is enough. Extra pressure removes too much clear coat.
- Working on a hot surface. Direct sun or a hot hood makes polish dry too fast. Work in the shade or on a cool morning.
- Using kitchen towels or paper towels. These are abrasive. Only use microfiber.
- Skipping the washing step. Even one grain of dirt under your cloth will scratch a half circle around your repair.
How to Prevent Future Scratches
Once you remove scratches from car paint, you want them to stay away. Prevention is easier than repair. Follow these simple habits:
- Wash your car using two buckets. One for soapy water, one for rinsing your mitt. This keeps dirt away from the paint.
- Dry with a clean microfiber towel, not a leather chamois. Microfiber lifts dirt away.
- Park away from other cars in lots. Choose the far end spot. The walk is good for you anyway.
- Do not use automated car washes with spinning brushes. Those brushes hold dirt from previous cars. Use touchless washes or wash at home.
- Apply a spray wax every two weeks. It adds a slippery layer that helps small scratches wipe off instead of dig in.
When to Call a Professional
Some scratches are beyond home repair. Call a body shop or a mobile detailer if:
- The scratch shows bare metal. Rust can start within days.
- The scratch is longer than six inches and very wide.
- You tried the deep scratch method twice and still see a clear line.
- The scratch is on a curved body line or near a sensor.
A professional can repaint a whole panel for 300 to 600 dollars. That is sometimes the better choice for large damage. But for 95 percent of the scratches you see, home repair works fine.
Frequently Asked Questions
Can toothpaste really remove scratches from car paint?
Toothpaste is a mild abrasive. It can sometimes improve very light clear coat haze. But it is not made for car paint. It lacks lubrication and can dry out the clear coat. Use actual rubbing compound instead. It costs only a few dollars and works much better.
How long does it take to remove scratches from car paint at home?
Light scratches take 10 to 15 minutes. Medium scratches take about 30 minutes. Deep scratches need one to two hours because of the drying time between paint and clear coat layers. Plan to do deep scratch repairs on a weekend afternoon.
Will rubbing compound damage my car’s paint?
Rubbing compound removes a tiny layer of clear coat. It is safe if you use it correctly. Do not use it every week. Use it only when you have a scratch to fix. And always follow it with polishing compound and wax. That restores protection.
What is the best kit to remove scratches from car paint for beginners?
Look for a kit that includes rubbing compound, polishing compound, a microfiber cloth, and a foam applicator. Brands like Meguiar’s ScratchX 2.0 or Turtle Wax Scratch Repair Kit are good choices. They cost between 12 and 20 dollars. Avoid kits with electric buffers if you are new to this.
Can I remove scratches from car paint without sanding?
Yes, if the scratch is only in the clear coat. Use rubbing compound and polishing compound only. No sanding needed. Sanding is only for scratches where your fingernail catches. Do not sand clear coat scratches. That would remove too much material.
How do I find my car’s exact paint color for touch up paint?
Look at the driver side door jamb. There is a sticker there. Find the code that says “Paint” or “Color Code.” It is usually a combination of letters and numbers. Write it down. Take that code to an auto parts store or order online from a site like AutomotiveTouchup. Do not guess colors. Even white has fifty shades.
Conclusion
You now know how to remove scratches from car paint at home. The process is simple. Wash the area. Check the depth with your fingernail. Use rubbing compound for light scratches. Add sanding and touch up paint for deeper marks. Always finish with polish and wax.
The best part is that you save money. A body shop charges hundreds of dollars for what you can do with a 15 dollar kit and 30 minutes of your time. And you get the satisfaction of fixing your own car. That feels good.
Remember to work slowly. Use light pressure. Keep everything clean. And do not rush the drying steps for deep scratches. Your car’s paint is thin, but it is also forgiving if you treat it with care.
Keep a small scratch repair kit in your garage or trunk. That way, when a new mark appears, you are ready. No stress. No panic. Just a calm Saturday afternoon fixing what broke. Your car will look better, and you will feel prouder every time you walk up to it.
Now go check your car. There is probably a small scratch waiting for you. And now you know exactly what to do about it.
Related posts
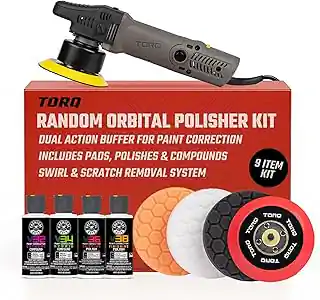 Best Dual Action Polishers for Cars: Your Guide to a Flawless Finish
Find the best dual action polishers for cars. Compare top options for a professional shine at home. Make an informed choice for your vehicle. Achieving a…
 How Do You Use An OBD2 Scanner
Learn to use an OBD2 scanner correctly. This simple guide shows you how to use an OBD2 scanner to read diagnostic trouble codes, reset the check…
 Best Car Battery Chargers for Reliable Vehicle Power
Best Car Battery Chargers for Reliable Vehicle Power. A reliable car battery charger is essential for maintaining your vehicle’s health and avoiding unexpected breakdowns. Whether you…