Measuring Tools For Baking Explained

Need the right tools? This guide has measuring tools for baking explained simply. Learn cups, scales, and spoons to get perfect bakes every time.
Baking is a science. You have probably heard that phrase before. But what does it really mean? It means that every gram, every milliliter, and every teaspoon matters. If you add too much flour, your cake turns dry. Too little sugar, and your cookies lose their snap. This is why knowing your measuring tools for baking explained in plain English is so helpful. You do not need a lab coat. You just need the right tools and a little know how.
I remember my first loaf of bread. It looked more like a brick. I used a dinner spoon for baking soda and a coffee mug for flour. That was a mistake. Once I learned the correct tools, my baking changed completely. Let me walk you through the gear that works. This guide is for beginners and for home bakers who want to get better results without stress.
Why Correct Measuring Changes Everything
Baking is not like cooking soup. In soup, you can add a pinch of salt here or an extra carrot there. Baking needs balance. The flour, fat, sugar, and leavening agents must work together. If the ratios are off, the chemical reactions fail.
For example, too much flour makes gluten hard and dry. Too little fat makes the crumb tough. A digital scale or a proper cup set removes the guesswork. You will save money on ingredients. You will also save time because your bakes will work the first time. No more crying over sunk cookies.
“Baking is an exact science, but the heart of it is love and patience.”
— Dorie Greenspan, cookbook author
When you respect the measurements, you respect the recipe. And the recipe will reward you with a tender crumb, a golden crust, and happy friends at the table.
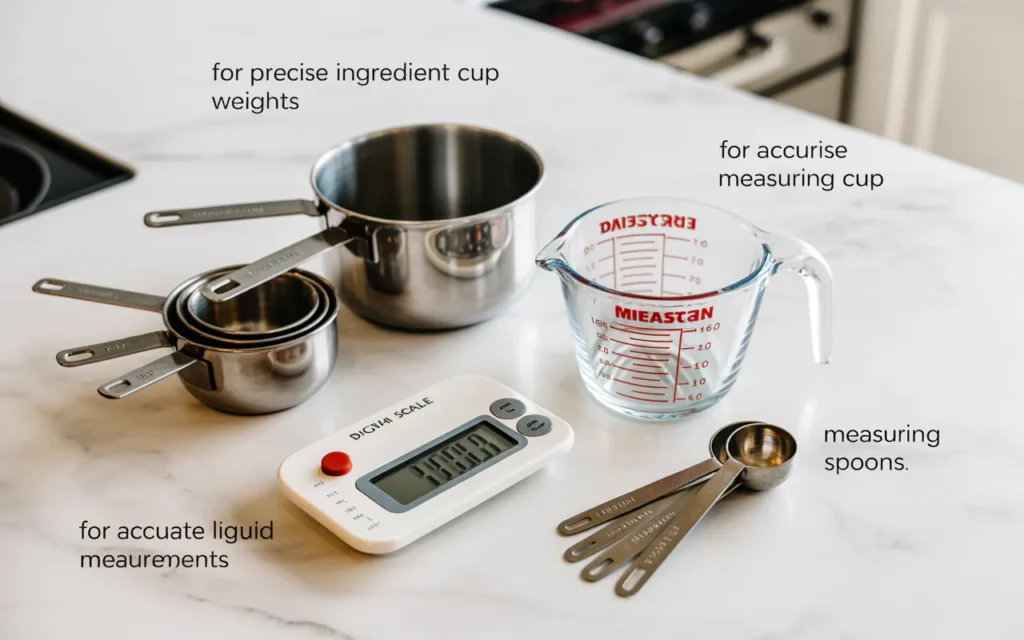
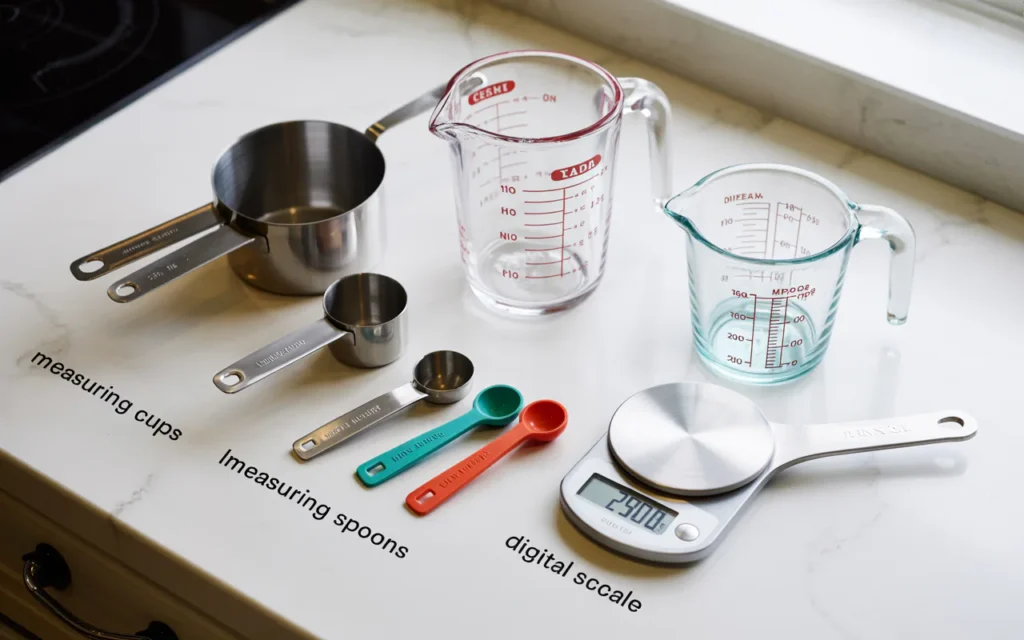
The Two Main Families of Measuring Tools
Before we get into each tool, let us separate them into two groups. You need both groups for a full kitchen.
| Type of Tool | What It Measures | Best For |
|---|---|---|
| Dry Measuring Cups | Flour, sugar, oats, cocoa powder | Solid ingredients that you level off |
| Liquid Measuring Cups | Milk, water, oil, honey | Wet ingredients with a spout for pouring |
| Tool Name | Accuracy Level | Price Range |
|---|---|---|
| Digital kitchen scale | Very high | $10 – $30 |
| Measuring spoons | Medium | $5 – $15 |
| Adjustable cup | Medium | $8 – $20 |
Now let us look at each tool closely. This is where our focus on measuring tools for baking explained really helps you pick the right item for your kitchen.
Dry Measuring Cups: The Foundation of Baking
Dry measuring cups come in sets. You usually get 1/4 cup, 1/3 cup, 1/2 cup, and 1 cup. They have flat tops. This flat top is important. You scoop the flour or sugar, then you take a straight edge like a butter knife or a bench scraper. You scrape it across the top to level it. This removes extra material.
Do not pack flour unless the recipe says “packed brown sugar.” For flour, spoon it into the cup first, then level. If you scoop directly from the bag, you compress the flour. That adds up to 20% more flour than you need. That is enough to ruin a cake.
How to Use Dry Cups Correctly
- Fluff your flour with a spoon or whisk.
- Spoon the flour into the cup until it overflows.
- Use a flat tool to level the top.
- Never tap or shake the cup. That settles the flour and adds extra.
“Precision in baking is not a suggestion; it is the difference between a biscuit and a hockey puck.”
— Rose Levy Beranbaum, author of The Cake Bible
Stainless steel cups last longer than plastic. They do not warp in the dishwasher. Get a set with clear markings that do not rub off.
Liquid Measuring Cups: For Wet Ingredients
Liquid measuring cups are different. They are usually glass or clear plastic. They have a spout for pouring and a handle. The markings are on the side. You fill the cup, then bend down to check the line at eye level. If you look from above, the measurement looks low. This is called parallax error.
A good liquid cup measures 1 cup, 2 cups, or 4 cups. For small amounts like 2 tablespoons of vanilla, use measuring spoons instead. The big cup is not accurate for tiny amounts.
Tips for Liquid Cups
- Place the cup on a flat counter.
- Pour slowly and stop exactly at the line.
- Check at eye level.
- Use a clear cup so you see the meniscus (the curve of the liquid). The bottom of the curve is your true measure.
For sticky liquids like honey or molasses, spray the cup with nonstick spray first. The liquid will slide right out. That saves every drop.
Measuring Spoons: Small but Mighty
Measuring spoons are often forgotten. But they are essential. They measure teaspoons and tablespoons. A full set includes 1/4 teaspoon, 1/2 teaspoon, 1 teaspoon, and 1 tablespoon. Some sets add a pinch (1/8 teaspoon) or a dash.
Use them for baking powder, baking soda, salt, spices, and vanilla. Never use a spoon from your silverware drawer. Those are not standard sizes. A dinner spoon can hold 1.5 times a real tablespoon. That extra baking powder makes your cake rise too fast and then collapse.
Proper Spoon Technique
- For dry powders, dip the spoon and level with your finger or a knife.
- For liquids, fill to the brim without spilling.
- Do not shake the spoon to level it. Just scrape.
“Accuracy in small amounts is what separates good bakers from great ones.”
— Peter Reinhart, baker and author
Keep two sets of spoons. One for dry ingredients like salt and spices. Another for wet ingredients like vanilla and lemon juice. This saves you from washing between steps.
Digital Kitchen Scale: The Gold Standard
If you only buy one new tool, buy a digital kitchen scale. This is the most accurate tool in your kitchen. A cup of flour can weigh between 120 grams and 150 grams depending on humidity and how you scoop. A scale removes that problem. You press tare (zero) with your bowl on top. Then you add ingredients until you see the right number.
Professional bakers use scales. Many European recipes give grams instead of cups. Once you switch, you will notice better results. Your bread will rise higher. Your cookies will be the same size every time.
Why a Scale Is Better
- One bowl for all ingredients. Less washing.
- No cups to clean.
- Exact results every time.
- Easy to double or halve recipes.
Look for a scale that measures in 1 gram increments. It should handle up to 5 kilograms (11 pounds). A backlit display helps in dim light. Some scales have a pull out display so a big bowl does not block the numbers.
A scale is the final piece in measuring tools for baking explained because it ties everything together. You still need cups for liquids and spoons for small amounts, but the scale does the heavy lifting for flour, sugar, and butter.

Specialty Tools for Advanced Bakers
Once you master the basics, you might want a few extra helpers.
Adjustable Measuring Cup
This is a tube with a plunger. You pull the plunger to a line, fill the tube, and push out the ingredient. It works great for peanut butter, shortening, or cream cheese. No more sticky cups.
Bench Scraper
This is a flat metal or plastic blade. You use it to lift dough. But you also use it to level off dry measuring cups. It is wider than a knife, so it works faster.
Dough Whisk
Not for measuring, but for mixing. It prevents clumps. When you measure flour correctly, a dough whisk mixes it gently without overworking the gluten.
Mini Measuring Glass
Some small glass cups measure 1 to 2 ounces. They have marks for teaspoons and tablespoons. They are perfect for vanilla, food coloring, or espresso powder.
Common Mistakes and How to Fix Them
Even with good tools, people make errors. Here are the top five mistakes and simple fixes.
Mistake 1: Using a liquid cup for dry ingredients
You cannot level a liquid cup properly. The surface is too wide and curved. Always use dry cups for flour and sugar.
Mistake 2: Scooping flour directly
This packs the flour. Always spoon into the cup or use a scale.
Mistake 3: Checking liquid cups from above
You see less liquid than is actually there. Bend down to eye level.
Mistake 4: Ignoring the tare button
On a scale, you must zero out the bowl. Otherwise you measure bowl plus ingredients.
Mistake 5: Using old or worn tools
Plastic cups warp in heat. Metal spoons bend. Replace tools that are not straight or level.
How to Choose Your First Set of Tools
If you are starting fresh, do not buy everything at once. Here is a smart order of purchase.
- Dry measuring cups (stainless steel, set of 4 or 5)
- Liquid measuring cup (2 cup glass, Pyrex or Anchor)
- Measuring spoons (two sets, stainless steel)
- Digital kitchen scale (battery operated, 1 gram accuracy)
Buy the best you can afford. A $15 scale works fine. A $5 scale might break in three months. Read reviews. Look for brands with good customer service.
After you have these four, try adjustable cups or mini measures if you bake often.
Cleaning and Storing Your Tools
Keep your tools accurate by cleaning them well.
- Wash cups and spoons by hand with warm soapy water.
- Dry immediately to prevent water spots.
- Do not put plastic cups in a hot dishwasher. They warp.
- Store spoons on a ring or in a narrow jar.
- Keep your scale on the counter. Do not drop it.
- Replace batteries once a year.
A clean tool is an accurate tool. Sticky residue from honey or oil changes the volume of the next ingredient.
Frequently Asked Questions
Do I really need both dry and liquid measuring cups?
Yes. They are shaped differently for a reason. Dry cups let you level the top. Liquid cups have a spout and extra space so you do not spill. Using one for the other gives wrong amounts.
Can I use a regular spoon from my drawer instead of measuring spoons?
No. Regular spoons are not standardized. A table spoon can be 10 ml or 15 ml. Measuring spoons are exact.
What is the best way to measure brown sugar?
Pack it firmly into a dry measuring cup. Press with the back of a spoon. Level the top. It should hold its shape when you tip it out.
Is a kitchen scale worth the money for a beginner?
Yes, absolutely. It costs less than a pizza delivery. And it will stop you from ruining expensive butter and chocolate. A scale is the cheapest upgrade for better baking.
How do I measure flour without a scale?
Use the spoon and level method. Fluff the flour, spoon it into a dry cup, and level with a knife. Do not scoop directly from the bag.
Why do my cookies spread too much?
You probably used too little flour or too much sugar. Check your measuring tools. Make sure you leveled the flour. Also check if your butter was too soft.
What does “tare” mean on a scale?
Tare zeroes out the weight of your bowl. Place the bowl on the scale, press tare, and the display shows zero. Then add your ingredient.
Putting It All Together
Now you have the full picture of measuring tools for baking explained in a way that feels simple and useful. You know that dry cups are for flour and sugar. Liquid cups are for milk and oil. Spoons handle the small stuff. And a digital scale is your best friend for accuracy.
Start with one change. Next time you bake cookies, use the spoon and level method for your flour. See if the dough feels different. Then add a scale when you can. Within a few weeks, you will notice your cakes are more tender. Your bread rises better. Your friends ask for your secrets.
Baking is a joyful act. It is giving. It is sharing. And when you use the right tools, that joy comes without the frustration of failed recipes. You deserve easy success in your kitchen. Go get a good set of measuring cups and a scale. Your future bakes will thank you.
Conclusion
Measuring tools are not just accessories. They are the difference between a light muffin and a heavy disk. This guide has shown you exactly what each tool does, how to use it, and why it matters. You learned about dry cups, liquid cups, spoons, and scales. You saw common mistakes and how to fix them. You got a clear shopping list and storage tips.
Remember that baking is a skill. Every time you measure correctly, you build confidence. You learn the feel of good dough. You see the color of perfect batter. Tools help you repeat that success. So take care of your tools. Use them with attention. And enjoy every crumb of your delicious results.
Now preheat your oven. Get your cups and scale ready. Your best bake is waiting.
Related posts
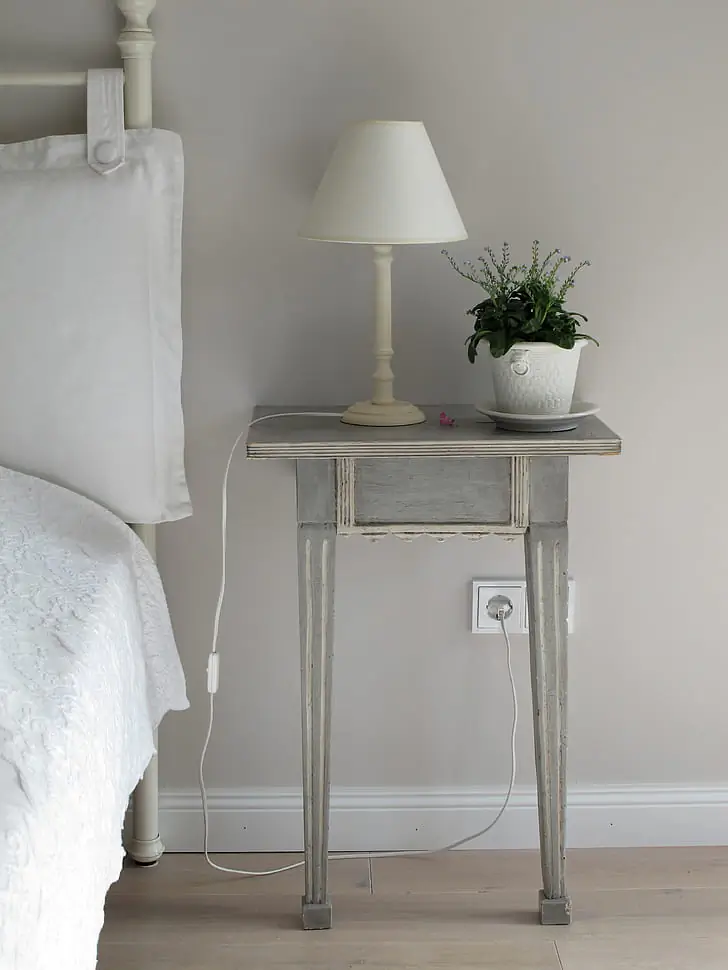 Best Table Lamps for Bedroom: Finding Your Perfect Nightstand Light
Compare the best table lamps for bedroom. Discover dimmable options, USB charging, and stylish designs to fit your space and needs. Choosing the right table lamp…
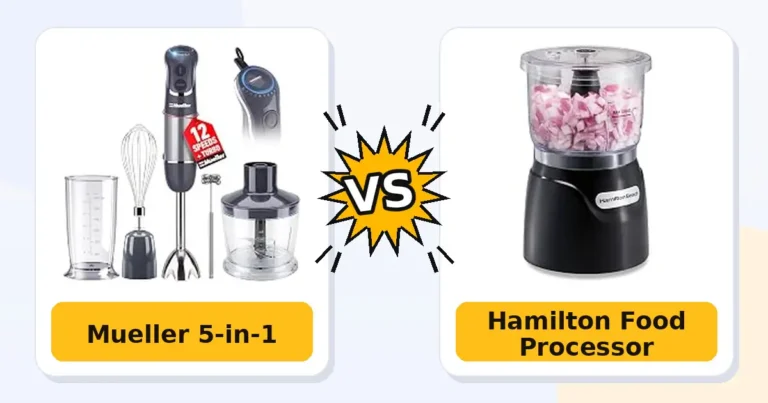 Hand Blender vs Food Processor: Choosing Your Kitchen Workhorse
Deciding between a hand blender vs food processor? Compare the Mueller Multistick immersion blender with the Hamilton Beach mini food processor to find the best tool…
 Blender vs Juicer: Choosing Between the Hamilton Beach and Nutribullet
Decide between a Blender vs Juicer for clear, pulp-free drinks and a blender for fiber-rich smoothies and soups. Compare the Hamilton Beach Juicer Machine and Nutribullet…