How To Clean Floor Tiles Effectively
To keep your home fresh, you must learn to clean floor tiles effectively using simple tools like vinegar, water, and a microfiber mop to remove tough grout stains.
Tile floors make a home look bright and fresh. They are strong and last for many years if you treat them well. Many people choose tile for kitchens, bathrooms, and entryways. These areas get a lot of foot traffic every day. Mud, dirt, and pet hair can collect on the surface fast. When dirt sits on the tile, it can make the room look dull. A dirty floor can also hold onto bad smells and germs.
You do not need fancy tools to make your floors shine again. Regular care keeps the surface smooth and bright. It is very satisfying to see a clean floor after a long day. Clean floors make the whole house feel neat. Guests will notice the shine as soon as they walk in. You can achieve this look with simple steps that save time.
A clean home brings peace to the mind and joy to the family.” – Sarah Jenkins
When you know how to care for your home, the work feels light. You do not have to scrub for hours if you follow a good plan. The secret is to stay ahead of the dirt. Small steps every week prevent big messes later. This guide will show you how to do the job well without stress.
Choose the Right Tools for Your Tile Type
Not all tiles are the same. Some tiles are made of clay, while others come from natural stone. Before you start, you must know what kind of tile you have. Ceramic and porcelain are the most common types. They have a hard glaze that protects them from water and stains. Stone tiles like marble or slate are different. They are porous and can absorb liquids easily.
If you use the wrong cleaner, you might ruin the finish. Acidic liquids like lemon juice or vinegar can etch natural stone. For ceramic, those same liquids can help remove hard water spots. Always check what your floor is made of before you mix a batch of soap.
Ceramic and Porcelain Care
Ceramic and porcelain tiles are very tough. They can handle warm water and mild soaps without any issues. To clean floor tiles effectively, you should use a soft microfiber mop. This type of mop picks up dirt instead of pushing it around. Avoid rough scrubbers on glossy porcelain. They can leave tiny scratches that hide dirt later.
A simple mix of dish soap and warm water works best for weekly care. It cuts through grease in the kitchen. It also removes soap scum in the bathroom. Rinse the floor with plain water after you mop. This step stops a dull film from forming on the shiny glaze.
Natural Stone Vulnerability
Natural stone needs gentle care. Marble, granite, and limestone can scratch easily. You should never use vinegar or bleach on stone. These items cause dull spots that are hard to fix. Instead, use a cleaner that has a neutral pH level.
Use a very soft cloth or a damp mop for stone floors. Do not let water puddle on the surface. Stone can drink up the water and change color. Dry the floor with a towel right after moping. This keeps the stone safe and beautiful.
Vinyl and Linoleum Tile Needs
Vinyl tiles are budget-friendly and water-resistant. They are easy to wash, but they hate excess heat. Do not use a steam mop on vinyl floors. The high heat can melt the glue underneath. When the glue melts, the edges of the tile will curl up.
Use cool or warm water with a mild floor cleaner. A sponge mop works well for vinyl. It squeezes out extra water so the floor dries fast. Keep the water usage low to protect the subfloor from rot.
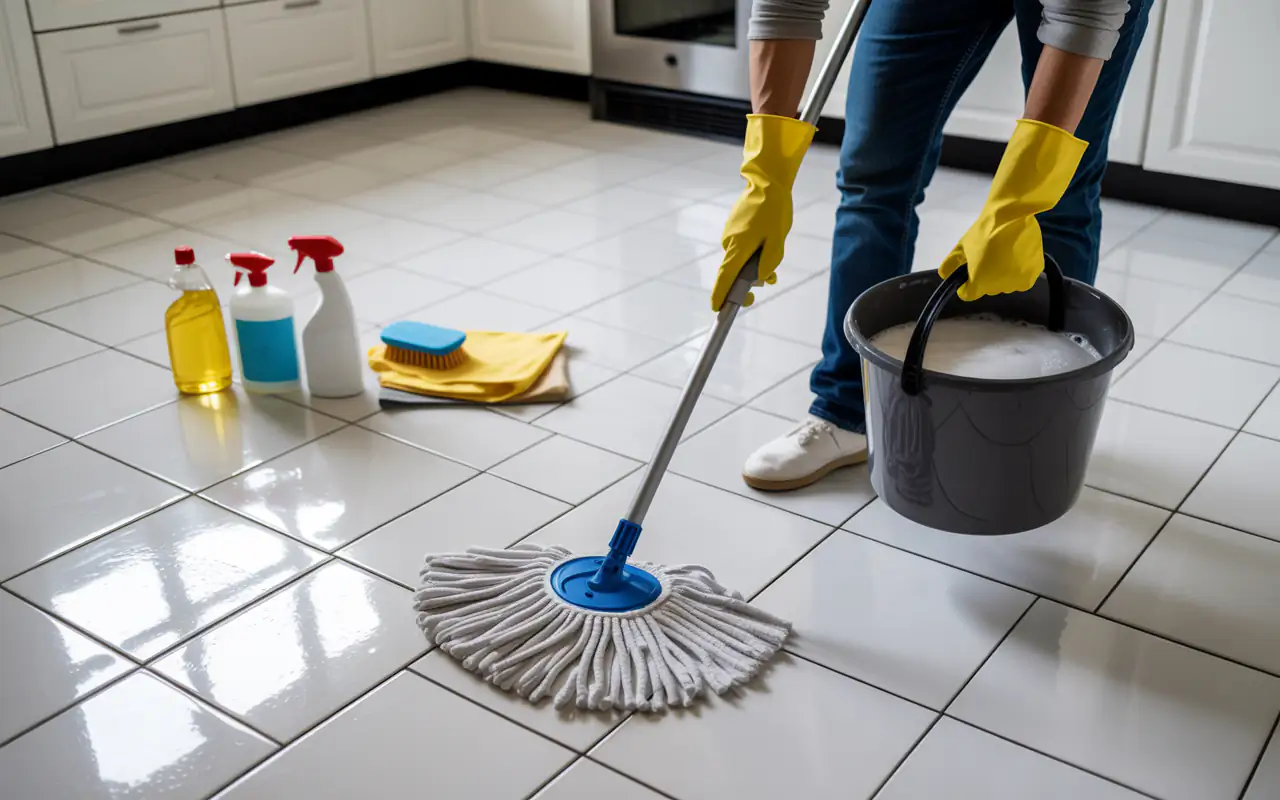
The Essential Supplies for Floor Care
You do not need to spend a lot of money on supplies. Most items are already in your kitchen cabinets. Having the right tools makes the work fast and simple. Gather your items before you start so you do not have to stop halfway through.
Here is a list of basic supplies you will need:
- A broom with soft bristles or a dust mop
- A bucket for warm water
- A microfiber flat mop
- Mild dish soap or white vinegar
- Baking soda for tough spots
- An old toothbrush or a grout brush
- A couple of dry towels
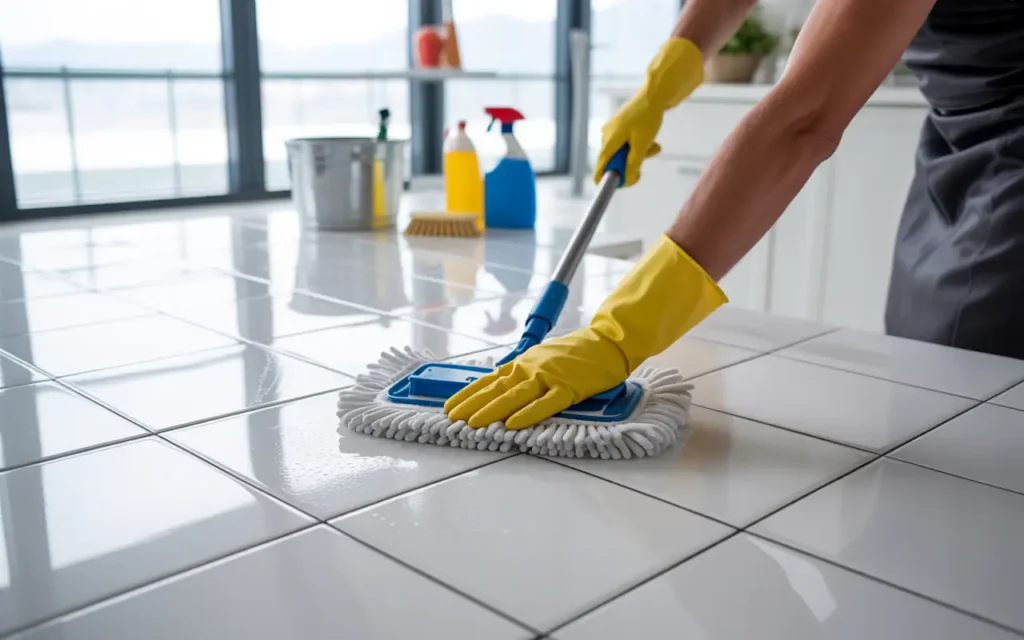
The Power of Microfiber
Microfiber is a great material for home care. The tiny fibers grab onto dust particles like a magnet. Old cotton mops often just move dirty water around the room. Microfiber holds the dirt inside the fabric until you rinse it out.
These mops are also very easy to wash. You can toss the mop head into the washing machine when you finish. They dry fast and last for hundreds of washes. This saves money and helps the environment too.
Choosing Your Cleaning Solution
You can buy store cleaners or make your own. Homemade options are cheap and safe for kids and pets. White vinegar is a classic choice for ceramic floors. It cuts through film and kills odors naturally.
If you prefer store products, read the label carefully. Look for words like neutral pH or gentle. Avoid products that contain wax or oil. These ingredients leave a sticky layer that attracts more dust.
| Tile Material | Best Cleaning Agent | Tool to Use |
| Ceramic | Water and Vinegar | Microfiber Mop |
| Porcelain | Mild Dish Soap | Flat Mop |
| Marble | pH Neutral Soap | Soft Cloth |
| Vinyl | Warm Water | Sponge Mop |
Step by Step Guide for Daily Cleaning
Daily care is the best way to keep your floors beautiful. It stops dirt from building up in the corners. If you spend five minutes a day, you will save hours on the weekend. This habit keeps your home healthy and neat.
“The best way to keep a floor beautiful is to care for it every single day.” – David Miller
Follow these simple steps every day to maintain your space. It takes very little effort but yields great results. Your floors will always look ready for guests.
Step 1 Sweep or Vacuum
Always start by removing loose dirt. If you mop a dusty floor, you will create a muddy mess. Use a broom with soft bristles to sweep the room. Pay attention to the areas under cabinets and behind doors. Dust likes to hide in these dark spots.
If you like to vacuum, turn off the brush roll. The spinning brush can scratch the shiny glaze on your tiles. A suction-only setting is perfect for picking up crumbs and pet hair.
Step 2 Prepare Your Bucket
Fill a clean bucket with warm water. Warm water loosens sticky spills better than cold water. Add a few drops of dish soap or one cup of vinegar. Do not use too much soap. Too much soap creates suds that leave a dull film behind.
Mix the liquid gently with your hand or the mop. The water should look slightly soapy but not full of thick foam. Now your solution is ready for action.
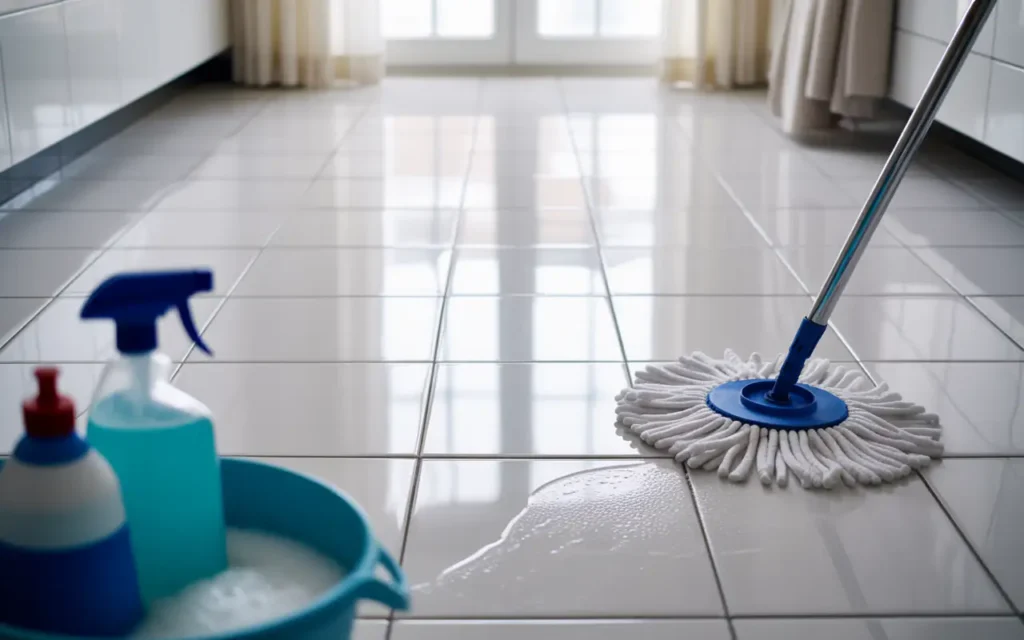
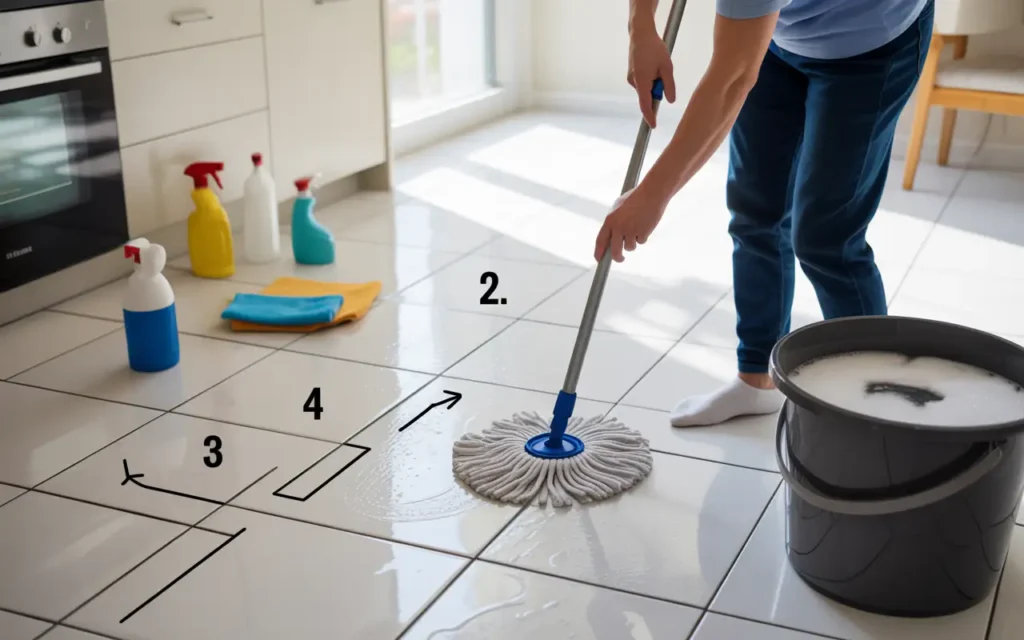
Step 3 Mop in sections
Dip your mop into the bucket and squeeze it out well. The mop should be damp, not dripping wet. Start at the farthest corner of the room and work your way to the door. This path ensures you do not step on the wet floor.
Move the mop in a continuous figure-eight pattern. This movement traps dirt in the microfiber cloth. Wash the mop head in the bucket often to keep it clean.
Step 4 Rinse and Dry
After moping with soap, empty your bucket. Fill it again with clean, plain water. Run the damp mop over the floor one more time. This rinse step removes any leftover soap residue.
Finally, wipe the floor with a dry towel. Drying the floor stops water spots from forming. It also prevents anyone from slipping on the wet surface. A dry floor shines much brighter than one left to air dry.
How to Clean Floor Tiles Effectively During Deep Clean Sessions
Sometimes your floor needs extra love. Deep cleaning removes the hidden grime that daily sweeping misses. This process should be done once a month or before big holidays. It restores the original color of your tile and makes the room feel brand new.
To clean floor tiles effectively during a deep clean, you need to focus on stains and sticky build-up. Food spills can dry hard on kitchen floors. Mud can dry into the texture of bathroom tiles. A deep clean tackles these problems directly.
Dealing with Sticky Kitchen Grease
Kitchen floors get greasy from cooking oils that float through the air. This grease acts like glue for dust. A simple water mix will not cut through this tough layer. You need an alkaline cleaner or dish soap that fights grease.
Apply the soapy water to the floor and let it sit for five minutes. Do not let it dry out. The warm water breaks down the grease bonds. Scrub the area gently with a soft nylon brush, then rinse well with clean water.
Removing Hard Water Deposits
In bathrooms, water can leave white crusty spots on tiles. This is called scale or hard water buildup. Vinegar is excellent for this issue because it is mild acid. It dissolves the mineral deposits without hurting ceramic tile.
Soak a cloth in warm white vinegar and place it over the spot. Let it rest for ten minutes to soften the crust. Wipe the area with a damp sponge and dry it completely. The tile will look smooth and shiny again.
How to Clean Grout Lines Without Harsh Chemicals
Grout is the material that fills the spaces between your tiles. It is usually made of sand and cement. Grout is very porous, which means it acts like a sponge. It absorbs dirty water, grease, and spills very easily.
Dirty grout can make a clean floor look messy. Cleaning grout requires a bit of focus, but you do not need toxic chemicals. You can make a safe paste right in your kitchen that works wonders.
The Baking Soda and Vinegar Method
Baking soda is a natural scrubber that removes stains. Vinegar reacts with baking soda to create a fizzing foam. This foam lifts dirt out of the tiny pores in the grout. It is a fun and safe way to clean.
- Mix baking soda with water to make a thick paste.
- Spread the paste along the dirty grout lines.
- Spray a small amount of vinegar over the paste.
- Watch it fizz and bubble for a few minutes.
- Scrub the line with an old toothbrush.
- Wipe away the residue with a damp cloth.
Using Hydrogen Peroxide for Brightening
If your grout is white and looks yellow, hydrogen peroxide can help. It is a safe alternative to bleach. It kills mold spores and brightens the lines naturally.
Mix equal parts of hydrogen peroxide and water in a spray bottle. Spray the solution onto the grout and let it sit for fifteen minutes. Scrub gently with a small brush, then rinse with warm water. Your white lines will look bright again.
| Method Name | Ingredients | Best For |
| Natural Fizz | Baking Soda + Vinegar | Dark Grime |
| Brightener | Hydrogen Peroxide | White Grout |
| Quick Wash | Dish Soap + Water | Light Stains |
Common Mistakes That Damage Your Floors
Sometimes people try too hard to clean and cause damage. Tiles are tough, but they are not indestructible. Avoid these common mistakes to keep your floors safe and beautiful for years to come.
“Good floor care saves you time and money over the years.” – Linda Evans
Knowing what to avoid is just as important as knowing what to do. A single mistake can scratch a beautiful finish. Be gentle with your surfaces and use the right approach.
Using Steel Wool or Sharp Scrapers
Never use steel wool or metal scrapers to remove stuck-on food. Metal can scratch the protective glaze on your tiles. Once the glaze is scratched, dirt will settle into the grooves. These scratches are almost impossible to clean later.
Instead, use a plastic spatula or a nylon mesh pad. Wet the stuck-on mess with warm water first to soften it. It will slide right off without any force.
Applying Too Much Water
Floors are water-resistant, but they are not waterproof. If you flood the floor with water, the liquid can seep into the seams. It can get under the tiles and weaken the glue.
Excess water also breeds mold and mildew under the flooring. This can cause bad smells and damage your subfloor structure. Always wring your mop until it is just damp.
Leaving Soap Residue Behind
If your floor looks cloudy after cleaning, you used too much soap. Leftover soap creates a sticky film on the surface. This film acts like a magnet for new dust and footprints.
Always perform a final rinse with plain water. This extra step ensures that all soap is gone. Your floors will stay clean much longer when there is no residue to trap dirt.
Preventative Care to Reduce Cleaning Time
The best way to clean floor tiles effectively is to stop them from getting dirty in the first place. Preventative care saves you a lot of effort every week. With a few simple changes, you can cut your cleaning time in half.
Place Mats at Every Door
Most dirt enters your home on the bottom of shoes. Place large mats both inside and outside every entrance. Encourage your family and guests to wipe their feet before walking inside.
Even better, establish a no-shoes rule in your house. Leave shoes by the door to keep outdoor grime away from your living spaces. This single habit keeps floors clean for days.
Use Furniture Protectors
Heavy furniture can scratch or crack tiles when moved. Attach soft felt pads to the bottom of chair legs and table bases. These pads allow furniture to slide smoothly without leaving marks.
Be careful when moving large appliances like refrigerators. Lay down a sheet of plywood or thick cardboard to protect the floor from heavy weight.
Catch Spills Right Away
Do not let liquid spills dry on your floor. Mud, juice, or coffee can stain grout lines quickly. Wipe up spills immediately with a damp paper towel or cloth.
A quick wipe takes seconds and prevents a major stain later. Keep a small towel handy in the kitchen for these quick cleanups.
Frequently Asked Questions
Can I use bleach to clean floor tiles effectively?
You can use highly diluted bleach on ceramic and porcelain tiles occasionally. However, regular use can weaken the grout over time. Never use bleach on natural stone floors as it will cause severe discoloration.
How often should I mop my tile floors?
For high-traffic areas like kitchens and entryways, you should mop once or twice a week. Low-traffic areas like guest rooms only need moping once every two weeks. Regular sweeping should be done daily to prevent scratches.
Why do my tiles look dull after I mop them?
Dullness is usually caused by using too much soap or failing to rinse the floor. The dried soap leaves a cloudy film that collects dust. To fix this, mop the floor with a mix of warm water and white vinegar to remove the film.
Is a steam mop safe for all types of tiles?
Steam mops are excellent for ceramic and porcelain tiles because they sanitize without chemicals. Do not use them on vinyl, linoleum, or natural stone tiles. The intense heat can melt glue or damage sensitive stone surfaces.
How do I remove old wax buildup from my tiles?
If someone applied commercial wax to your tiles, it can turn yellow over time. You can remove it by scrubbing the floor with a mix of one cup of ammonia and one gallon of warm water. Rinse the floor very well afterward.
What is the safest brush for scrubbing grout lines?
A soft nylon brush or an old toothbrush is the safest choice. Avoid metal wire brushes because they can scrape the grout away and scratch the tile edges.
Final Thoughts on Tile Care
Caring for your floors does not have to be a chore. With a simple plan and the right tools, you can keep your home looking beautiful. Remember to sweep away loose dirt before you use any water. Choose gentle cleaning solutions that match your specific tile material to protect the finish.
Take care of your grout lines with simple kitchen ingredients like baking soda. Avoid harsh metal tools and excess water that cause damage. By building small habits every day, you will maintain a bright and welcoming home for your family. A little love goes a long way in keeping your tile floors shining bright for years.
Related posts
 Top Rated Food Processor for Home Use: Your Buyer’s Guide
Compare top rated food processors for home use. Find the right size and features for your kitchen tasks with this detailed buyer’s guide. A food processor…
 Best Home Fragrance Diffuser for Every Room and Style
Discover the best home fragrance diffusers for a pleasant atmosphere. Compare ultrasonic, mist, and reed options to find your perfect match. Creating a welcoming and pleasant…
 Best Aesthetic Home Accessories for Stylish Spaces
Discover the best aesthetic home accessories to elevate your decor. Compare top-rated organizers, plant terrariums, and decorative accents for every room. Creating a home that feels…