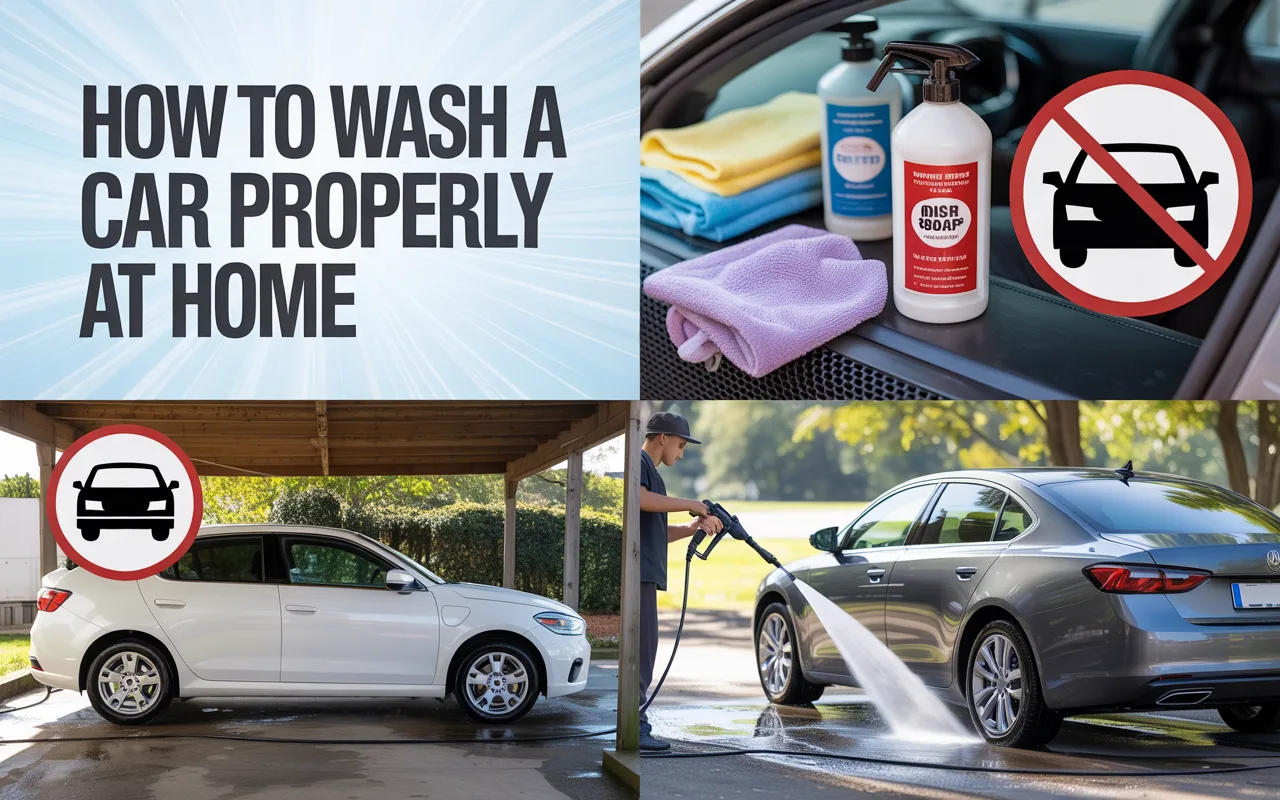
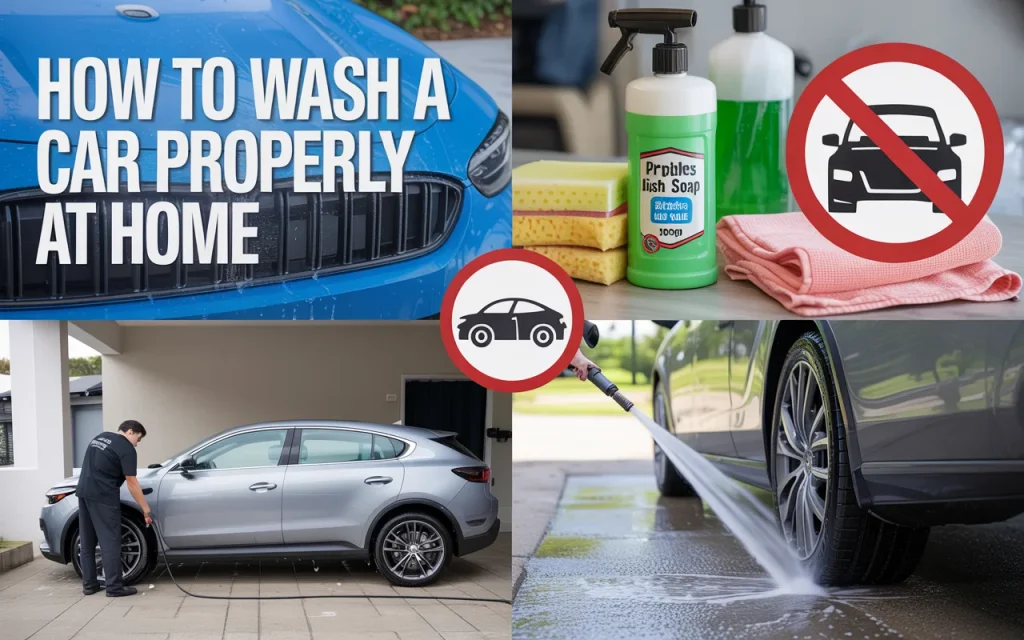
Learning how to wash a car properly at home saves money and protects your paint. This guide covers the two-bucket method, tools, drying techniques, and common mistakes.
If you have ever looked at your car after a drive-through car wash and noticed tiny swirl marks in the paint, you know the frustration. It is easy to think that keeping a vehicle clean means simply spraying it with soap and wiping it down. But there is a right way and a wrong way to do this job. Learning how to wash a car properly at home is not just about making it look shiny for a few hours. It is about protecting the clear coat, preserving the resale value, and actually enjoying the process without causing harm.
Many people assume that washing a car is a simple chore, like washing a kitchen counter. However, car paint is surprisingly delicate. Dust, dirt, and road grit act like sandpaper when you rub them against the surface. If you do not use the correct technique, you end up doing more damage than good. The good news is that you do not need expensive equipment or a professional detailer to get fantastic results. With the right supplies and a little patience, you can achieve a showroom-quality finish right in your driveway. Let us go through the steps so you can wash a car properly at home with confidence.
Why the Way You Wash Matters for Your Car’s Health
Before we get into the steps, it helps to understand why technique is so important. A car’s exterior is covered in a layer of clear coat. This is a thin, transparent layer of paint that protects the color underneath. Once this layer gets scratched, it is very hard to fix without professional tools. Swirl marks, which look like spiderwebs under sunlight, are usually caused by using dirty wash mitts or rough towels.
“When you use a dirty sponge on your car, you are essentially grinding abrasive particles into the paint. The goal of a proper wash is to lift dirt away from the surface, not grind it in.” – Mike Phillips, Director of Training at P&S Detail Products
When you wash a car properly at home, you control every variable. You choose the soap, the mitts, and the drying cloths. You ensure that the water is clean and that you are not reusing dirty tools. This level of control prevents the micro-scratches that automatic car washes often leave behind.
Essential Supplies You Will Need
To do the job right, you need more than just a bucket and dish soap. Using dish soap is one of the biggest mistakes people make. It strips away wax and dries out rubber seals. You need specific tools designed for automotive paint. Here is a list of what to gather before you start.
The Core Tools
| Supply | Purpose |
|---|---|
| Two Buckets | One for soapy water, one for rinsing your mitt. |
| Grit Guards | Plastic inserts at the bottom of buckets to trap dirt. |
| Microfiber Wash Mitt | A soft, plush mitt that holds lots of soap and water. |
| Car Shampoo | A pH-balanced soap that lubricates the paint and preserves wax. |
| Microfiber Drying Towels | Large, soft towels that absorb water without scratching. |
| Wheel Cleaner & Brushes | Separate tools to clean brake dust and wheels safely. |
Optional but Helpful Items
- Pressure Washer: Makes rinsing faster but is not required. A standard garden hose with a spray nozzle works fine.
- Foam Cannon: Attaches to a pressure washer to cover the car in thick foam, which helps loosen dirt before you touch the paint.
- Detailing Spray: For a final touch after drying to add gloss.
If you invest in these items once, they will last for dozens of washes. Having the right tools is the foundation of being able to wash a car properly at home.
Step 1 – Choosing the Right Location and Time
You do not want to wash your car in direct sunlight on a hot day. If the sun is beating down on the paint, the soap and water will dry before you can rinse them off. This leaves water spots and soap residue that is hard to remove. The best time to wash is early in the morning or late in the afternoon when the car is cool to the touch.
Also, try to park on a flat surface. If your driveway slopes too much, water can run off too quickly, making it hard to keep the car wet. Ideally, you want a shaded area where you can take your time. Remember, patience is key when you wash a car properly at home.
Step 2 – The Pre-Rinse and Wheel Cleaning
Start by rinsing the entire car with plain water. Use a strong stream from your hose or pressure washer to blast away loose dirt and grime. Focus on the wheel wells, the lower panels, and the front bumper where bugs accumulate. This initial rinse removes the heavy particles that could scratch the paint later.
Once the car is rinsed, move to the wheels. Wheels are often the dirtiest part of the vehicle. They collect brake dust, which is metallic and abrasive. If you use the same mitt on your wheels and your paint, you will transfer that abrasive dust onto the clear coat. Use a dedicated wheel cleaner and a separate set of brushes or a mitt.
- Spray the wheels with a wheel cleaner.
- Let it sit for a minute to break down brake dust.
- Agitate with your wheel brushes.
- Rinse thoroughly.
After the wheels are clean, you can move on to the paint. Do not forget to rinse the wheel wells too. Getting the wheels clean first ensures that when you finally wash a car properly at home, you are not splashing dirty wheel grime back onto the clean paint later.
Step 3 – The Two-Bucket Method Explained
This is the most important technique to learn. The two-bucket method is the industry standard for preventing swirl marks. It is simple, but it makes a huge difference.
How the System Works
You will need two buckets. Fill one with water and a small amount of car shampoo. Fill the other with plain water for rinsing. Place a grit guard in the bottom of each bucket. The grit guard is a plastic grid that sits at the bottom. It allows dirt to fall through and settle beneath the grid, so your mitt does not pick it back up.
Here is the workflow:
- Dip your wash mitt into the soap bucket.
- Wash a section of the car (like the roof or one door panel).
- After washing that section, dip the dirty mitt into the rinse bucket. Swish it around over the grit guard to release the dirt.
- Squeeze the mitt out.
- Dip it back into the soap bucket for the next section.
- Repeat.
By doing this, you are constantly cleaning your mitt in the rinse bucket. This ensures you are always applying clean, lubricated soap to the paint. If you skip this step and just use one bucket, you are just moving dirty water around the car. To truly wash a car properly at home, you must adopt this method.
Step 4 – Washing from Top to Bottom
Now that your buckets are set up, it is time to wash. Always start at the top of the car. The roof, hood, and trunk lid are usually the least dirty areas. The lower panels, especially behind the wheels, collect the most grime.
Work in straight lines, not circles. If you use circular motions, any scratches you accidentally create will be more visible as swirl marks. Straight-line motions, following the direction of the airflow over the car, make any potential imperfections less noticeable.
Wash one panel at a time. If the soap starts to dry on the car before you rinse it, you are working too slowly or the sun is too hot. After washing the entire car, do a final rinse. Remove the nozzle from your hose to let water flow freely. This “sheeting” action helps water run off the surface, reducing the amount of water left behind to dry.
“Many people rush through the washing process. The secret is to let the soap do the work. High-quality car shampoo provides lubrication so the mitt glides over the surface rather than dragging dirt across it.” – Larry Kosilla, Founder of Ammo NYC
Step 5 – Drying Without Scratches
Drying is the step where most people accidentally create swirl marks. You might think grabbing a bath towel or a chamois is fine, but these materials are often not soft enough. They can trap dirt particles and drag them across the paint.
The best way to dry is to use a large, plush microfiber drying towel. These towels are designed to absorb a lot of water without applying heavy pressure.
Here is a drying technique to try:
- Lay the microfiber towel flat on the surface.
- Gently pull it toward you without applying downward pressure. Let the towel soak up the water.
- Do not scrub or wipe aggressively.
- Use a separate towel for the lower panels and wheels.
If you have a leaf blower or a dedicated car dryer, you can use that to blow water out of the mirrors, door handles, and emblems. This prevents drips later. A proper drying method is the final touch when you wash a car properly at home.
Step 6 – Post-Wash Care (Optional but Recommended)
Once the car is dry, you might notice that the paint looks clean but lacks a deep shine. This is where wax or sealant comes in. Wax adds a layer of protection that makes future washes easier. Dirt and water bead up and slide off more readily.
You can apply a spray wax while the car is still slightly damp. This speeds up the process. Alternatively, you can apply a paste wax or liquid sealant after the car is completely dry. These products fill in micro-scratches and add a glossy finish.
Adding protection is not strictly part of the wash process, but it makes the next time you wash a car properly at home much easier.
Common Mistakes to Avoid
Even with the best intentions, it is easy to fall into bad habits. Here is a table of common mistakes and how to avoid them.
| Mistake | Why It Is Harmful | The Fix |
|---|---|---|
| Using dish soap | Strips wax and dries out rubber and plastic trim. | Use a dedicated pH-balanced car shampoo. |
| Washing in direct sun | Causes water spots and soap residue to bake onto paint. | Wash in the shade or during cooler hours. |
| Using one bucket | Reintroduces dirt back onto the paint, causing swirl marks. | Use the two-bucket method with grit guards. |
| Using old sponges or rags | Abrasive materials scratch the clear coat. | Use a microfiber wash mitt and quality towels. |
| Skipping the pre-rinse | Rubs heavy dirt and grit against the paint. | Rinse thoroughly with water before touching the car. |
How Often Should You Wash Your Car?
There is no one-size-fits-all answer, but a good rule of thumb is every two weeks. If you live in an area with road salt in the winter, you should wash more often to prevent rust. If your car is parked under trees that drip sap, you should wash as soon as you notice the sap, as it can damage the paint over time.
Regular washing also allows you to inspect your car for any damage, like small chips or scratches, that you might want to address before they get worse. Consistent care is the secret to maintaining your car’s appearance. When you wash a car properly at home on a regular schedule, you keep the paint in excellent condition for years.
Frequently Asked Questions
Q1: Can I use any type of soap to wash my car?
No. You should avoid dish soap, laundry detergent, or household cleaners. These products are too harsh and will strip away any wax or sealant on your paint. They can also cause rubber seals to dry out and crack. Always use a car shampoo that is labeled as pH-balanced.
Q2: Is it okay to use a pressure washer on my car?
Yes, but you must be careful. Do not use a narrow, high-pressure tip (like a 0-degree nozzle) up close to the paint. This can damage the clear coat or force water into places where it should not go. Use a wider spray pattern (40-degree nozzle) and keep the nozzle at least a foot away from the surface.
Q3: How do I remove water spots after washing?
If water spots appear because the car dried too fast, you can use a spray detailer and a clean microfiber cloth to gently wipe them away. For hard water spots that have been on the paint for a while, you may need a specialized water spot remover. To prevent them, dry the car quickly and avoid washing in direct sunlight.
Q4: Do I need to use a grit guard?
While not strictly mandatory, a grit guard is highly recommended. It is an inexpensive tool that makes the two-bucket method much more effective. It traps dirt at the bottom of the bucket, preventing it from swirling back into your wash mitt. If you want to wash a car properly at home, this is a small investment that pays off in paint protection.
Q5: Can I wash my car in cold weather?
Yes, but you need to take precautions. Use warm water if possible to keep your hands comfortable. Avoid washing if the temperature is below freezing, as water can freeze on the car and cause problems with door locks and seals. If you wash in cold weather, dry the door jambs and seals thoroughly to prevent them from freezing shut.
Conclusion
Taking the time to wash a car properly at home is one of the most satisfying ways to care for your vehicle. It is a chance to get outside, spend time with your car, and see immediate results. More importantly, it protects your investment. By using the two-bucket method, the right soap, and gentle drying techniques, you avoid the swirl marks and scratches that come from automatic washes and improper methods.
You do not need to be a professional detailer to get great results. You just need patience, the right tools, and a willingness to follow a simple process. Every time you finish a wash and step back to look at the clean, glossy paint, you will know that your car looks great and is protected.
A clean car is not just about appearances. It is about maintenance. When you wash your car correctly, you are preserving the clear coat, preventing rust, and extending the life of the paint. It is the foundation of all car care.” – Renny Doyle, Author and Detailing Expert
So gather your buckets, buy a quality microfiber mitt, and give your car the care it deserves. Whether you drive a brand-new vehicle or a trusted older model, a proper wash makes a world of difference. Your car will thank you with a brilliant shine every time you pull into the driveway.