Master the proper steps for how to trim dog nails safely with this clear guide. Learn tools, quick location tips, and calming methods to make grooming stress free for you and your pet.
Does your dog click-clack across the floor like a tiny tap dancer? You know it is time for a trim, but the thought of causing pain or a bleeder makes you nervous. You are not alone. Many pet parents feel unsure about this task. But keeping nails at a good length is a big part of keeping your dog healthy and comfortable. The good news is, with the right knowledge and a calm approach, you can learn how to trim dog nails safely and confidently.
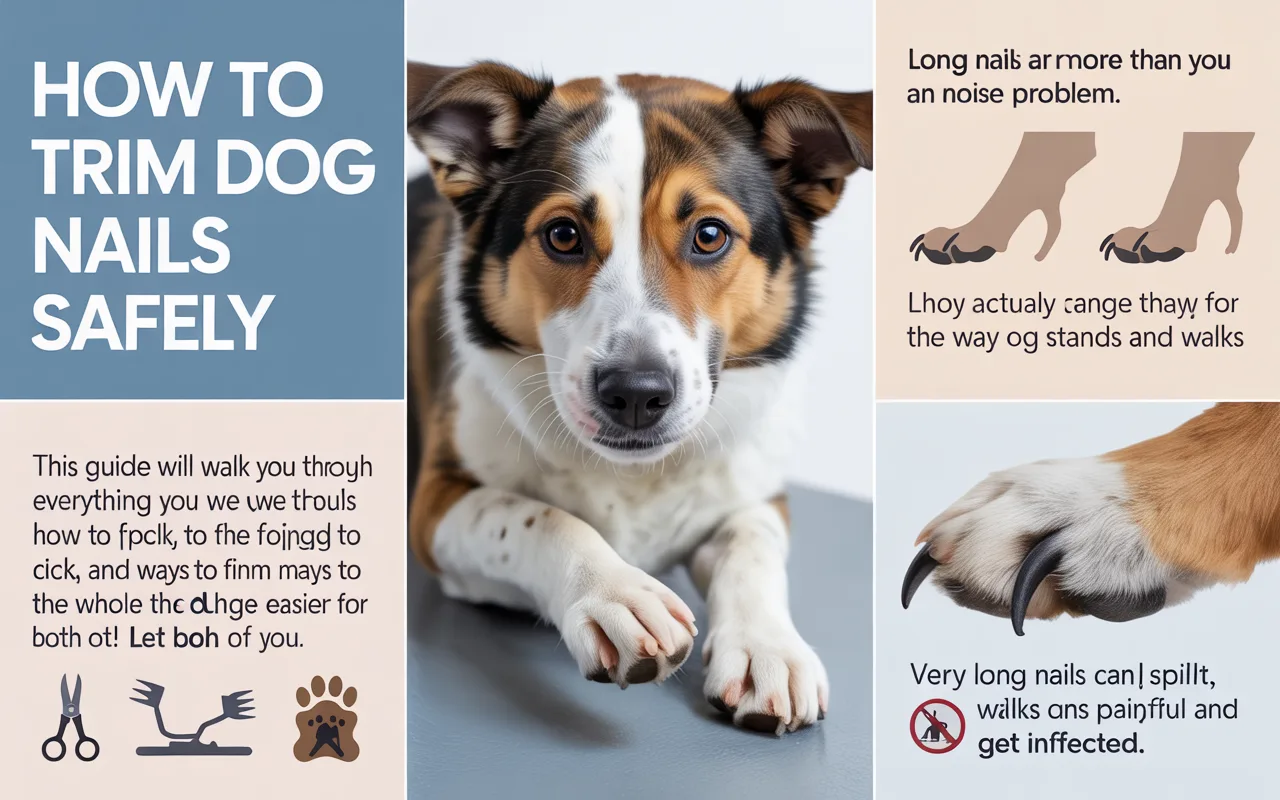
This guide will walk you through everything you need. We will talk about the tools you can pick, how to find the right spot to cut, and ways to make the whole thing easier for both of you. Let us get started.
Why Trimming Your Dog’s Nails Matters
Long nails are more than just a noise problem. They can actually change the way your dog stands and walks. When nails touch the ground, they push the toe back and force the weight onto the paw pad. This is like someone pushing on the back of your heel all day. It can make joints sore and may lead to arthritis over time. Very long nails can even split or break, which is painful and can get infected.
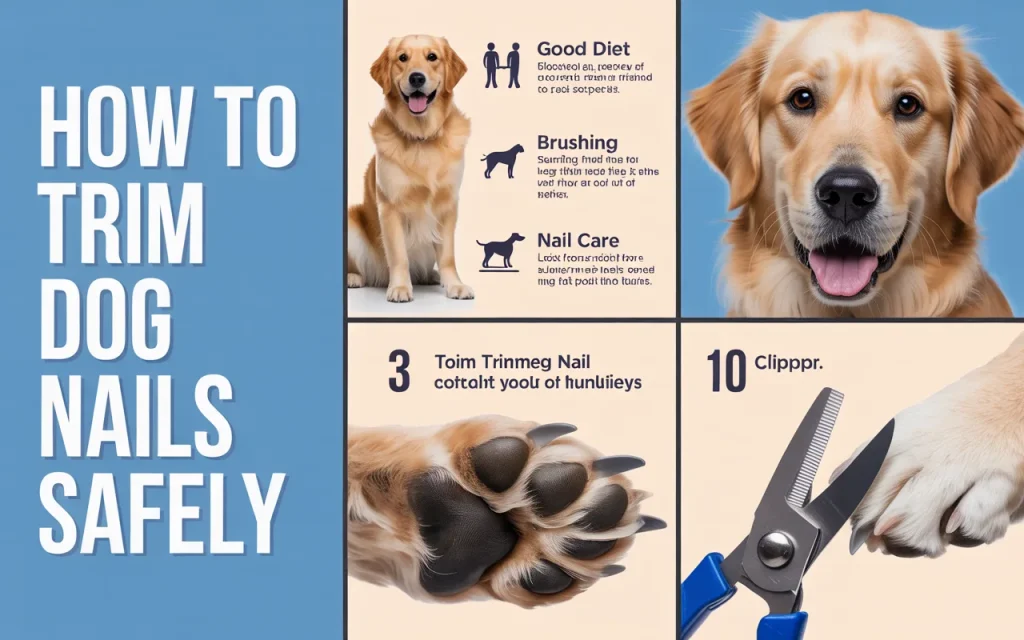
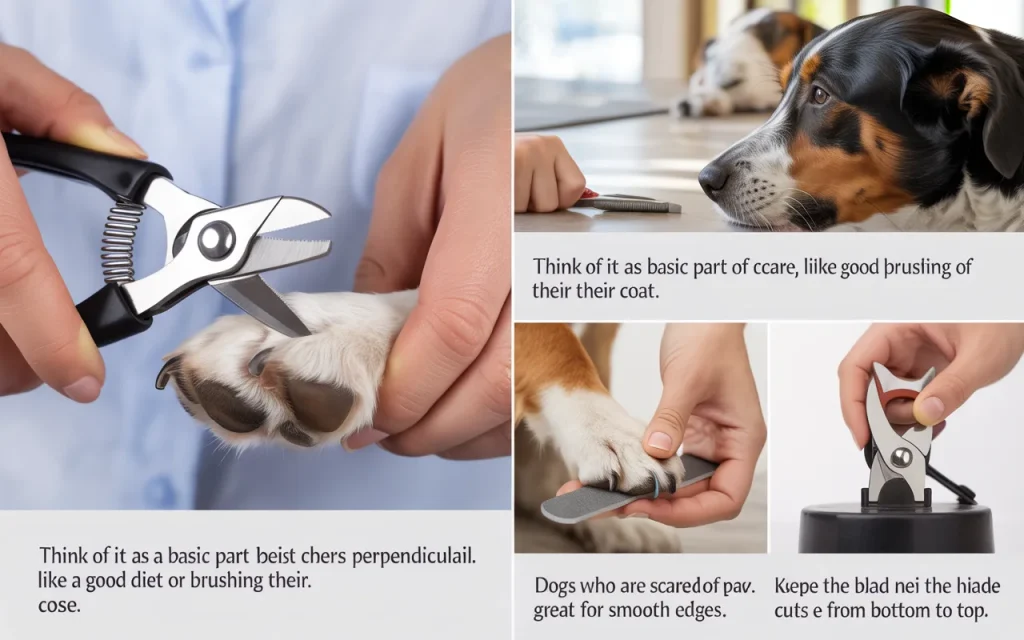
Regular trims keep your dog’s feet in a natural, healthy position. It helps puppies learn good habits for life. For older dogs, it keeps them moving without extra pain. Think of it as a basic part of care, like a good diet or brushing their coat.
Gathering Your Tools: What You Need to Trim Dog Nails Safely
You cannot do a good job without the right tools. Having good tools makes the process smoother and helps you trim dog nails safely. Here are the main options.
| Tool | Best For | Tips for Safe Use |
|---|---|---|
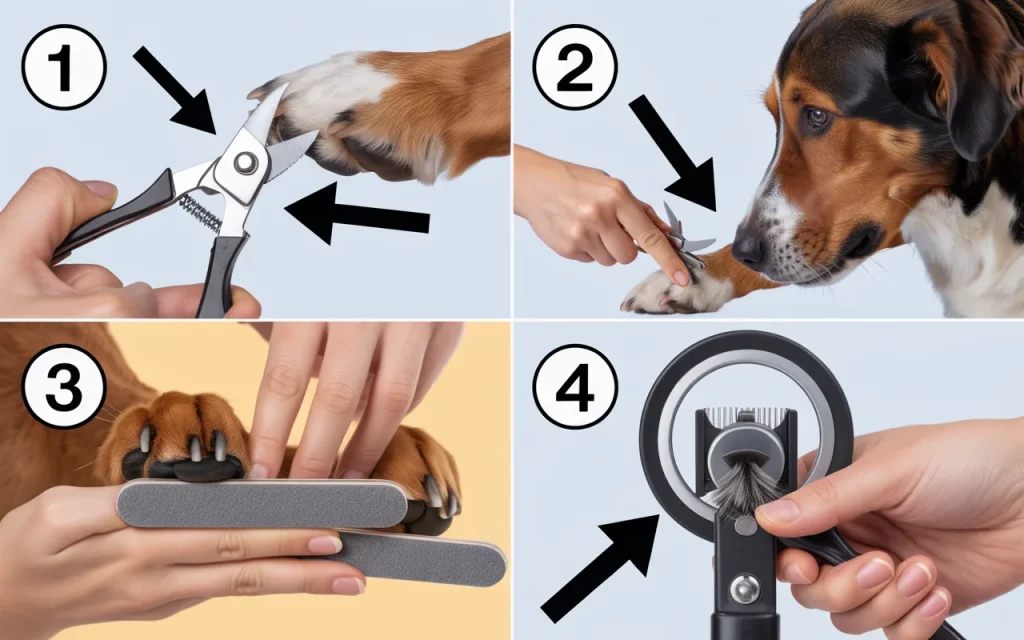
| Guillotine Clippers | Small to medium dogs with thin nails. | Keep the blade very sharp. Place the nail in the hole so the blade cuts from bottom to top. |
| Scissor or Pliers Clippers | Most dogs, especially medium to large breeds. | Position so the cutting blades are perpendicular to the nail. Use a firm, smooth squeeze. |
| Nail Grinder/Dremel | Dogs who are scared of clippers. Great for smoothing edges. | Start slow to let your dog get used to the sound and vibration. Hold each toe firmly. |
| Styptic Powder | Every dog owner. Essential for stopping bleeding if you cut too short. | Have it open and ready before you start. Apply directly to the tip of the nail with pressure. |
Besides these, keep some yummy treats on hand. A flashlight can help you see the quick in dark nails. A non slip mat for your dog to stand on is also a great help.
Finding the Quick: The Key to a Safe Trim
The “quick” is the soft, pink part inside the nail that has blood vessels and nerves. Cutting into this hurts your dog and causes bleeding. This is the main reason people fear nail trims. The goal is to cut the hard keratin shell just before the quick.
On white or clear nails, the quick is easy to see. It looks like a pink or red core inside the nail. You want to cut the white part, staying well away from the pink.
Dark nails are trickier. You cannot see the quick. In this case, you will cut small bits off the tip at a time. Look at the center of the cut nail after each tiny trim. When you see a whitish or grayish dot in the middle, stop. That dot means you are getting close to the softer core. If you see a black dot or a chalky center, you can usually take one more very small bit. If you see a pinkish center, you have gone far enough.
Marty Becker, DVM, says: “The best time to trim your dog’s nails is when they’re relaxed, perhaps after a walk or play session. Never try to do it when they’re excited or anxious.”
A Step by Step Guide to Trim Dog Nails Safely
Now, let us put it all together. Follow these steps to help you trim dog nails safely.
- Pick a Calm Time and Place. Do not try this when your dog is full of energy. Choose a quiet spot with good light. Sit on the floor with your dog, or have them on a steady table.
- Get Your Dog Comfortable. Gently handle their paws during cuddle time for a few days before you plan to trim. Give treats for letting you hold their foot. This builds positive feelings.
- Position the Tool. Hold your dog’s paw firmly but gently. Isolate one toe at a time. For clippers, position them so you will cut from bottom to top, or perpendicular to the nail. For a grinder, hold the tool at a 45-degree angle to the nail tip.
- Make the Cut or Grind. Be decisive. If using clippers, a firm, quick squeeze is better than a slow, crushing motion. If grinding, touch the nail for just 2-3 seconds at a time to avoid heat buildup.
- Check and Reward. After each nail, give a treat and praise. Look at the nail tip to see if you need to take off a tiny bit more to get a good shape. If you are done with that nail, move on.
- Handle a Mistake Calmly. If you hit the quick, do not panic. Your dog might yelp. Stay calm, apply the styptic powder with gentle pressure, and comfort your dog. It will stop bleeding quickly. Take a break and try again later or another day.
What If My Dog Hates Nail Trims?
Some dogs have had bad experiences or are just naturally worried about their feet being held. That is okay. You can help them feel better.
- Go Very Slow. Your first few sessions might just be touching the clippers to a nail and giving a jackpot of treats. No cutting at all.
- Use High Value Treats. Use something special they only get for nail trims, like small bits of chicken or cheese.
- Try a Different Tool. A grinder’s sensation is very different from the pressure of clippers. Some dogs prefer it.
- Get Help. Have a family member gently hold your dog and feed treats while you focus on the feet.
- Know When to Stop. If your dog is truly stressed, shaking, or trying to bite, stop. You can do one paw a day, or even one nail a day. For some dogs, the best choice is to let a professional groomer or vet do the trimming. That is a perfectly good option for your dog’s well being.
Puppy Nail Trimming: Start Early
Getting puppies used to nail care is one of the best things you can do. Handle their paws every day. Let them sniff the clippers and give a treat. Make every touch a happy thing.
Sophia Yin, DVM, MS, noted: “The goal of training for nail trims is to make the experience positive, not just tolerable. This means giving treats and praise during the process, not just after.”
For puppies, you will often just take the very sharp tip off each week. This keeps them blunt and gets the puppy used to the routine. It also helps the quick recede back a bit, making future trims easier.
How Often Should You Trim?
This depends on your dog’s activity and growth. A good rule is to check nails every 2-4 weeks. A simple test is the “standing test.” Have your dog stand on a flat surface. Their nails should not touch the ground. If you hear clicking, or see the nail pushing the toe up, it is time for a trim.
| Dog Lifestyle | Typical Trim Schedule |
|---|---|
| Most Indoor Dogs | Every 3-4 weeks |
| Active Outdoor Dogs | May need less frequent trims, but check for splits. |
| Puppies | Weekly, to blunt sharp tips and train them. |
| Senior Dogs | Every 2-3 weeks, as nails can get thicker and faster. |
Frequently Asked Questions
What if I am too scared to trim my dog’s nails?
That is completely normal and responsible of you to admit. The safest option is to take your dog to a professional. Your vet or a certified groomer can do it quickly. You can watch and learn, or simply let them handle it every few weeks. It is a valid choice.
How do I stop the bleeding if I cut the quick?
Use styptic powder. Press it directly onto the tip of the bleeding nail for about 30 seconds. If you do not have styptic powder, use cornstarch or flour in a pinch. Apply pressure with a clean cloth.
Can I file my dog’s nails instead of cutting them?
Yes. A nail file or grinder is a great way to shorten nails a little at a time. It is often less stressful because there is no pinching feeling. It takes longer, but many dogs and owners prefer it.
My dog has black nails. How can I possibly see the quick?
You cannot see it, so you must go slowly. Trim tiny slices off the tip. Look at the center of the nail after each cut. When you see a grayish or whitish spot in the middle, you are getting close to the quick. Stop there.
Are there any signs I am waiting too long between trims?
Yes. Clicking on hard floors, nails curling under, or your dog licking their paws a lot can be signs. Long nails can also get caught in fabric and tear.
Conclusion
Learning how to trim dog nails safely is a skill that gets better with practice. It is all about being prepared, staying calm, and going at a pace that works for your dog. Remember, the goal is to keep your friend comfortable and healthy, not to achieve perfect nails. Each small, positive session builds trust. If you ever feel unsure, your vet or groomer is always there to help. With patience and these tips, you can turn nail trimming from a dreaded chore into a simple part of your care routine.
Patricia B. McConnell, PhD, CAAB, writes: “The more you can make husbandry and health care a positive experience, the better your relationship with your dog will be.”
So take a deep breath, grab those treats and clippers, and give it a try. Your dog’s happy, healthy feet will thank you for it.

One Comment