Learn clear, safe steps that explain how to tighten lug nuts correctly for any car or light truck. This guide covers tools, torque values, patterns, and common mistakes so wheels stay secure and driving stays safe.
Loose or uneven lug nuts can cause wheel shake, damaged brake parts, or even wheel loss. This is serious. Many drivers think tightening lug nuts is simple, but small errors matter. A wheel must sit flat. Each nut must share the load. The right order and force keep you safe on the road.
This guide answers a simple question with clear steps. You will learn tools, patterns, torque values, and checks. You will also learn common mistakes and how to avoid them. By the end, you will feel confident doing this job at home or checking work done by others.
“Wheel safety starts with basic care. Simple steps done right prevent big risks.”
Mike Allen, ASE Certified Technician
Why Proper Lug Nut Tightening Matters
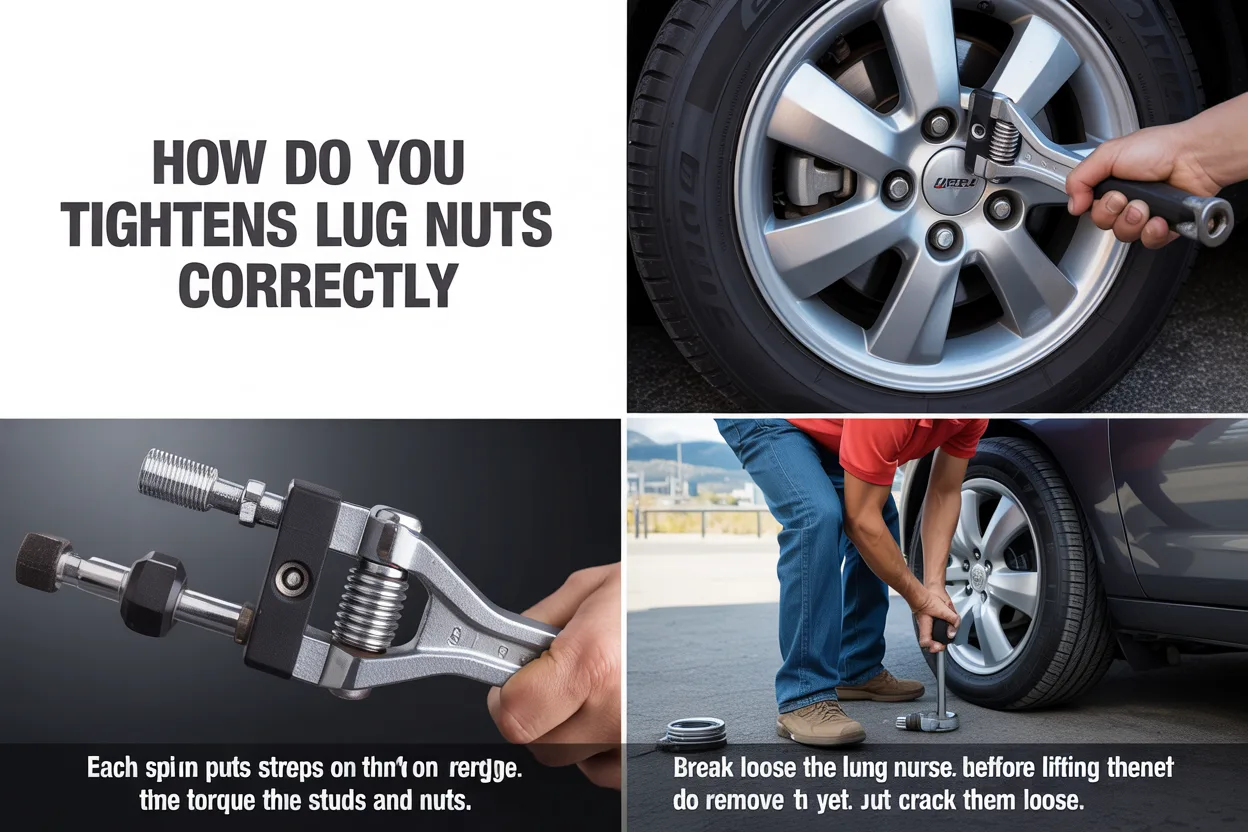
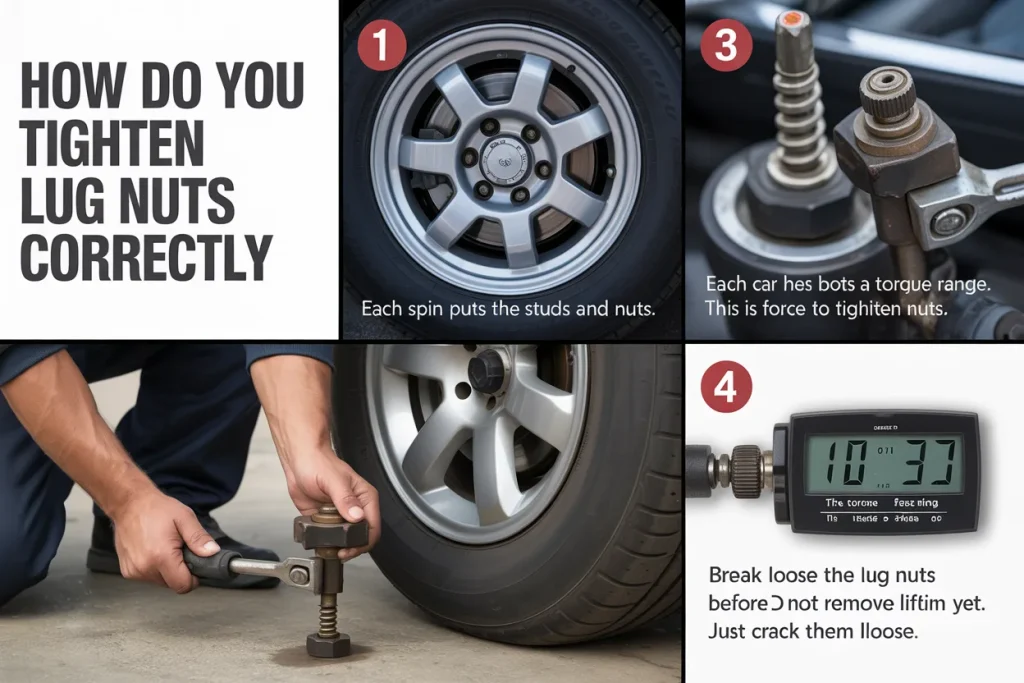
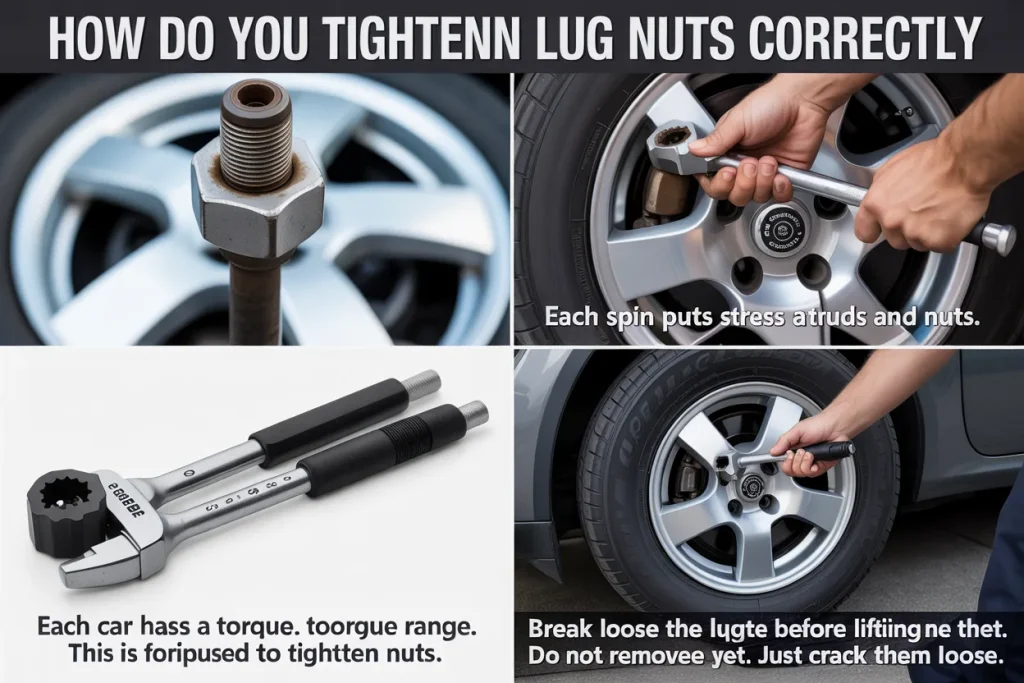
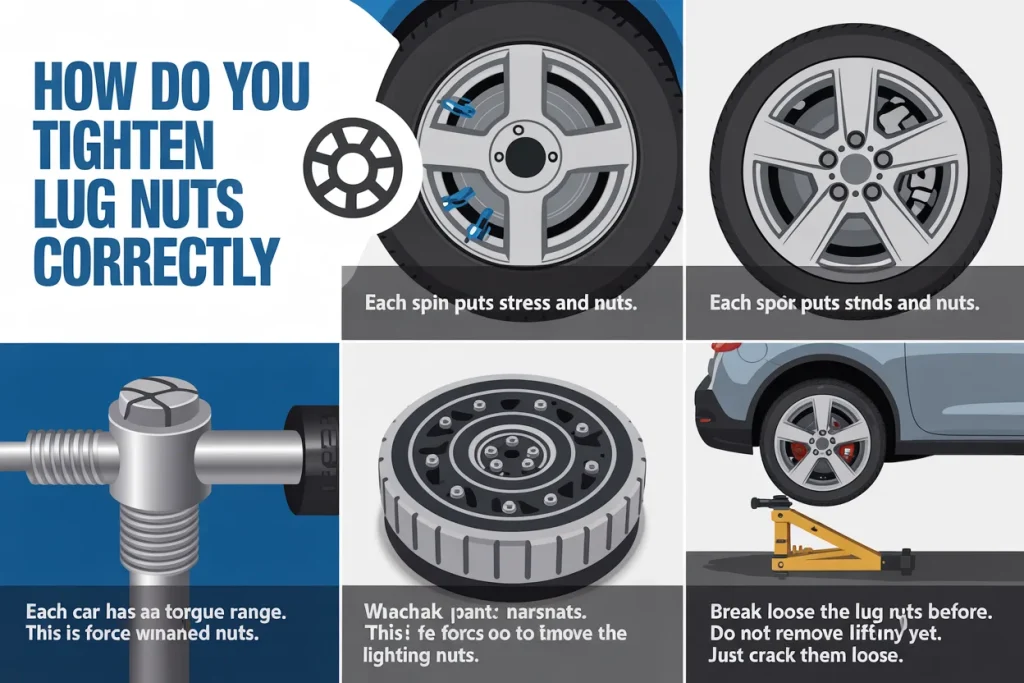
A wheel spins thousands of times in one trip. Each spin puts stress on the studs and nuts. If one nut is tighter than the rest, stress shifts. This can warp brake rotors. It can also stretch studs.
If nuts are too loose, the wheel can move. That movement wears the holes in the wheel. Over time, nuts back off more. In rare cases, the wheel can come off.
If nuts are too tight, studs can snap later. This often happens during hard braking or sharp turns. Balance matters.
Learning to tighten lug nuts correctly keeps wheels seated flat. It spreads force evenly. It protects parts and people.
Tools You Need Before You Start
You do not need many tools. You do need the right ones.
Basic Tools
- Lug wrench or breaker bar
- Torque wrench
- Car jack and jack stands
- Wheel chocks
- Gloves
A torque wrench is key. It measures force. Guessing by feel leads to errors.
Optional Tools
- Impact wrench for removal only
- Wire brush for dirty studs
- Light oil for rusty threads, if the maker allows
Never grease studs unless the maker says it is safe. Grease changes torque readings.
Know Your Vehicle Torque Specs
Each car has a torque range. This is the force used to tighten nuts. It is set by the maker. Using the wrong value can cause harm.
You can find torque specs in the owner manual. You can also find them on the maker site.
Common Torque Ranges
| Vehicle Type | Typical Torque Range |
|---|---|
| Small cars | 80 to 100 ft lbs |
| Sedans | 90 to 110 ft lbs |
| SUVs | 100 to 120 ft lbs |
| Light trucks | 110 to 140 ft lbs |
Always use the exact value for your model if listed.
Step by Step Guide
This section gives clear steps. Follow them in order. Do not rush.
Park and Prepare
Park on flat ground. Set the parking brake. Place wheel chocks on the opposite side.
Break loose the lug nuts before lifting the car. Do not remove them yet. Just crack them loose.
Lift the car with a jack. Place jack stands. Lower the car onto the stands.
Seat the Wheel
Place the wheel on the hub. Line up the holes. Push it flush with the hub face.
Start each lug nut by hand. Turn until finger tight. This avoids cross threads.
At this stage, the wheel should sit flat.
Use the Star Pattern
This pattern spreads force. It keeps the wheel flat.
A five lug wheel uses a star. A four lug wheel uses a cross.
Here is the order for five lugs.
| Step | Lug Position |
|---|---|
| 1 | Top |
| 2 | Bottom right |
| 3 | Upper left |
| 4 | Lower left |
| 5 | Upper right |
Follow this order each time.
This pattern is vital to tighten lug nuts correctly.
Initial Snug Tightening
Use a lug wrench. Tighten in the star pattern. Do not use full force. Just snug.
Lower the car until the tire touches the ground lightly. The tire should not spin.
Final Torque Setting
Set your torque wrench to the right value.
Tighten each nut in the star pattern. Pull until the wrench clicks. Stop at the click.
Repeat the pattern once more to confirm.
This step ensures you tighten lug nuts correctly and evenly.
Common Mistakes to Avoid
Many issues come from simple errors. Learn them now.
Over Tightening
This stretches studs. It also makes removal hard later.
Using Impact Tools for Final Torque
Impact guns hit hard. They do not measure force well.
Skipping the Pattern
Going in a circle pulls the wheel to one side.
Dirty Threads
Rust or dirt gives false torque readings.
Avoiding these errors helps you tighten lug nuts correctly every time.
After Driving Check
Wheels settle after driving. Heat and load change tension.
After 50 to 100 miles, check torque again. Use the same pattern and value.
This check is often skipped. It matters a lot.
Many shops remind drivers to return for a recheck. You can do it at home.
This habit supports safe driving and helps tighten lug nuts correctly long term.
Special Cases and Wheel Types
Alloy Wheels
Alloy wheels need even force. They can crack if stressed.
Always use a torque wrench. Avoid impact guns.
Steel Wheels
Steel wheels are tougher. They still need proper torque.
Aftermarket Wheels
These may use special lug nuts. Torque specs can differ.
Check maker guides before you tighten lug nuts correctly on custom wheels.
Weather and Road Factors
Cold weather shrinks metal. Hot weather expands it.
After long highway drives, parts are hot. Let them cool before checking torque.
Road salt causes rust. Clean studs during seasonal tire swaps.
These steps protect threads and help tighten lug nuts correctly in all seasons.
Signs of a Problem
Watch for these signs:
- Vibration at speed
- Clicking sounds while driving
- Steering wheel shake
- Visible rust dust near lugs
If you see these, stop and check.
Ignoring signs risks wheel damage or loss.
Professional vs DIY
Many drivers do this at home. It saves time and money.
Shops have tools and lifts. They also have torque charts.
If you do it yourself, follow steps closely.
Both paths are fine if done right.
“Most wheel issues come from rushed work, not bad parts.”
Laura Chen, Auto Safety Writer
Safety Tips You Should Never Skip
- Always use jack stands
- Never crawl under a car held by a jack alone
- Wear gloves to protect hands
- Keep tools in good shape
Safety habits matter as much as torque values.
Quick Reference Checklist
Before you finish, review this list.
| Task | Done |
|---|---|
| Correct torque set | Yes |
| Star pattern used | Yes |
| Nuts hand started | Yes |
| Recheck planned | Yes |
This simple list helps you tighten lug nuts correctly without stress.
How Often Should You Check Lug Nuts?
Check after tire changes. Check after long trips. Check if you feel vibration.
For daily drivers, checking every few months is smart.
For work trucks, check more often.
Regular checks reduce risk.
Real World Experience
Many drivers learn this lesson after a scare. A loose wheel feels strange. It makes noise. It shakes.
Doing the job right once prevents that fear.
“Good habits in the garage lead to calm miles on the road.”
Daniel Ruiz, Road Safety Advocate
Frequently Asked Questions
Can I tighten lug nuts without a torque wrench?
You can, but results vary. A torque wrench gives accuracy. It reduces risk.
Is hand tight enough?
No. Hand tight is only for seating. Final torque needs a tool.
Should I grease lug nuts?
Most makers say no. Grease changes torque readings.
What if a stud spins?
Stop. The stud may be damaged. Seek repair before driving.
Do electric cars have different needs?
Torque values may differ due to weight. Check the manual.
Conclusion
Wheel safety depends on simple steps done with care. Clean threads. Correct tools. Right torque. Proper pattern. Follow these every time.
Learning to tighten lug nuts correctly builds confidence. It protects your car and the people inside it. It also gives peace of mind on every trip.
Take a few extra minutes. Use the steps in this guide. Safe wheels mean safe drives.


6 Comments