Learning how to prevent tools from rusting is easy with these daily habits. Keep metal dry, apply oil, control humidity, and store them right to stop rust before it starts.
Rust is the enemy of every tool owner. You pick up a wrench or a saw, and you see that orange-brown dust. It feels rough. It makes the tool hard to use. The good news? You can stop this. Learning how to prevent tools from rusting is simple. It takes just a few minutes of your time. This guide will show you exactly what to do. You will learn easy steps to keep your tools clean, dry, and ready for any job.
Metal tools rust when water and air touch them. This is called oxidation. It happens fast in humid places like garages or sheds. But you can fight it. You do not need fancy equipment. You need good habits and the right supplies. Let us walk through the best ways to protect your investment.
Why Rust Forms on Your Tools
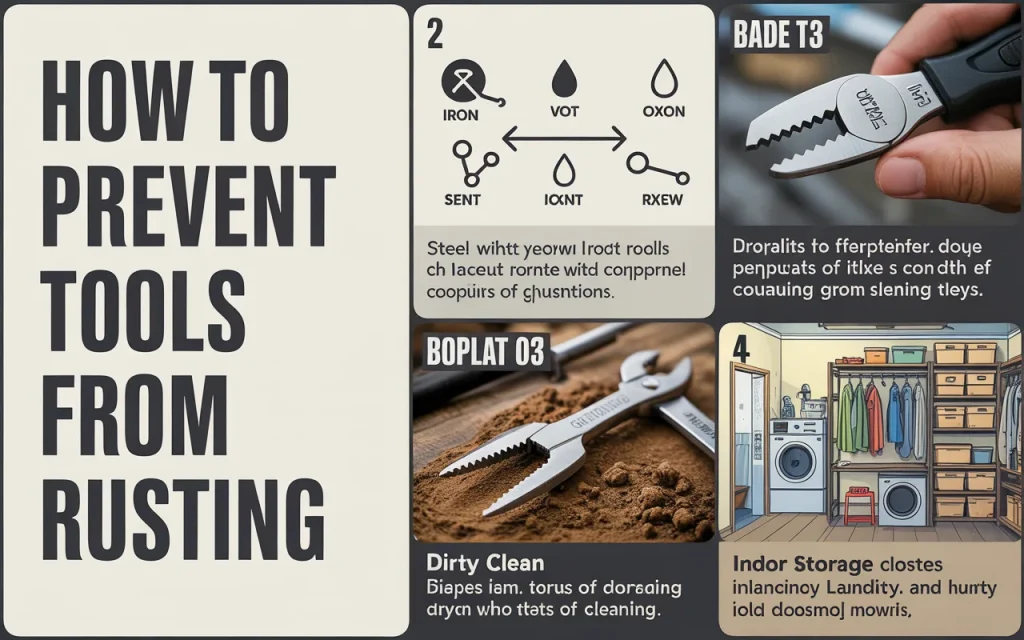
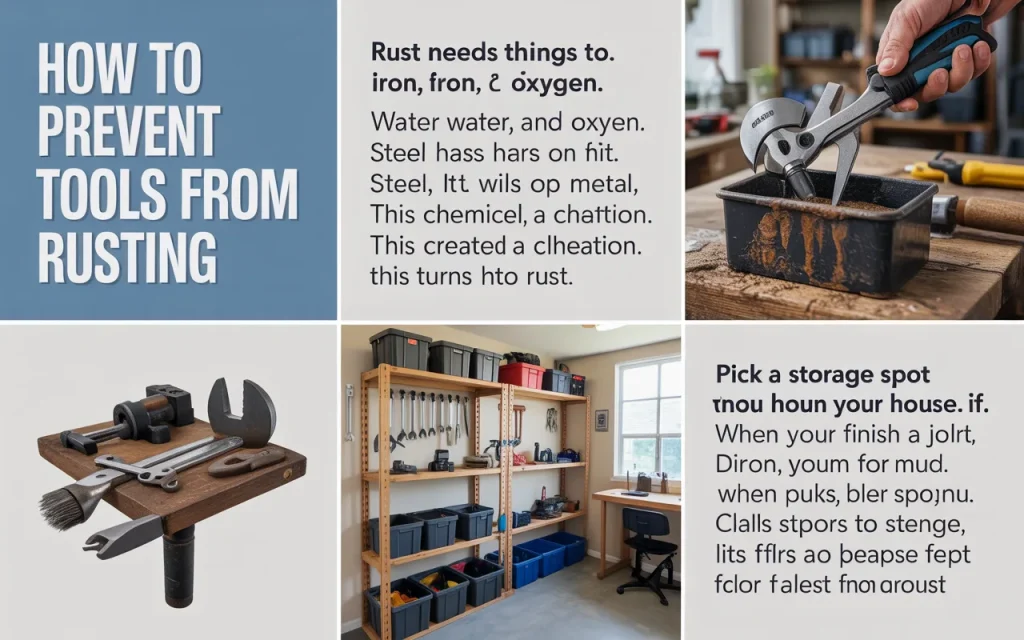
Rust needs three things to start. It needs iron, water, and oxygen. Most tools have steel. Steel has iron in it. When water sits on the metal, it mixes with oxygen from the air. This creates a chemical reaction. The metal starts to change. It turns into rust.
Sweat from your hands can also start rust. Your skin has salt and moisture. When you touch a tool and put it away, that salt stays on the metal. It eats through any protection. This is why you see rust on tools you use the most.
Temperature changes cause rust too. A cold garage warms up during the day. Water from the air turns into tiny drops on your tools. This is called condensation. It coats everything in a thin layer of water. If you do not wipe it off, rust will begin.
Quick Fact: A tool left in a damp shed can show rust spots in just 48 hours.
Clean Tools Before You Store Them
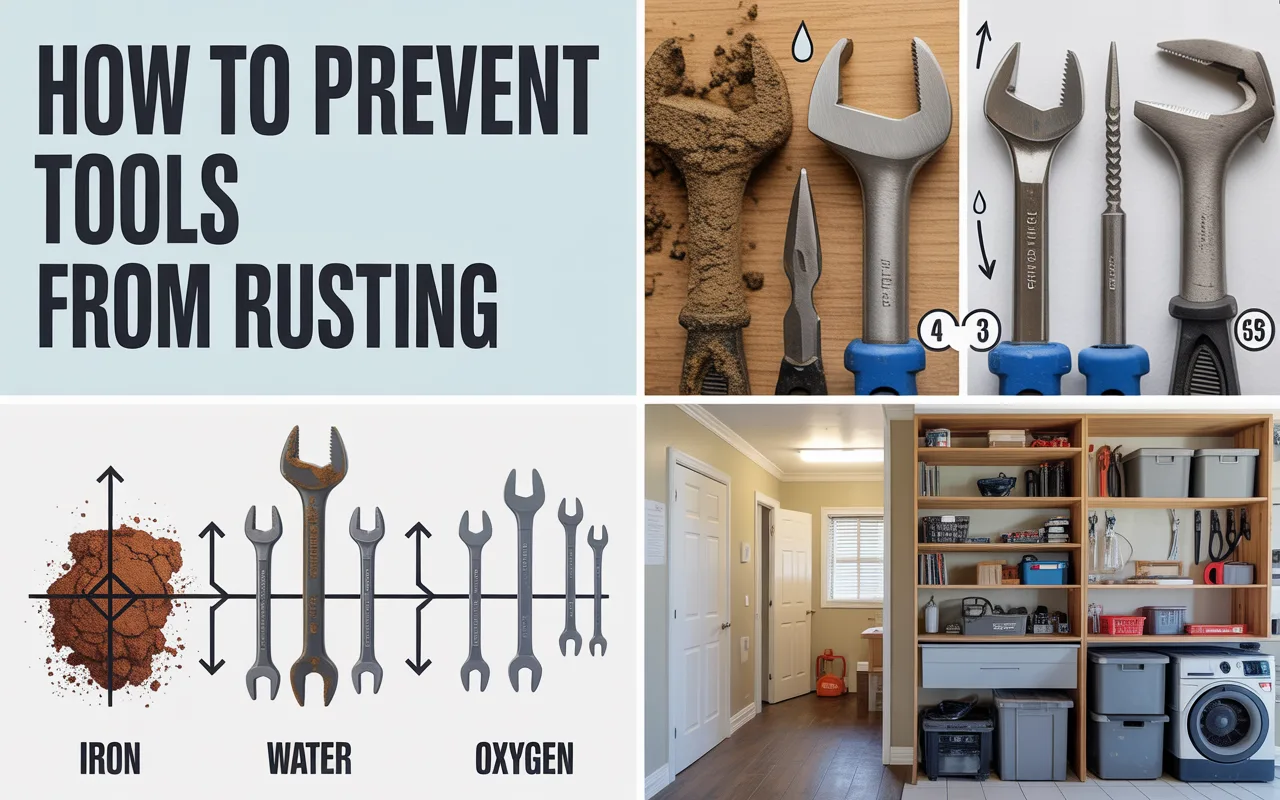
How to Prevent Tools From Rusting. Dirt holds moisture. When you finish a job, your tools have dust, mud, or grease on them. That dirt acts like a sponge. It pulls water from the air and keeps it against the metal. Cleaning is the first step to prevent tools from rusting.
Use a dry rag to wipe off dust. For sticky dirt, use a little soap and water. Dry the tool completely right after. Do not let it air dry. Use a towel and rub every part. Pay attention to hinges and joints. Water hides in those spots.
For tough grime, use a wire brush. Scrub lightly. You want to remove dirt, not scratch the metal deep. After brushing, wipe with a rag. Then apply a light oil. This cleans and protects at the same time.
“A clean tool is a happy tool. Dirt is the blanket that keeps moisture warm against the steel. Wipe it off, and you take away rust’s hiding spot.” – James Walker, Master Mechanic
Keep Tools in a Dry Place
Where you keep your tools matters a lot. A wet basement or an open garage invites rust. The air has humidity. That means water is floating around. You need to lower that moisture.
Pick a storage spot inside your house if you can. A closet in a hallway works. A shelf in a laundry room works too. These places stay dry. They have less humidity than a garage.
If you must use a garage or shed, make changes. Put your tools in a cabinet. Close the door. This keeps humid air away. You can also put a small heater in the space. Just a little warmth stops condensation.
Table 1: Best and Worst Places to Store Tools
| Storage Location | Moisture Level | Safety for Tools |
|---|---|---|
| Heated closet inside home | Low | Excellent |
| Garage workbench (open) | High | Poor |
| Sealed tool cabinet in garage | Medium | Good |
| Basement near walls | Very High | Bad |
| Shed with no floor | Extreme | Very Bad |
Use Oil and Rust Blockers
How to Prevent Tools From Rusting. Oil is a shield. It sits on the metal. Water cannot get through. You do not need to soak your tools. Just a light coat works.
Machine oil is a good choice. You can buy it at any hardware store. Put a few drops on a rag. Rub it on the metal parts. Do not oil wooden handles. Only the steel.
There are special sprays too. They are called rust preventives. WD-40 is one example. It drives water away and leaves a light film. Spray it on, let it sit, then wipe off the extra. The thin layer stays and protects.
For long-term storage, use a rust blocker. These come as sprays or dips. They leave a waxy coat. This coat lasts for months. It is perfect for tools you do not use often.
“I tell my students to treat their tools like a cast iron skillet. A thin coat of oil after every use keeps them seasoned and safe from rust.” – Maria Santos, Trade School Instructor
Control Humidity in Your Workspace
Humidity is the amount of water in the air. High humidity means rust happens fast. You can lower humidity without much work.
How to Prevent Tools From Rusting. Get a dehumidifier. This machine pulls water from the air. It collects it in a bucket. Run it in your garage or basement. The air becomes dry. Rust slows down.
You can also use silica gel packs. These are the little bags you find in shoe boxes. They soak up moisture. Put them in your tool box. Close the lid. The gel will keep the inside dry. When the packs get full of water, you can dry them in an oven and use them again.
Another trick is using chalk. Yes, regular blackboard chalk. Put a few pieces in your tool box. Chalk absorbs moisture from the air. It is cheap and works well.
Apply Paint or Coatings
Paint stops rust completely. Water cannot touch the metal. This works great for large tools like shovels and hoes. You only paint the parts that do not move.
Clean the metal first. Sand off any rust you see. Then wipe with a wet rag to remove dust. Let it dry. Now paint. Use metal paint or enamel. Put on two thin coats. Let each coat dry hard.
For moving parts like scissors or pliers, paint will not work. It makes them stick. Use oil on those parts instead. But for the rest of the tool, paint is a strong wall against rust.
There are clear coatings too. They look like plastic. You brush them on. They dry clear so the tool still looks normal. This is good for display tools or ones you want to keep pretty.
Store Tools in Tool Boxes and Rolls
A tool box does more than organize. It protects. When you close the lid, you block dust and humid air. The tools stay cleaner and dryer.
Choose a metal or plastic box. Both work. Metal boxes are strong. Plastic boxes are light. Make sure the lid seals tight. Some boxes have rubber seals. These are the best for keeping moisture out.
Tool rolls are great for hand tools. You slip each tool into its own pocket. Then you roll it up. The fabric keeps tools from touching each other. This stops scratches. Scratches can start rust because they hold water.
Put a rust blocker inside the box. You can buy small packets made for tool boxes. They release a vapor. This vapor covers all the tools. It stops rust even if a little water gets in.
Table 2: Simple Daily Rust Prevention Routine
| Step | What To Do | Time Needed |
|---|---|---|
| 1 | Wipe tool with dry rag after use | 30 seconds |
| 2 | Check for dirt in joints | 15 seconds |
| 3 | Apply light oil spray | 20 seconds |
| 4 | Put tool in dry storage | 10 seconds |
| 5 | Look for early rust spots weekly | 2 minutes |
Check and Maintain Tools Regularly
How to Prevent Tools From Rusting. You cannot just store tools and forget them. Rust can still find a way. You need to check your tools now and then. Look at them once a week.
Take them out of the box. Look at all the surfaces. Do you see a dull spot? That might be starting rust. Rub it with oil and a rag. If you catch it early, it wipes right off.
Feel the edges. Are they smooth? If they feel rough, clean them. Use a little steel wool. Rub gently. Then oil the spot. This keeps small problems from growing big.
Move the joints. Do they squeak? That means they are dry. Add a drop of oil. Work it back and forth. The oil spreads inside. This stops rust in the hidden places.
“I find rust on my tools about once a month. I don’t panic. I just clean it off and oil it. Regular checks mean rust never gets a chance to ruin anything.” – Tom Chen, DIY Homeowner
Fix Rust When You See It
Sometimes rust wins. You miss a spot. Or you forget to oil a tool. Now you have rust. Do not worry. You can fix it.
For light rust, use steel wool. Rub the spot. The wool scrubs off the rust. It does not hurt the good metal under it. Rub until the orange is gone. Then wipe clean and oil.
For heavier rust, use sandpaper. Start with rough paper. Then use finer paper. This smooths the metal. After sanding, you must oil or paint. The bare metal will rust again fast.
You can also use vinegar. Soak the rusty tool in white vinegar for a day. The vinegar eats the rust. Then scrub with a brush. Rinse with water. Dry completely. Then oil right away. This works great for tools covered in rust.
Natural Ways to Fight Rust
Some people do not like chemicals. That is okay. You can use natural things to fight rust.
Lemon juice and salt make a paste. Put it on the rust. Let it sit. The acid in lemon breaks down rust. Scrub after an hour. Wash and dry. Then use vegetable oil to protect. Olive oil or cooking oil works. It is not as strong as machine oil, but it helps.
Beeswax is another natural choice. Rub a block of wax on warm metal. The wax melts a little. It leaves a coat. This coat stops air and water. It is safe and smells good.
Baking soda mixed with water makes a paste too. Put it on rust. Let it dry. Scrub off. The rust comes with it. This is gentle and safe for all tools.

Common Mistakes That Cause Rust
People make mistakes without knowing. These mistakes let rust start. Learn them so you can stop.
Leaving tools outside is the biggest mistake. Even for five minutes, dew can form. Bring them inside every time.
Putting tools away wet is another. Sweat or rain stays on them. You close the box. Rust grows in the dark. Always dry tools first.
Stacking tools on top of each other causes scratches. Scratches hold water. Use tool rolls or separate drawers.
Using the wrong oil hurts too. Cooking oil goes bad. It gets sticky. It can actually hold water. Use proper tool oil instead.
Teach Your Family Good Habits
If you share tools, everyone must help. Teach your family the rules. Show them how to clean and oil. Make it easy.
Put a rag and oil near the tool storage. When someone puts a tool back, they see it. They remember to wipe it. A sign on the wall helps too. It says “Clean me before I rest.”
Kids can help. Give them a safe tool to care for. Show them how to wipe it. They learn good habits young. They also feel proud taking care of things.
When everyone helps, tools last longer. You save money. You always have sharp, clean tools ready to use.
Frequently Asked Questions
How often should I oil my tools?
Oil your tools after every use. If you use them daily, a quick wipe with an oily rag each time is enough. For tools stored long-term, oil them every few months.
Can I use WD-40 to prevent rust?
Yes. WD-40 drives out moisture and leaves a light film. It works well for regular maintenance. For long storage, use a thicker oil or wax.
Does vinegar remove rust?
Yes. Soak rusty tools in white vinegar for 24 hours. Scrub with a brush. Rinse with water. Dry fully and oil right after.
What is the best way to store garden tools?
Clean off all dirt. Dry them. Apply oil or paint. Hang them on a wall rack in a dry shed. Keep them off the ground.
Will painting tools stop rust?
Yes, on non-moving parts. Paint blocks air and water. Do not paint moving parts like hinges. Use oil there instead.
How do I stop rust in my tool box?
Put silica gel packs inside. Use a vapor rust blocker. Keep the box closed. Store it in a dry room, not a damp garage.
Conclusion
Rust does not have to ruin your tools. You have the power to stop it. Clean your tools after every job. Dry them well. Keep them in a dry place. Oil the metal parts. Check them often for early signs of rust.
These steps are simple. They take just a minute or two. But they add years to your tools. Your wrenches will stay shiny. Your saws will stay sharp. Your shovels will stay strong.
Start today. Grab a rag and some oil. Wipe down your favorite tool. Make it a habit. Your future self will thank you. Every time you pick up a clean, rust-free tool, you will know it was worth the small effort. Protect your tools. They work hard for you. Give them the care they need.

3 Comments