Learn exactly how to clean beauty tools the right way. This guide covers simple steps for brushes, sponges, and devices to keep your skin healthy and your tools lasting longer.
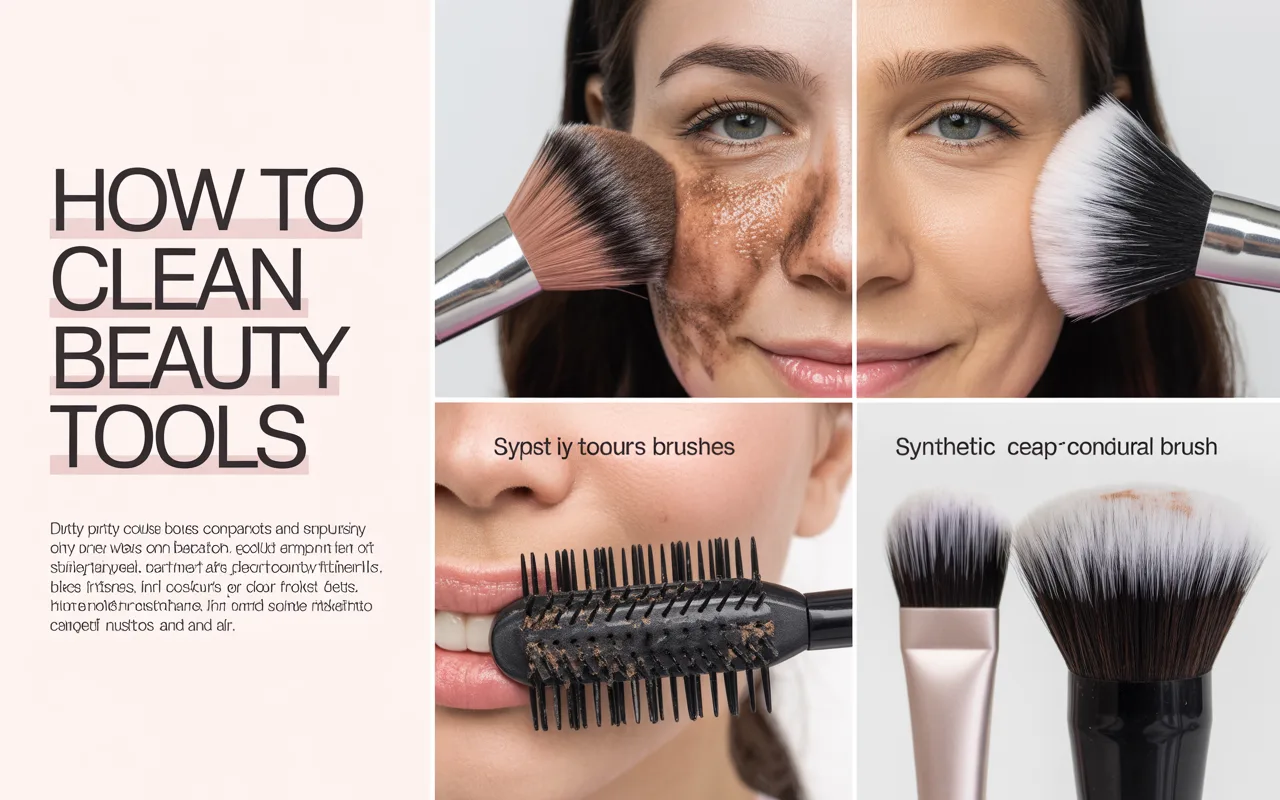
Your beauty tools touch your face every single day. Think about it. Your makeup brush picks up oil, dead skin, and old product. Then you put it back on your face. That is not good for your skin.
Dirty tools can cause breakouts. They can also make your makeup look bad. The good news? Learning how to clean beauty tools is very easy. You do not need fancy products. You just need a simple routine.
Many people forget to clean beauty tools often enough. But once you start doing it, you will see a difference. Your skin will look clearer. Your makeup will go on smoother. Your tools will also last longer.
This guide will show you everything. We will cover brushes, sponges, and electric tools. We will also talk about how often to clean them. Let us get started.
Why You Must Clean Beauty Tools Regularly
Dirt builds up fast on your tools. Every time you use a brush, it picks up bacteria. These germs come from your skin and the air. If you do not clean them, you put those germs right back on your face.
Dr. Sarah Lee, a dermatologist in New York, says, “I see many patients with acne that will not go away. Often, the cause is their dirty makeup brushes. Cleaning them weekly can stop breakouts before they start.”
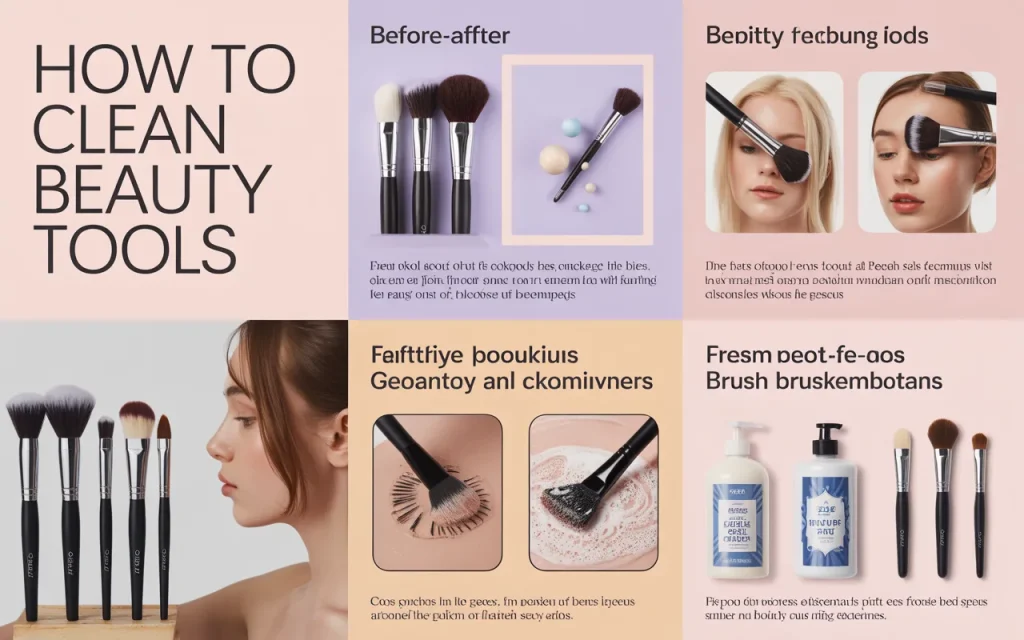
Old product buildup also changes how your makeup looks. Your foundation brush might have dried product inside. This makes your makeup go on patchy. Fresh tools give you a fresh look.
Cleaning also saves you money. Good brushes cost money. If you take care of them, they last for years. If you ignore them, they get stiff and gross. You have to throw them away sooner.
What You Need to Clean Your Tools
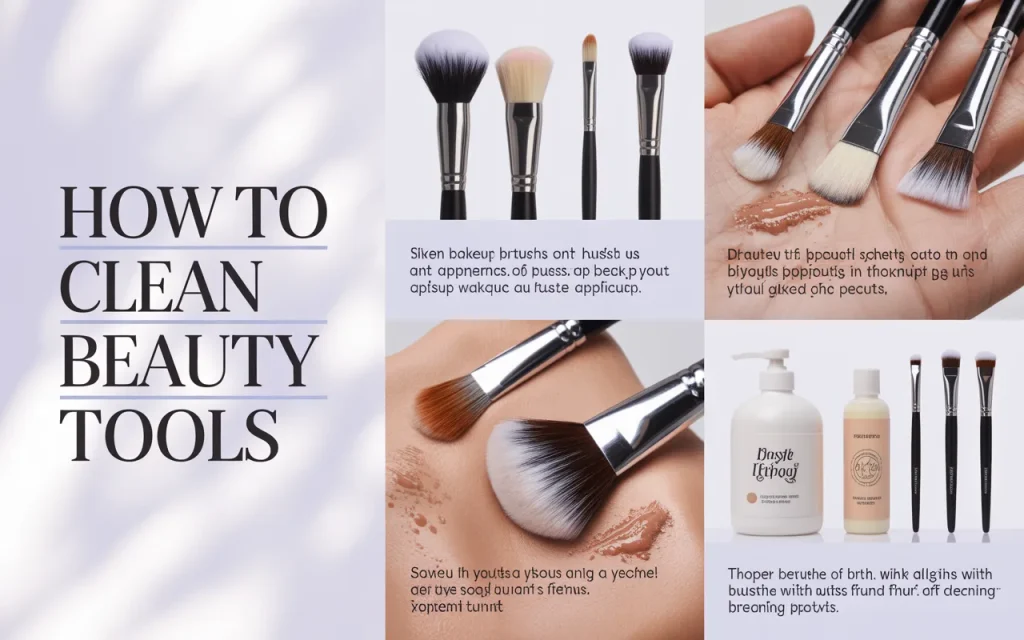
You do not need expensive cleaners. Most things are already in your home. Here is a simple list:
- Mild soap or baby shampoo
- Olive oil or another gentle oil (for deep cleaning)
- A small bowl or your sink
- Clean towels
- A brush cleaning mat or your hand
For synthetic brushes, any gentle soap works. For natural hair brushes, use a conditioner or a special brush cleaner. This keeps the bristles soft.
How to Clean Makeup Brushes Step by Step
Makeup brushes are the most used tools. They need regular cleaning. Here is the best way to do it.
Step 1: Wet the Bristles
Hold the brush under warm running water. Keep the bristles pointing down. Do not get water where the bristles meet the handle. That glue can loosen. If that happens, the brush falls apart.
Step 2: Add Soap
Put a drop of gentle soap in your palm. You can also use a brush cleaning mat. Swirl the brush in the soap gently. You will see the old makeup come out.
Step 3: Rinse Well
Rinse the bristles under water again. Keep the brush pointing down. Keep going until the water runs clear. No more soap or color should come out.
Step 4: Squeeze Out Water
Gently squeeze the bristles with your fingers. You can also use a clean towel. Do not pull hard. You just want to remove extra water.
Step 5: Shape and Dry
Shape the brush back to its normal form. Lay it flat on a towel to dry. Let the bristles hang off the edge of a counter. This helps air get to them. Do not stand brushes up to dry. Water can run into the handle.
How to Clean Makeup Sponges
Makeup sponges are tricky. They hold a lot of water and product. They can also grow mold fast. Cleaning them right is very important.
Step 1: Get the Sponge Wet
Run your sponge under warm water. Squeeze it a few times to get it fully wet.
Step 2: Add Soap
Use a solid cleanser or liquid soap. Rub the soap into the sponge. Squeeze and massage it. You will see the old foundation come out.
Step 3: Rinse and Repeat
Rinse the sponge under water. Squeeze it while you rinse. Keep going until the water runs clear. If it is still dirty, add more soap and do it again.
Step 4: Dry Completely
Squeeze out as much water as you can. Then let the sponge sit in a clean, open area. Make sure it gets air on all sides. Do not put it in a closed container while wet.
Lisa Kim, a professional makeup artist in Los Angeles, shares, “I tell my clients to clean their sponges after every few uses. A damp sponge left in a bag grows bacteria fast. Let it breathe and dry fully between uses.”
Cleaning Electric Beauty Tools
Electric tools need special care. You cannot just run them under water. Here is how to handle them.
Facial Cleansing Brushes
These brushes touch your face directly. They get dirty fast.
First, remove the brush head. Rinse it with warm water. Use a mild soap to clean the bristles. Rub gently with your fingers. Rinse well until no soap is left. Let the brush head dry completely before you put it back on.
For the handle, wipe it with a damp cloth. Do not get water in the charging port. That can break the tool.
Derma Rollers and Micro-needling Tools
These tools have tiny needles. They need extra care because they can cause infections.
Rinse the roller with hot water after each use. Then spray it with 70% isopropyl alcohol. Let it sit for a few minutes. Rinse again with water. Let it air dry on a clean towel. Replace these tools often. The needles get dull and can hurt your skin.
How Often Should You Clean Your Tools?
This is a common question. The answer depends on how you use them.
| Tool Type | How Often to Clean |
|---|---|
| Foundation brushes | After each use or every 2-3 days |
| Eyeshadow brushes | Once a week |
| Makeup sponges | After each use |
| Eyelash curler | Once a week |
| Tweezers | Wipe with alcohol after each use |
| Facial cleansing brush | After each use (rinse head) |
| Derma roller | After each use (alcohol spray) |
Following this schedule keeps your tools safe. It also makes cleaning feel easy. You are not doing everything at once.
Deep Cleaning vs. Daily Cleaning
There are two types of cleaning. Daily cleaning is quick. Deep cleaning takes more time.
Daily Cleaning
This is for between uses. You just remove surface product. For brushes, you can wipe them on a clean towel. For sponges, rinse them quickly. For electric brushes, rinse the head. This keeps buildup from getting hard.
Deep Cleaning
Do this once a week for most tools. This is the full process we talked about. You use soap and water. You remove all old product. You let everything dry fully.
Deep cleaning also means checking your tools. Look for damage. If bristles are falling out, it is time for a new brush. If a sponge has dark spots, throw it away. That could be mold.
Natural Ways to Clean Beauty Tools
Some people like natural cleaners. They work well for most tools. Here are some options.
Vinegar and Water
Mix one part white vinegar with two parts water. Soak your brushes for a few minutes. Then rinse well. Vinegar kills bacteria. It also removes buildup. But do not use it too often. It can dry out natural bristles.
Baking Soda Paste
Mix baking soda with a little water. Make a thick paste. Rub it into your brushes or sponges. Let it sit for a few minutes. Then rinse. This is great for deep cleaning. It lifts out old, stuck product.
Gentle Soap
Castile soap is a good natural option. It is plant based and gentle. It cleans well without harsh chemicals.
Common Mistakes When Cleaning Tools
People often make these errors. Avoid them to keep your tools nice.
Using hot water. Hot water can melt glue. It can also damage bristles. Always use warm or cool water.
Soaking brushes. Do not let brushes sit in water. The handle can get damaged. The glue can loosen. Just wet the bristles.
Drying brushes standing up. Water runs down into the handle. This ruins the brush over time. Always dry them flat.
Using harsh cleaners. Things like dish soap can dry out bristles. Stick to mild soaps. Baby shampoo is a safe choice.
Forgetting to clean brush holders. Your brush holder gets dirty too. Wipe it out now and then. Otherwise, clean brushes get dirty again fast.
Signs Your Tools Need Cleaning
Sometimes you forget the schedule. That is okay. Your tools will tell you when they are dirty. Look for these signs.
- Brushes feel stiff or sticky
- Makeup does not blend well
- Sponges have dark spots
- Tools smell bad
- You get more breakouts than usual
If you see any of these, it is time to clean beauty tools right away. A quick clean can fix most problems.
Mark Rivera, a skincare specialist in Miami, explains, “Your skin tells you when something is wrong. If you suddenly have clogged pores or pimples in new places, check your tools. Nine times out of ten, they are the culprit.”
Storing Clean Tools
Cleaning is only half the work. Storing them right matters too.
Keep brushes in a clean cup or holder. Make sure they are fully dry before you put them away. If you put them away wet, bacteria grows.
Sponges need air. Do not seal them in a bag or case while damp. Let them sit out in the open.
Electric tools should be stored in a dry place. Keep them away from the bathroom if it gets steamy. Too much moisture can damage the motor.
When to Throw Tools Away
Even with good care, tools wear out. Here is when to replace them.
Makeup brushes: Every 1 to 3 years if you clean them. If bristles fall out or they smell, replace sooner.
Makeup sponges: Every 3 months. Sponges are hard to clean fully. Bacteria hides inside. New sponges are cheap and safer.
Electric brush heads: Every 3 to 6 months. The bristles get soft and less effective.
Derma rollers: Every 3 to 6 months. The needles bend and dull. Using a dull roller can hurt your skin.
Benefits of Clean Tools
Clean tools do more than just feel nice. They actually help your skin and your makeup.
Better skin. No bacteria means fewer pimples. Your skin stays clearer.
Smoother makeup. Clean brushes pick up product better. They spread it evenly. Your makeup looks professional.
Longer tool life. Dirt breaks down bristles. Cleaning prevents this. Your tools last longer.
Money saved. You buy new tools less often. That is good for your wallet.
Quick Routine for Busy People
Not everyone has time for deep cleaning every week. That is okay. Here is a simple routine.
- Keep a spray cleaner by your sink
- Spray brushes after using them
- Wipe them on a clean towel
- Rinse sponges quickly after each use
- Do a deep clean once a month
Even this small routine makes a big difference. It keeps bacteria from building up. It also keeps your tools working well.
Table: Best Cleaning Methods by Tool Type
| Tool Type | Best Cleaning Method | Drying Time |
|---|---|---|
| Synthetic brushes | Mild soap and water | 4-6 hours |
| Natural hair brushes | Conditioner or gentle shampoo | 6-8 hours |
| Makeup sponges | Solid cleanser or liquid soap | Overnight |
| Eyelash curler | Alcohol wipe | 5 minutes |
| Tweezers | Alcohol wipe | 5 minutes |
| Electric brush heads | Soap and water rinse | Overnight |
| Derma roller | Alcohol spray | 30 minutes |
Quotes to Remember
Dr. Emily Chen, a cosmetic chemist, says, “The chemistry of makeup changes when it sits on a dirty brush. Old product oxidizes and can irritate skin. Fresh tools mean fresh chemistry on your face.”
Nina Patel, a beauty blogger with ten years of experience, shares, “I ruined so many brushes when I started. I left them in water. I used hot water. Now I treat them gently, and they last years. It is worth the extra care.”
James Carter, a male grooming expert, notes, “Men often forget to clean their tools too. Beard brushes, razors, and trimmers all need cleaning. Dirt in these tools can cause skin issues just like makeup brushes do.”
Frequently Asked Questions
Can I use dish soap to clean my brushes?
You can, but it is drying. Dish soap removes oil. It can make natural bristles stiff. Baby shampoo is a better choice.
How do I know if my sponge has mold?
Look for dark spots. Black or green spots mean mold. Throw that sponge away. Do not use it on your face.
Can I put brushes in the dishwasher?
No. The heat and water pressure will ruin them. Always clean by hand.
Is alcohol safe for all tools?
Alcohol is great for metal tools like tweezers. For brushes, it can dry them out. Use alcohol only on non-porous surfaces.
How do I clean a very old brush with hard product?
Soak it in warm water with a little olive oil and soap. Let it sit for 10 minutes. Then massage the bristles. The oil helps break down old makeup.
Should I clean tools if I only use them once a week?
Yes. Even light use builds up bacteria. Clean them at least once a month.
Can I use vinegar on all brushes?
Vinegar is safe for most synthetic brushes. For natural hair, use it less often. It can be drying.
How do I dry brushes fast?
Gently squeeze out water with a towel. Then lay them flat in a warm, airy spot. Do not use a hair dryer. Heat damages bristles.
What if my brush smells even after cleaning?
The smell means bacteria is deep inside. Try a deep clean with vinegar. If the smell stays, throw the brush away.
Do I need to buy special brush cleaners?
No. Simple soap and water work fine. Special cleaners are nice but not needed.

Conclusion
Learning how to clean beauty tools is one of the easiest ways to improve your skin and your makeup. It takes only a few minutes each week. The payoff is huge.
You get fewer breakouts. Your makeup looks better. Your tools last longer. You save money over time. It is a simple habit that makes a real difference.
Start small. Clean one brush today. Then add more to your routine. Before you know it, clean tools will feel normal. Your skin will thank you.
Remember to clean beauty tools after each use when you can. At least do a deep clean once a week. Follow the steps in this guide. Use the right methods for each tool. Store them dry and clean.
Your beauty routine is about taking care of yourself. Clean tools are part of that care. They show respect for your skin and your products. So grab your brushes and give them some love. They work hard for you every day.