Learn how do you rotate car tires at home with simple steps, basic tools, and safety tips. Save money and extend tire life without a mechanic.
Learning how do you rotate car tires at home is one of the best skills any driver can pick up. It saves money, keeps your car safe, and helps your tires last longer. Many people think tire rotation is a job for a professional shop. But with the right information and a few basic tools, you can do it yourself in about an hour.
I have rotated my own tires for over ten years. At first, I felt nervous. But after the first time, I realized it is very straightforward. You do not need a fancy garage or expensive equipment. You just need patience, safety, and the correct pattern for your vehicle.
This guide will show you exactly how do you rotate car tires at home step by step. We will cover tools, safety, patterns, and common mistakes. By the end, you will feel confident to do this job on your own.
Why You Should Learn How Do You Rotate Car Tires at Home
Tire rotation means moving each tire to a different position on the car. Front tires move to the back, and back tires move to the front. Sometimes they also swap sides. This helps all four tires wear evenly.
When you drive, front tires wear faster than rear tires. They handle steering, braking, and most of the engine weight. If you never rotate, front tires may become bald while rear tires still look new. Uneven wear means you buy new tires more often.
Learning how do you rotate car tires at home gives you three big benefits:
- Save money – A shop charges $20 to $50 per rotation. Doing it yourself costs nothing after you own a jack and wrench.
- Know the job is done right – You control the torque and pattern. No rushed work.
- Check other parts – While tires are off, you can inspect brakes, suspension, and air pressure.
Regular tire rotation is the single cheapest way to extend tire life by thousands of miles.” – Mike Allen, automotive expert and former Popular Mechanics editor
Many car makers recommend rotation every 5,000 to 7,500 miles. That matches a typical oil change interval. So you can rotate tires each time you change the oil.
Tools You Need to Rotate Car Tires at Home
Before you start, gather everything. Nothing is worse than lifting a car and realizing you forgot a tool.
Here is a simple table of required and optional tools:
| Required Tools | Why You Need Them |
|---|---|
| Floor jack or scissor jack | Lifts the car off the ground |
| Four jack stands (safety first) | Holds the car securely while you work |
| Lug wrench (cross or telescoping) | Removes and tightens lug nuts |
| Tire chocks (wood or rubber blocks) | Prevents the car from rolling |
| Optional but Helpful Tools | Benefit |
|---|---|
| Torque wrench | Tightens lug nuts to factory spec |
| Gloves | Keeps hands clean and protected |
| Kneeling pad | More comfort on hard ground |
| Spray lubricant | Helps loosen stuck lug nuts |
Do not use just the jack alone. Jacks can fail. Always place jack stands under solid frame points. Then lower the car onto the stands before you go under or remove tires.
If you have a modern car without a spare tire, you still have a jack and wrench. Check your trunk or under the cargo floor.
Safety First: Prepare Your Car and Work Area
Safety is the most important part of how do you rotate car tires at home. A car falling off a jack can cause serious injury. Follow these rules every time.
- Park on flat, hard ground – Never use soft dirt or gravel. Concrete or asphalt is best.
- Engage the parking brake – Pull it firmly. This stops rear wheels from turning.
- Use wheel chocks – Place them behind the rear tires if lifting front. Place them in front of front tires if lifting rear.
- Loosen lug nuts before lifting – Turn each nut half a turn while the tire touches the ground. This stops the wheel from spinning.
- Never crawl under a car on just a jack – Always use jack stands.
“If you only remember one thing about DIY car repair, let it be this: never trust a hydraulic jack alone. Use stands every single time.” – Carroll Smith, race car engineer and author
Take your time. Rushing leads to mistakes or accidents. Work in good light. If you feel tired or frustrated, stop and try again later.
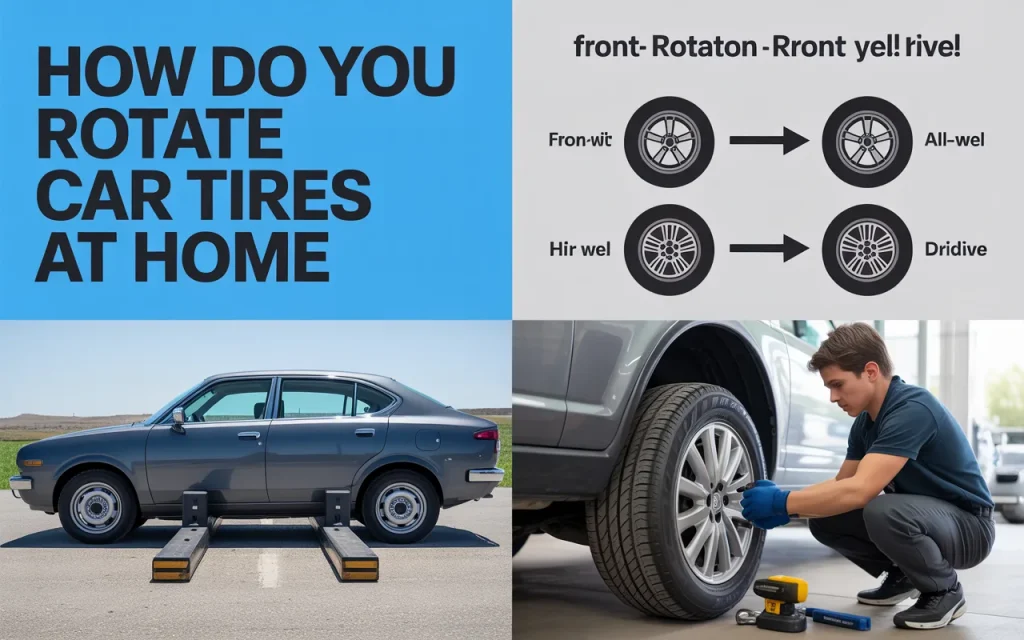
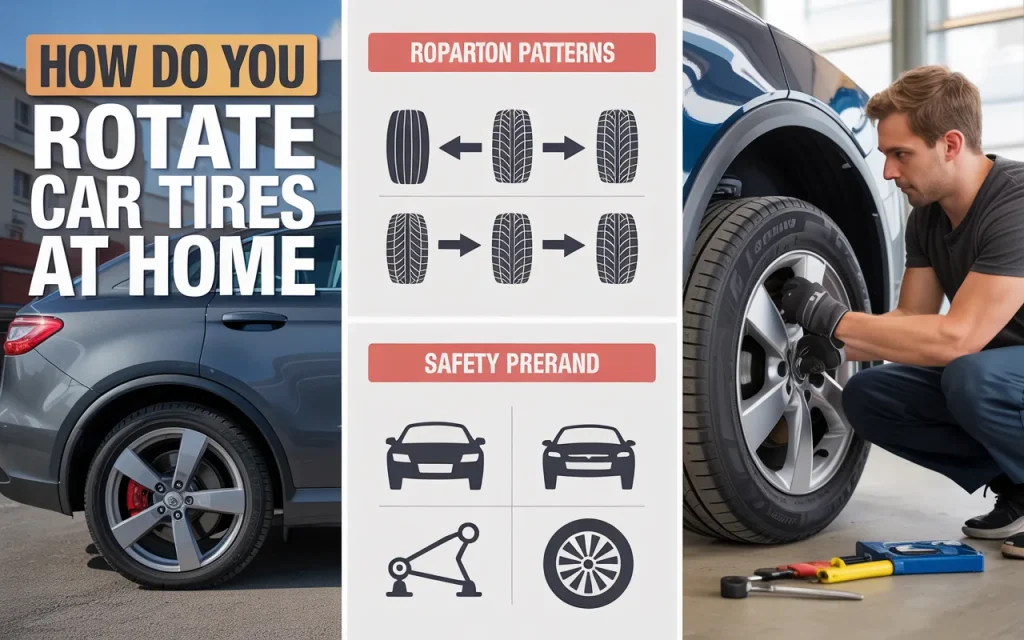
Which Tire Rotation Pattern Should You Use?
Different cars need different patterns. Using the wrong pattern can damage your drivetrain. Here is a simple table to help you choose.
| Car Type | Rotation Pattern | Movement |
|---|---|---|
| Front-wheel drive (FWD) | Forward cross | Rear tires move straight to front. Front tires cross to rear. |
| Rear-wheel drive (RWD) | Rearward cross | Front tires move straight to rear. Rear tires cross to front. |
| All-wheel drive (AWD) | X-pattern | All tires cross to opposite corners. |
| Same size directional tires | Front to back only | Tires stay on same side. No crossing. |
Most everyday cars are front-wheel drive. That means engine power goes to the front wheels. For FWD, the pattern is:
- Left rear → Left front
- Right rear → Right front
- Left front → Right rear
- Right front → Left rear
For rear-wheel drive (trucks and sports cars), do the opposite:
- Left front → Left rear
- Right front → Right rear
- Left rear → Right front
- Right rear → Left front
Check your owner’s manual. It will show the exact pattern for your model. If you have directional tires (arrows on sidewall showing rotation direction), only swap front to back on the same side.
Step-by-Step Guide: How Do You Rotate Car Tires at Home
Now let us walk through the full process. I will explain each step as if you are doing it for the first time.
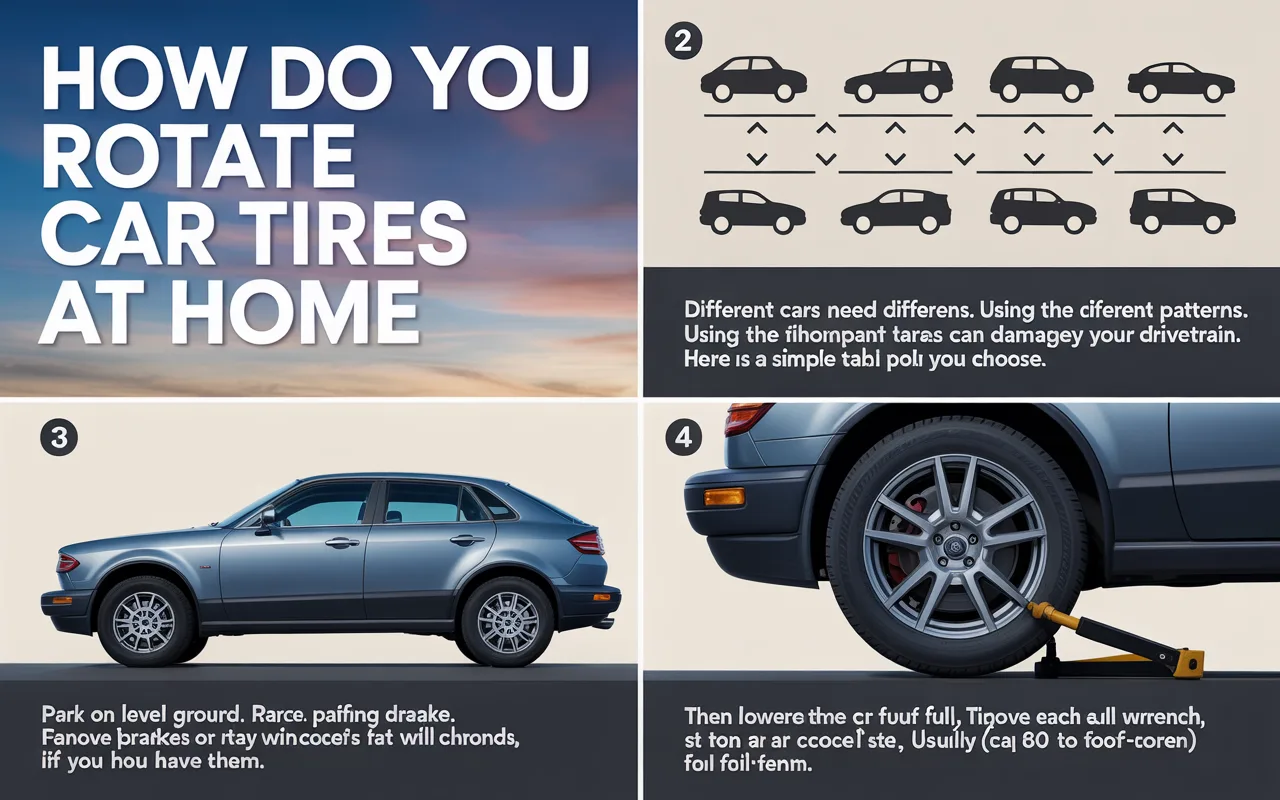
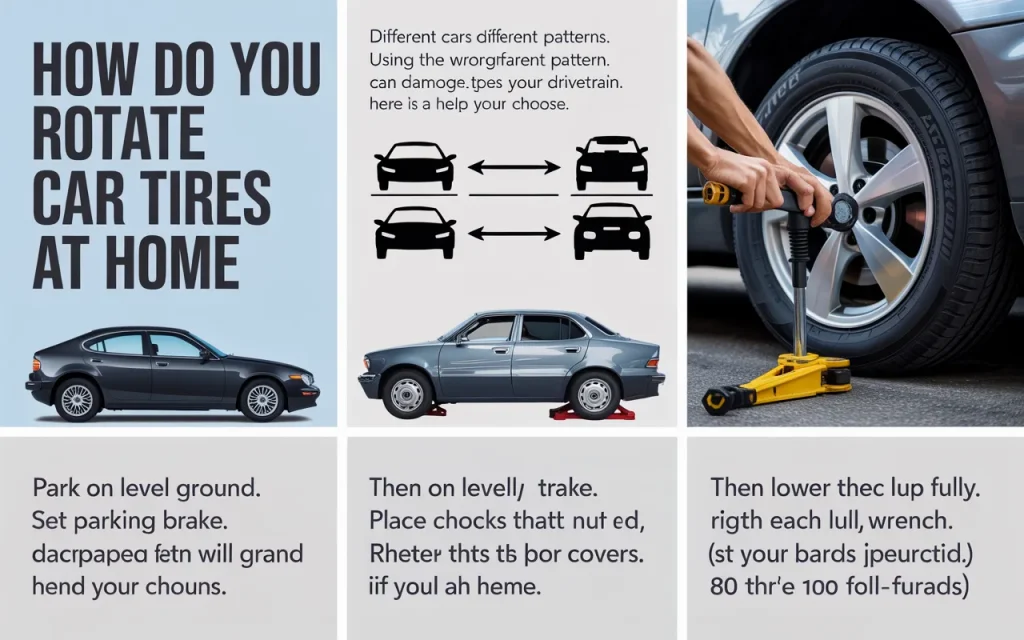
Step 1: Park and Prepare
Park on level ground. Set parking brake. Place chocks behind tires that will stay on ground. Remove hubcaps or wheel covers if you have them.
Step 2: Loosen Lug Nuts
Use your lug wrench. Turn counterclockwise. Do not remove them yet. Just break them loose. One half turn is enough. If a nut is stuck, push the wrench with your foot or use a piece of pipe for more leverage.
Step 3: Lift the Car
Jack up one corner at a time? No. Lift the whole side or end. For a front-wheel drive car, jack up the rear first. Place jack under the rear manufacturer lift point. Raise until the tire clears the ground. Place a jack stand under the frame. Lower the car onto the stand. Repeat for the other rear corner.
Then jack up the front and place stands under front lift points. Now all four tires are off the ground.
Step 4: Remove All Tires
Take off every lug nut and remove all four tires. Keep lug nuts in a small box or cup so you do not lose them.
Step 5: Move Tires According to Pattern
Follow the pattern from the table above. For a front-wheel drive car, move left rear tire to left front position. Move right rear to right front. Then move left front to right rear. Move right front to left rear.
Carry each tire to its new corner. This is physical work. Take breaks if needed.
Step 6: Put Tires Back On
Place each tire onto its new studs. Hand-tighten all lug nuts as much as you can. Do not use the wrench yet.
Step 7: Lower the Car and Tighten
Raise the car slightly with the jack to remove jack stands. Lower the car until tires just touch the ground but still hold most weight on jack. Now use the lug wrench to tighten nuts in a star pattern. That means tighten one nut, skip one, tighten next, and so on. This presses the wheel evenly.
Then lower the car fully. Remove jack. Tighten each lug nut again with full force. If you have a torque wrench, set it to your car’s specification (usually 80 to 100 foot-pounds).
Step 8: Check Air Pressure
Set all tires to the pressure listed on the driver’s door sticker. Do not use the pressure on the tire sidewall. That is the maximum, not the recommended.
Step 9: Recheck After 50 Miles
Drive gently for a day or two. Then recheck lug nuts. They can settle and become loose. Tighten again to spec.
“Most DIY tire rotations fail because people skip the final re-torque. Drive 50 miles and check again. That small step prevents wheels from falling off.” – Lauren Fix, The Car Coach
Common Mistakes When Learning How Do You Rotate Car Tires at Home
Even experienced DIYers make errors. Here are the most common problems and how to avoid them.
Mistake 1: Using the wrong pattern for AWD cars
AWD systems need even tire diameter. If you cross tires that are worn differently, you can damage the differential. Always use X-pattern for AWD unless your manual says otherwise.
Mistake 2: Not cleaning the hub surface
Rust or dirt between the wheel and hub causes vibration. Before mounting each tire, scrape off rust with a wire brush. Apply a thin layer of anti-seize compound if you have it.
Mistake 3: Over tightening or under tightening
Too loose and the wheel can fall off. Too tight and you can strip threads or warp brake rotors. A torque wrench solves this. If you do not own one, tighten firmly with a standard wrench but do not jump on it.
Mistake 4: Rotating too late
If you wait until front tires show uneven wear, the damage is already done. Stick to a 5,000 mile schedule. Write the mileage on a note in your glove box.
Mistake 5: Forgetting the spare tire
Some cars have a full-size spare. That spare should also be rotated into the set every few changes. Check your owner’s manual for spare rotation schedule.
How Often Should You Rotate Tires?
Most manufacturers say every 5,000 to 7,500 miles. Some cars with performance tires need rotation every 3,000 miles. Check your owner’s manual for the exact number.
You can also look for signs that rotation is overdue:
- Front tires look more worn than rear tires
- One shoulder of a tire is balder than the other side
- You feel vibration while driving (uneven wear causes this)
- It has been more than six months since last rotation
Even if you do not drive many miles, rotate twice per year. Rubber ages and tires can develop flat spots. Rotation helps keep them round and balanced.
Frequently Asked Questions
Q: Can I rotate tires without jack stands?
It is not safe. A jack can fail suddenly. Jack stands cost $25 to $40 per pair. That is cheap compared to a hospital bill. Always use stands.
Q: Do I need to balance tires after rotating at home?
No. Balancing fixes weight distribution on each wheel. Rotation does not change balance. However, if you feel vibration after rotating, one tire may have lost a balance weight. Then visit a shop.
Q: How do you rotate car tires at home if you only have one jack?
You can use the spare tire method. Jack up one corner. Remove the tire. Install the spare. Lower that corner. Move jack to next corner. Repeat until all tires are in new positions. Then go back and remove the spare and put the correct tire on. This takes longer but works.
Q: Do I rotate tires front to back or cross?
It depends on your car. Front-wheel drive: cross the front tires to the rear, move rear straight forward. Rear-wheel drive: cross the rear tires to the front, move front straight back. AWD: cross all four. Directional tires: front to back only.
Q: What if my lug nuts are rusted and won’t loosen?
Spray penetrating oil on each nut. Wait ten minutes. Use a longer wrench or a breaker bar. If still stuck, a shop with air tools may be needed. Do not force so hard that you break a stud.
Q: Can rotating tires fix a pull to one side?
Sometimes. If a tire has uneven wear or a shifted belt, moving it to a different corner may stop the pull. But if the pull continues, you may need an alignment.
Q: How do you rotate car tires at home with directional tires?
Directional tires have V-shaped tread and an arrow on the sidewall. They must spin only one way. So you cannot cross sides. Move left front to left rear. Left rear to left front. Same for right side. Never swap left to right.
Q: Is tire rotation necessary for electric cars?
Yes. EVs are heavy and have instant torque. Front tires wear very fast. Rotate every 5,000 miles to protect your expensive EV tires.
Conclusion
Learning how do you rotate car tires at home is a valuable skill. It takes about one hour. It costs almost nothing after you own basic tools. And it adds thousands of miles to your tire life.
Start simple. Watch a video of your specific car model if you feel unsure. Follow the safety rules without skipping steps. Use the correct pattern for your drivetrain. Check air pressure and re-torque after two days.
You do not need to be a mechanic. You just need patience, a flat driveway, and the confidence to try. The first time may feel slow. By the third time, you will finish in under 45 minutes.
Your tires will wear evenly. Your car will handle better. And you will keep more money in your pocket. That is a win for any driver.
So next weekend, gather your jack, stands, and wrench. Park on level ground. And rotate those tires yourself. You can do it.