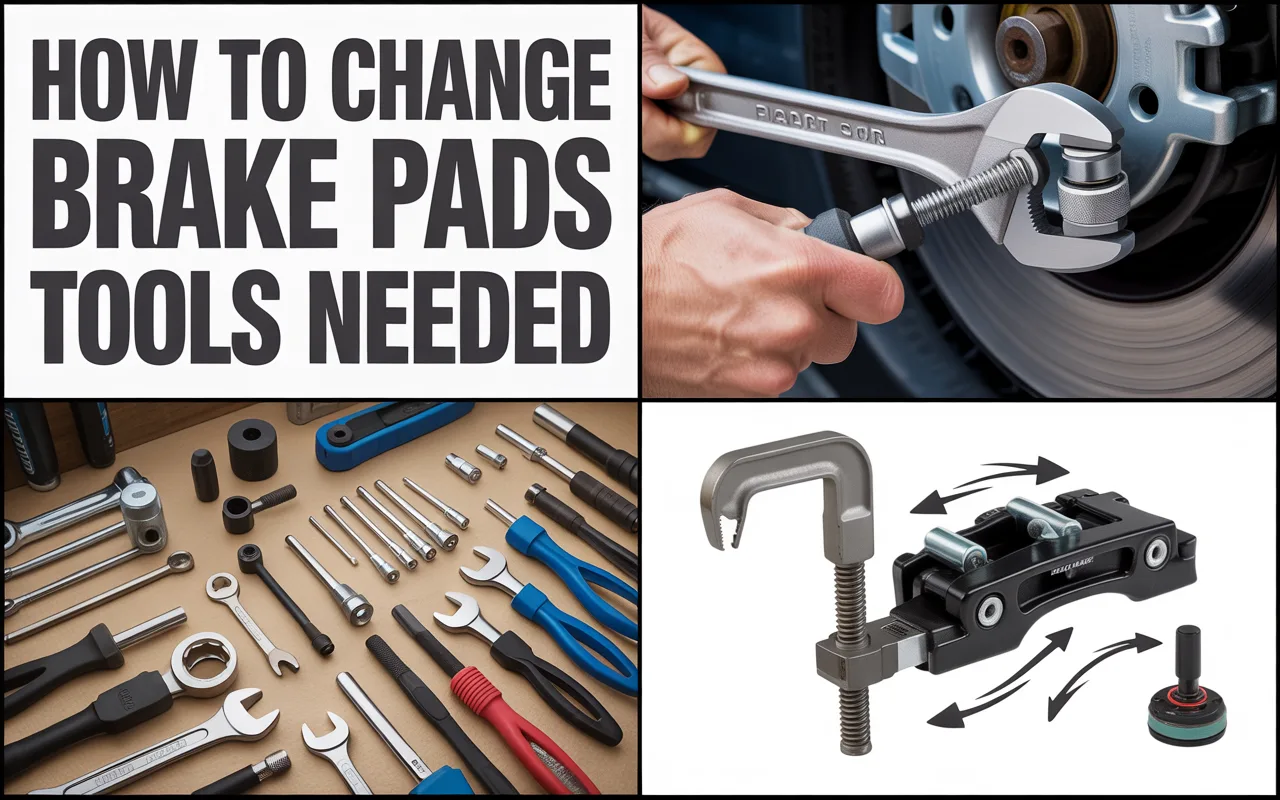
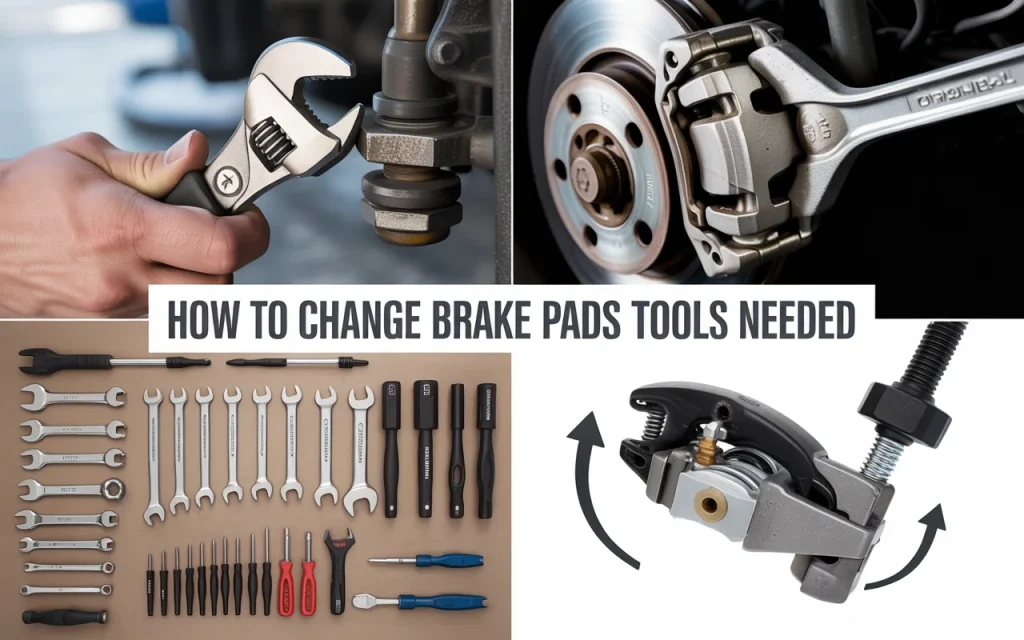
Learn exactly what change brake pads tools needed for a DIY brake job. This guide lists every tool required, from basic to specialized, so you can do the work safely at home.
Do you hear that squeaking noise when you stop your car? Those are your brake pads telling you they are worn out. The good news is that changing them yourself can save you a lot of money. A mechanic might charge you hundreds for labor alone. But if you do it at home, you only pay for the parts and maybe a few tools.
Before you start, you need to know the change brake pads tools needed for the job. Having the right tools makes everything easier and safer. You do not want to be halfway through the job and realize you are missing something important. This article will walk you through every single tool you need, why you need it, and how to use it.
I have changed brake pads on many different cars over the years. Some were easy, some were tricky. But one thing I learned is that preparation is everything. Let me share what you need to get started.
Why Having the Correct Tools Matters
Brakes are the most important safety system on your vehicle. When you work on them, you want to do the job right. Using the correct change brake pads tools needed ensures you do not damage anything. It also keeps you safe while you work.
You might think you can just use whatever wrenches you have lying around. But brake systems have specific requirements. Some bolts need exact sizes. Some parts need special tools to compress or turn. If you force things, you could break something expensive.
“Working on brakes without the proper tools is like performing surgery with a kitchen knife. You might get it done, but the results could be dangerous. Always use the right tool for the job.” – Mike Thompson, ASE Certified Master Technician
Taking the time to gather your tools before you start makes the job go smoothly. You will not have to stop and run to the store with grease on your hands.
Basic Tools You Probably Already Own
Let us start with the simple stuff. These are tools that most home mechanics already have in their toolbox. If you do not have them, they are cheap to buy.
Floor Jack and Jack Stands
You cannot change brake pads with the car on the ground. You need to lift it safely. A floor jack is easier to use than the scissor jack that came with your car. It lifts the car quickly and smoothly.
But never, ever get under a car supported only by a jack. Jacks can fail. Use jack stands to hold the car up. Place them under strong points on the frame. Give the car a gentle shake after you set it down on the stands. Make sure it is stable before you start working.
Lug Wrench
You need to remove the wheels to reach the brakes. A basic lug wrench works fine. But a breaker bar with a socket gives you more leverage. Some lug nuts are on very tight. A longer handle makes it easier to break them loose.
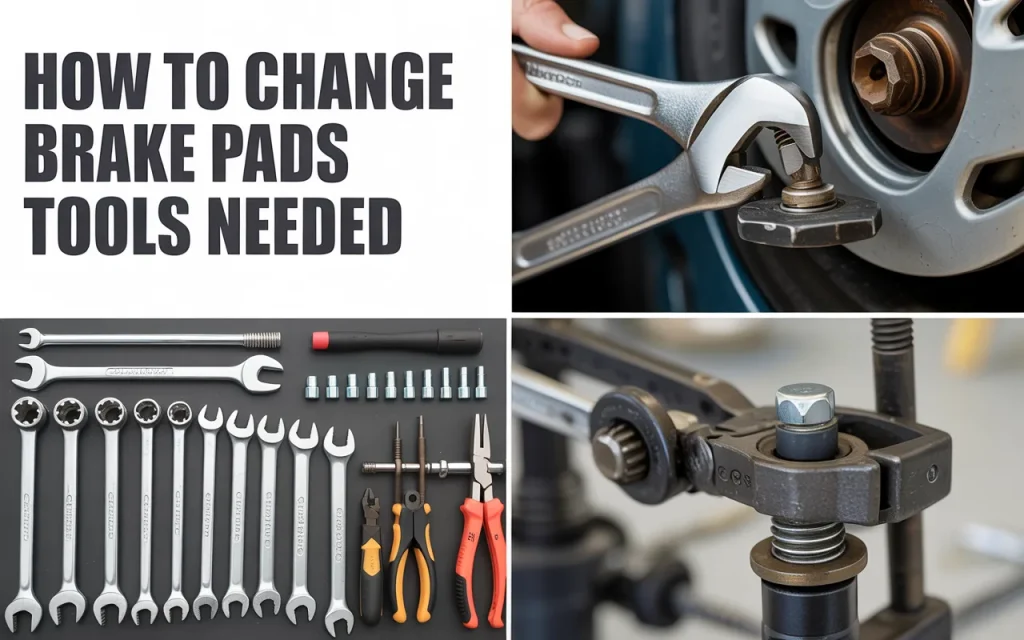
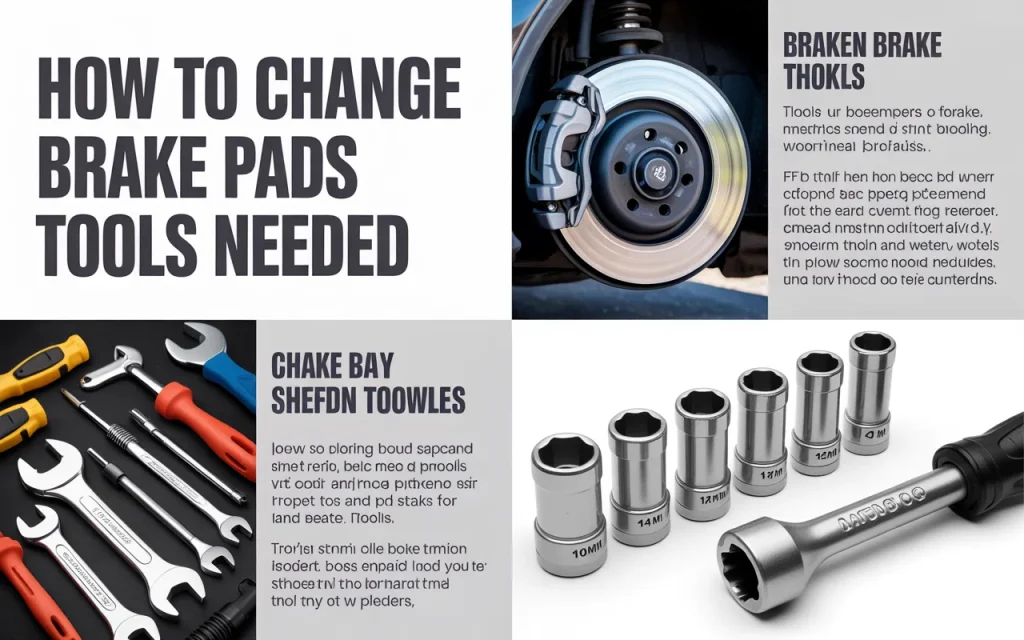
Set of Sockets and Ratchets
Most brake jobs need metric sockets. A 10mm, 12mm, 14mm, and 17mm socket will cover many cars. You might also need 19mm for some caliper bolts. A ratchet makes turning bolts fast and easy.
Set of Combination Wrenches
Sometimes there is not enough room for a socket. A combination wrench gives you another option. You can use the open end to hold a bolt while you turn the nut with a socket. Box-end wrenches grip better and are less likely to slip.
Flathead and Phillips Screwdrivers
You will use these for prying off clips, removing covers, and pushing things out of the way. A flathead screwdriver is also handy for checking if your brake piston is moving freely.
Specific Tools for the Brake Job
Now we get to the tools that are specific to brake work. These are the change brake pads tools needed that make the job possible. Some of these you might need to buy or borrow.
C-Clamp or Brake Caliper Tool
This is one of the most important tools you will use. When your brake pads wore down, the caliper piston moved out closer to the rotor. New pads are thicker. You need to push that piston back into the caliper to make room.
A simple C-clamp works for many cars. You place the clamp over the caliper and turn the handle. It pushes the piston back slowly and evenly. Just make sure to open the brake fluid reservoir cap first. This lets the fluid move back up into the reservoir.
But some cars have rear calipers that need a special tool. These pistons screw in rather than push straight in. For these, you need a brake caliper tool set. It has plates and pins that turn the piston as you push it. If you force a screw-in piston with a C-clamp, you will break it.
Brake Pad Spreader
This is another tool for pushing the piston back. It is made specifically for brakes. It fits between the pads and spreads them apart. Some people prefer this over a C-clamp because it is designed for the job. It gives you more control and is less likely to slip.
Bungee Cords or Zip Ties
When you remove the caliper, it is still attached by the brake hose. You do not want the caliper hanging by that hose. The hose can tear or break if it holds the full weight. Use a bungee cord or zip tie to hang the caliper from the spring or suspension. This takes the stress off the hose.
Wire Brush
Brakes get rusty. The metal parts can build up corrosion over time. A wire brush lets you clean off the rust. You want the new parts to sit on clean surfaces. Pay special attention to the caliper bracket where the new pads slide. Clean off any rust or old brake material.
Lubricants and Chemicals You Will Need
Brakes need more than just tools. You also need the right chemicals to make everything work right.
Brake Cleaner
Brake parts get dirty. There is brake dust, old grease, and road grime everywhere. Brake cleaner spray cuts through all of this. It evaporates fast and leaves no residue. Spray it on rotors, calipers, and brackets. Wipe everything clean before you put new parts on.
“Never use petroleum-based cleaners on brake parts. They can leave a film that contaminates the pads and rotors. Always use dedicated brake cleaner for the best results.” – Sarah Chen, Automotive Engineer
High-Temperature Brake Grease
New brake pads need lubrication on certain spots. You put a thin layer of brake grease on the metal backing of the pads where they touch the caliper. This prevents squeaking. You also put it on the slide pins so they move freely.
Make sure you buy grease made for brakes. Regular grease melts at high temperatures. Brake grease is designed to handle the heat. Apply it sparingly. Too much grease can get on the rotor or pad surface and cause problems.
Anti-Seize Compound
Some bolts get very hot and can seize up. Anti-seize compound prevents this. Put a small amount on the caliper bracket bolts and guide pins. This makes future brake jobs much easier. The bolts will come out without fighting you.
Optional Tools That Make the Job Easier
You can change brake pads with just the basic tools. But these optional items make the work faster and more comfortable.
Torque Wrench
Lug nuts and caliper bolts have specific tightness requirements. A torque wrench lets you tighten them exactly to the specification. This is important for safety. Too loose and things can fall off. Too tight and you can strip threads or warp rotors.
You can find the torque specs in your vehicle repair manual. Write them down before you start. Then use the torque wrench to get them perfect.
Impact Driver
Some bolts are stuck tight from rust and heat. An impact driver gives sharp hammer blows to break them loose. You hit the top with a hammer while it turns the bolt. This works great for stubborn screws on rotors or brackets.
Gloves and Safety Glasses
Brake dust contains chemicals you do not want on your skin. Gloves keep your hands clean and protected. Safety glasses prevent brake cleaner or debris from getting in your eyes. These are cheap and worth every penny.
Table: Complete List of Change Brake Pads Tools Needed
| Tool Category | Specific Tools | Why You Need It |
|---|---|---|
| Lifting Equipment | Floor jack, jack stands | Safely raise and support vehicle |
| Wheel Removal | Lug wrench, breaker bar | Take wheels off to access brakes |
| General Tools | Socket set, ratchets, wrenches, screwdrivers | Remove calipers and brackets |
| Brake Specific | C-clamp, brake caliper tool, brake pad spreader | Compress pistons for new pads |
| Cleaning | Wire brush, brake cleaner | Remove rust and contaminants |
| Lubrication | Brake grease, anti-seize | Prevent noise and ensure smooth operation |
| Safety | Gloves, safety glasses, bungee cords | Protect yourself and brake components |
Step-by-Step Overview of the Process
Knowing the change brake pads tools needed is only half the story. Here is a quick look at how you use those tools. This is not a full guide, but it shows you the flow of the job.
Step 1: Prepare the Vehicle
Park on level ground. Loosen the lug nuts while the car is still on the ground. Jack up the car and place jack stands under solid points. Remove the wheels and set them aside.
Step 2: Remove the Caliper
Find the caliper bolts. They are usually on the back of the caliper. Remove them with your socket and ratchet. Slide the caliper off the rotor. Hang it with a bungee cord so it does not stress the hose.
Step 3: Remove Old Pads
The old pads might just fall out or they might be stuck. Use your screwdriver to pry them out if needed. Look at how they came out. Take a picture with your phone so you remember the order.
Step 4: Clean Everything
Spray brake cleaner on the caliper bracket and rotor. Wipe away all dirt and dust. Use the wire brush on rusty spots. Clean the areas where the new pads will sit.
Step 5: Compress the Piston
Open the brake fluid reservoir cap. Use your C-clamp or caliper tool to push the piston back into the caliper. Go slow and steady. Check the fluid level in the reservoir. If it gets too high, suck some out with a turkey baster.
Step 6: Install New Pads
Apply brake grease to the back of the new pads and any contact points. Place the pads into the bracket. Make sure they slide freely. Put the caliper back over the new pads. Install and tighten the caliper bolts.
Step 7: Reassemble and Test
Put the wheel back on. Tighten lug nuts by hand. Lower the car to the ground. Torque the lug nuts to spec. Pump the brake pedal a few times before driving. This pushes the pads back against the rotor.
Common Mistakes People Make
Even with all the change brake pads tools needed, people still mess up. Here are some common errors to avoid.
Forgetting to Open the Reservoir
If you do not open the brake fluid reservoir, pressure builds up when you push the piston. This can blow seals or damage the master cylinder. Always loosen the cap before compressing pistons.
Not Cleaning the Bracket
Old rust and debris in the caliper bracket cause new pads to stick. Stuck pads wear unevenly and can make noise. Take the time to clean the bracket thoroughly. It makes a huge difference.
Using Too Much Grease
Grease belongs on the metal contact points only. If grease gets on the friction surface of the pad or rotor, braking performance suffers. The pads might not grip properly. Keep grease away from the friction areas.
Mixing Up Pads
Some brake pads are different from left to right or inside to outside. Pay attention to how the old ones came out. Look for wear indicators. These are metal tabs that squeak when pads are low. Make sure the new ones have the indicator in the same spot.
Table: Tool Alternatives and Workarounds
| Required Tool | Alternative Option | Is It Safe? |
|---|---|---|
| Torque wrench | Tighten by feel, mark with paint | Risky, can be too loose or tight |
| Brake caliper tool set | C-clamp for front, needle nose pliers for screw-type rears | Risky for rears, can damage calipers |
| Jack stands | Ramps | Safe if used correctly, but ramps limit access |
| Brake cleaner | Soap and water | Not effective, leaves residue |
| Brake grease | Never use regular grease | Dangerous, melts and fails |
How to Choose Quality Brake Pads
While you are gathering your change brake pads tools needed, think about the pads themselves. Not all brake pads are the same.
Organic Pads
These are made from materials like glass and rubber. They are soft and quiet. They create less dust. But they wear out faster. They are good for everyday driving where you do not stop hard very often.
Semi-Metallic Pads
These have metal fibers mixed in. They handle heat better. They last longer. But they can be noisy and create more dust. They work well for trucks and performance driving.
Ceramic Pads
These use ceramic fibers. They are quiet, create less dust, and handle heat well. They cost more but last a long time. Many modern cars come with ceramic pads from the factory.
“The brake pads you choose affect more than just stopping. They change how your car feels, how much noise it makes, and how often you clean your wheels. Pick based on your driving style, not just price.” – James Rodriguez, Brake System Specialist
Read reviews and ask at the auto parts store. Tell them what car you have and how you drive. They can help you pick the right pad for your needs.
Safety Checks After Installation
You have all the change brake pads tools needed and you finished the job. Now you must test everything before driving.
Pump the Brakes
Before you start the engine, pump the brake pedal several times. It will feel soft at first. It should get firm as the pads seat against the rotor. If it stays soft, something is wrong. Check for leaks or air in the system.
Check Fluid Level
Look at the brake fluid reservoir. When you pushed the pistons back, fluid moved up into the reservoir. If it is too full, suck some out. Replace the cap tightly.
Bed-in the Pads
New pads need to be broken in. This is called bedding. Find a safe, empty road. Get up to moderate speed and brake gently to a stop. Do this several times. This transfers a thin layer of pad material to the rotor. It improves braking performance.
Listen for Noise
When you drive, listen for squeaks or grinding. A little noise right after installation might go away. Grinding means something is rubbing. Stop and check it out.
Frequently Asked Questions
Do I really need special tools to change brake pads?
For most front brakes, a basic socket set and C-clamp work fine. For rear brakes, you often need a special tool that turns the piston while pushing it. Check your vehicle repair guide to know for sure.
How much money will I save doing it myself?
A shop might charge $150 to $300 per axle for labor. Brake pads cost $30 to $100 per axle. You save the labor cost. Even if you buy a few tools, you still come out ahead on your first brake job.
Can I change just the pads without changing rotors?
Yes, you can. But if the rotors are worn, scored, or thinner than spec, you should replace them too. New pads on bad rotors do not work well. They also wear out faster. Many people change pads and rotors together.
How do I know what size sockets I need?
Most cars use metric sizes. Common sizes are 10mm, 12mm, 14mm, 17mm, and 19mm. A complete metric socket set covers everything. If you are unsure, look up your specific vehicle online.
What if I cannot get the caliper bolts loose?
Spray them with penetrating oil and wait 15 minutes. Use a longer breaker bar for more leverage. If they still will not move, an impact driver or impact wrench usually breaks them free. Heat from a torch is a last resort, but be careful near brake lines and fluid.
Is it safe to change brake pads myself?
Yes, if you follow proper procedures and use the right tools. The change brake pads tools needed include safety items like jack stands for a reason. Work carefully, double-check everything, and test before driving. If you feel unsure at any point, ask for help from someone experienced.
How long does a brake pad change take?
The first time might take two to three hours. You are learning and working slowly. After you have done it a few times, you can finish in about an hour per axle. Take your time and do not rush.
What happens if I put the pads in backwards?
Brake pads have a specific orientation. The friction material goes against the rotor. The metal backing goes against the caliper. If you put them backwards, you have metal grinding on metal. This destroys the rotor quickly and stops poorly. Always check the orientation before final assembly.
Conclusion
Changing your own brake pads is one of the best ways to save money on car maintenance. It looks complicated from the outside, but it is really a straightforward job. The key is having all the change brake pads tools needed before you start.
Remember the basics. You need jack stands for safety. You need sockets and wrenches to remove parts. You need a C-clamp or caliper tool to push the piston back. And you need brake cleaner and grease to make everything work right.
Do not let the tool list scare you. Many of these tools you probably already have. The specialized ones are cheap compared to what a mechanic charges for one brake job. Buy them once and they will last for years. You will use them again the next time you do brakes.
Take your time the first time. Watch videos of your specific car model if you can. Ask at the auto parts store if you have questions. Most stores have people who know brakes and can help you pick the right parts.
Brakes are not something to guess at. If you are careful and use the right tools, you can do this job successfully. The feeling of driving after doing your own brake work is great. You know you did it yourself. You saved money. And you learned something new about your car.
So gather your tools, buy quality pads, and give it a try. Your car will stop safely and you will have the satisfaction of a job well done.
One Comment