Bleed car brakes safely with this clear, step-by-step guide. Learn the methods, tools, and tips to remove air from your brake lines and restore firm pedal feel. Get the job done right and keep your car safe.
Brakes are the most important safety feature on your car. When you press the pedal, you trust that the car will slow down. But if your brake pedal feels soft, spongy, or sinks to the floor, that trust is broken. Often, this means air is trapped in the brake lines. Air compresses, while brake fluid does not. This compression makes the pedal feel mushy and reduces braking power. To fix this, you need to bleed the brakes. This means removing the old fluid and the air bubbles from the system. Learning how to bleed car brakes safely is a key skill for any car owner. It saves money and gives you confidence in your vehicle. This guide will walk you through the entire process in a simple, safe way.
Why You Need to Bleed Your Brakes
You do not bleed brakes just for fun. There are clear signs that tell you it is time. A soft brake pedal is the biggest clue. Other reasons include changing brake fluid every two to three years, replacing brake parts like calipers or hoses, or fixing a leak. Brake fluid absorbs moisture from the air over time. This moisture lowers the fluid’s boiling point and can cause rust inside the brake system. Flushing out the old fluid with new fluid keeps everything working well. Think of it as a transfusion for your car’s braking system. It clears out the bad stuff and puts in fresh, clean fluid.
“The more you know about your car, the more empowered you are to take care of it. Simple maintenance builds confidence.” – Jane Thompson, Master Technician
What You Need to Get Started
Before you begin, gather all your tools and supplies. Being prepared makes the job smoother and safer. You will need a helper for the most common method. If you work alone, you can use a special tool. Here is your checklist:
Tools and Materials Checklist
Item
Why You Need It
New Brake Fluid
Check your car’s manual for the right type (DOT 3, 4, or 5.1).
Clear Tubing
Fits over the brake bleeder valve. Lets you see air bubbles.
Clear Container
Holds old fluid. A plastic bottle works well.
Wrench Set
To open the bleeder valves. Often a 8mm, 9mm, or 10mm.
Jack and Jack Stands
To lift the car safely. Never rely on a jack alone.
Gloves and Safety Glasses
Brake fluid is corrosive and can harm skin and eyes.
Rags or Paper Towels
For cleaning up any spilled fluid.
Remember, brake fluid eats paint. Be very careful. If you spill any on your car’s paint, wipe it off right away with water and a rag. Keep the fluid container closed when not in use. New fluid can absorb moisture from the air even in the bottle.
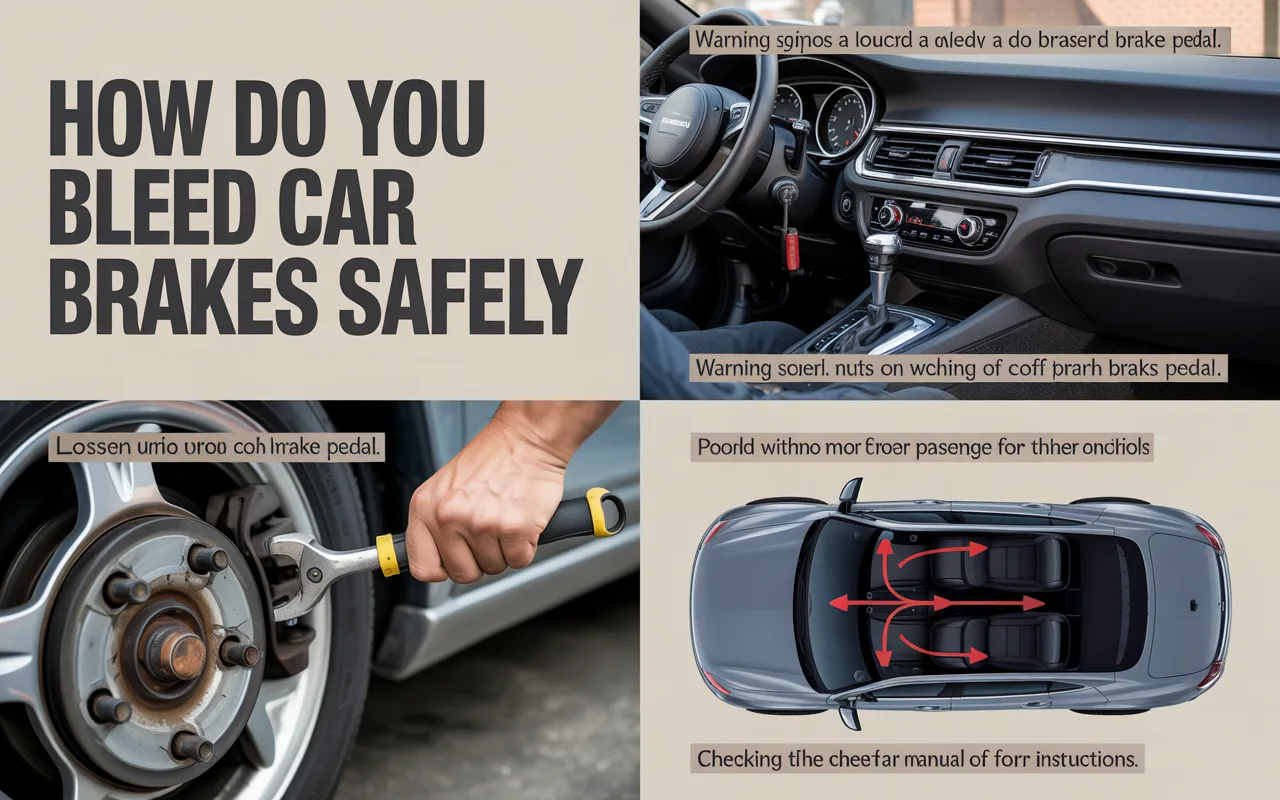
Getting Your Car Ready
Safety is the first step. Park your car on a flat, solid surface. Put the transmission in Park (or first gear for a manual). Set the parking brake. Chock the wheels you are not lifting. For example, if you are lifting the rear, chock the front wheels.
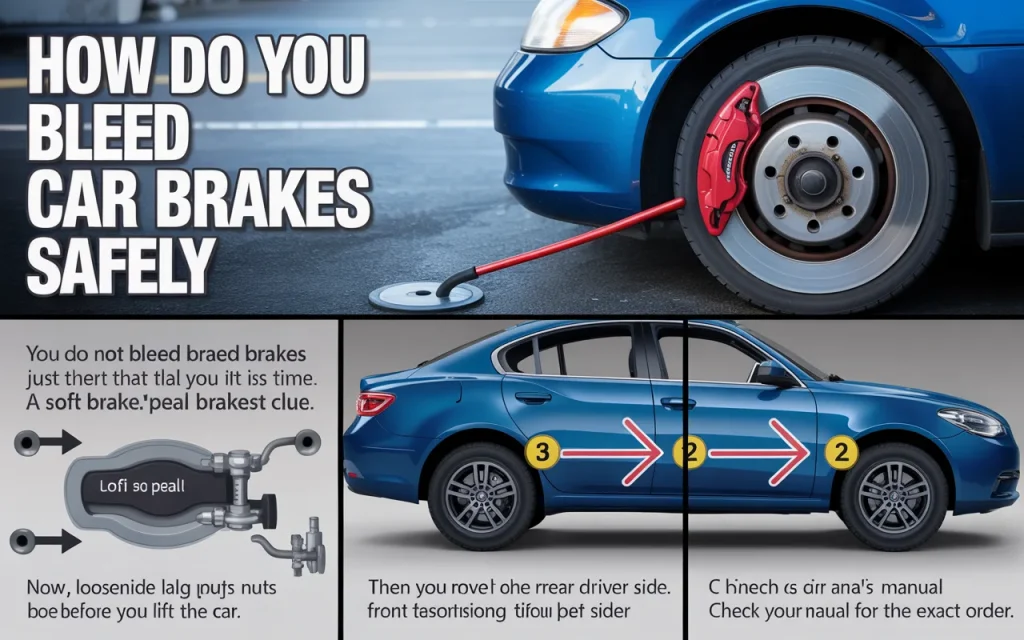
Now, loosen the lug nuts on the wheels slightly before you lift the car. Use your jack to lift one corner of the car at the manufacturer’s recommended lift point. Then, place a jack stand under a solid part of the frame or axle. Lower the car onto the stand. Do this for each corner you need to work on. You can bleed brakes at each wheel, but often you start with the wheel farthest from the master cylinder (the brake fluid tank under the hood). This is usually the rear passenger side. Then you move to the rear driver side, front passenger side, and front driver side. Check your car’s manual for the exact order.
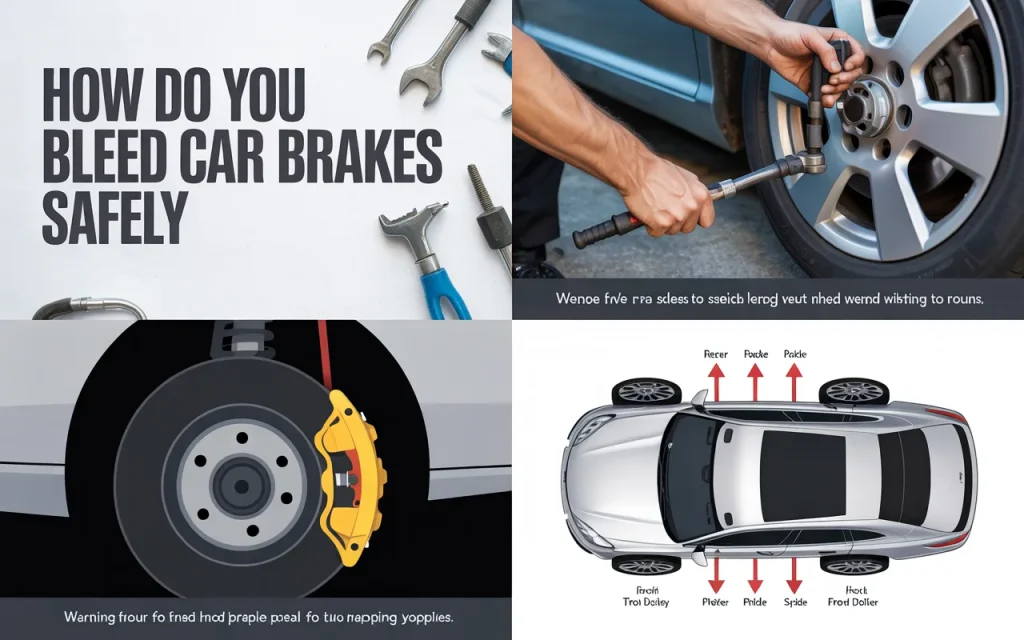
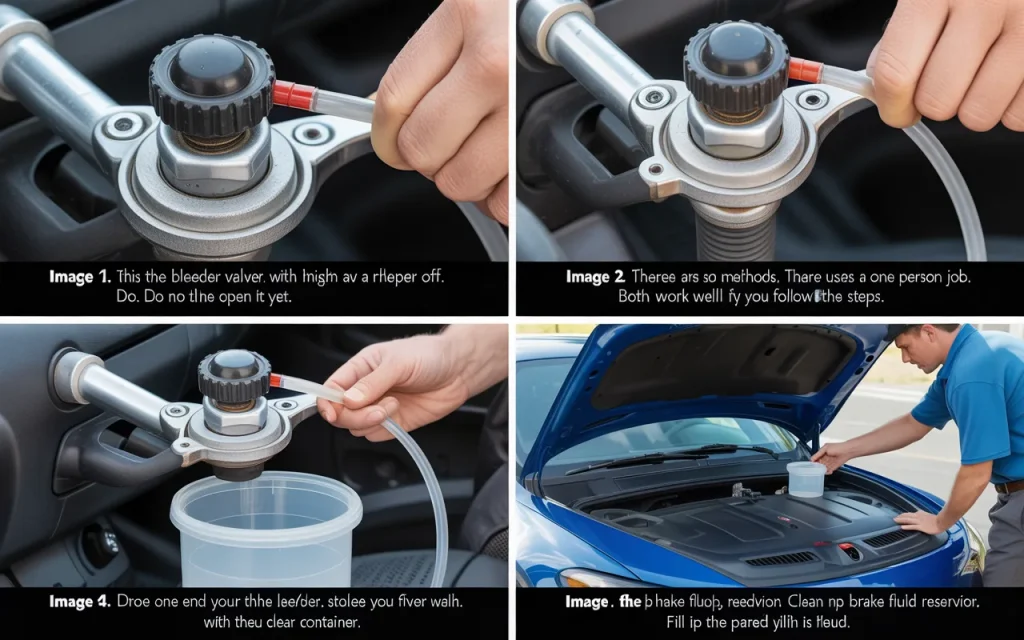
Finding the Bleeder Valve
Look behind the wheel at the brake caliper (for disc brakes) or on the wheel cylinder (for drum brakes). You will see a small metal nipple with a square or hex head. This is the bleeder valve. It might have a rubber cap on it. Pull the cap off. Do not open it yet. Just find it on all four wheels. Spray it with a little penetrating oil if it looks rusty. This can help prevent it from breaking off when you try to loosen it.
The Two Best Ways to Bleed Brakes
There are two main methods. The first uses a helper. The second is a one person job. Both work well if you follow the steps.
Method 1: The Two-Person Pump and Hold
This is the classic way to bleed car brakes safely. You need a friend you can talk to clearly.
Fill the Master Cylinder. Open the hood. Find the brake fluid reservoir. Clean the top so no dirt falls in. Open the cap. Fill it with new brake fluid until it is full. Keep checking the fluid level during the whole process. If it gets too low, you will push more air into the lines.
Prepare the Bleeder. Put one end of your clear tube over the bleeder valve on the wheel you are starting with. Put the other end in your clear container. Pour a little new brake fluid in the container so the tube end is under fluid. This stops air from being sucked back in.
Give Clear Instructions. Your helper sits in the driver’s seat. You say “Pump.” They pump the brake pedal two or three times and then push down and hold firm pressure. You say “Down.” They say “Pressure is held.”
Open the Valve. With the pedal held down, use your wrench to open the bleeder valve about a quarter turn. You will see old, possibly dark fluid and air bubbles rush through the tube into the bottle. The brake pedal will sink to the floor.
Close the Valve. Before the pedal hits the floor, close the bleeder valve tightly. Only then do you tell your helper, “Okay, release the pedal.”
Repeat. Look in the master cylinder. Top up the fluid if needed. Do not let it go below half full. Repeat the “pump, hold, open, close, release” steps until you see no more air bubbles in the clear tube, only clean, new fluid. Move to the next wheel in the correct order.
“Precision in simple tasks, like bleeding brakes, is what separates a good job from a great one. Patience is your best tool.” – Mike Rivera, Auto Shop Owner
Method 2: Using a One-Man Brake Bleeder Kit
These kits are cheap and very effective. They use a vacuum pump or a check valve to pull fluid through.
Set Up the Kit. Follow the kit instructions. Often, you attach a special bottle to the bleeder valve with a hose. Some kits have a hand pump.
Create Vacuum or Pressure. For a vacuum kit, you use a pump to suck the fluid out. For a check valve kit, you simply pump the brake pedal yourself. The check valve in the hose stops air from going back in.
Monitor and Refill. As you pull fluid, keep a close eye on the master cylinder. Never let it run dry. Keep adding new fluid. Bleed each wheel until the fluid coming out is clean and free of bubbles.
Bleeding Order Reference
Common Bleeding Sequence
Why This Order
1. Rear Passenger Side
Farthest from the master cylinder.
2. Rear Driver Side
Next farthest point.
3. Front Passenger Side
Closer to the master cylinder.
4. Front Driver Side
Closest to the master cylinder.
Finishing the Job and Testing
Once all four wheels are done, go back and double-check that each bleeder valve is closed tight. Remove all your tools, hoses, and containers from the work area. Carefully lower the car from the jack stands and remove the stands. Fully tighten the lug nuts in a star pattern.
Pedal Feel. With the car still off, pump the brake pedal a few times. It should feel firm and high. If it is still soft, there might still be air. You may need to bleed the system again.
Start the Engine. Turn the key. With the engine running, the power brake booster will turn on. Press the pedal. It should feel firm but with a little more give than when the car was off.
Slow Speed Test. Drive in a safe, empty area like a driveway or quiet parking lot. Go very slow. Gently press the brakes a few times to see how they feel. Listen for strange noises. If everything feels good, you are ready for a short, careful drive at low speed to confirm.
Frequently Asked Questions
How often should I bleed my brakes? You should check your brake fluid every time you change oil. Change the fluid completely every 2 to 3 years. This removes moisture and keeps the system safe. Also bleed them any time you open the brake system or if the pedal feels soft.
Can I bleed brakes alone without a kit? It is very hard. The traditional method needs two people. Trying to do it alone means running back and forth between the pedal and the valve, which lets air back in. A one person bleeder kit is a low cost answer and makes the job simple.
What if the bleeder valve is stuck or breaks? If it is stuck, try more penetrating oil and gentle tapping. If it will not move or snaps off, stop. You will likely need a new caliper or wheel cylinder. This is why being gentle and using the right size wrench is key to bleed car brakes safely.
Is there a difference between bleeding and flushing brakes? Bleeding means removing air from the system. Flushing means replacing all the old fluid with new fluid. The process looks the same. When you flush, you just keep pushing new fluid through until what comes out is clean.
What are the risks of not bleeding brakes correctly? The main risk is poor braking. Air in the lines makes the pedal soft and increases stopping distance. In a worst case, you could lose brake function. Always test in a safe place and be sure the pedal is firm.
Conclusion
Learning how to bleed car brakes safely is a very useful skill. It connects you to your vehicle and makes sure it stops when you need it to. The process is simple: gather your tools, follow the correct order, and be careful to keep air out of the system. Whether you have a friend help or use a kit, taking your time is important. The goal is a firm brake pedal and a safe car. With this guide, you have the knowledge to do just that. Remember, if you ever feel unsure, it is always smart to ask a professional mechanic for help. Your safety is what matters most.
“A car is a machine that responds to care. Giving attention to its brakes is the deepest form of respect for your own safety and the safety of others on the road.” – David Chen, Safety Instructor
Go ahead, grab your tools, and take control of this key part of your car’s care. You can do it.
One Comment