How To Remove Gel Nail Polish Safely
Learn to remove gel nail polish safely at home with acetone, cotton balls, and foil. This gentle method prevents nail damage and keeps your nails strong. Follow our step-by-step guide.
Gel manicures look beautiful and last for weeks. But when the polish starts to lift or grow out, you face a choice. Do you pick at it? Do you go back to the salon? Or do you try to remove gel nail polish safely on your own?
Many people choose the DIY route. That is a great option. But you need the right information. Doing it wrong can hurt your nails. Thin, peeling, or broken nails are often the result of bad removal habits.
I have been there myself. After many at-home experiments and a few mistakes, I learned what works. Now I want to share that with you. This guide will show you exactly how to remove gel nail polish safely without ruining your natural nails.
Let us get started.
“Patience is the most important tool when removing gel polish. Rushing leads to damage that takes months to grow out.” – Dr. Dana Stern, Dermatologist
Why You Need to Remove Gel Nail Polish Safely
Gel polish is different from regular polish. It forms a hard plastic layer on your nail. This layer sticks very tightly. That is why it lasts so long. But that same strength makes removal tricky.
When you try to peel off gel polish, you often pull off layers of your natural nail. This leaves your nails thin, weak, and sensitive. They may even develop white spots or ridges.
Learning to remove gel nail polish safely protects the health of your nails. It also saves you money on salon visits. Plus, it gives you control over your nail care routine.
Common Mistakes That Damage Nails
Many people make the same errors. Here is a simple table to show you what to avoid and what to do instead.
| Common Mistake | Why It Hurts Your Nails | Safe Alternative |
|---|---|---|
| Peeling or picking off gel | Removes top nail layers, causing thinning | Soak off with acetone |
| Using pure acetone without oil | Over-dries nails and skin | Add a drop of cuticle oil to acetone |
| Ripping off foil wraps | Tears nail surface | Unwrap gently, then push off residue |
| Filing too hard on the nail bed | Creates heat and thins nail | Buff only the shiny top coat |
Another big mistake is using non-acetone removers. They do not work on gel. You will scrub for a long time and still fail. That frustration often leads to picking. So always choose pure acetone for this job.
“Never peel or pick at gel polish. It takes layers of your natural nail with it, and those layers do not grow back quickly.” – Jin Soon Choi, Celebrity Manicurist
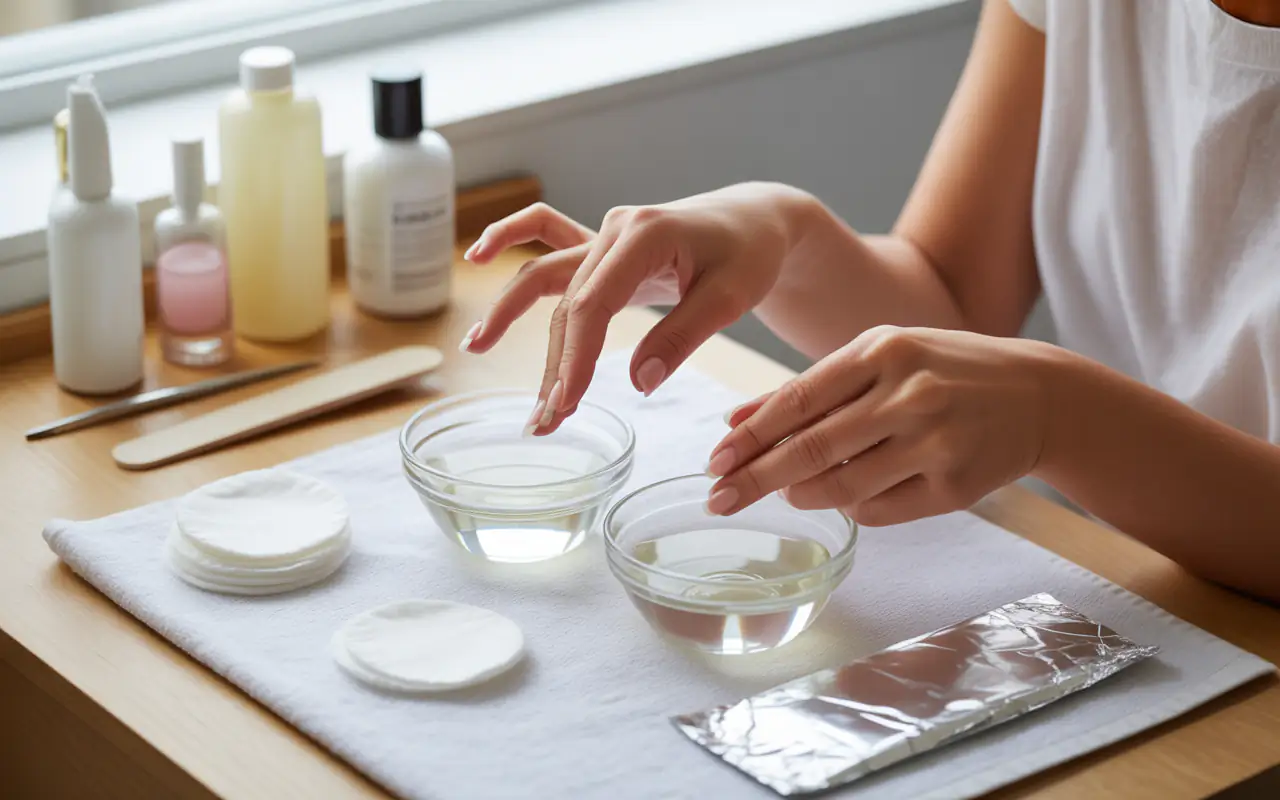
What You Need for Safe Gel Removal
Before you start, gather your supplies. Having everything ready makes the process smooth. You do not want to rush around with acetone on your fingers.
Here is your shopping list. Most items are cheap and easy to find.
- Pure acetone (look for 100% acetone)
- Cotton balls or cotton pads
- Aluminum foil (cut into small squares)
- A nail file or buffer block (grit 180 or higher)
- A cuticle pusher (wooden orange stick is best)
- Cuticle oil or a rich hand cream
- A small bowl of warm water (optional but helpful)
Do not use metal tools to scrape your nails. They are too sharp and can gouge the nail plate. A wooden orange stick is soft and safe.
Quick Table of Supplies
| Item | Purpose | Good Alternative |
|---|---|---|
| Pure acetone | Dissolves gel polish | None – other removers fail |
| Cotton balls | Hold acetone against nail | Cotton pads cut to size |
| Foil squares | Seal in heat and moisture | Pre-made foil wraps |
| Wooden stick | Gently push off residue | Rubber cuticle pusher |
You can buy pre-made clips or wraps at beauty stores. But foil and cotton work just as well. They are also cheaper.
Step-by-Step Guide to Remove Gel Nail Polish Safely
Now for the main event. Follow these steps closely. The whole process takes about 15 to 20 minutes. Make sure you are in a well-ventilated room. Acetone has a strong smell.
Step 1: Prepare Your Nails
Wash your hands with soap and water. Dry them well. Then take your nail file. Gently buff the shiny top coat of each gel nail. You do not need to file away the color. Just scratch the surface a little.
This step helps the acetone soak into the gel. Without it, the acetone has a harder time breaking down the polish. Buff lightly. Do not press hard. You only want to remove the shine.
Step 2: Cut Your Foil and Cotton
Cut your aluminum foil into ten small squares. Each square should be about 2 inches by 2 inches. That gives enough room to wrap around your fingertip.
Then tear or cut ten cotton balls. Or use small cotton pads. Each piece should be just big enough to cover your whole nail. Not too big, not too tiny.
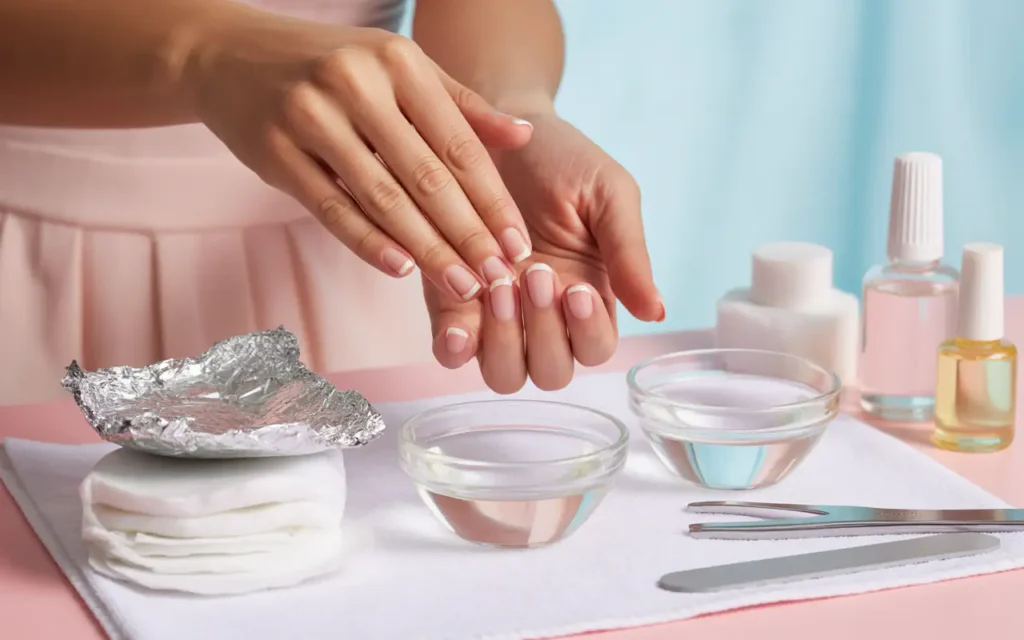
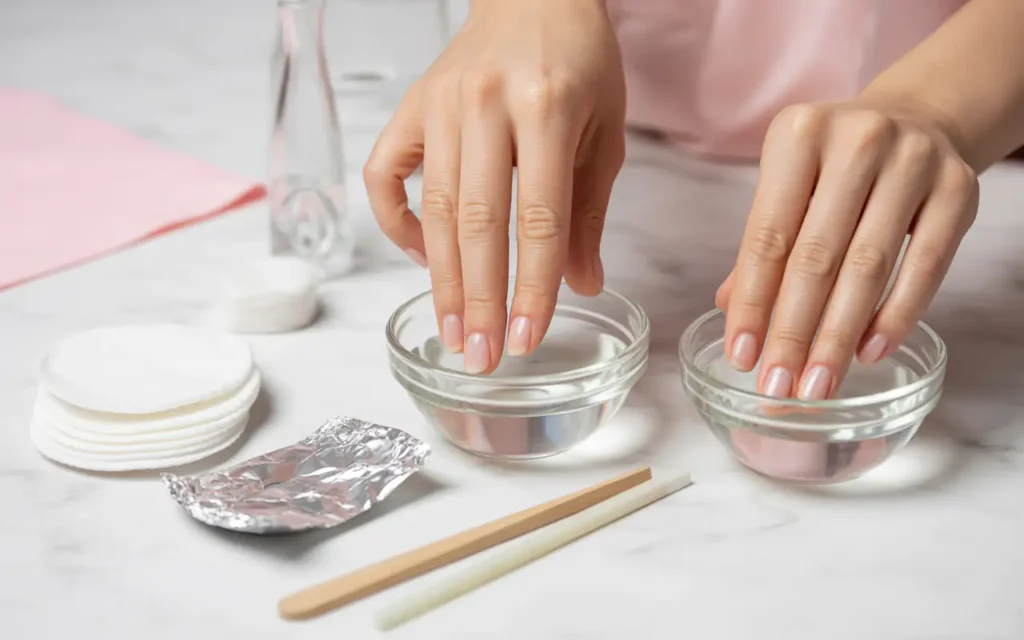
Step 3: Soak the Cotton in Acetone
Pour some pure acetone into a small glass or metal bowl. Dip each cotton piece into the acetone. Let it soak up the liquid. Then squeeze out the extra so it is wet but not dripping.
Place the wet cotton directly onto your nail. Make sure it covers the entire gel surface. Now wrap the foil square around your fingertip. The foil holds the cotton tight against the nail. It also traps body heat. Heat helps the acetone work faster.
Repeat for all ten fingers. You may want to do one hand at a time. That way you can use your other hand to do things like check your phone or get a drink.
Step 4: Wait Patiently
This is the hardest part. You must wait. Set a timer for 10 to 15 minutes. Relax. Watch a short video. Read a few pages of a book.
Do not peek early. If you unwrap too soon, the gel will not be soft enough. Then you will have to rewrap and wait again. That takes more time overall.
“Acetone is effective but drying, so always follow up with cuticle oil. Your nails will thank you.” – Maria Salandra, Nail Care Expert
Step 5: Check and Rewrap if Needed
After 10 minutes, remove one foil wrap. Gently press on the gel with your wooden stick. Does it look crinkly and soft? Can you scrape a little bit off easily? If yes, you are ready.
If the gel still feels hard, rewrap that finger and wait another 5 minutes. Thicker gel layers sometimes need longer. That is normal.
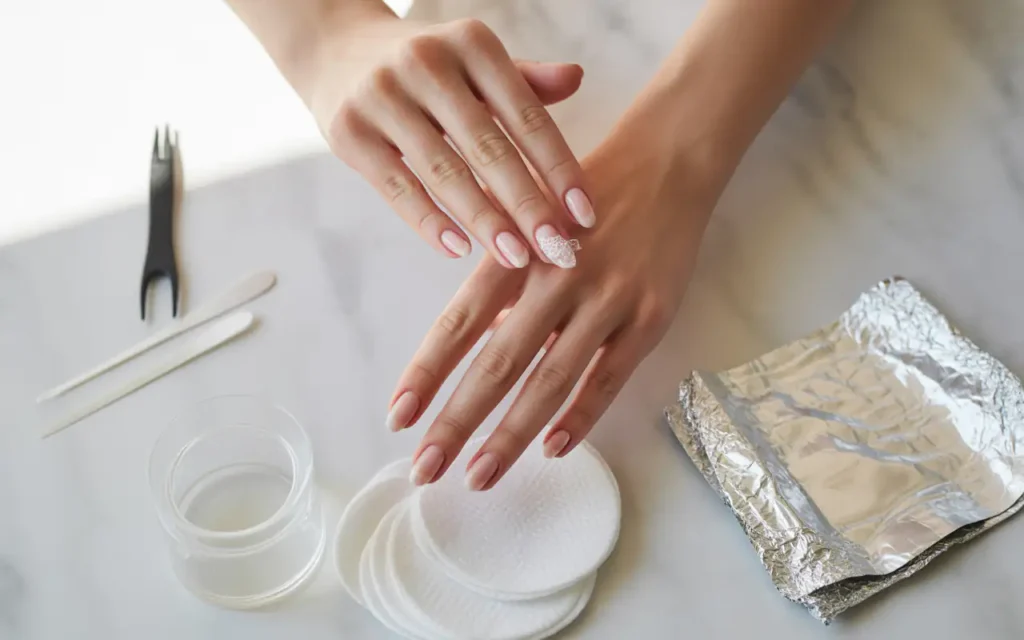
Step 6: Gently Push Off the Gel
Now take your wooden orange stick. Hold it at a low angle. Very gently push the softened gel away from your nail. It should come off in small flakes or sheets. Do not force it.
If a spot resists, do not scrape hard. Rewrap that finger for a few more minutes. Forcing can damage your nail. Patience again.
Work from the cuticle area toward the tip. Use light pressure. Almost all the gel should slide off. Some clear base coat might remain. That is okay. You can buff it away later.
Step 7: Buff and Smooth
After removing all gel, look at your nails. They may feel a little rough or have tiny bits of residue. Use your buffer block to gently smooth the surface. Buff only in one direction. Do not saw back and forth.
Wash your hands again with mild soap. Dry them. Then apply cuticle oil to each nail. Massage it in. Follow with a rich hand cream.
Your nails will look clean and natural. They may feel a bit dry. That is normal because of the acetone. The oil and cream will fix that fast.
Aftercare for Healthy Nails
You have learned to remove gel nail polish safely. But your care does not stop there. Those nails just went through a strong chemical process. They need love.
For the next few days, apply cuticle oil multiple times per day. Keep hand cream near your sink. Use it every time you wash your hands.
Drink water. Hydration helps nails grow strong. Eat foods with biotin and protein. Eggs, nuts, and fish are great choices.
Give your nails a break between gel manicures. Wait at least one week. Some people wait two weeks. During that time, use a nail strengthener or just let them breathe.
If you see white spots, ridges, or peeling, that is a sign of damage. Take a longer break from gel. Maybe try regular polish for a month.
When to Call a Professional
Most of the time, you can remove gel nail polish safely at home. But there are some situations where a salon visit is better.
See a professional if:
- Your nails are already thin, cracked, or infected.
- You have a medical condition like psoriasis or diabetes.
- You used hard gel or acrylic overlay, not soft gel polish.
- You tried the foil method twice and the gel will not budge.
A nail technician has stronger tools and more experience. They can remove product without hurting you. It costs a little money, but it saves your nails.
Also, if you feel pain during home removal, stop right away. Pain means you are hurting your nail bed. Go to a salon or wait and try again with more acetone and more time.
Frequently Asked Questions
Can I use regular nail polish remover to remove gel?
No. Regular remover has too little acetone. It will not break down the gel. You will rub and rub with no result. Always use pure acetone for gel removal.
How often should I remove gel nail polish safely?
You should remove gel every two to three weeks. That is how long a gel manicure usually lasts. Leaving it on longer risks lifting and water getting trapped under the gel. That can cause green spots or fungus.
Will acetone hurt my skin?
Acetone is drying but not dangerous for short contact. It can make your skin feel tight and flaky. That is why you use cuticle oil after. If you have very sensitive skin or eczema, wear gloves with the tips cut off. Or ask a friend to help.
How do I remove gel nail polish safely without foil?
You can buy silicone caps that hold cotton balls on your nails. They work the same way as foil. Or you can soak your nails in a small bowl of warm acetone. But soaking your whole fingertip dries out your skin more. Foil is still the best method.
What if my gel has glitter?
Glitter gel polish is harder to remove. The foil method still works, but you may need to wait 15 to 20 minutes. After unwrapping, some glitter specks may stay. Buff them gently or do a second short soak on those nails only.
Can I reuse the foil and cotton?
No. Throw them away after one use. Acetone evaporates quickly, and the cotton will be full of dissolved gel. Using fresh materials each time gives the best result.
Final Thoughts
Learning to remove gel nail polish safely is a skill every gel lover should know. It saves you trips to the salon. It saves you money. Most importantly, it saves your natural nails from damage.
The process is simple: buff, soak with acetone and foil, wait, push gently, and moisturize. That is it. No special tools required. No harsh scraping or peeling.
Remember to be patient. Rushing leads to mistakes. And mistakes lead to thin, sore nails that take months to recover. Slow down. Your nails will look better and feel stronger.
I hope this guide helped you feel confident. Now you can enjoy your gel manicures without worry. When it is time for a change, you know exactly what to do.
So go ahead. Bookmark this page. Share it with a friend who always picks at her gel. And give your nails the gentle care they deserve.
Related posts
 Best Hair Mask For Damaged Hair: Deep Repair & Hydration Choices
Discover the best hair masks for damaged hair. Compare top choices for deep repair, intense hydration, and overall hair health to find your perfect match. Damaged…
 How To Look Fresh All Day Without Makeup
Do you want to look fresh all day without makeup? This complete guide shares morning habits, skincare tips, and lifestyle changes that keep your face glowing…
 Best Hair Accessories for Wedding: Elegant Choices for Your Special Day
Find the best hair accessories for wedding. Compare elegant clips, combs, and sets with pearls and rhinestones to complete your bridal look. Weddings are a time…