How To Use A Test Light On A Car
Learning how to use a test light on a car is a basic skill every driver should know. This guide shows you how to check fuses, switches, and sensors safely using a simple test light tool.
If you own a car, chances are you have faced a situation where something electrical stopped working. Maybe the brake lights went out, the radio stopped turning on, or the car refused to start. These issues can feel frustrating. But before you call a mechanic or start buying expensive parts, there is a simple tool that can help you find the problem fast. That tool is a test light. In this guide, I will show you exactly how to use a test light on a car to check for power, find broken circuits, and save yourself time and money.
A test light is one of the most basic but useful tools in automotive work. It is affordable, easy to use, and gives you instant answers. You do not need to be a professional mechanic to understand it. With a few simple steps, you can trace electrical problems and figure out if a fuse is blown, a switch is bad, or a wire is broken. I have used this tool on my own cars for years, and it has helped me fix problems that would have cost hundreds of dollars at a shop. Let me walk you through everything you need to know.
What Is a Test Light and Why You Need One
A test light is a handheld tool that looks like a screwdriver with a wire coming out of the handle. Inside the handle is a small light bulb, usually an LED these days. The tip is a sharp point that you touch to electrical connections. The wire at the end has a clip that you attach to a ground source, such as a metal bolt on the car frame. When you touch the tip to a wire or terminal that has power, the light turns on. That simple glow tells you that electricity is present.
This tool is essential because it lets you verify if power is reaching a component. For example, if your headlights do not work, you can use a test light on a car to see if power is getting to the bulb socket. If the light glows, you know the wiring is good and the bulb might be the issue. If it does not glow, you know there is a break somewhere before that point. This kind of quick check saves you from guessing and buying parts you do not need.
“Using a test light is like having a conversation with your car’s electrical system. It gives you immediate yes or no answers about where the power is flowing.” – Mike Collins, ASE Certified Master Technician
Types of Test Lights You Can Buy
Before you learn how to use a test light on a car, it helps to know what kind of tool to get. There are a few types, and each has its own use.
| Type of Test Light | Best For | Key Feature |
|---|---|---|
| Standard 12-Volt Test Light | Basic power checks, fuses, switches | Simple on/off light |
| LED Test Light | Sensitive electronics, low current | Bright light, safer for computers |
| Self-Powered Test Light | Checking ground connections | Has its own battery to test continuity |
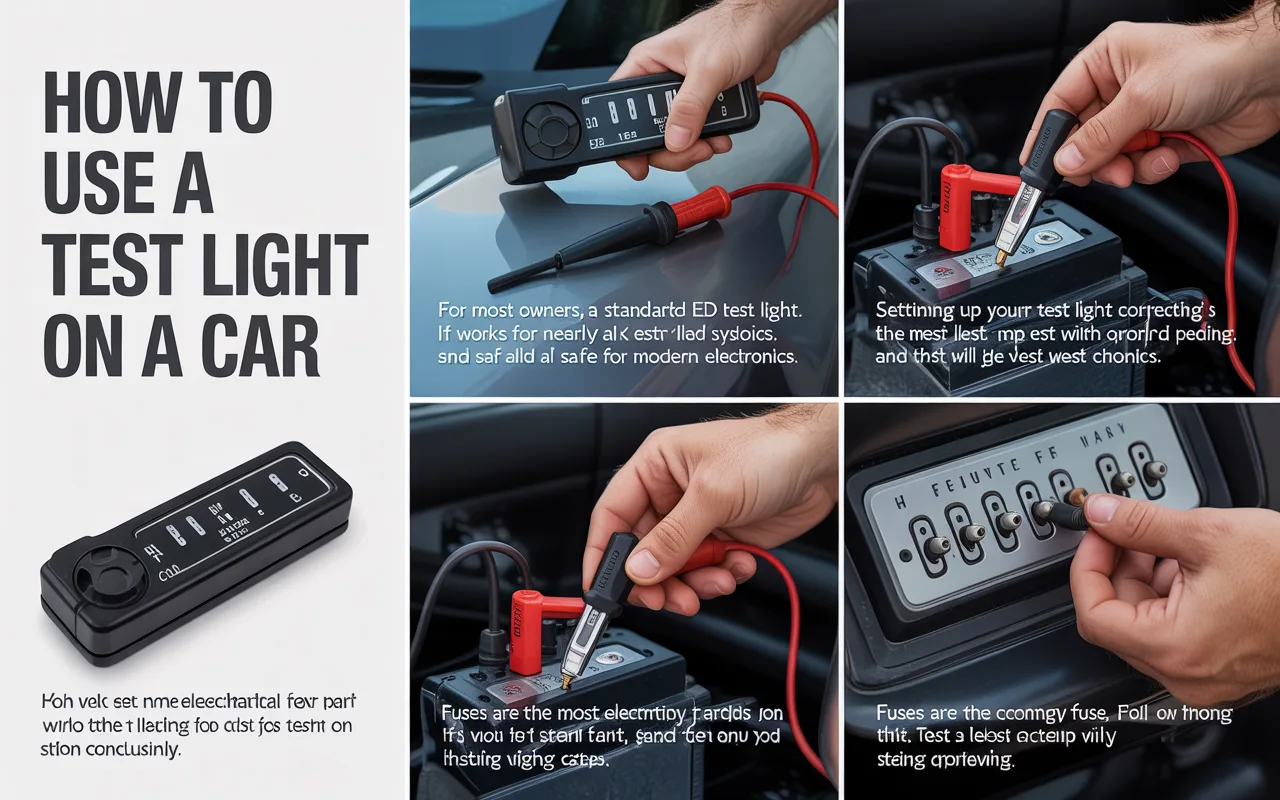
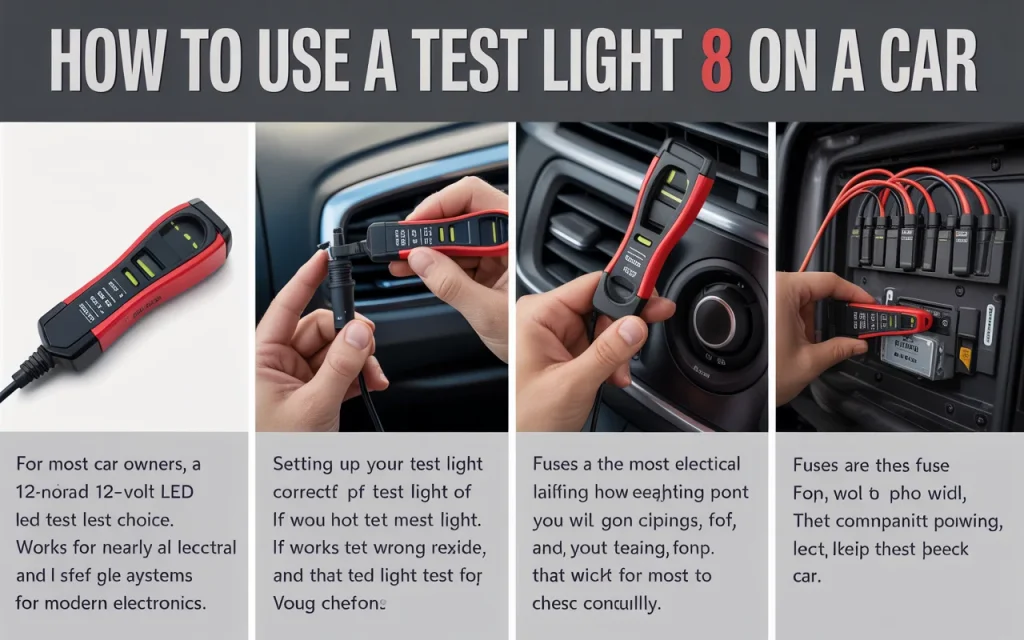
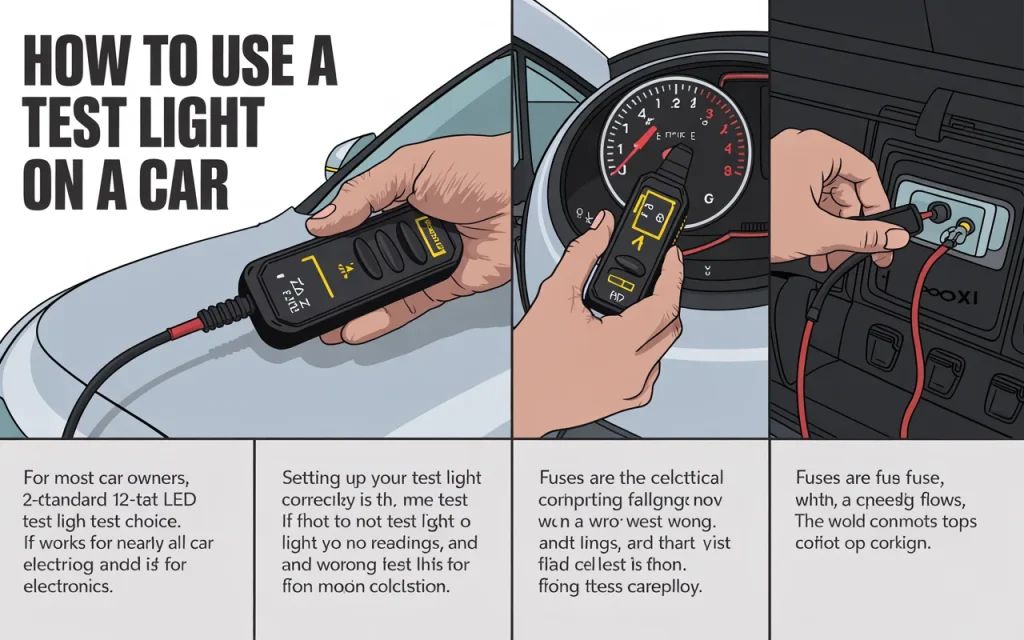
For most car owners, a standard 12-volt LED test light is the best choice. It works for nearly all car electrical systems and is safe for modern electronics. I recommend getting one with a long, flexible wire and a sharp probe tip. The wire should be at least six feet long so you can easily reach different parts of the engine bay.

Safety First Before You Start
Electrical work on a car is generally safe, but you still need to follow a few rules to protect yourself and your vehicle. Here are the key safety steps to take before you pick up your test light.
First, always make sure the car is parked on level ground with the parking brake engaged. If you are working on the engine, let it cool down if it has been running. Hot engines have moving parts and hot surfaces that can burn you. Second, wear safety glasses. When you poke the probe into tight spaces, it can slip, and you do not want anything going near your eyes. Third, keep your hands dry. Water conducts electricity, and while 12 volts is not dangerous to your body, a wet hand can cause a short circuit that damages electronics.
Also, be careful around the battery terminals. The positive terminal has a lot of power, and if your test light probe touches the positive terminal while the clip is grounded on something metal, you might create a spark. That spark can cause a battery explosion in rare cases. So always clip the ground wire to a clean, unpainted metal surface away from the battery itself when testing.
How to Set Up Your Test Light Correctly
Setting up your test light correctly is the most important part of learning how to use a test light on a car. If you do not set it up right, you will get wrong readings, and that will lead you to the wrong conclusion. Follow these steps carefully.
First, take the clip at the end of the wire and attach it to a good ground. A good ground is any bare, unpainted metal part of the car chassis or engine block. Many people use a bolt on the engine or a metal bracket. You can also use the negative terminal of the battery, but only if the battery is in good condition and you are careful. The purpose of this clip is to complete the circuit so the light can turn on when the probe touches power.
Second, inspect the probe tip. Make sure it is clean and sharp. A dull tip may not make good contact with wires or terminals. If the tip is dirty, wipe it with a clean cloth. Third, test your test light before you use it. Touch the probe tip to the positive terminal of the battery while the clip is grounded. The light should glow brightly. If it does not, either your test light is broken, or your ground connection is poor. This simple test takes only a few seconds but ensures you are starting with a working tool.
Step-by-Step: How to Use a Test Light on a Car for Different Checks
Now let us get into the actual steps. I will walk you through the most common ways to use a test light on a car so you can diagnose problems on your own.
Checking Fuses
Fuses are the most common electrical failure point in any car. When a fuse blows, the component it protects stops working. To check a fuse, first locate the fuse box. Most cars have one under the hood and one inside the cabin, often under the dashboard. With your test light grounded, touch the probe to the small metal contacts on top of the fuse. There are usually two small slots. Test both sides. If the light comes on for one side but not the other, the fuse is blown. If the light comes on for both sides, the fuse is good. This method is faster than pulling out each fuse to look at it.
Testing Switches
Switches like headlight switches, window switches, or blower motor switches can fail over time. To test a switch, you need to check if power is going into the switch and if it is coming out when you turn it on. With the switch in the off position, probe the input wire. The test light should glow. This tells you power is reaching the switch. Then turn the switch on and probe the output wire. If the light now glows, the switch is working. If it does not, the switch is bad.
Checking for Power at a Component
If a component like a fuel pump, fan motor, or light bulb is not working, you can check if it is getting power. Disconnect the electrical connector from the component. With your test light grounded, touch the probe to the power pin in the connector. If the light glows, power is present. This means the component itself is likely the problem. If the light does not glow, the problem is upstream in the wiring, fuse, or relay.
Finding a Broken Ground
A bad ground connection can cause all sorts of strange problems. Lights may flicker, components may work intermittently, or they may not work at all. To test a ground, you need a self-powered test light or you can use your standard test light in a different way. Clip the test light to the positive battery terminal instead of a ground. Then touch the probe to the ground wire or the metal case of the component. If the light glows, the ground is good because the circuit is complete through the component. If it does not glow, the ground connection is broken.
“Electrical problems are rarely as complex as they seem. A test light helps you break the system down into small, testable pieces. Find where the power stops, and you have found your problem.” – Patricia Nguyen, Automotive Electronics Specialist
Common Electrical Problems and How a Test Light Helps
Let me share a few real-world examples where knowing how to use a test light on a car helped me fix problems quickly. These are the kinds of issues many car owners face.
No Brake Lights
I once had a car where the brake lights would not come on. The bulbs looked fine, so I grabbed my test light. I grounded the clip and touched the probe to the brake light switch wires under the dash. Power was coming into the switch. I pressed the brake pedal and tested the output wire. No light. That told me the brake light switch had failed. A new switch cost twelve dollars and took ten minutes to install.
Crank but No Start
Another time, a friend called me because her car would crank but not start. She thought it was the starter, but the starter was turning the engine. I used my test light to check if the fuel pump was getting power. I found the fuel pump relay in the fuse box, grounded the test light, and touched the output terminal while she turned the key to the “on” position. The test light glowed. So power was reaching the fuel pump, but the pump itself was not working. We replaced the fuel pump, and the car started right up.
Dead Radio
My own truck lost power to the radio one day. I could have bought a new radio, but I decided to test first. I pulled the radio fuse and used my test light. Both sides of the fuse had power, so the fuse was good. I pulled the radio out and tested the power wire at the back of the radio. No light. That meant the problem was between the fuse box and the radio. I found a corroded wire under the dashboard, repaired it, and the radio worked again.
Understanding Test Light Readings
When you use a test light on a car, you need to understand what the light is telling you. It is not just about on or off. The brightness of the light can give you more information.
| Light Behavior | What It Means | What to Do Next |
|---|---|---|
| Bright, steady glow | Full power present | Component or downstream wiring is likely bad |
| Dim glow | Low voltage or poor connection | Check for corrosion, loose terminals, or weak battery |
| No glow | No power present | Check fuse, relay, switch, or wiring upstream |
| Flickering glow | Intermittent connection | Look for loose wires or damaged connectors |
A dim glow is often overlooked, but it is important. It usually means there is resistance in the circuit. That resistance could come from a corroded connector, a frayed wire, or a failing relay. If you see a dim light where there should be a bright one, you have found a problem even though the light is still on.
When to Use a Multimeter Instead
A test light is great for quick checks, but there are times when you need a multimeter. A multimeter gives you exact voltage readings, which can be important for sensitive electronics. For example, if you are working on a car computer or a sensor, a test light might draw too much current and damage the component. In those cases, a multimeter is safer.
I usually reach for my test light for fuses, switches, lights, motors, and relays. These are high-current circuits where a test light does no harm. For anything connected to the engine computer, I use a multimeter. You can own both tools, and together they cover almost any electrical diagnosis you will ever need.
“The best mechanics know when to use a test light and when to use a multimeter. The test light gives you speed. The multimeter gives you precision. Learn both.” – David Chen, Master Diagnostic Technician
Tips for Getting Accurate Results Every Time
Over the years, I have learned a few tricks that make using a test light more reliable. Here are some of the best tips I can share with you.
Always clean your ground connection. The clip on your test light needs a solid metal surface. If you clip it to a painted bolt, the paint acts as an insulator, and your light may not work even when there is power. Scrape off a little paint or find a bare metal surface. I often use the metal bracket that holds the hood open because it is usually bare and easy to reach.
Do not pierce wires unless you have to. The probe tip is sharp, and you can stick it into the back of connectors to touch the metal terminals. This is called back-probing, and it is much better than piercing the insulation of a wire. Piercing a wire leaves a hole that can let moisture in and cause corrosion later.
Check your test light on a known power source before each use. I always touch the probe to the positive battery terminal after I set up my ground. This confirms my tool is working and my ground is good. If the light does not come on, I know to check my clip or replace the test light bulb.
Be careful with airbag circuits. Never probe wires that are part of the airbag system unless you have advanced training. Accidentally triggering an airbag can cause injury and is expensive to fix. Stick to testing lights, windows, radio, fuses, and other non-safety systems until you are more experienced.
Frequently Asked Questions
Can I use a test light on a car with a computer?
Yes, but with caution. A standard 12-volt test light is safe for most circuits like lights, fuses, and switches. For computer sensor circuits, use a multimeter or a low-current LED test light to avoid damaging sensitive electronics.
What does it mean if the test light does not glow at all?
If the test light does not glow, it means there is no power at that point. You need to work backward in the circuit. Check the fuse first, then the relay, then the switch, then the wiring.
Can a test light drain my car battery?
No, a test light uses very little current. You can use it for hours without affecting your battery. However, leaving your key on while testing may drain the battery if the car has accessories running.
How do I know if my test light is broken?
Test it on the battery. Clip the ground to the negative terminal and touch the probe to the positive terminal. If it does not light, the bulb is burned out or the wire is broken. Some test lights have replaceable bulbs, but many are sealed and need to be replaced entirely.
Is a test light better than a multimeter?
Not better, just different. A test light is faster for simple power checks. A multimeter gives more detailed information. For a beginner, a test light is a great starting point because it is simple and gives clear yes or no answers.
Conclusion
Learning how to use a test light on a car is one of the most valuable skills a car owner can develop. It turns electrical problems from mysteries into simple checks you can do in your driveway. With just this one tool, you can test fuses, switches, relays, and wiring in minutes. You save money by avoiding unnecessary parts and labor. You also gain confidence in your ability to understand and care for your vehicle.
I encourage you to buy a good test light and practice on simple things first. Check your fuses. Test your light bulbs. See how the light behaves when you touch different parts of a circuit. The more you use it, the more natural it becomes. And when something fails, you will know exactly where to start.
Electrical problems do not have to be stressful. With a test light in your hand and a little patience, you can find the issue, fix it, and get back on the road. That independence and peace of mind is worth more than any repair bill you will avoid. So grab a test light, ground the clip, and start poking around. Your car will thank you.
Related posts
 Best Dual Action Polisher for Cars: Top Picks for a Flawless Finish
Find the best dual action polisher for cars with our detailed comparison. Discover top models, key features, and buyer fit for achieving a professional finish. A…
 Which Backup Camera Is Best For Cars
Looking for the best backup camera for cars? We tested top models like Wolfbox, LeeKooLuu, and Auto-Vox. This guide compares image quality, night vision, and installation…
 Best Bearing Press Kit for Automotive and General Repair Tasks
Compare the best bearing press kits for front wheel drive, bearing race, and seal installation. Find the right tool for your automotive repair needs. A reliable…