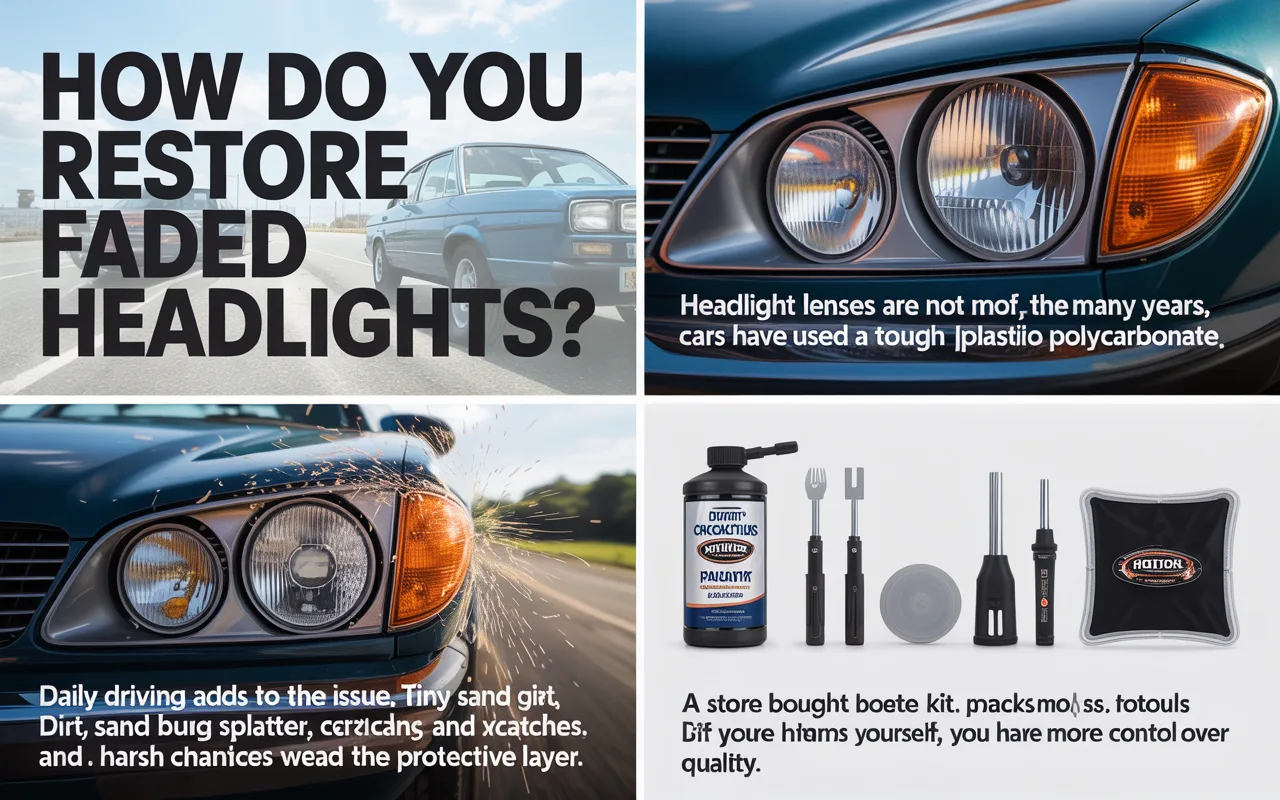
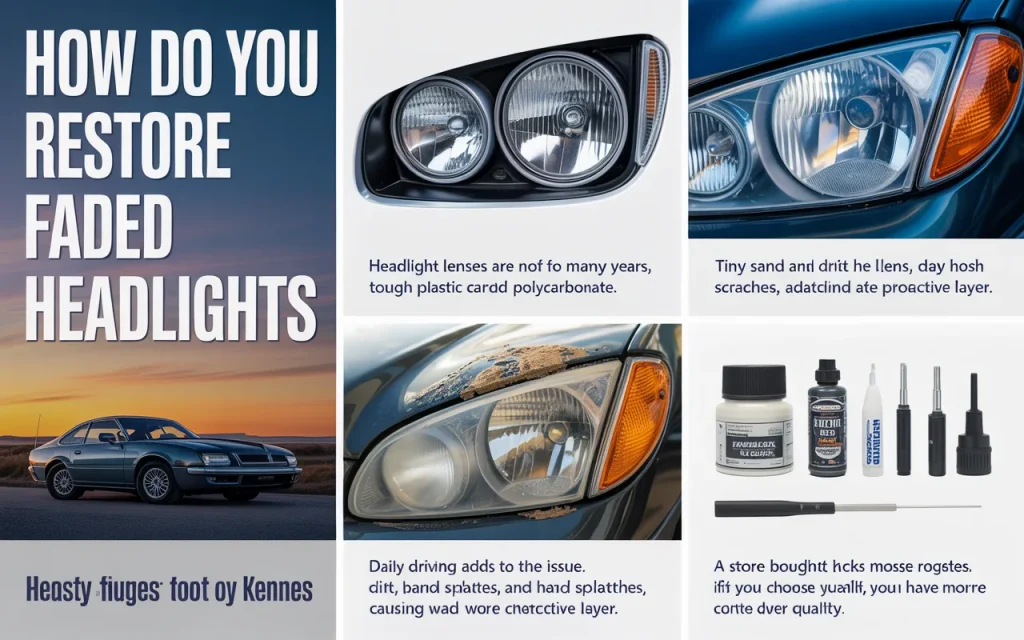
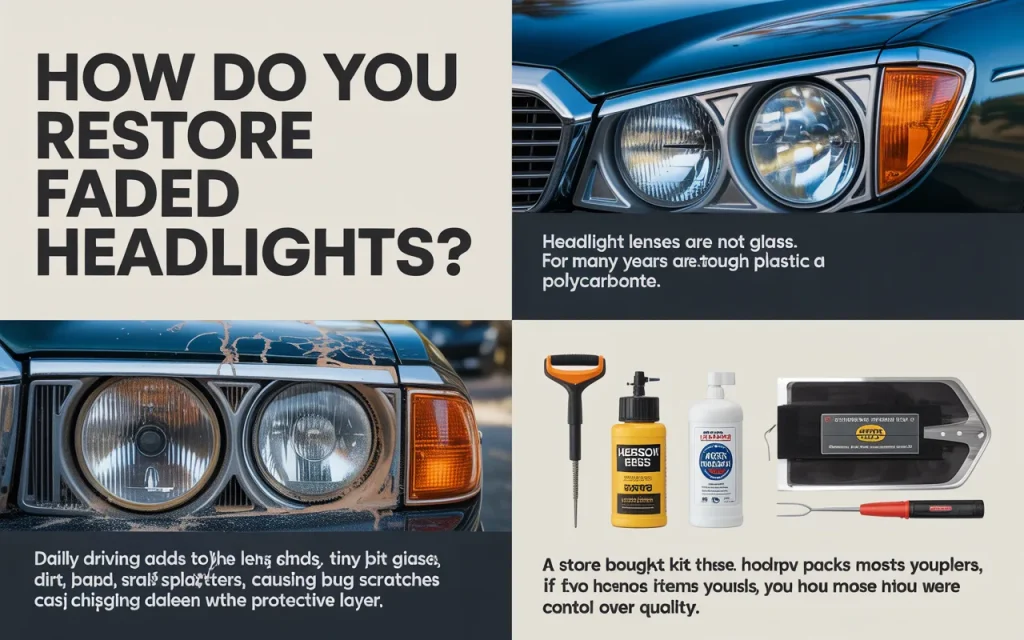
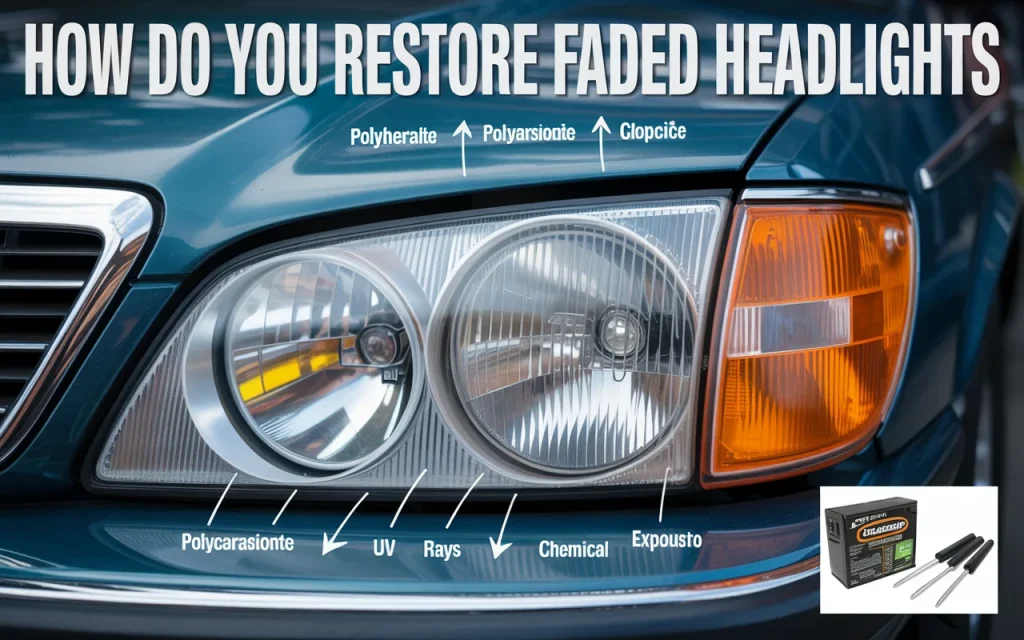
How Do You Restore Faded Headlights
Bold text To see the road clearly at night, you need to restore faded headlights. Our clear guide shows you how to clean cloudy headlights yourself with simple tools and get professional results at a low cost.
You flip your headlights on at dusk and the road ahead seems dim. The problem might not be the bulb, but a yellow, hazy film over your headlight lens. This cloudiness cuts your light output, making night driving less safe. Many people think they need expensive new headlight assemblies, but that is often not true. You can restore faded headlights at home and make them look new again. This guide will walk you through why it happens and how you can fix it for good.
Why Headlights Get Foggy and Yellow
Headlight lenses are not glass. For many years, cars have used a tough plastic called polycarbonate. It is strong and light, but it needs protection from the sun. Factories put a special clear coat on the lens to block the sun’s ultraviolet (UV) rays. Over time, this coating breaks down. The UV light hits the plastic directly, causing a chemical change called oxidation. This is what makes the plastic turn yellow and rough. Think of it like sunburn on your plastic headlights.
Daily driving adds to the issue. Tiny sand and road grit hit the lens, causing small scratches. Dirt, bug splatter, and harsh car chemicals also wear down the protective layer. Once the clear coat is gone, the oxidation spreads fast. The cloudiness forms on the outside, so fixing it means working on the outside surface.
“The details are not the details. They make the design.” – Charles Eames
This quote fits headlight care well. The detail of a clear lens makes a huge difference in your car’s look and safety.
What You Need to Restore Faded Headlights
You do not need many tools to restore faded headlights. There are two main paths: a kit from a store or separate items you might already own. Here is a simple table comparing common needs.
| Item Type | Common Examples | Main Purpose |
|---|---|---|
| Protection | Painter’s tape, trash bags | Keep paint and car body safe |
| Sanding Tools | Various grit wet sandpaper (400 to 3000 grit) | Remove old coating and smooth plastic |
| Cleaning Agent | Water spray bottle, car wash soap | Keep area wet and clean |
| Polishing Compound | Rubbing compound, plastic polish | Buff to a clear shine |
| Sealing Product | UV-resistant clear coat spray or sealant | Protect from future sun damage |
A store bought kit packs most of these together. If you choose items yourself, you have more control over quality. The key item people forget is the final sealant. Sanding and polishing without sealing is a temporary fix. The fresh plastic will oxidize again very quickly without new protection.
Step by Step: How to Restore Faded Headlights
Let us get to the main task. This process is hands on, but not hard. Set aside about an hour for your first time. Work in a shaded spot, not in direct sun.
Step 1: Wash and Tape Off
First, wash the whole headlight and surrounding bumper area with car soap. Dry it well. Then, use painter’s tape to cover the paint, hood, and bumper right next to the headlight. Be careful with the tape edges. This keeps you safe while you sand.
Step 2: Sand the Old Layer Off
Start with the roughest sandpaper you have, like 400 or 600 grit. The goal here is to remove all the old, damaged clear coat. Wet the sandpaper and the headlight. Keep it very wet. Sand in straight lines, not circles, across the whole lens. Apply steady, even pressure. Once the yellow film is gone, move to a finer grit, like 800. Then go to 1000, and then 2000 or 3000 grit. Each step removes the scratches from the last, making the plastic smoother. Rinse the lens after each grit change. When done, the lens will look evenly frosted, not yellow.
Step 3: Polish to a Clear Shine
Now, take a clean microfiber cloth and put a small amount of rubbing or polishing compound on it. Buff the headlight lens firmly. You will see the clear, transparent plastic start to appear. This might take some elbow grease. You can also use a drill with a buffing pad attachment for this step. Polish until the surface is smooth and mostly clear. Wipe off any leftover compound.
Step 4: Seal with UV Protection
Clean the lens with rubbing alcohol on a clean cloth. This removes all oils. Let it dry. This is the most important step. To restore faded headlights for the long term, you must seal them. Spray a thin, even coat of UV-blocking clear coat spray from a can. Or, apply a liquid UV sealant from a kit with a cloth. Follow the product’s drying time. Never skip sealing. The polish will look great for a month, but then fade fast without a seal.
“Take care of your car, and it will take care of you.” – Common Mechanic’s Saying
This simple advice is true for headlights too. A little care restores your safety and your car’s face.
How to Keep Your Headlights Clear Longer
After you restore faded headlights, keep them clear. Simple habits make the results last for years, not just months.
- Wash Often: Regular car washes remove harmful dirt and chemicals.
- Park in Shade: When you can, park out of direct sunlight to slow UV damage.
- Use Car Wax: Put a good coat of car wax on your headlights every few months. It adds a layer of protection.
- Avoid Harsh Chemicals: Some wheel cleaners or strong bug removers can hurt the new sealant. Rinse them off quickly.
Consider the headlight sealant as a wear item. Check it each year. If you see small cracks or haze starting, you might just need to lightly sand and apply a fresh sealant coat, which is much easier than the full process.
When to Seek a Professional
Doing it yourself is satisfying and cheap. But sometimes, a pro is the better choice.
- Deep Damage: If the headlight is cracked or has deep scratches inside the lens.
- Moisture Inside: If there is water pooling inside the assembly, the seal is broken and it needs replacement.
- Lack of Time or Tools: If you feel unsure, a local detail shop can restore faded headlights quickly.
Pro shops often use stronger buffers and professional-grade coatings. The cost is higher than a DIY kit, but lower than new headlights. It is a good middle option.
Frequently Asked Questions
How long does a headlight restoration last?
If you seal them well, a good restoration can last 2 to 3 years. Without a sealant, it may fade in 3 to 6 months. The seal is everything.
Can I use toothpaste to clean my headlights?
Toothpaste is a mild abrasive and can offer a very short term improvement on very light haze. It is not a real fix. It does not remove the damaged layer or provide UV protection. For a true restoration, proper sanding and sealing is needed.
Is it cheaper to restore or replace headlights?
Almost always, restore. A DIY kit costs between $20 and $40. Professional service is $100 to $150 per pair. New headlight assemblies for many cars cost $300 to $1000 each, plus labor for installation.
Can yellow headlights be cleaned inside?
No. Haze almost always forms on the outside. If the inside is dirty, it is likely due to a broken seal letting in moisture. In that case, the entire headlight unit usually needs to be replaced.
What is the best product to restore faded headlights?
There is no single “best” product. A reliable kit from a known brand works fine. The critical factor is your method. Careful sanding and a high-quality UV clear coat are more important than the brand name on the kit.
| Task | DIY Restoration | Professional Service | Headlight Replacement |
|---|---|---|---|
| Average Cost | $20 – $40 | $100 – $150 | $600 – $2000+ |
| Time Required | 1 – 2 hours | 1 hour | 2+ hours (with labor) |
| Expected Lifespan | 2 – 3 years (with sealant) | 2 – 4 years | 5+ years (until new ones fade) |
| Best For | Savvy owners, light to moderate haze | Busy owners, even severe haze | Cracked lenses, internal damage |
Conclusion
Learning how to restore faded headlights is a useful skill. It saves you a lot of money and makes your car safer to drive at night. The process is straightforward: protect your car, sand away the damaged plastic, polish it clear, and seal it from the sun. The biggest mistake is stopping after polishing. That fresh plastic needs a shield. With the right hour of work, you can bring back that like-new shine and see the road clearly again.
“Quality is never an accident; it is always the result of intelligent effort.” – John Ruskin
Your effort to restore faded headlights is an intelligent effort for quality. It improves your car’s function, its look, and your safety. So grab some sandpaper and that sealant, and get your bright lights back. You will be glad you did every time you drive after dark.
Related posts
 Which Backup Camera Is Best For Cars
Looking for the best backup camera for cars? We tested top models like Wolfbox, LeeKooLuu, and Auto-Vox. This guide compares image quality, night vision, and installation…
 Best Bearing Press Kit for Automotive and General Repair Tasks
Compare the best bearing press kits for front wheel drive, bearing race, and seal installation. Find the right tool for your automotive repair needs. A reliable…
 Best Breaker Bar for Removing Lug Nuts: Top Picks and Buyer’s Guide
Find the best breaker bar for removing lug nuts with our detailed comparison. We review top models to help you choose the right tool for your…